What could be more fascinating than learning about Lords and Ladies, Knights, and Castles? After more than 15 years of teaching, the Middle Ages is still one of my all-time favorite units to teach.
This unit includes reading passages, interactive activities, vocabulary posters and much more. Each section has comprehension questions and connection activities to make learning fun! Let's take a closer look at this unit in action.
The complete unit is divided into 8 sections:
•Introduction
•People of the Middle Ages
•The Feudal System
•Medieval Castles
•Knights and Tradesmen
•Famous People: Charlemagne, Richard the Lionheart, Joan of Arc
•Important Events: Magna Carta, The Crusades, The Black Death, Hundred Years’ War
•Unit Test (Editable)

Part One: An Introduction to the Middle Ages
A great way to introduce a new unit is to have students complete a short activity to pique their interest and build background knowledge. There are lots of ways to do this but a favorite way to get students excited about this new unit by using an anticipatory set. An anticipatory set doesn't have to take a lot of time but it can make a big difference.
Here are some ideas:
- Show a photograph or a short video about knights or castles
- Use a mystery box filled with artifacts or clues about the unit (a crown, goblet, or large rock)
- Do a sensory activity. (Maybe investigating a piece of chainmail--what was it used for?)
- Present a real problem for students to solve (In today's world, how can we stop Black Death?)
- Predict if the statements are true or false --this activity is included in this unit for an easy no prep option!
For this Medieval unit, start off with a geography lesson. Have students label a map of Medieval Europe and discuss any special landmarks that they might know about. Take it a step further to compare Medieval Europe to present-day Europe can be a good way for students to make connections.
Part Two: People of the Middle Ages
Start off the next section by learning about People of the Middle Ages. Students will love learning about the different social classes of that time period. There are several reading passages as well as an in-depth look at what life was like as a lord and a peasant.
Essential Questions:
- What was the life of a lord like?
- What was the life of a peasant like?
- How was life different for nobles and peasants?
- What was life like for medieval women?
- Name and describe some different groups of medieval people.
- Would you have wanted to be a serf or peasant? Why or why not?


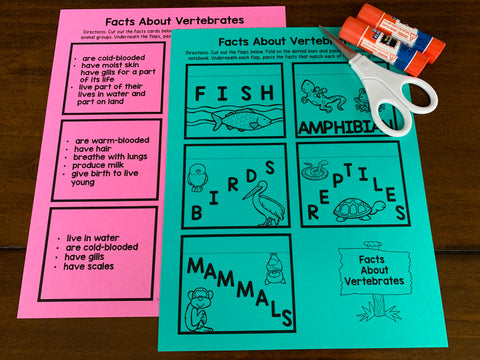
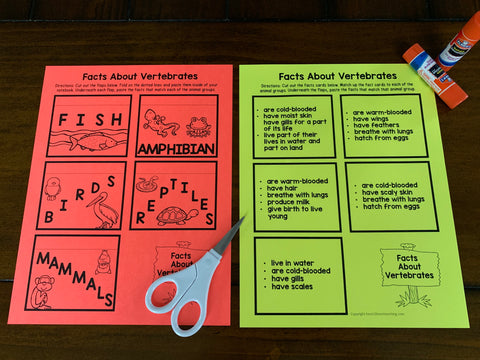
After learning about the Medieval people, have students complete a match up flaps activity. This is a great way for students to show what they have learned. Some flaps have space for students to write in the correct answers.

Part Three: The Feudal System
For the second part, it's time to learn about the Feudal System. The Feudal System was the system of government in medieval Europe. Under feudalism, a noble gave a piece of land, called a fief, to others in exchange for their loyalty and service. The Feudal System was the foundation for people living in the Middle Ages.
Feudalism was a system of government in medieval Europe in which land is exchanged for loyalty and service. To help students better understand and visualize this system, I recommend doing a variety of interactive activities. First, read the passage about The Feudal System and then try one or more of the activities outlined in the unit including role-playing or a poster project.

Have students create a poster with the Feudal System Exchange Cards and Poster Project Page.
Each group of students will need a copy of the Feudal System Exchange Cards, Poster Project Pages with Titles, Gives and Receive Boxes and a large sheet of construction paper.
First, students cut out all the exchange cards, title boxes, gives and receives cards. Next, students paste The King at the top of the page with the Gives and Receive boxes underneath it. Students discuss as a group and use the Feudal System Diagram page as a source to help them figure out what the King gives and what the King receives and place those cards under the correct column. Repeat this process for each of the four groups of medieval people. Check over their posters to be sure the cards are correct before having them paste the cards to the paper.

Essential Questions:
- Why did the feudal system develop in Europe?
- How did the feudal system hold communities together?
- Who benefited the most from the feudal system?
- Do you think the feudal system fair?
- How is the feudal system different from a democracy?
Part Four: Medieval Castles
Castles were built mainly as a defense to keep invaders out and protect the people who lived inside the castle walls. This way people could shoot at attackers while remaining safe inside the walls. There are several passages all about castles including:
- Building a Castle
- Inside the Castle
- The Parts of a Castle
- Three Types of Castles
- Famous Castles

There are several hands-on activities about castles included in this unit. But I'm positive that the Castle Flip-up booklet will be one of the most favorite activities for students to complete. There are five pages with different activities related to each of the articles. Then students cut out the castle-shaped booklet and assemble it to create a castle flip-up booklet.

Essential Questions:
- What was life like in a castle?
- Why were castles built?
- How were castles built?
- Name and describe the parts of a castle.
- Name the three types of castles.
- How did castles change over time?

Part Five: Becoming a Knight
Not just anyone could become a knight. Only boys from wealthy, noble families could afford to pay for a horse, weapons, and the armor needed. If you were one of the lucky ones, training to become a knight started when you turned seven years old. Students will enjoy learning about the steps to become a trained fighter or knight. Many people during the Middle Ages apprenticed to become other skilled tradesmen such as blacksmiths, masons, or tailors.


They can complete a trifold booklet and design their own coat of arms as culminating activities to wrap up this part of the unit.

Essential Questions:
- What were the steps to become a knight?
- What was the life of a knight like?
- What was the code of chivalry?
- Why were guilds important?
- How did a journeyman become a master craftsman?
Part Six: Famous People of the Middle Ages
Students will love meeting three important people who changed history: Charlemagne, Richard the Lionheart, and Joan of Arc. This unit includes reading passages, biography organizers, character mini-booklets, and a trading card project for each one.


Essential Questions:
- What is Charlemagne’s famous for?
- What is Richard the Lionheart’s famous for?
- What is Joan of Arc famous for?

Part Seven: Important Events of the Middle Ages
There were many important events during this period that greatly influenced life.
Four major ones were:
- The Magna Carta
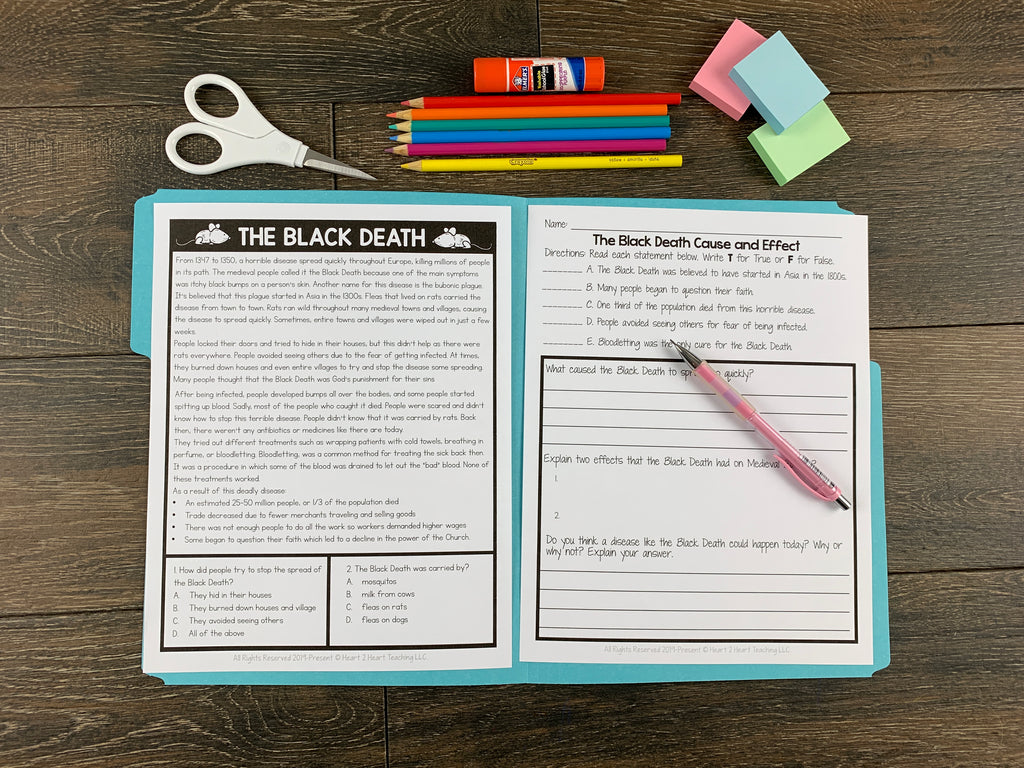
- The Black Death
- The Crusades
- The Hundred Years' War
Students will learn about the causes and effects that each one of these had on Medieval Europe through a variety of hands-on activities:
- Timeline
- Cloze Passage
- Writing Prompts
- Trifold Booklet
- Vocabulary Posters
- Spotlight on Vocabulary


Part Eight: Unit Assessment & Reflection
End the unit by having students take the unit assessment and complete the reflection. The unit test is editable so you can modify it to meet your standards.
Pin it to save it for later!

I hope your kiddos enjoy this unit as much as mine!
]]>