Topic: Printables

  • Photosynthesis Activities Reading Comprehension Worksheets Label the Diagrams

    Photosynthesis Activities Reading Comprehension Worksheets Label the Diagrams

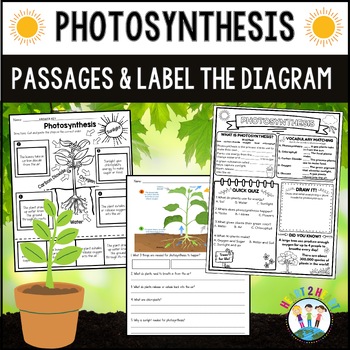
    Photosynthesis activities & worksheets including reading comprehension passages, label the diagrams, a cloze passage, vocabulary posters and more. Read and practice putting the photosynthesis process in order through a variety of activities. Great for Science binders or interactive notebooks too!

    What’s Inside:

    ✔ Two Reading Passages on the photosynthesis process

    ✔ Photosynthesis Doodle Notes

    ✔ Cloze Passage to reinforce key terminology
    ✔ Constructed-Response Questions for deeper thinking
    ✔ Summarizing Activity to practice concise explanations
    ✔ Sequencing Activity to order the steps of photosynthesis
    ✔ Vocabulary Posters spotlighting terms like “chlorophyll,” “carbon dioxide,” and “glucose”
    ✔ Spotlight on Vocabulary Exercises for matching and context clues
    ✔ Answer Keys

    ❤️ Why You’ll Love It:

    • Multi-Modal Learning: Combines reading, writing, and diagram labeling to reach all learners.
    • No Prep: Print-and-go pages keep your lesson planning stress-free.
    • Standards-Aligned: Reinforces NGSS 5-LS1-1 concepts and CCSS literacy skills.
    • Perfect for Notebooks: Activities fit into interactive science journals or binders.
    • Built-In Differentiation: Mix and match passages, cloze activities, and constructed responses to suit varied ability levels.

    Frequently Asked Questions:

    Q: What grade levels is this best for?
    A: Ideal for Grades 3–6, but easily adapted for upper or lower grades by adjusting discussion depth.

    Q: How much prep is required?
    A: Very little, just print the pages you need and you’re ready to teach.

    Q: Are answer keys included?
    A: Yes, answer keys accompany this unit.

    Q: Can I use these materials in an interactive notebook?
    A: Absolutely! The sequencing and diagram-labeling activities are notebook-friendly.
  • Make a Recipe Book: A Fun Project

    Make a Recipe Book: A Fun Project

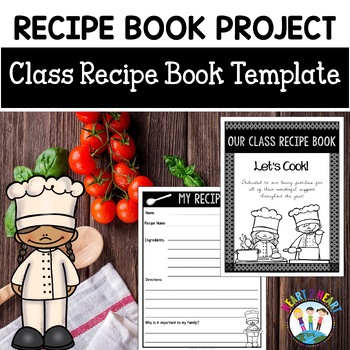
    Your students will love making this Class Recipe Book Project! Everything you need for this fun project is in here! It includes recipe templates, several front covers designs, parent letter, and teacher directions.

    A few years ago, I tried it out, and it turned out so well, that I decided to make copies of the recipe book for each student in the class and send them home as a special gift. The parents loved them!

    For the front cover, there are several options included in this pack, OR you can get a picture of each student with a white chef’s hat, apron and some simple cooking utensils like a wooden spoon and bowl. You can find an inexpensive paper chef’s hat and apron at Party City.

    To bind it: Print out the front cover, laminate the front and back covers, and bind it like a real recipe book. There are several options included in color and BW for the front cover. Or use one of them as a dedication page.

    Steps:
    Discuss culture, heritage, and traditions with the class to build prior knowledge. Bring up the importance of special meals related to our culture or just our favorite meals at special times or holidays during the year. Have students share their favorite meal with classmates.
    Send home the “Dear Parent” letters and recipe template.
    Many parents just sent a copy of their actual recipe instead of having their child complete the template, so I decided to have all the students rewrite their recipe in the template. If they did write the first one out, I checked it over for grammar, spelling, and punctuation mistakes and considered it their rough drafts.
    I reminded the students that this has to be written in their very best handwriting because it’s a gift for our parents.
    For older students, you could have them type it up and even prepare a template in Word for them to use, so they all look uniform.
    Make sure they complete the part about why it’s important to their family.
    Take students through the writing process as needed. Conference with them to add more details, check spelling, grammar, and punctuation.
    Be sure to include the teacher’s favorite recipe as well.
    Make copies of all the recipes and dedication page for the entire class.
    Optional: Take a picture of each student wearing a chef’s hat and apron and holding a kitchen utensil.
    Change each picture to Black and White unless you plan to print them in color.
    Print out the front cover included in this pack OR use each student’s picture for the cover.
    Laminate the front covers and a piece of cardstock for the back cover.
    Use a binding machine to bind all the recipe books. Office Max and Office Depot will also bind them for a small fee for each book.
    Show students the finished product. Let them look at them. Praise their hard work!
    Don’t forget to add one to the class library!

    Happy Cooking!