Author: JSamayoa

  • 5 Fun Activities To Celebrate Presidents’ Day

    5 Fun Activities To Celebrate Presidents’ Day

    The celebration of our nation’s former leaders takes place every year on Presidents’ Day, a holiday that was established in the late 1800s to honor two of our greatest presidents, George Washington and Abraham Lincoln. Though both presidents were born in February, this special holiday honors the life and achievements of both men and serves as a reminder of the importance of their legacies.

    Here are some ideas for celebrating this holiday and a freebie!

    Read a Presidential Book

    Do you want to learn more about our nation’s most famous leaders? Take a trip to the school or public library to sign out some of the most popular books about them! Whether you’re stocking your classroom library or creating a read aloud bin, these books can help you illustrate the lives and accomplishments of our nation’s leaders. Explore the stories of these remarkable individuals and get an up-close look at the history that shaped America!

    • Lincoln and Grace: Why Abraham Lincoln Grew a Beard By Steve Metzger and Ann Kronheimer
    • P is for President By Wendy Cheyette Lewison
    • Abe Lincoln’s Dream by Lane Smith
    • George Washington’s Socks By Elvira Woodruff

    Watch a Video or Two

    Activities for the Classroom

    Use our Presidents Day Activities to jumpstart your student’s learning about the most important men who have served in our country’s highest office. With this educational and engaging President’s Day activity pack, kids will have fun and learn about George Washington, Abraham Lincoln, and the office of the President. From coloring pages, to word searches, to writing exercises, this activity pack has everything to introduce the exciting and interesting history of the United States’ Presidents.

    In this President’s Day Activity Pack, students will learn all about
    ✔George Washington
    ✔Abraham Lincoln
    ✔History of Presidents’ Day
    ✔Becoming a United States President
    ✔A Presidential Job
    Set up Stations Around the Classroom

    Station 1: Read the Passages and Answer Comprehension Questions

    The two individuals introduced in this passage have lived remarkable lives, achieving amazing feats and making an immense impact on the world around them. Students will learn more about these incredible people and answer the comprehension questions for each passage.

    Station 2: Complete the Character Mini-booklet with Timeline Dates.

    Are you looking for an interactive way for your students to learn about these two famous presidents? Complete the character mini-booklets with timeline dates will provide an exciting and engaging way for students to become familiarized with the characters they are reading about. With these mini-booklets, students will be able to visualize each person’s journey in a timeline, providing them with a greater understanding of their life story.

    Station 3: Vocabulary Posters and Activities

    Celebrate Presidents’ Day by introducing six essential vocabulary words related to President’s Day with real-life photo posters. Educate and engage your students while they learn the history and importance of Presidents’ Day. Encourage your students to explore the photo posters, match up the vocabulary words, and use their flip flaps to define the words. These informative posters are the perfect addition to your classroom bulletin board display.

    Station 4: Complete a Flipbooklet

    Let your students engage in a creative and hands-on activity as they explore the historical celebration of Presidents’ Day! From completing the Mystery Flaps to assembling a 6-page Flip Booklet, students will learn all about the history and importance of the holiday. With passages to refer to and the chance to color and decorate their finished product, your students will have an interactive, educational experience that highlights the importance of Presidents’ Day.

    Go on a White House Scavenger Hunt

    Use the freebie below to learn more about the White House. Students can go to the White House Historical Society to hunt online for the answers!
     

    White House Scavenger Hunt for Presidents Day

     Click on the picture above to download the freebie.

    Hope you have a great Presidents’ Day!
  • Classroom Freebies for the Spring Season

    Classroom Freebies for the Spring Season

    I can’t believe that Spring is right around the corner. I know this time of year can be hectic and crazy! So, to help you out, I have put together a list of some great Spring freebies from some upper elementary teacher-authors!

    We all know students get a little antsy around this time of year. Here are some great freebies to use for early finishers, when you have a substitute, during stations, or for something fun to do in a Spring-is-in-the-air-kind-of-way!
    I’ve joined with a few TpT teacher-author friends to share some awesome Spring FREEBIES just for you. These are perfect to use before or as an activity right after Spring break. Either way, there’s something here for everyone!

    Click on each image below to see the resource. Be sure to check out all the resources that each teacher-author has for your classroom needs. 

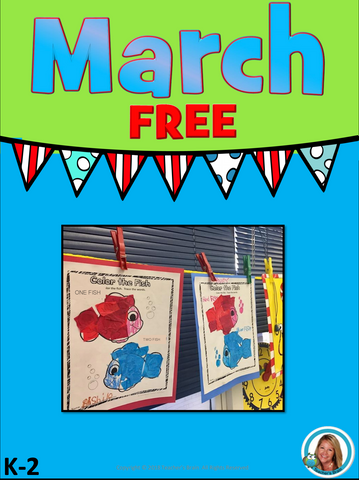
    March Activities for use with Reading Celebrations From Teacher’s Brain-Cindy Martin

    Looking for some fun freebies to help your class celebrate reading? I have you covered with some of my favorites from my March Literacy and Math Pack!

     What is in this resource?

    Pg. 1 Cover

    Pg. 2 March Resources

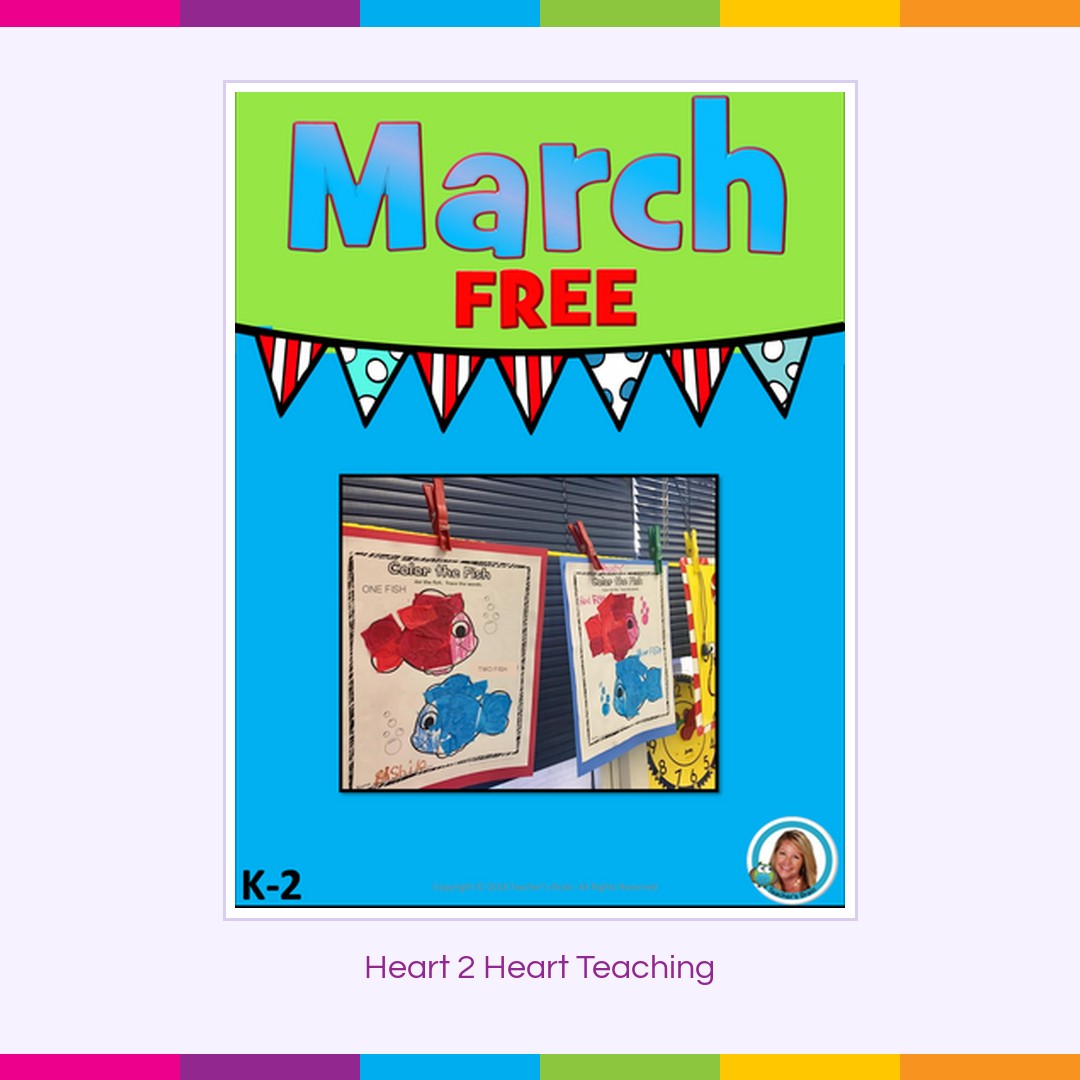
    Pg. 3 One Fish, Two Fish

    Pg. 4 Reading Pledge

    Pg. 5 Reading Award

    Pg. 6 Reading Book Marks


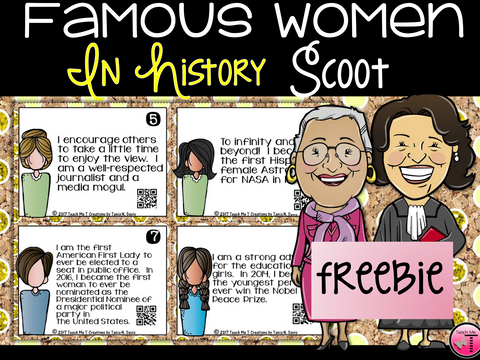
    Women in History Scoot or Task Cards With QR Codes FREEBIE From Teach Me T

    The Famous Women in History Scoot FREEBIE activity consists of 6 task cards. Each card features a clue, or description, of a famous woman in American history. Students can use their prior knowledge about these amazing women, or use this as an opportunity to conduct research about their contributions to US History.

    With this resource, students will have the opportunity to learn about famous women that paved the way for others (Trailblazers), and about women that are making history today (Living Legends)! Don’t reserve the contributions of women for the month of March. Share the achievements of these (and other) amazing women every day!
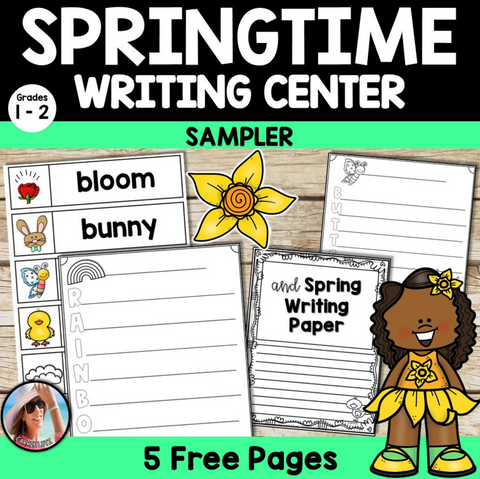
    Spring Writing Activities: Spring Writing Center Free From Carrie Lutz

    Spring is a great time to write! Your students will be able to get super CREATIVE with these Spring Acrostic Poem Templates, Spring Writing Papers and Spring Words! These will make a terrific writing center, all Spring long!
    Here is where the fun starts:

    2 Acrostic Poem Templates

    ☂ Bloom

    ☂Rainbow

    Spring Writing Paper

    5 Spring Word Cards

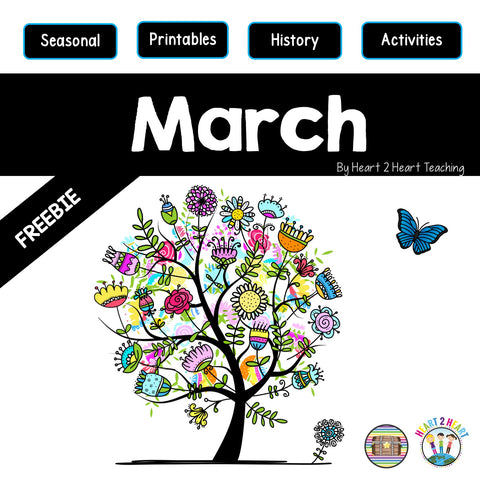
    March Freebie: Butterfly Life Cycle From Heart 2 Heart Teaching

    Hooray for March! For a sneak peek inside our March Activities Bundle check out this Butterfly Life Cycle Freebie!
     
    Students can read all about the life cycle of a butterfly and complete the diagram. If you like this sample, please check out our March Activity Bundle is made up of 6 mini-units to celebrate the month of March.
     
    These monthly bundles are designed with teachers in mind to include topics related to social studies, science, and holidays that are specifically related to the month of March.

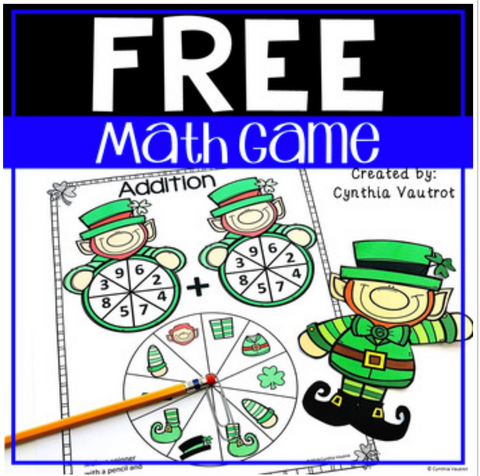
    Leprechaun Math Game | St. Patrick’s Day Math Game From Cynthia Vautrot-My Kind of Teaching

    This FREE Leprechaun Math Game is perfect to use in your classroom for St. Patrick’s Day. This game included two versions.

    1. Addition Fact Fluency Game
    2. Multiplication Fact Fluency Game

    This is a great activity to use during the month of March to celebrate St. Patrick’s Day. Just print and go!

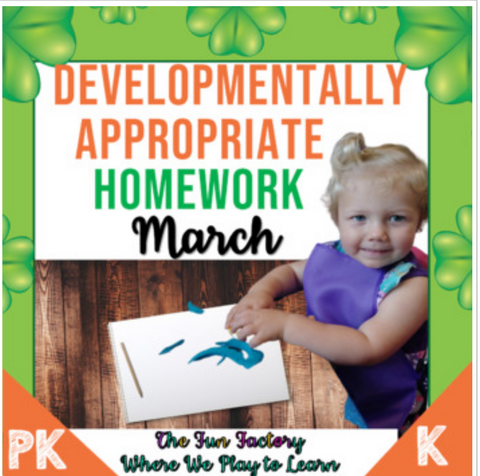
    Editable Calendar for Homework | March 2020 Calendar Printable From The Fun Factory


    FREE, PRINT and GO and now COMPLETELY EDITABLE!! PreK and Kindergarten students and parents love these interactive calendars.
    Young children need active, participatory experiences that use their senses. They need to touch, feel, and be active. These calendars use Developmentally Appropriate Practices and encourage parents to become involved with their children in specific ways.

    • There are 2 versions. One version is ready to print and hand out! The other version is COMPLETELY EDITABLE for you to be able to add your own ideas and/or note to parents.
    • I love feedback so please let me know you like these calendars so I will know to keep making them available!

    While you’re here, sign up for the Heart 2 Heart Teachers Club. Teachers put their heart into all they do! (and so do we!) I promise to send you only teaching tips, free resources, and information that will make your teacher-life easier.

  • 5 Activities to Learn About Rocks and Minerals

    5 Activities to Learn About Rocks and Minerals

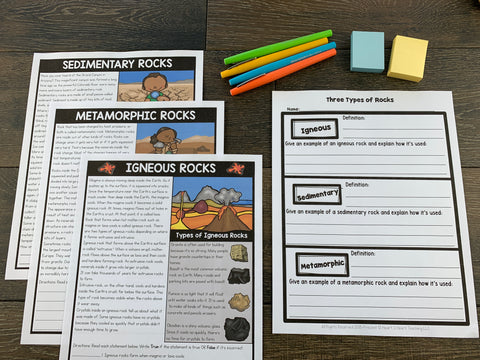
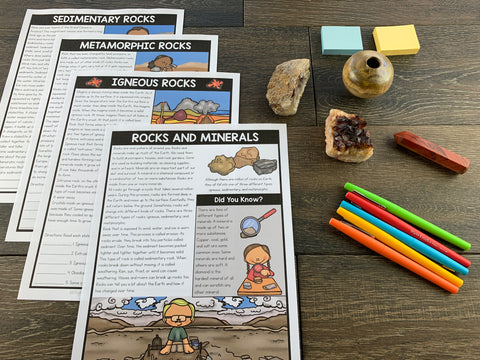
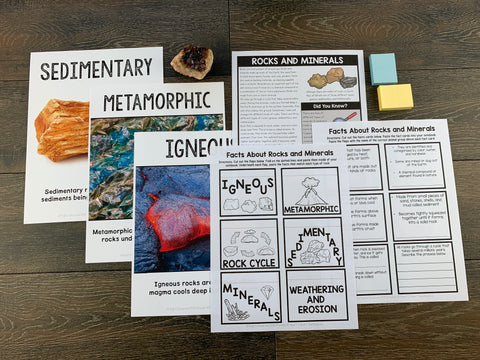
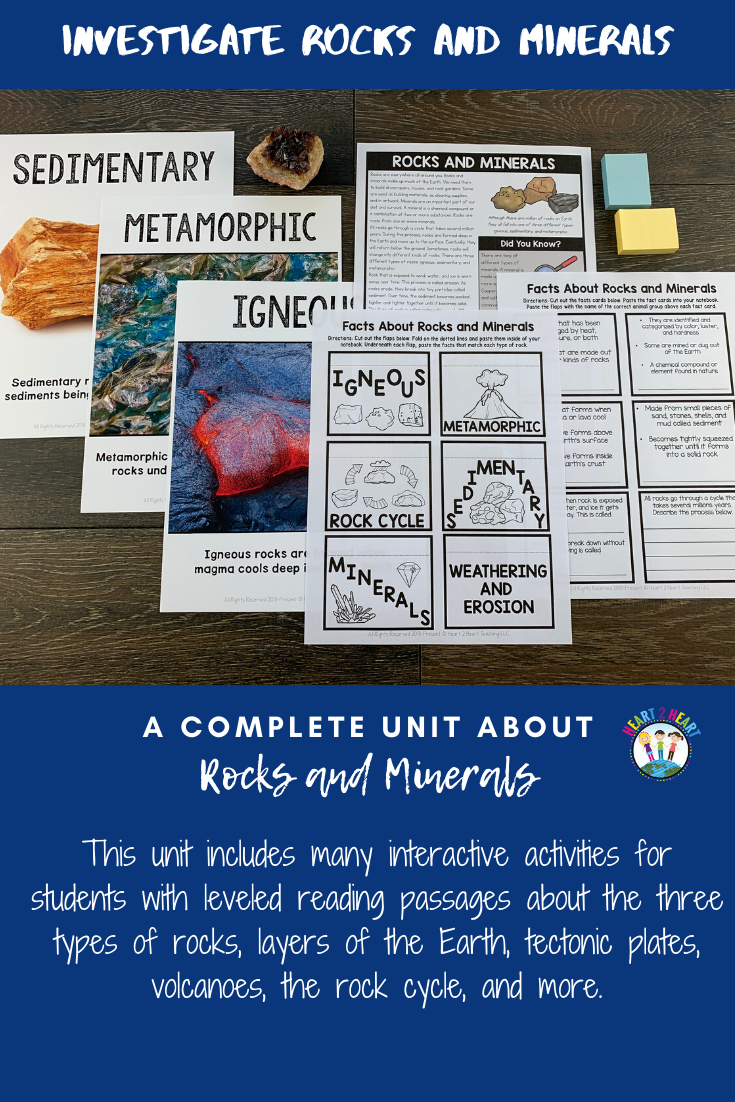
    Investigations in Science is such an important skill for upper elementary students. In this Rocks and Minerals Unit, students will learn and complete a variety of activities to help them fully understand and investigate rocks and minerals. Let’s take a closer look at five activities included in this unit. 

    1. Leveled Passages About Three Types of Rocks

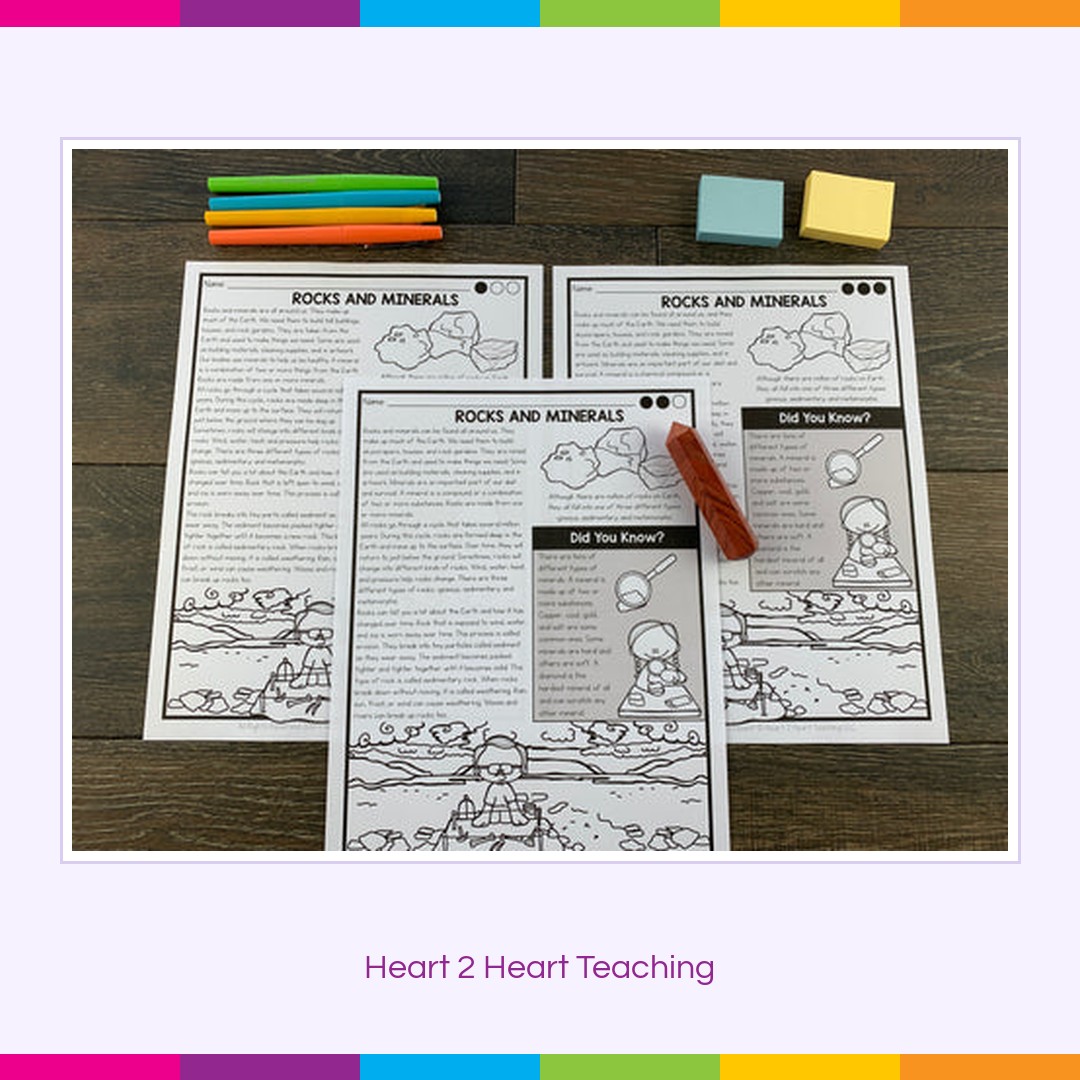
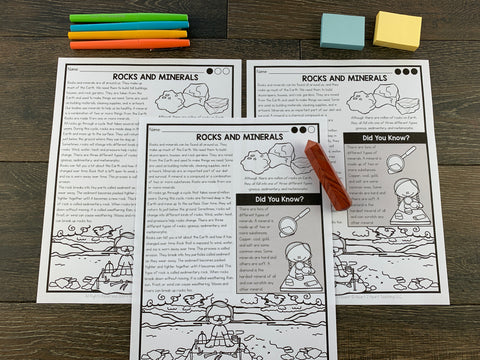
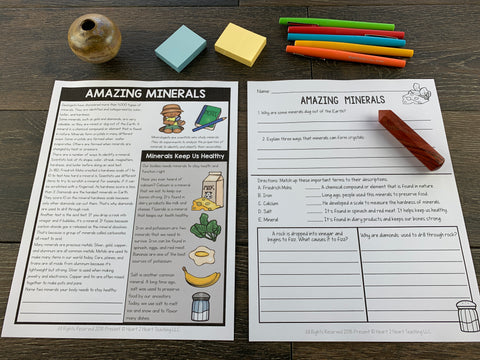
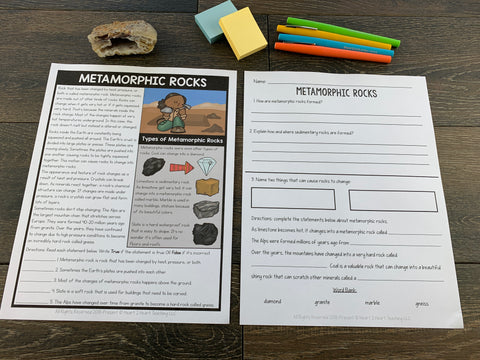
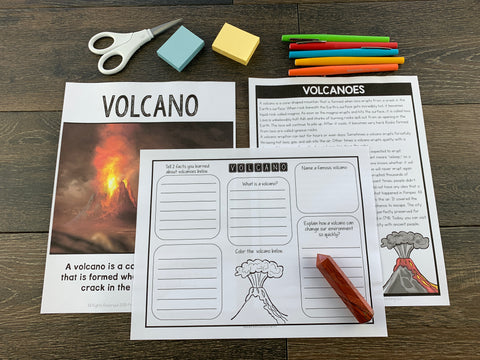
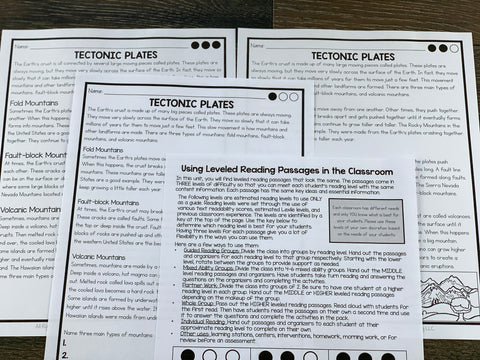
    This unit is loaded with leveled reading passages to read about the different types of rocks and minerals. In this unit, you will find 10 leveled reading passages that look the same. The passages come in THREE levels of difficulty so that you can meet each student’s reading level with the same content information. Each passage has the same key ideas and essential information. 

    Read the leveled reading passages about rocks and minerals and complete the organizers. Each of the passages has comprehension questions to check for understanding. Watch the videos and complete the various hands-on activities in this pack to reinforce learning. These activities work well in small groups, partners, or stations.

    This unit includes many interactive activities and learning opportunities for students with leveled reading passages that focus on:

    • Rocks and minerals
    • Igneous Rock
    • Sedimentary Rock
    • Metamorphic Rock
    • Amazing Minerals
    • Colorful Crystals
    • Layers of the Earth
    • Tectonic Plates
    • Volcanoes
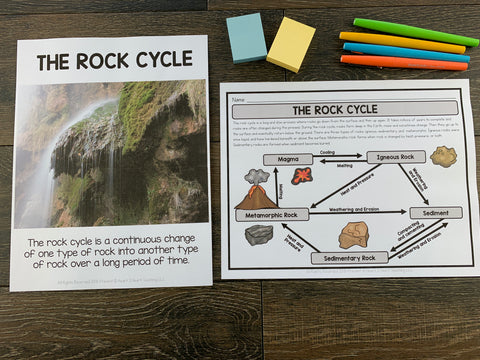
    • The Rock Cycle


    2. Be A Geologist! 

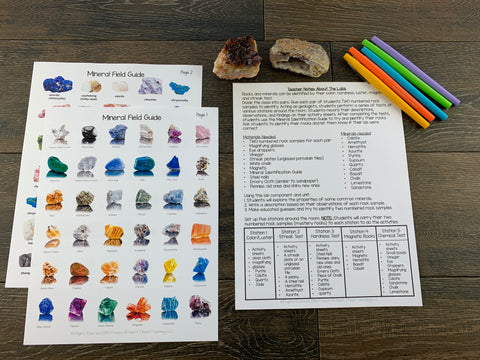
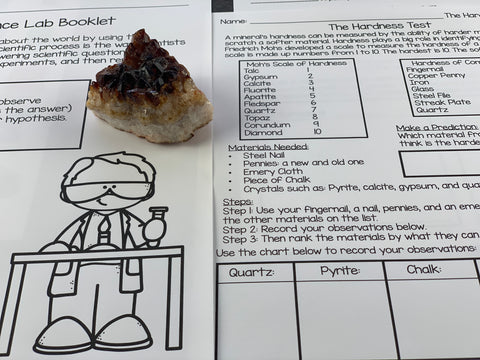
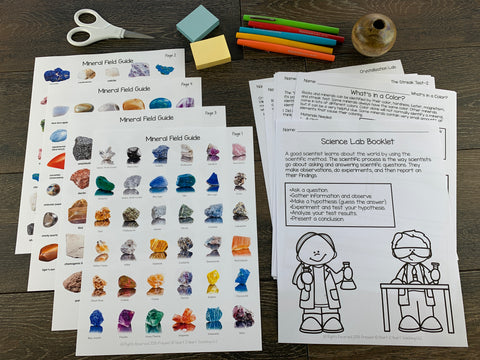
    This unit has 8 labs where students work as geologists to identify two mystery minerals. NOTE: Extra supplies are needed to complete the labs. 

    Rocks and minerals can be identified by their color, hardness, luster, magnetism, and streak test.

    Divide the class into pairs. Give each pair of students TWO numbered rock samples to identify. Acting as geologists, students perform a series of tests at various stations around the room. Students record their descriptions, observations, and findings on their activity sheets. After completing the tests, students use the Mineral Identification Guide to try and identify their rocks. Ask students to identify their rocks and let them know if their identifications are correct.

    Using this lab component and unit:

    1. Students will explore the properties of some common minerals.

    2. Write a description based on their observations of each rock sample.

    3. Make educated guesses and try to identify two numbered rock samples.

    3. Dive Deep With Vocabulary

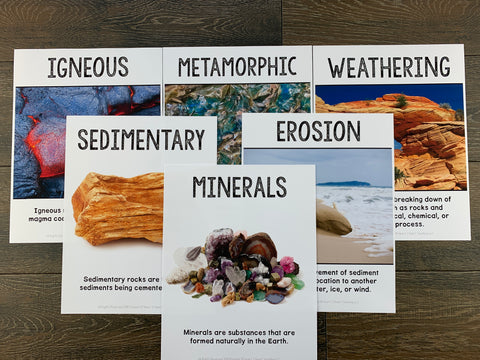
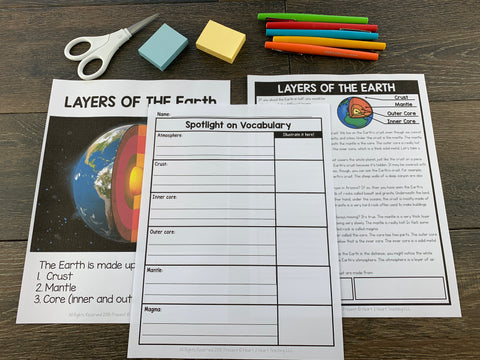
    Introduce the vocabulary words with the real-life photo posters included. You could post these posters around the classroom and have students travel around to match up and define the words in their flip flaps or spotlight on the vocabulary page. These inksaver posters make an excellent bulletin board display in a snap.

    4. Lots of Hands-on Activities

    Students can complete the following activities:

    • Three Types of Rocks Pocket Sort
    • Three short videos on safeshare.tv
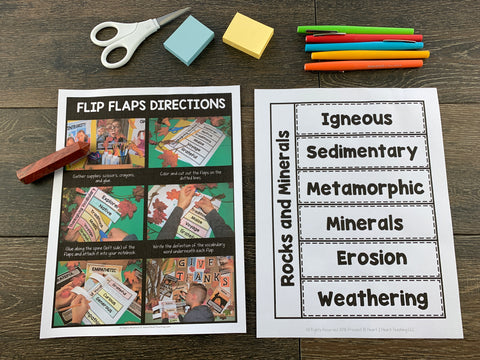
    • Facts About Rocks and Mineral Notebook Flaps
    • Label The Rock Cycle
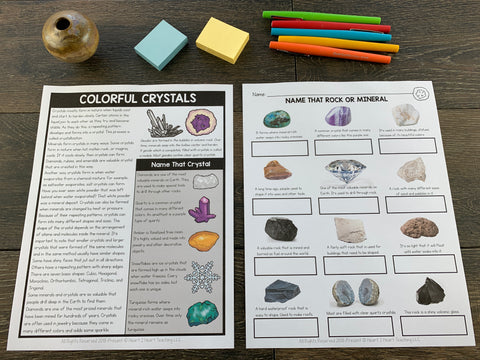
    • Name That Rock or Mineral Activity
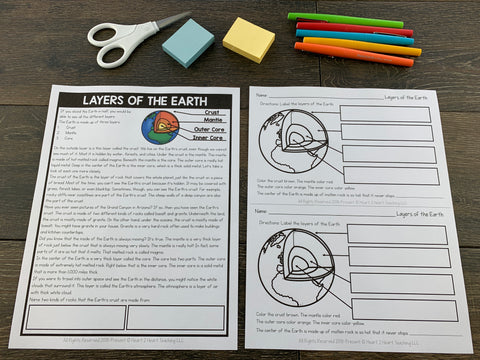
    • Label and Color the Layers of the Earth
    • Layers of the Earth Flip Flaps
    • How are Mountains Formed (Tectonic Plates)

    Flip Booklet (5 pages)Students flip for flipbooks! They can build the flipbook page by page. I usually have them do one page at each center or station. They can use the articles as a reference source to help them complete the pages of the flip-up. Lastly, they cut, color, and assemble the booklet. Flip-up books can be glued or stapled inside their interactive notebooks.

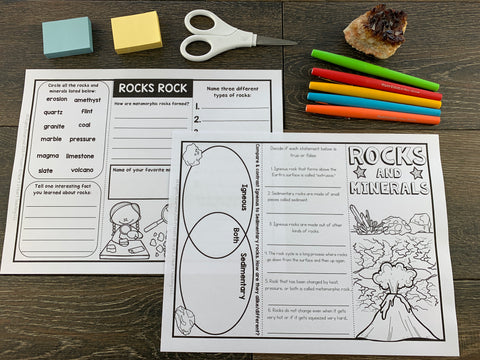
    5. Rocks and Minerals Rock! Brochure Activity

    Creating a brochure or tri-fold booklet is a fantastic way to wrap up the unit. Copy the two pages back to back. Have students answer the question on both sides of the tri-fold booklet. Next, they can color them. Then have the students cut along the outside rectangle border. Fold both of the flaps on the dotted lines so that it looks like a brochure. 

    Teacher Directions & Pacing Calendar Are Included


    Plus the following teacher timesavers are included:

    • Three Short Prescreened Videos
    • Mineral Field Guide (4-pages)
    • Unit Test (Editable)
    • Answer Keys

    The Unit’s Essential Questions:

    • How are rocks changed?

    • Explain the difference between erosion and weathering.

    • What are the three types of rocks?

    • What is sediment?

    • How are rocks and minerals related?

    • How is an igneous rock formed?

    • Name and describe three types of igneous rock.

    • How is a sedimentary rock formed?

    • Name and describe three types of sedimentary rock.

    • How is a metamorphic rock formed?

    • Name and describe three types of metamorphic rock.

    • Explain the rock cycle.

    • What is a mineral?

    • How are minerals helpful?

    • How are crystals formed?

    • What are the layers of the Earth?

    • How are mountains formed?

    • Name and describe three types of mountains.

    • What is a volcano?

    • How can a volcano affect our environment?

    Pin it to Save it for Later!

    Click Here to See it in Our Shop!

  • 12 Awesome Freebies for the Christmas Season

    12 Awesome Freebies for the Christmas Season

    I can’t believe that Christmas is right around the corner. I know the holiday season can be hectic and crazy! So, to help you out, I have put together a list of some great holiday freebies from some upper elementary teacher-authors to keep your students on task for the season!

    We all know students get a little antsy around the holiday season. Here are some great freebies to use for early finishers, when you have a substitute, during stations, or for something fun to do in a holiday-kind-of-way!
    I’ve joined with a few TpT teacher-author friends to share some Christmas and winter FREEBIES just for you. These are perfect for before break or to use as an activity right after break. Either way, there’s something here for everyone!
    Click on the image to see the resource, and be sure to check out the other resources each teacher-author has for your classroom needs. 

    1. Christmas Activities: 3-D Tree By Teacher’s Brain

    Get this fun and easy 3D tree craft to use with your students! Use to teach 3D art or to decorate your room during the holidays. There is also a writing printable. 

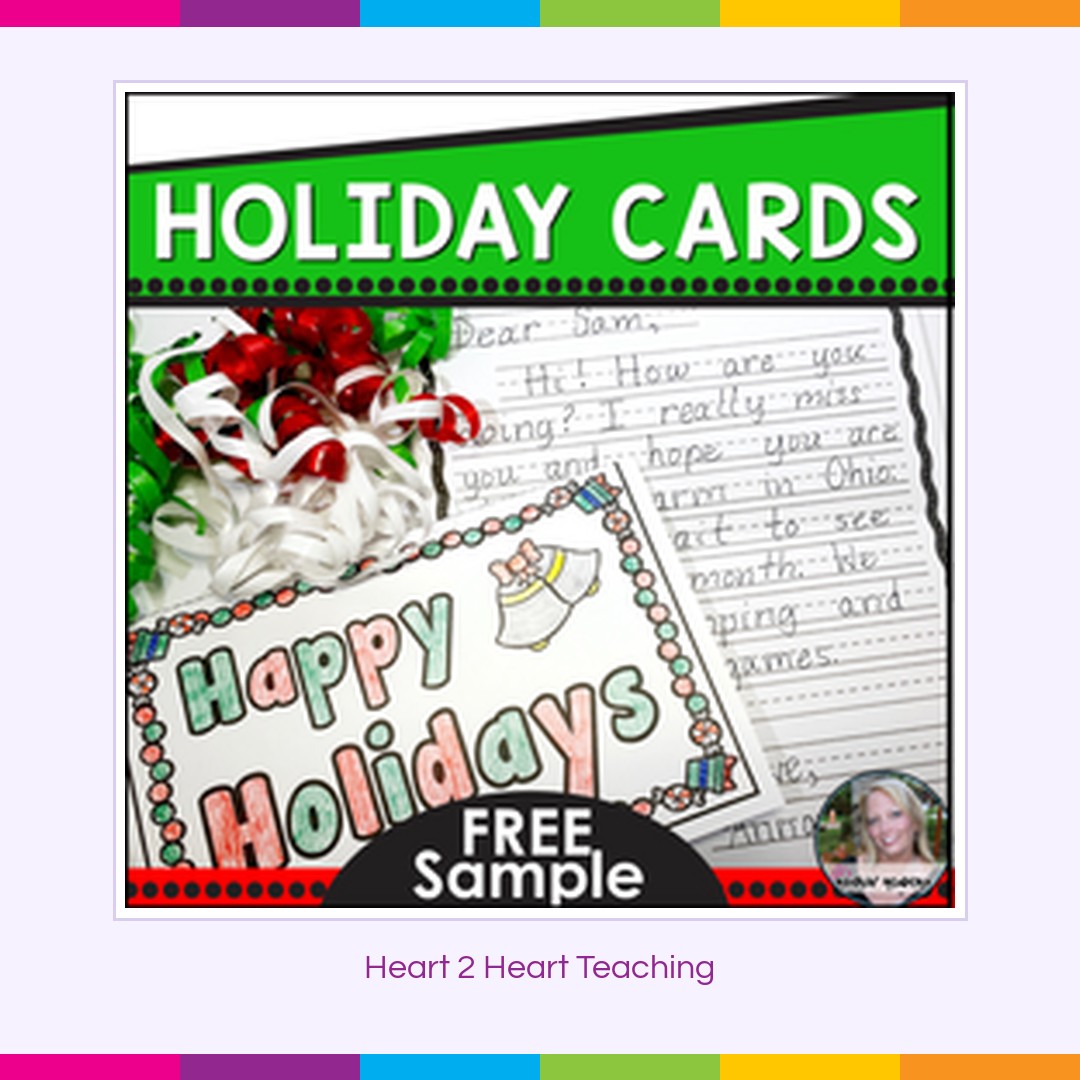
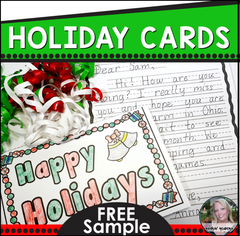
    2. Holiday Cards By JD Rockin Readers

    This Happy Holidays Card is a great way for students to practice their friendly letter writing while also giving joy and happiness to others! Use this during a writing center or a kindness activity. Simply print front to back, color, write, and give to friends, family, or teachers!

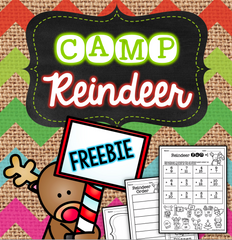
    3. Christmas Activity: Reindeer ABC Order Freebie By Busy Me Plus Three

    This is a freebie includes three no prep worksheets: One is a cut and paste where the students put the reindeer names in alphabetical order. The next is a reindeer writing page. And the last is a fun addition page where the students use an algorithm to find the answer and color in the sum at the bottom.

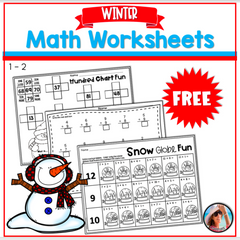
    4. Winter Math Worksheets Freebie By Carrie Lutz

    Having a few engaging resources ready for your students to practice basic math is a must when you return from winter break. Here are 3 fun worksheets that your students will enjoy doing.

    • Addition Facts to 18
    • Solve and Color Snow Globes
    • Hundreds Chart Fun

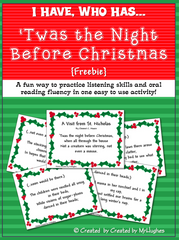
    5. I Have, Who Has T’was the Night Before Christmas by Created by MrHughes

    Who hasn’t heard the classic poem “A Visit from St. Nicholas” by Clement C. Moore? This fun and interactive activity will have your students begging to play again and again as they try to beat their best time by reading fluently and more quickly each time. 

    The poem has been divided into 28 cards in an “I have, Who Has” fashion. Students will have to listen carefully as they only get the 3 or 4 words in the poem ahead of their lines.

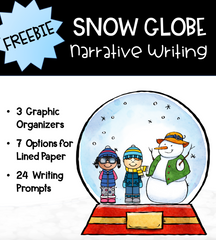
    6. Snow Globe Narrative Writing Freebie by It All Started With Flubber

     Winter writing will be a breeze with this narrative writing resource! We’ve included these components to make this a print-and-go resource that your students will love:

    • 2 cute snow globe patterns (color and black/white)
    • 3 options for graphic organizers to guide students through possible narrative storylines
    • 24 handy writing prompts (plus a blank page if you’d like to make your own)
    • fun paper to use for publishing student writing!

    Pin it for Later!

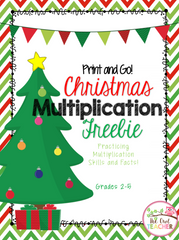
     7. Free Christmas Multiplication Activities by The Owl Teacher

    Add some festivity and holiday cheer to your classroom with this multiplication freebie! The worksheets included in this download all have a fun holiday theme, right down to the questions asked! Your students will have a ball getting in some extra practice around this special time of year!

    This Freebie Includes:

    ✓ Multiplication facts for 3, 4, 5, 6, 7, 8, and 9

    ✓ Word problems

    ✓ Arrays

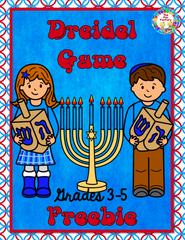
     8. Hanukkah Free Dreidel Game by The Fun Factory

    This FREE Hanukkah Dreidel Game is perfect for your 3rd, 4th, or 5th grade students. You have a choice of 2 Dreidel patterns, instructions for how to play a Dreidel game and photos of finished Dreidels!

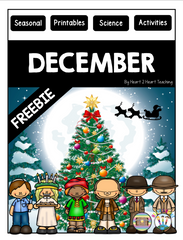
    9. Who was Saint Nicolas? Flip Flap Activity by Heart 2 Heart Teaching

    Happy Holidays! For a sneak peek inside our Treasure Each Month: December Activity Bundle check out this Christmas Sample Freebie! Students read about Saint Nicolas and then use this cut and sort activity to show what they know!

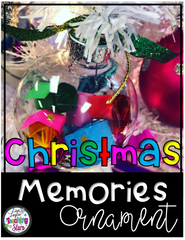
    10. Christmas Memories Ornament by Lisa Taylor Teaching The Stars

    Are you needing a fun easy ornament for holiday season? Christmas Memories Ornaments are a great keepsake for parents and students. Memory questions stems are included.

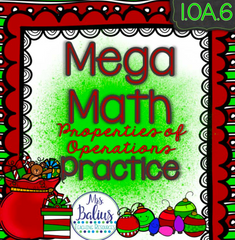
    11. Making Ten to Add Holiday Freebie by Mrs. Balius

    Making Ten to Add: Holiday FREEBIE Edition gives your students three pages of practice with the math strategy “Making Ten to Add”. Students need opportunities to work with all new math skills. This particular strategy is very important for your students to master in order to understand higher level math concepts.

    12. Let it Snow Freebie By Heart 2 Heart Teaching

    Happy New Year! For a sneak peek inside our Treasure Each Month: January Activity Bundle check out this Let it Snow Sample Freebie! Students read all about snow, answer questions on the organizer and complete the life cycle of a snowflake diagram to show what they know!

    Please consider leave feedback after you download and use a resource that you’ve loved. Perhaps you’ll find a new holiday favorite activity that you’ll use year after year. 

    Pin it for later!

    I hope you’ve enjoyed these free holiday activities for the classroom. I know the holiday season can be stressful, so any extra activities to keep the students busy is a bonus! If you are looking for more Christmas or Winter activities, be sure to check out my Teachers Pay Teachers shop!

    Warmest thoughts and best wishes for a joyful holiday season. I hope you have a fabulous holiday surrounded by family and friends, and wish you all the best for the new year!


  • How to Use Gratitude Journals in the Classroom

    How to Use Gratitude Journals in the Classroom

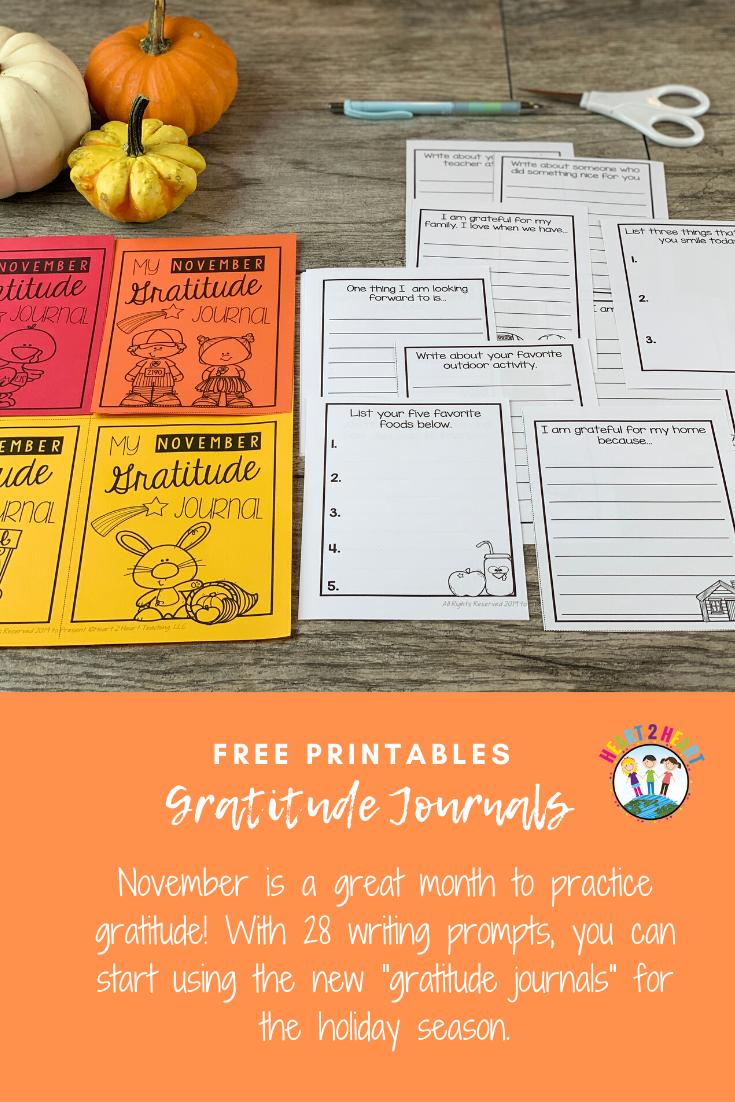
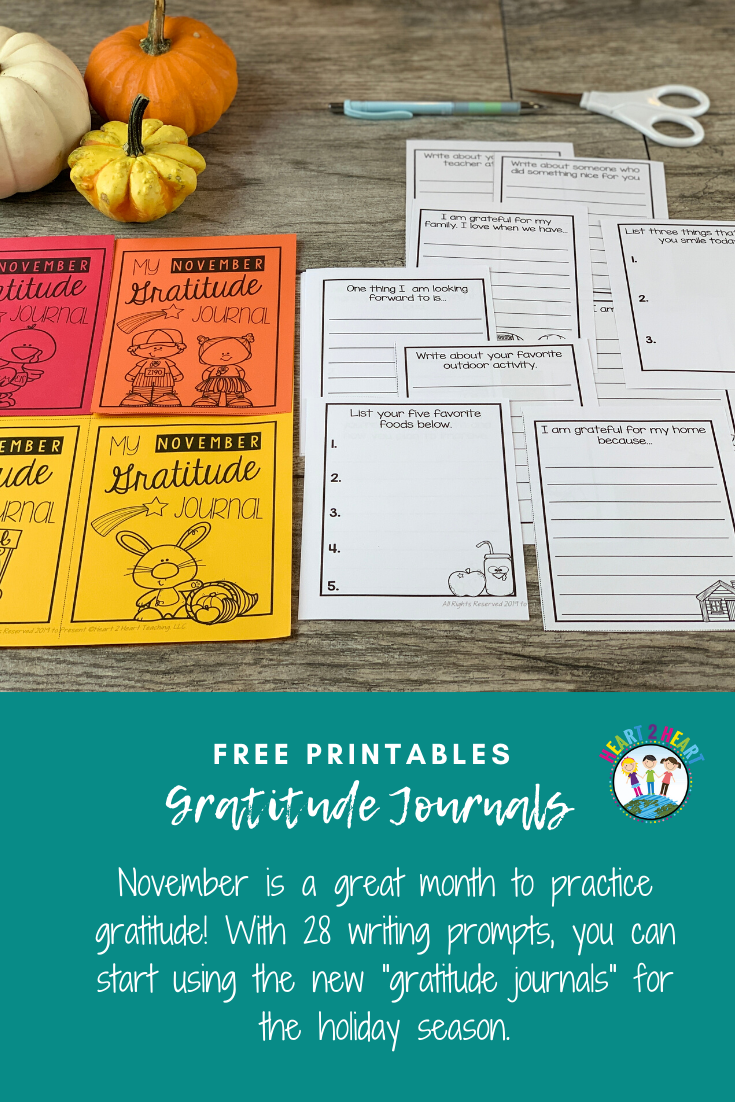
    November is a great month to practice gratitude! Starting the simple habit of reflecting on what you’re grateful for at a young age can lead to a happier life. All it takes is a few minutes each day and a gratitude journal for students to record their thoughts. Keep reading for some tips to help you start gratitude journaling with your class. 

    The Benefits of Keeping a Gratitude Journal

    There are many benefits to keeping a gratitude journal. Some of the benefits are creating a daily habit of writing, instilling a sense of calm, and developing a positive mindset. With practice, students will be more mindful of all the hidden blessings in their life to be thankful for. Writing in their journals each day will help them focus on the things that bring out the happiest version of themselves.

    Make It a Habit

    Finding the time to write each day may seem like another thing to do each day, but if you make it part of the daily routine then it’ll become much easier. For the best results, try attaching it to an existing routine. For example, add it to the end of the school day as a way to reflect on their day. Don’t have time at the end of the day, then add it as a transition activity between two classes.

    Set a timer for five minutes. This can help students to limit the time spent thinking. It also gives them a set period of time to focus their efforts on a small but meaningful task. The goal is to get into the routine of writing in their gratitude journal on a regular basis so it becomes a habit. 

    Things to Write About

    You might want to have students write down one thing they were thankful for each day. However, I like the idea of giving students a writing prompt to get them into the gratitude mindset. 

    One of the best parts of gratitude journaling is that there are no rules. You can try new things or ideas at any time.

    Here are some other ideas:

      • For students who love to doodle, have them add a quick drawing to their writing.
      • Have students bring in a photo and write about a special memory.
      • Write a thank-you note to yourself.
      • Write a thank-you note to a friend or relative.
      • Take the students on a nature hunt and make a list of things they are grateful for. 
      • Have students bring in a photo and write about their favorite vacation.

    Download Our Free Gratitude Journal for November

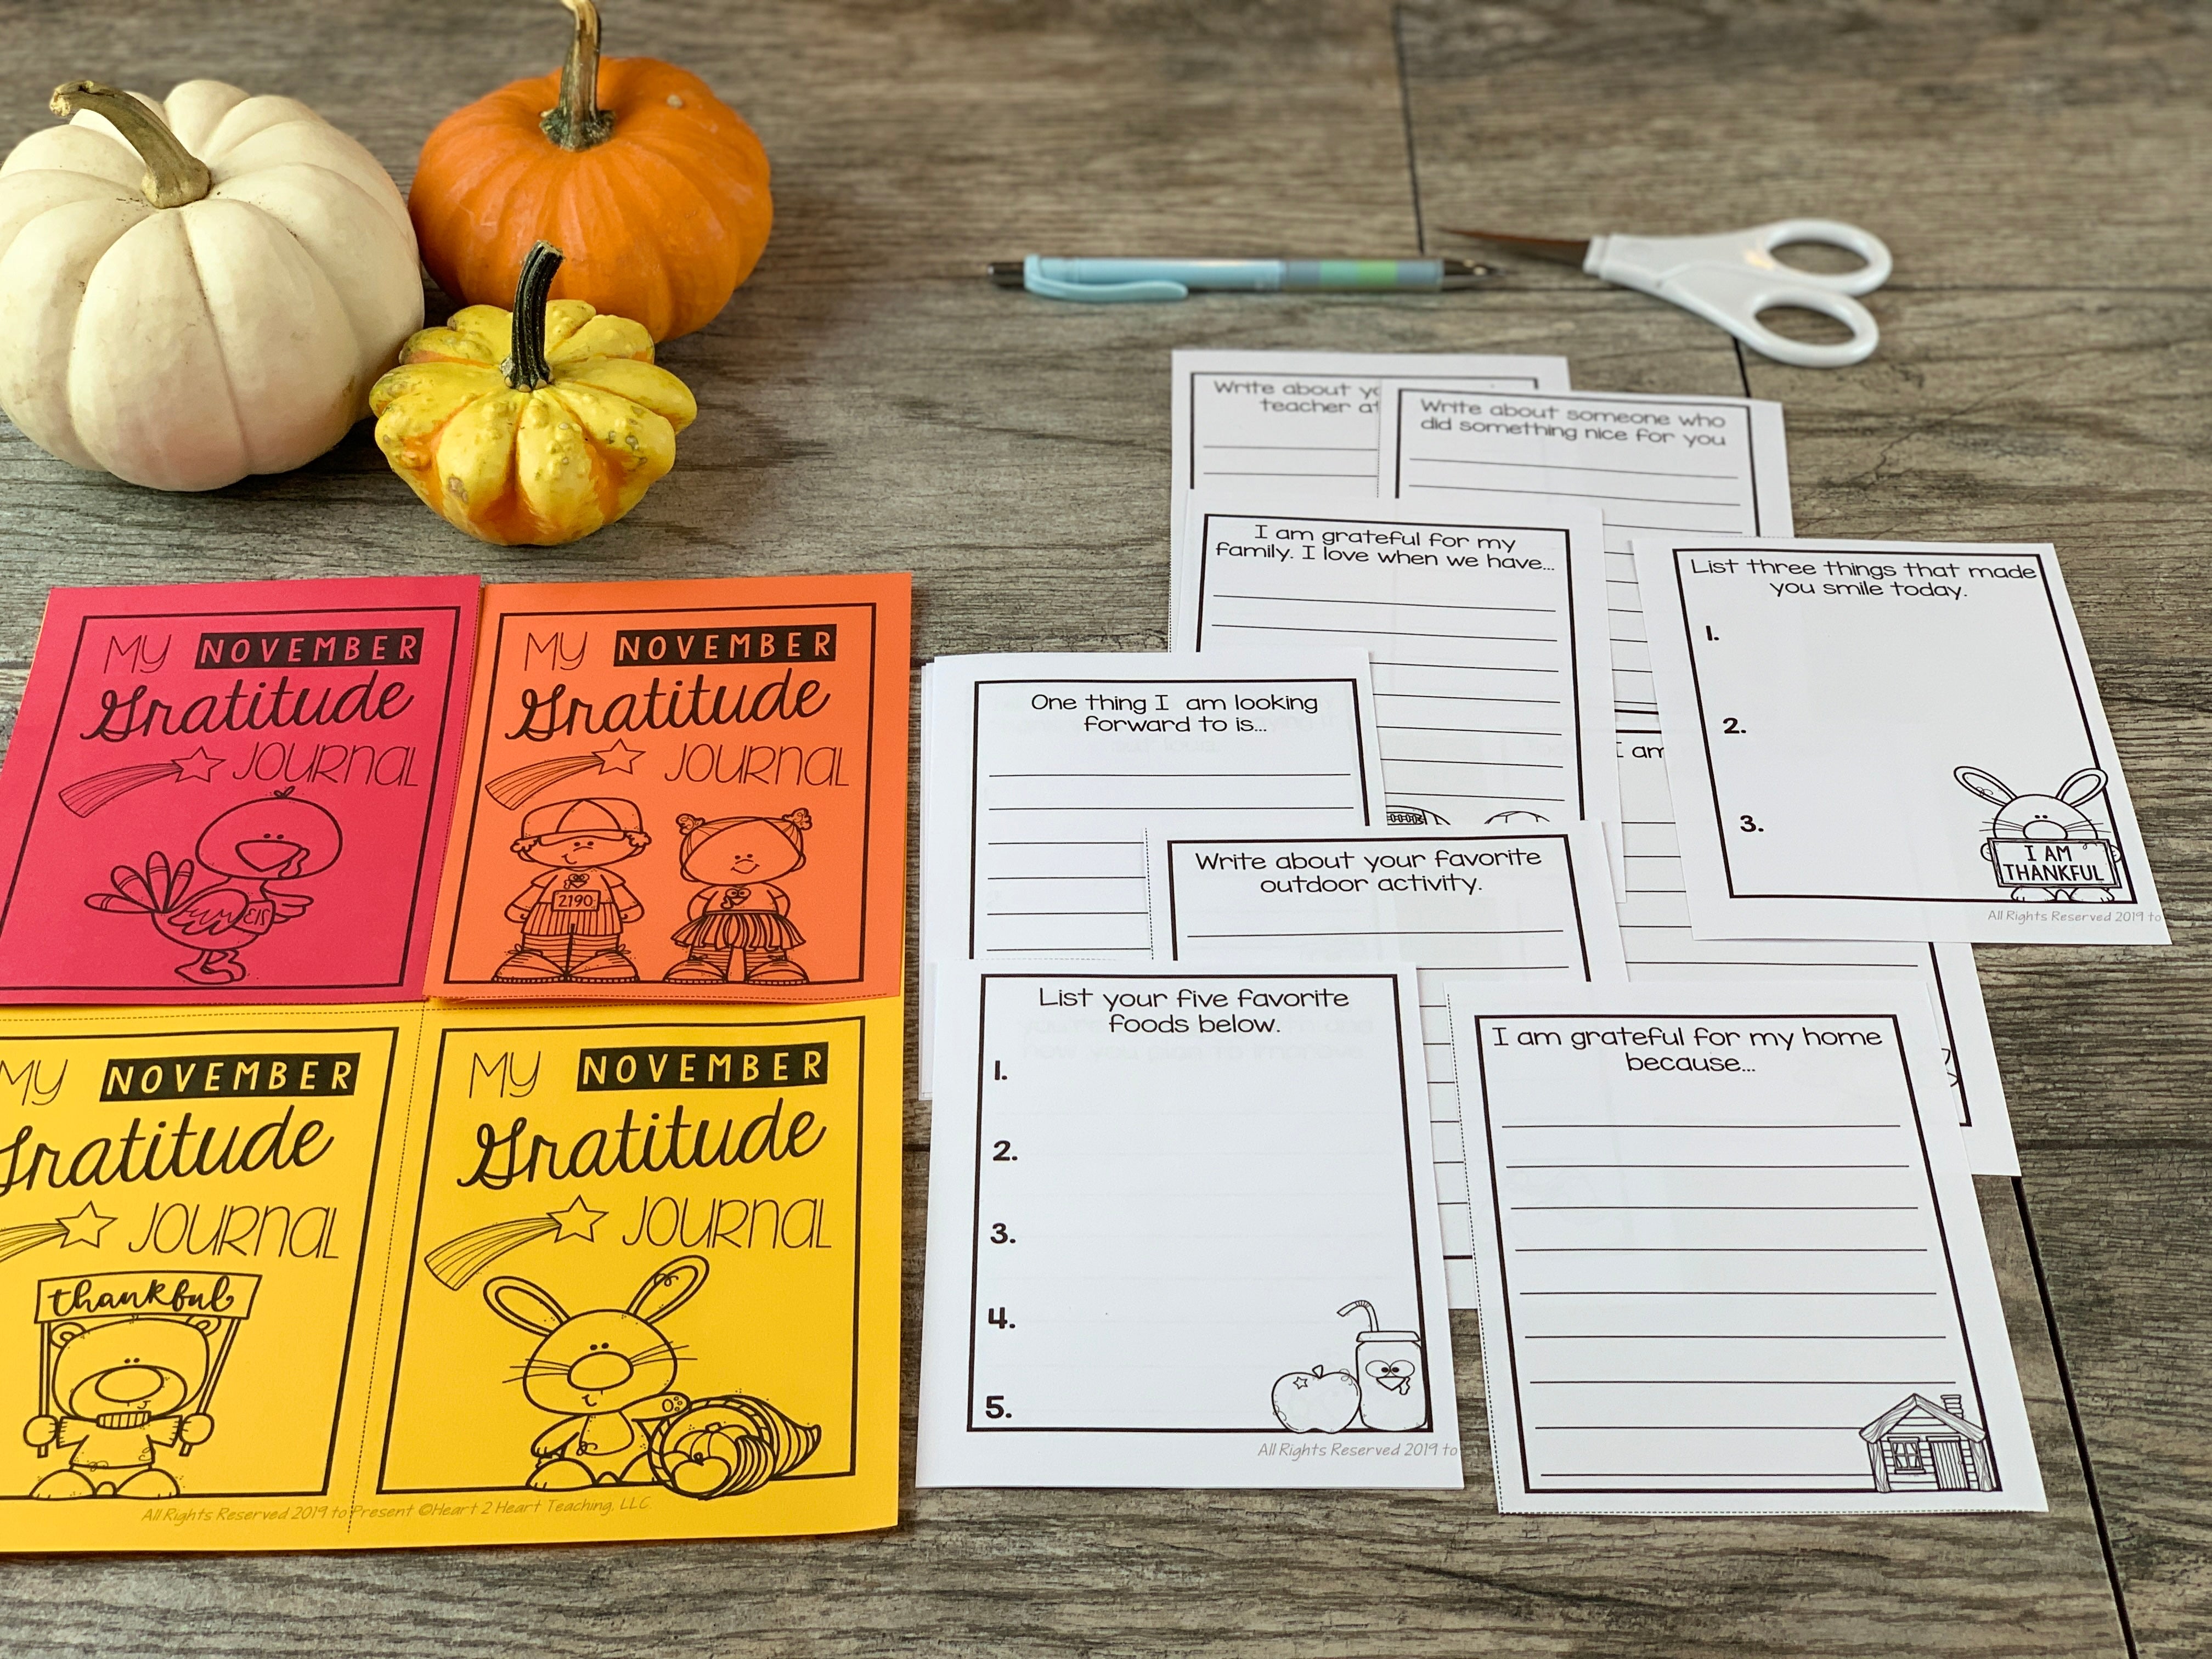
    Download this FREE gratitude journal with prompts to get started journaling today. With 28 writing prompts, you can start using the new “gratitude journals” on November 1st. There’s also an extra page with 4 writing prompts just about Thanksgiving if you’d like to try it for the holiday season. 

    Steps for Setting up a Gratitude Journal

    1. Print the cover page on colored paper and let students choose one for the cover.

    2. Have students cut the pages on the dotted lines—into four squares and stack them together to form a booklet.

    3. Staple the gratitude journals at the top to secure them in place.

    4. Establish a set time daily to have students write in their journals.

    Just remember it takes time to create a new habit, but the positive effects of gratitude journaling are worth the time and effort. 

  • Eight Activities to Learn About the Middle Ages

    Eight Activities to Learn About the Middle Ages

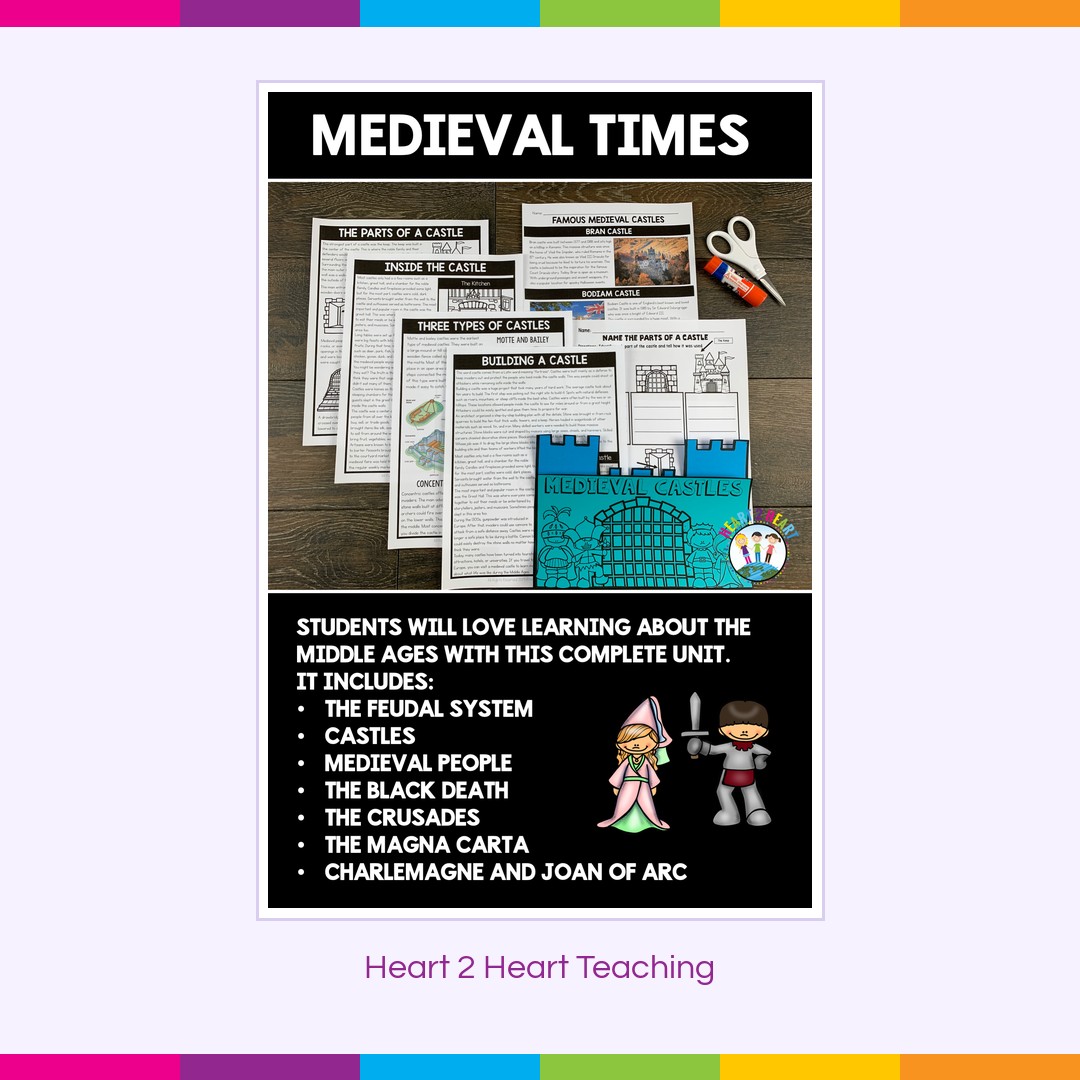
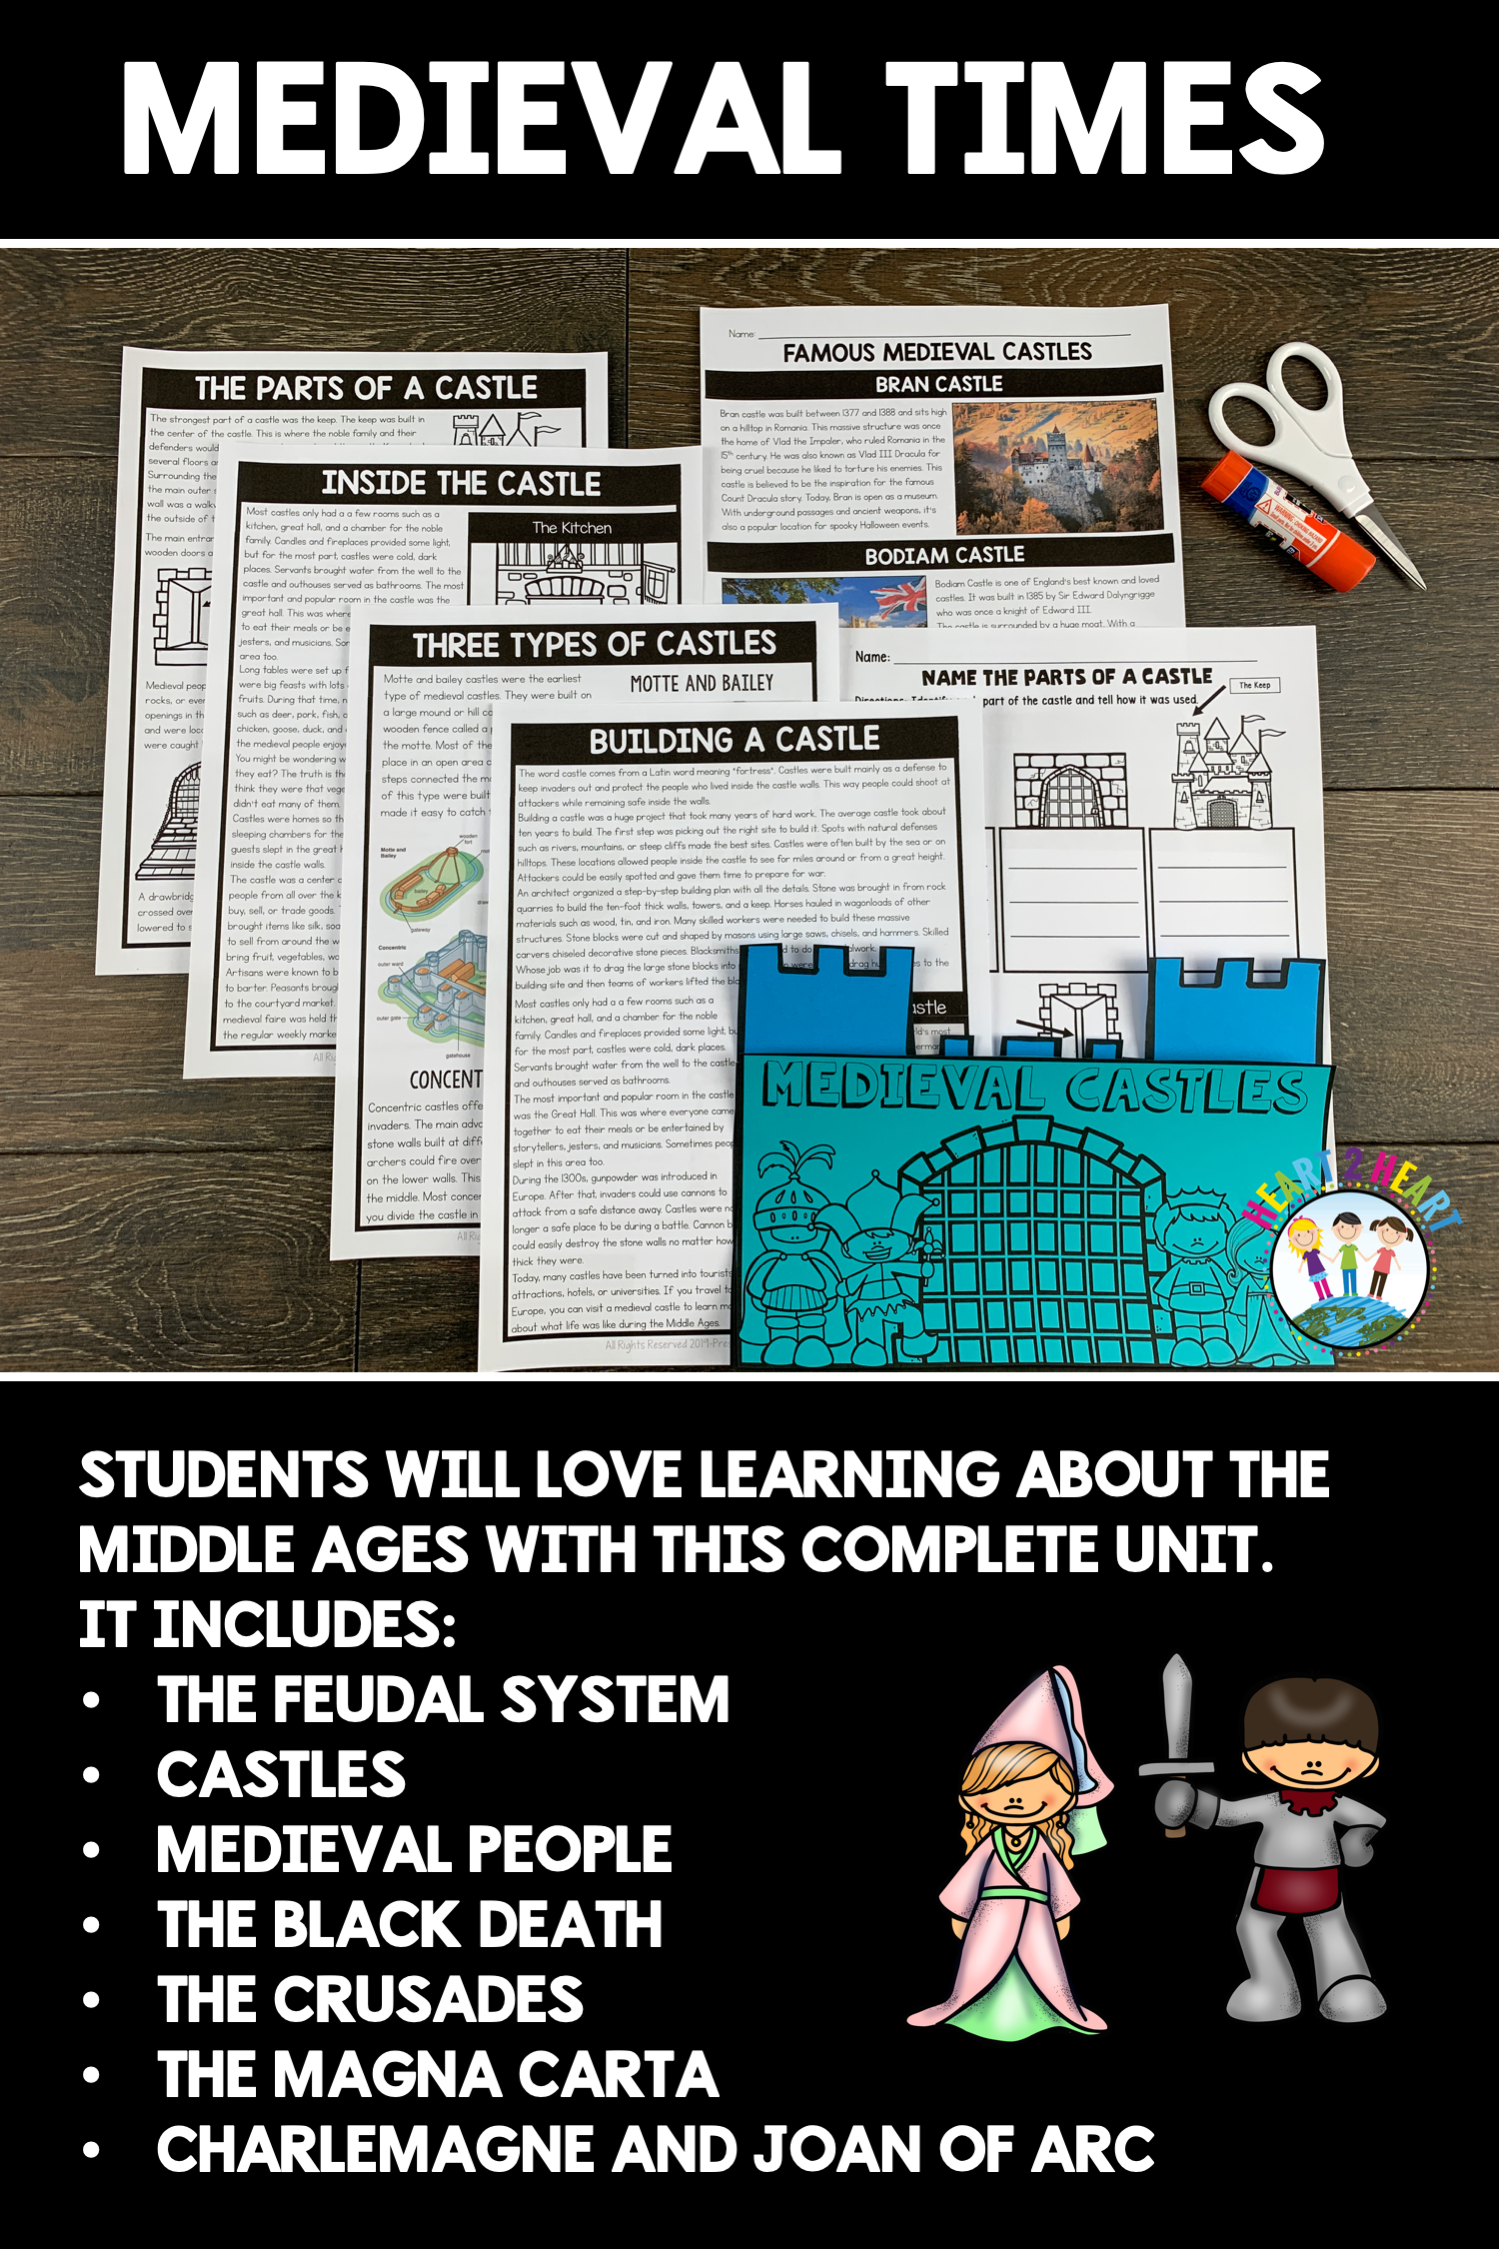
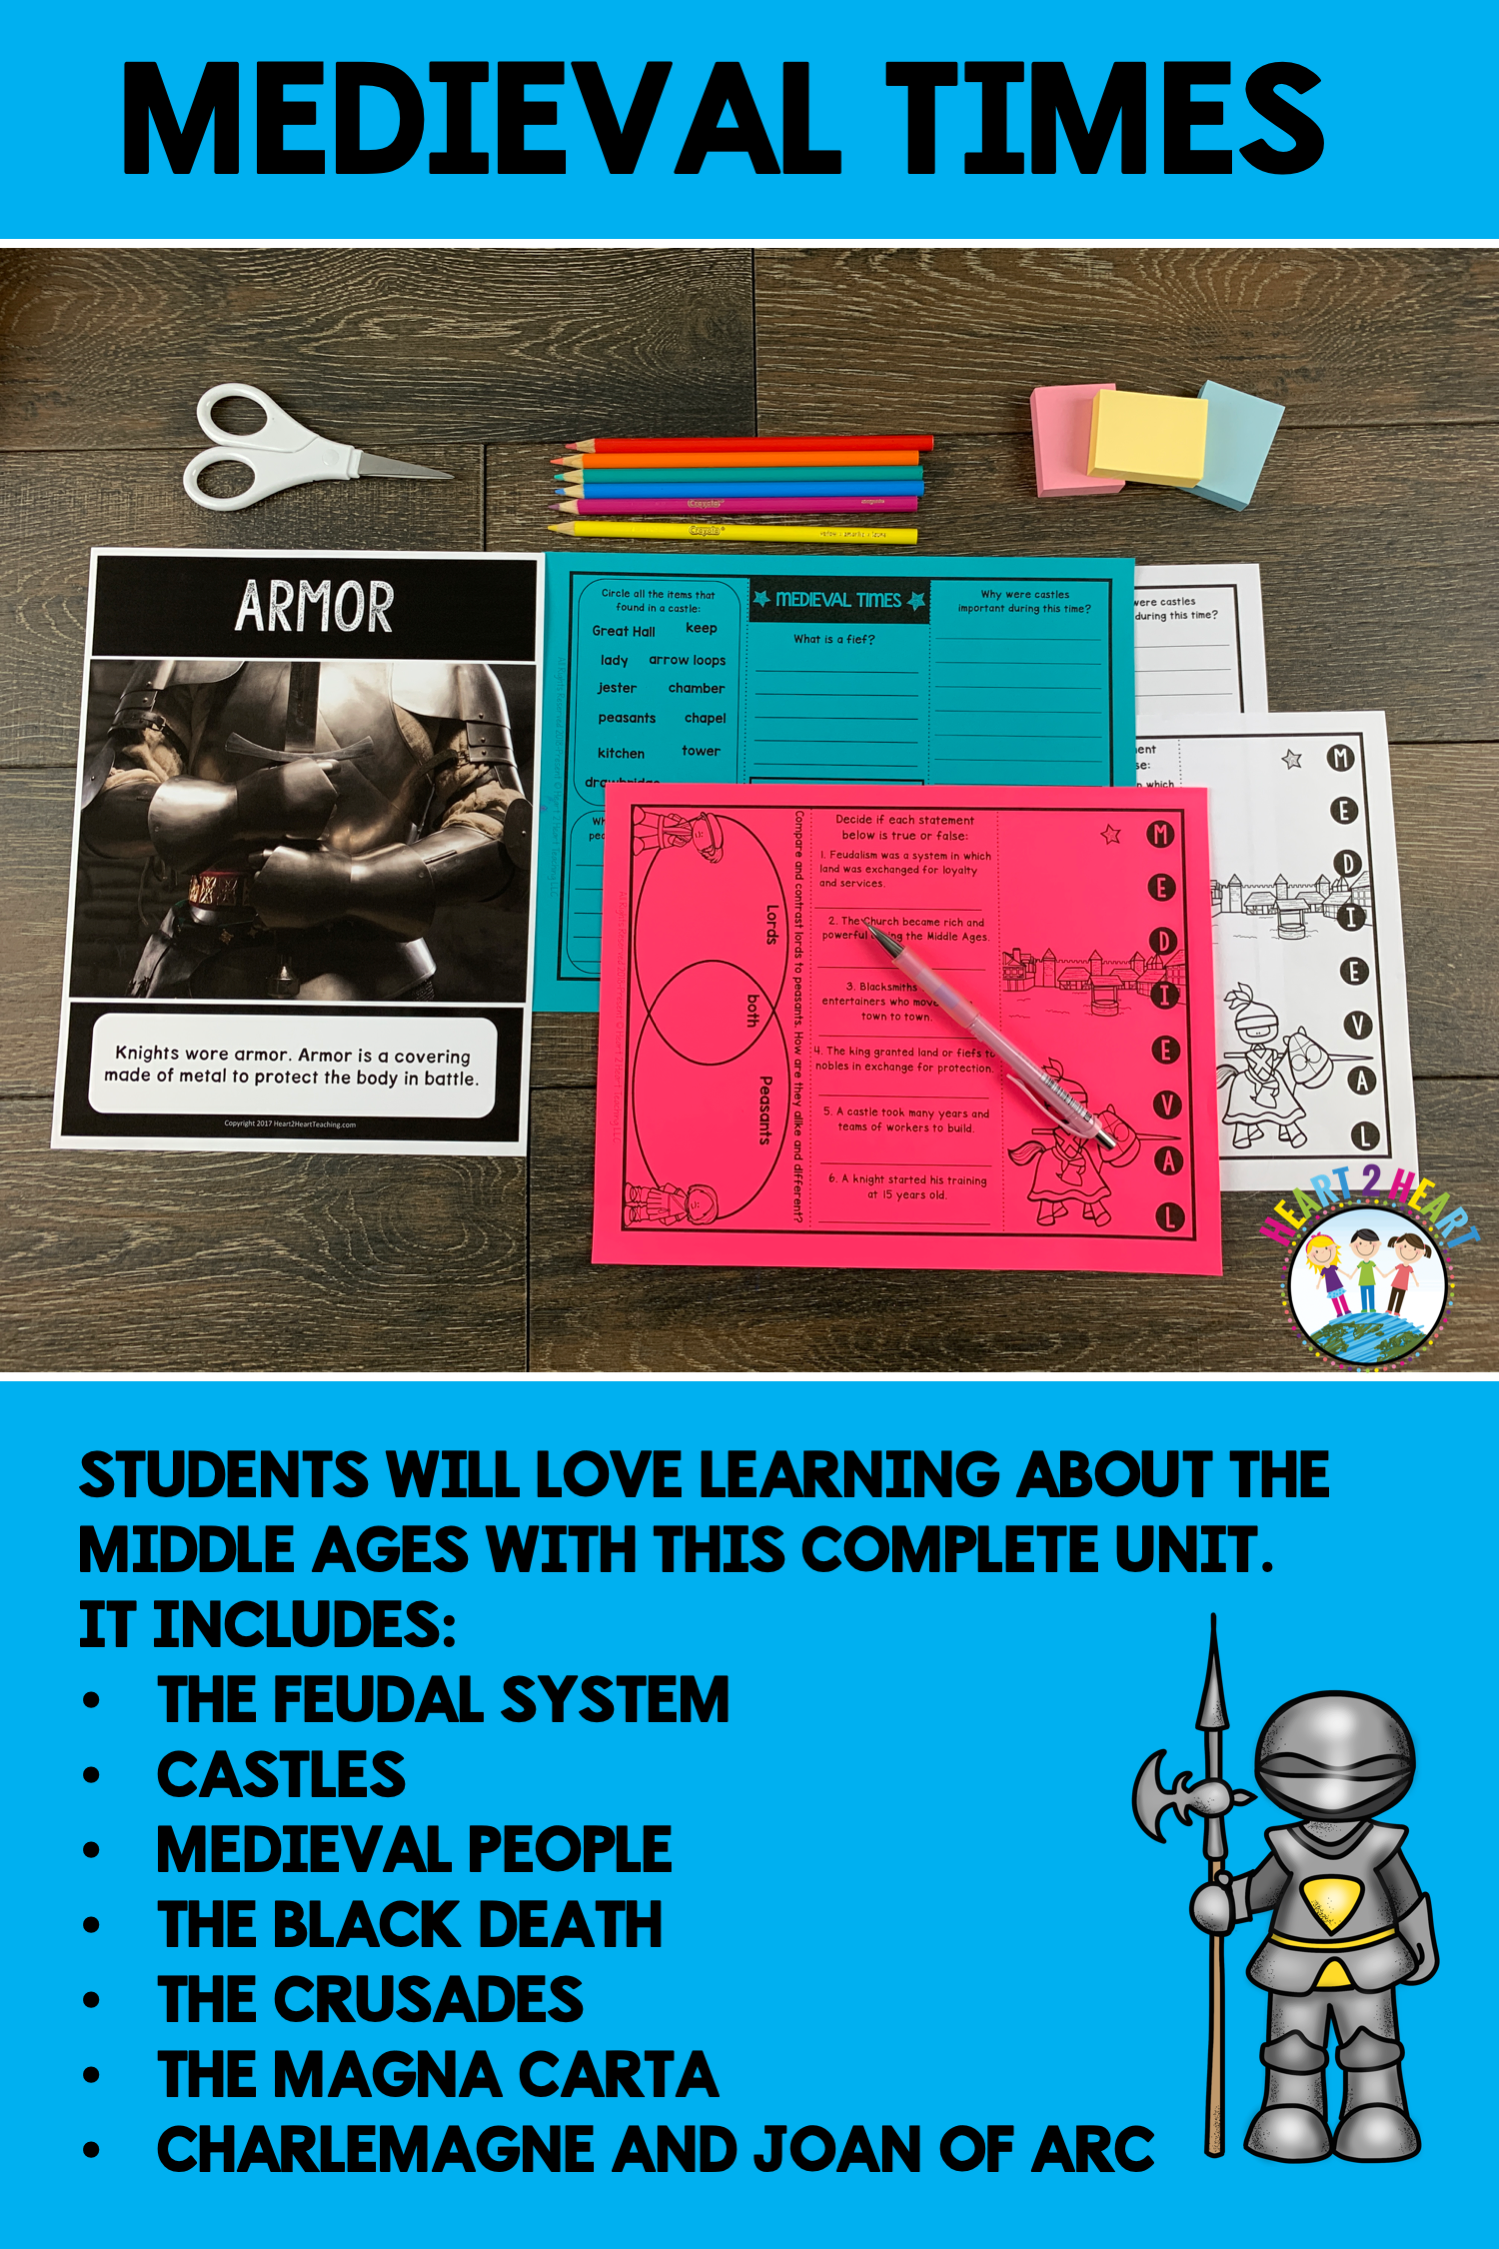
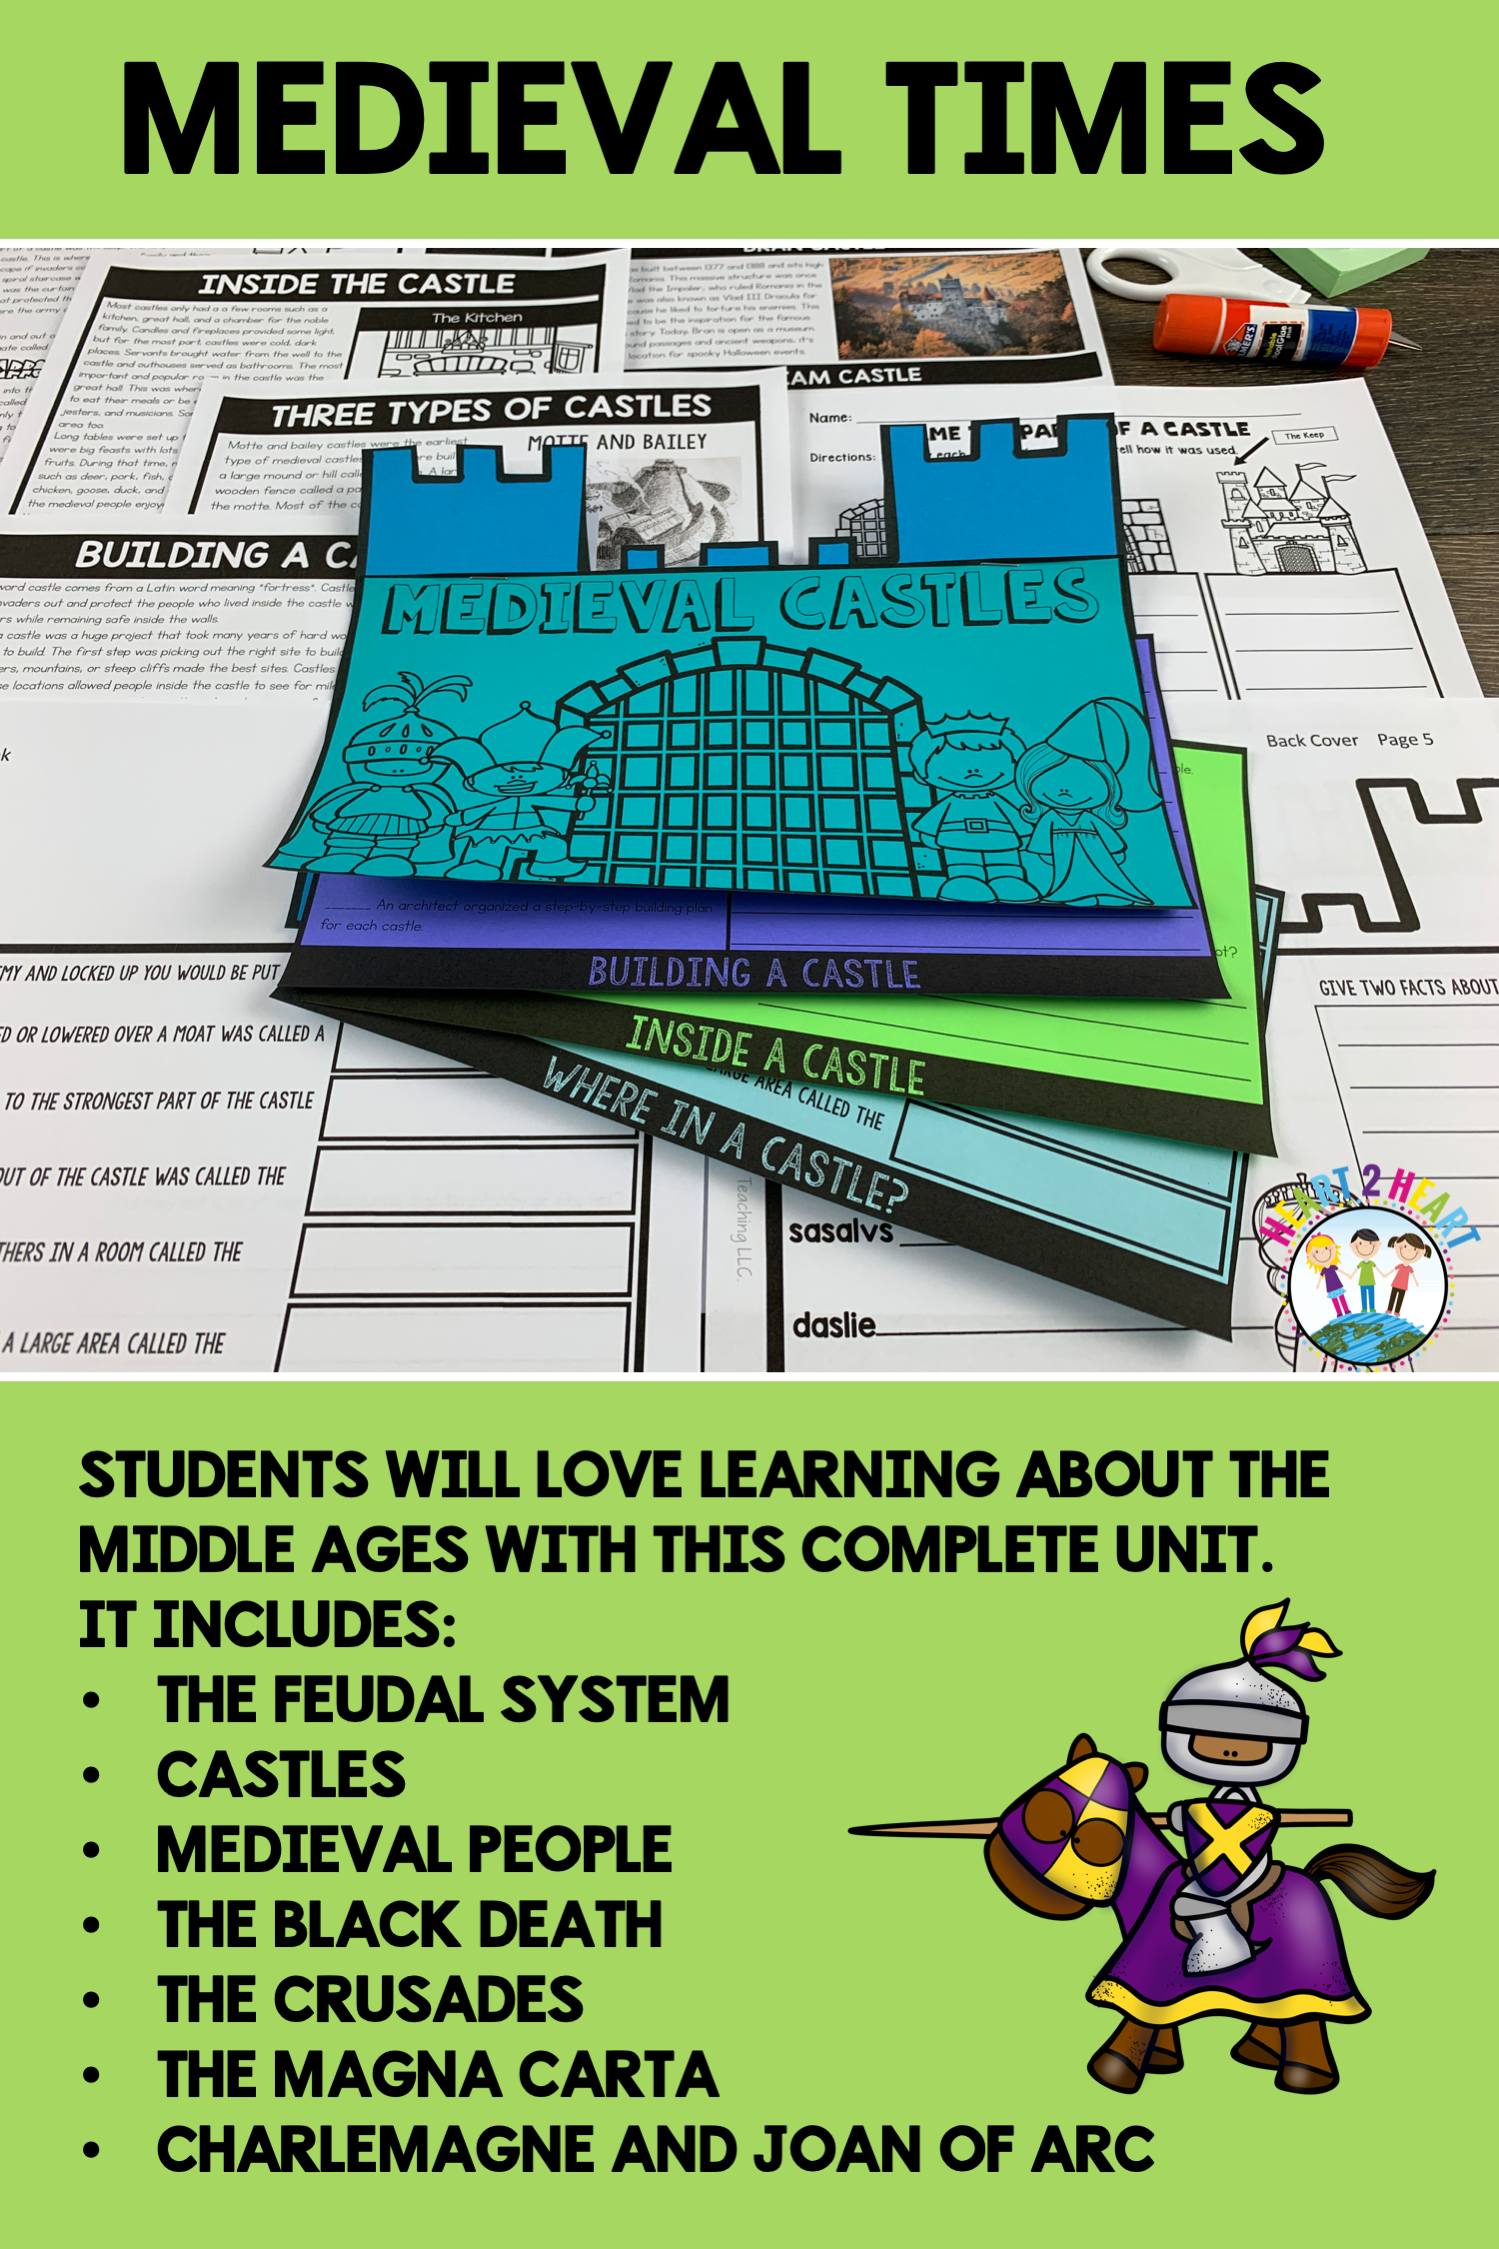
    What could be more fascinating than learning about Lords and Ladies, Knights, and Castles? After more than 15 years of teaching, the Middle Ages is still one of my all-time favorite units to teach.

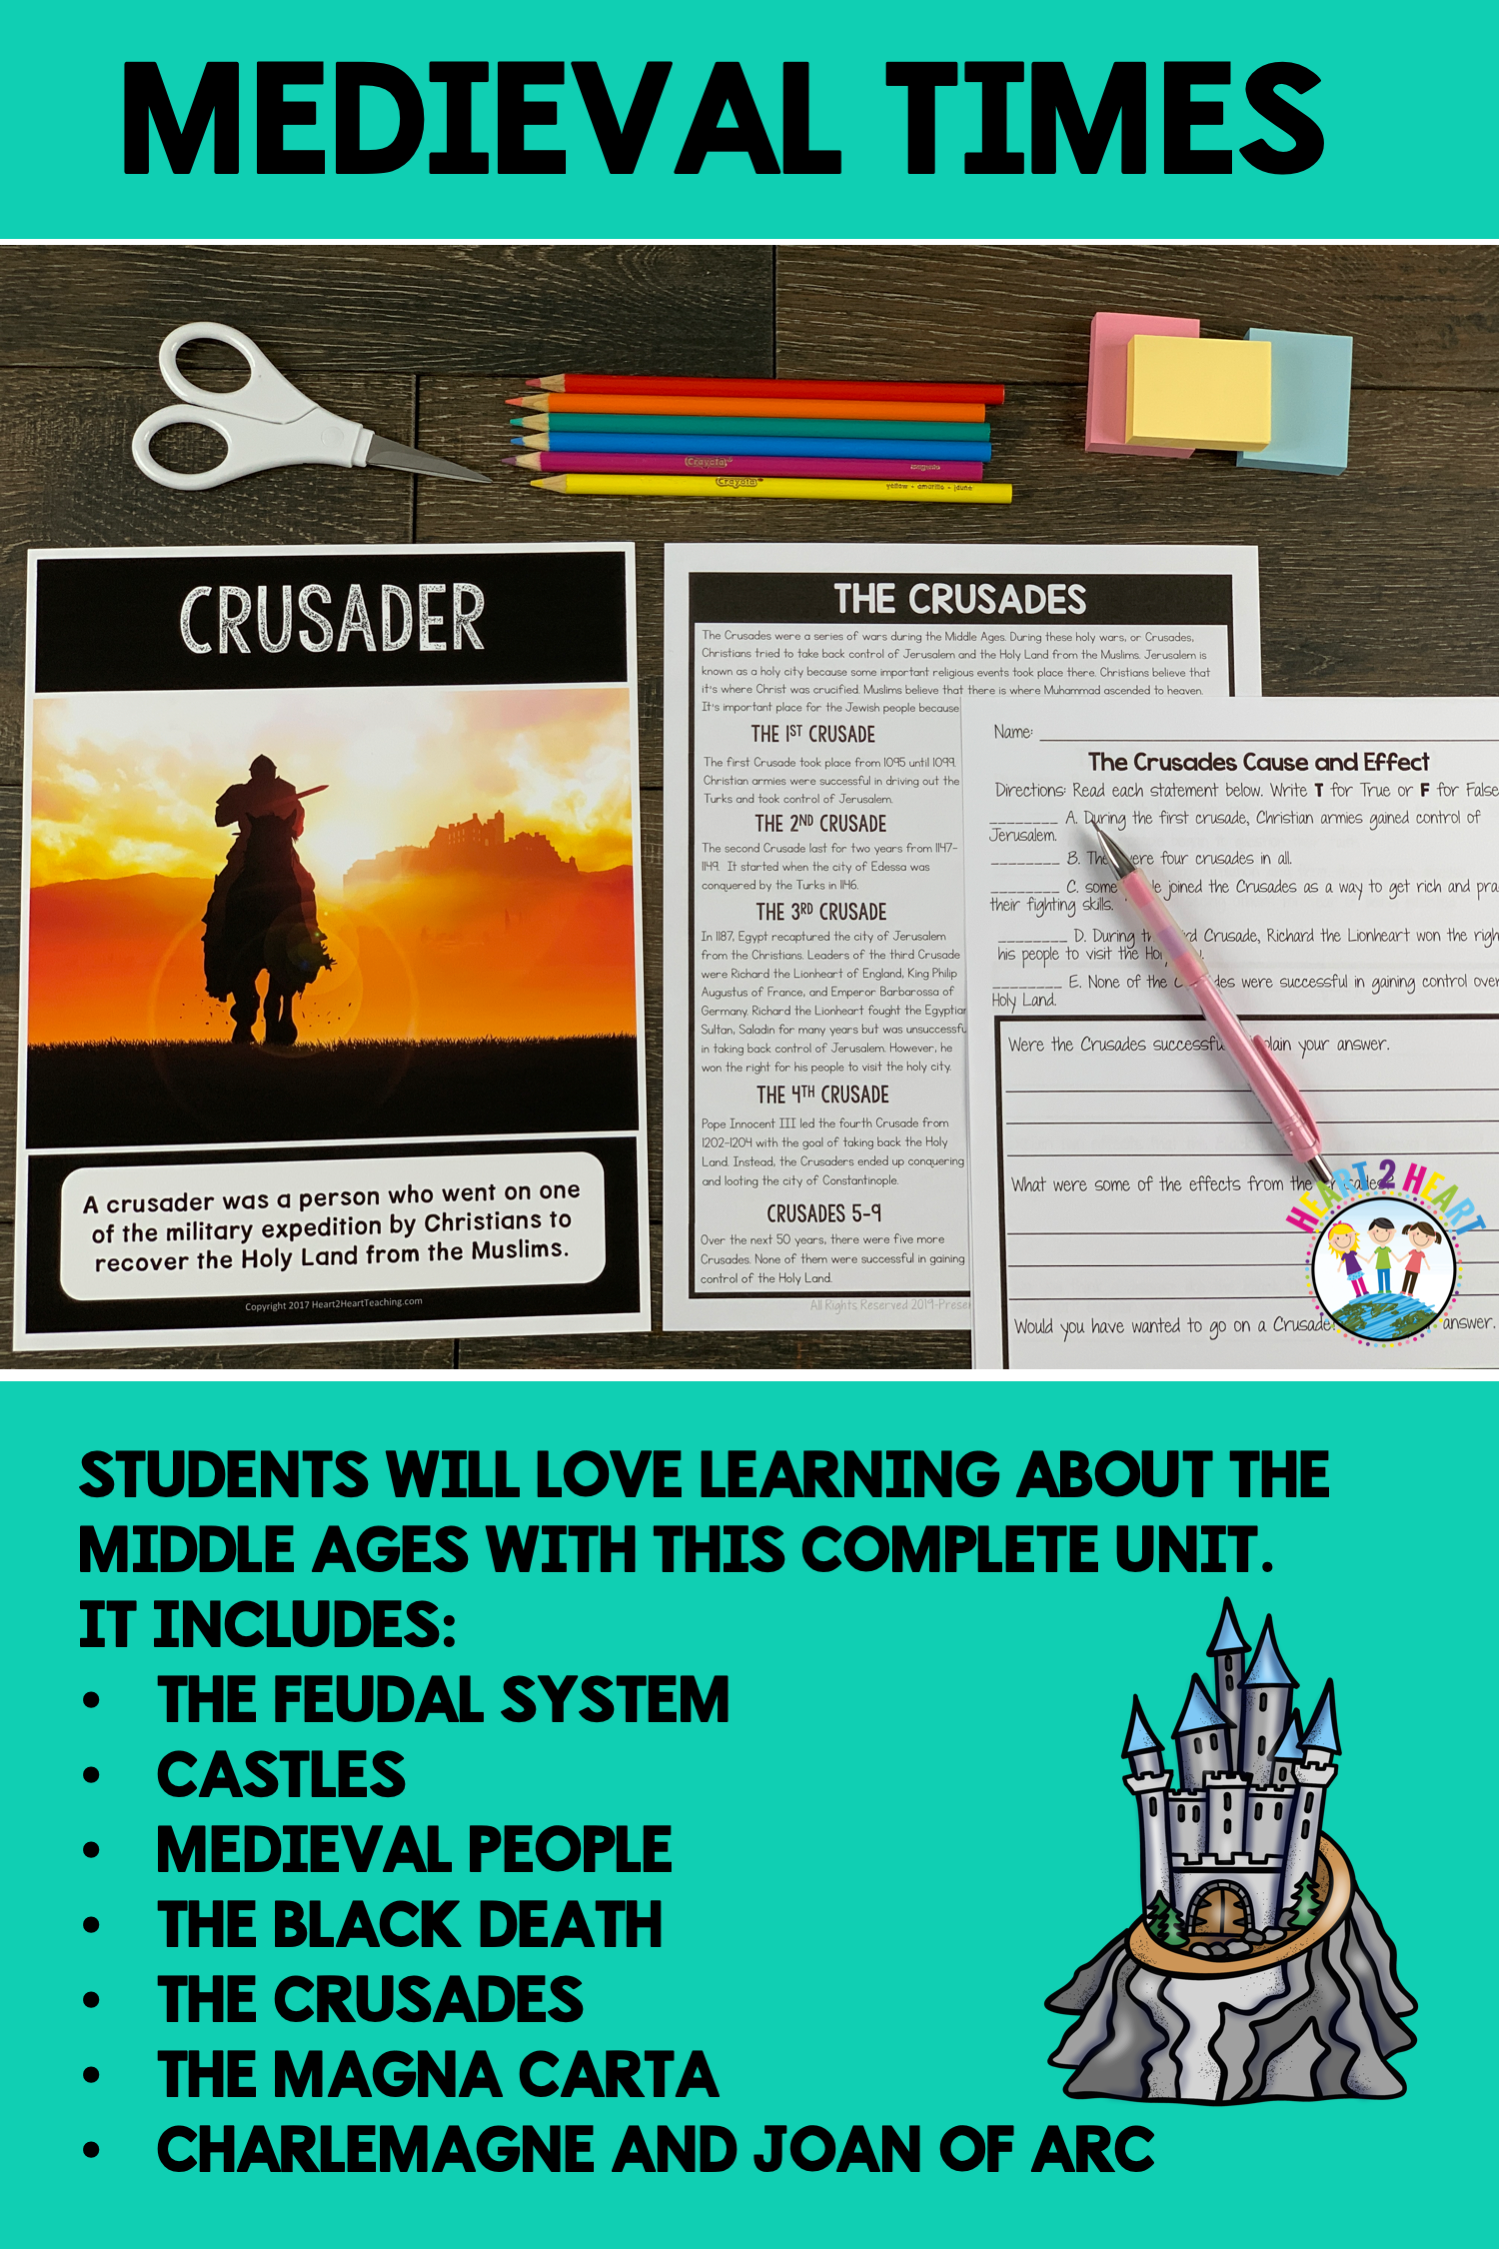
    This unit includes reading passages, interactive activities, vocabulary posters and much more. Each section has comprehension questions and connection activities to make learning fun! Let’s take a closer look at this unit in action. 

    The complete unit is divided into 8 sections:

    •Introduction

    •People of the Middle Ages

    •The Feudal System

    •Medieval Castles

    •Knights and Tradesmen

    •Famous People: Charlemagne, Richard the Lionheart, Joan of Arc

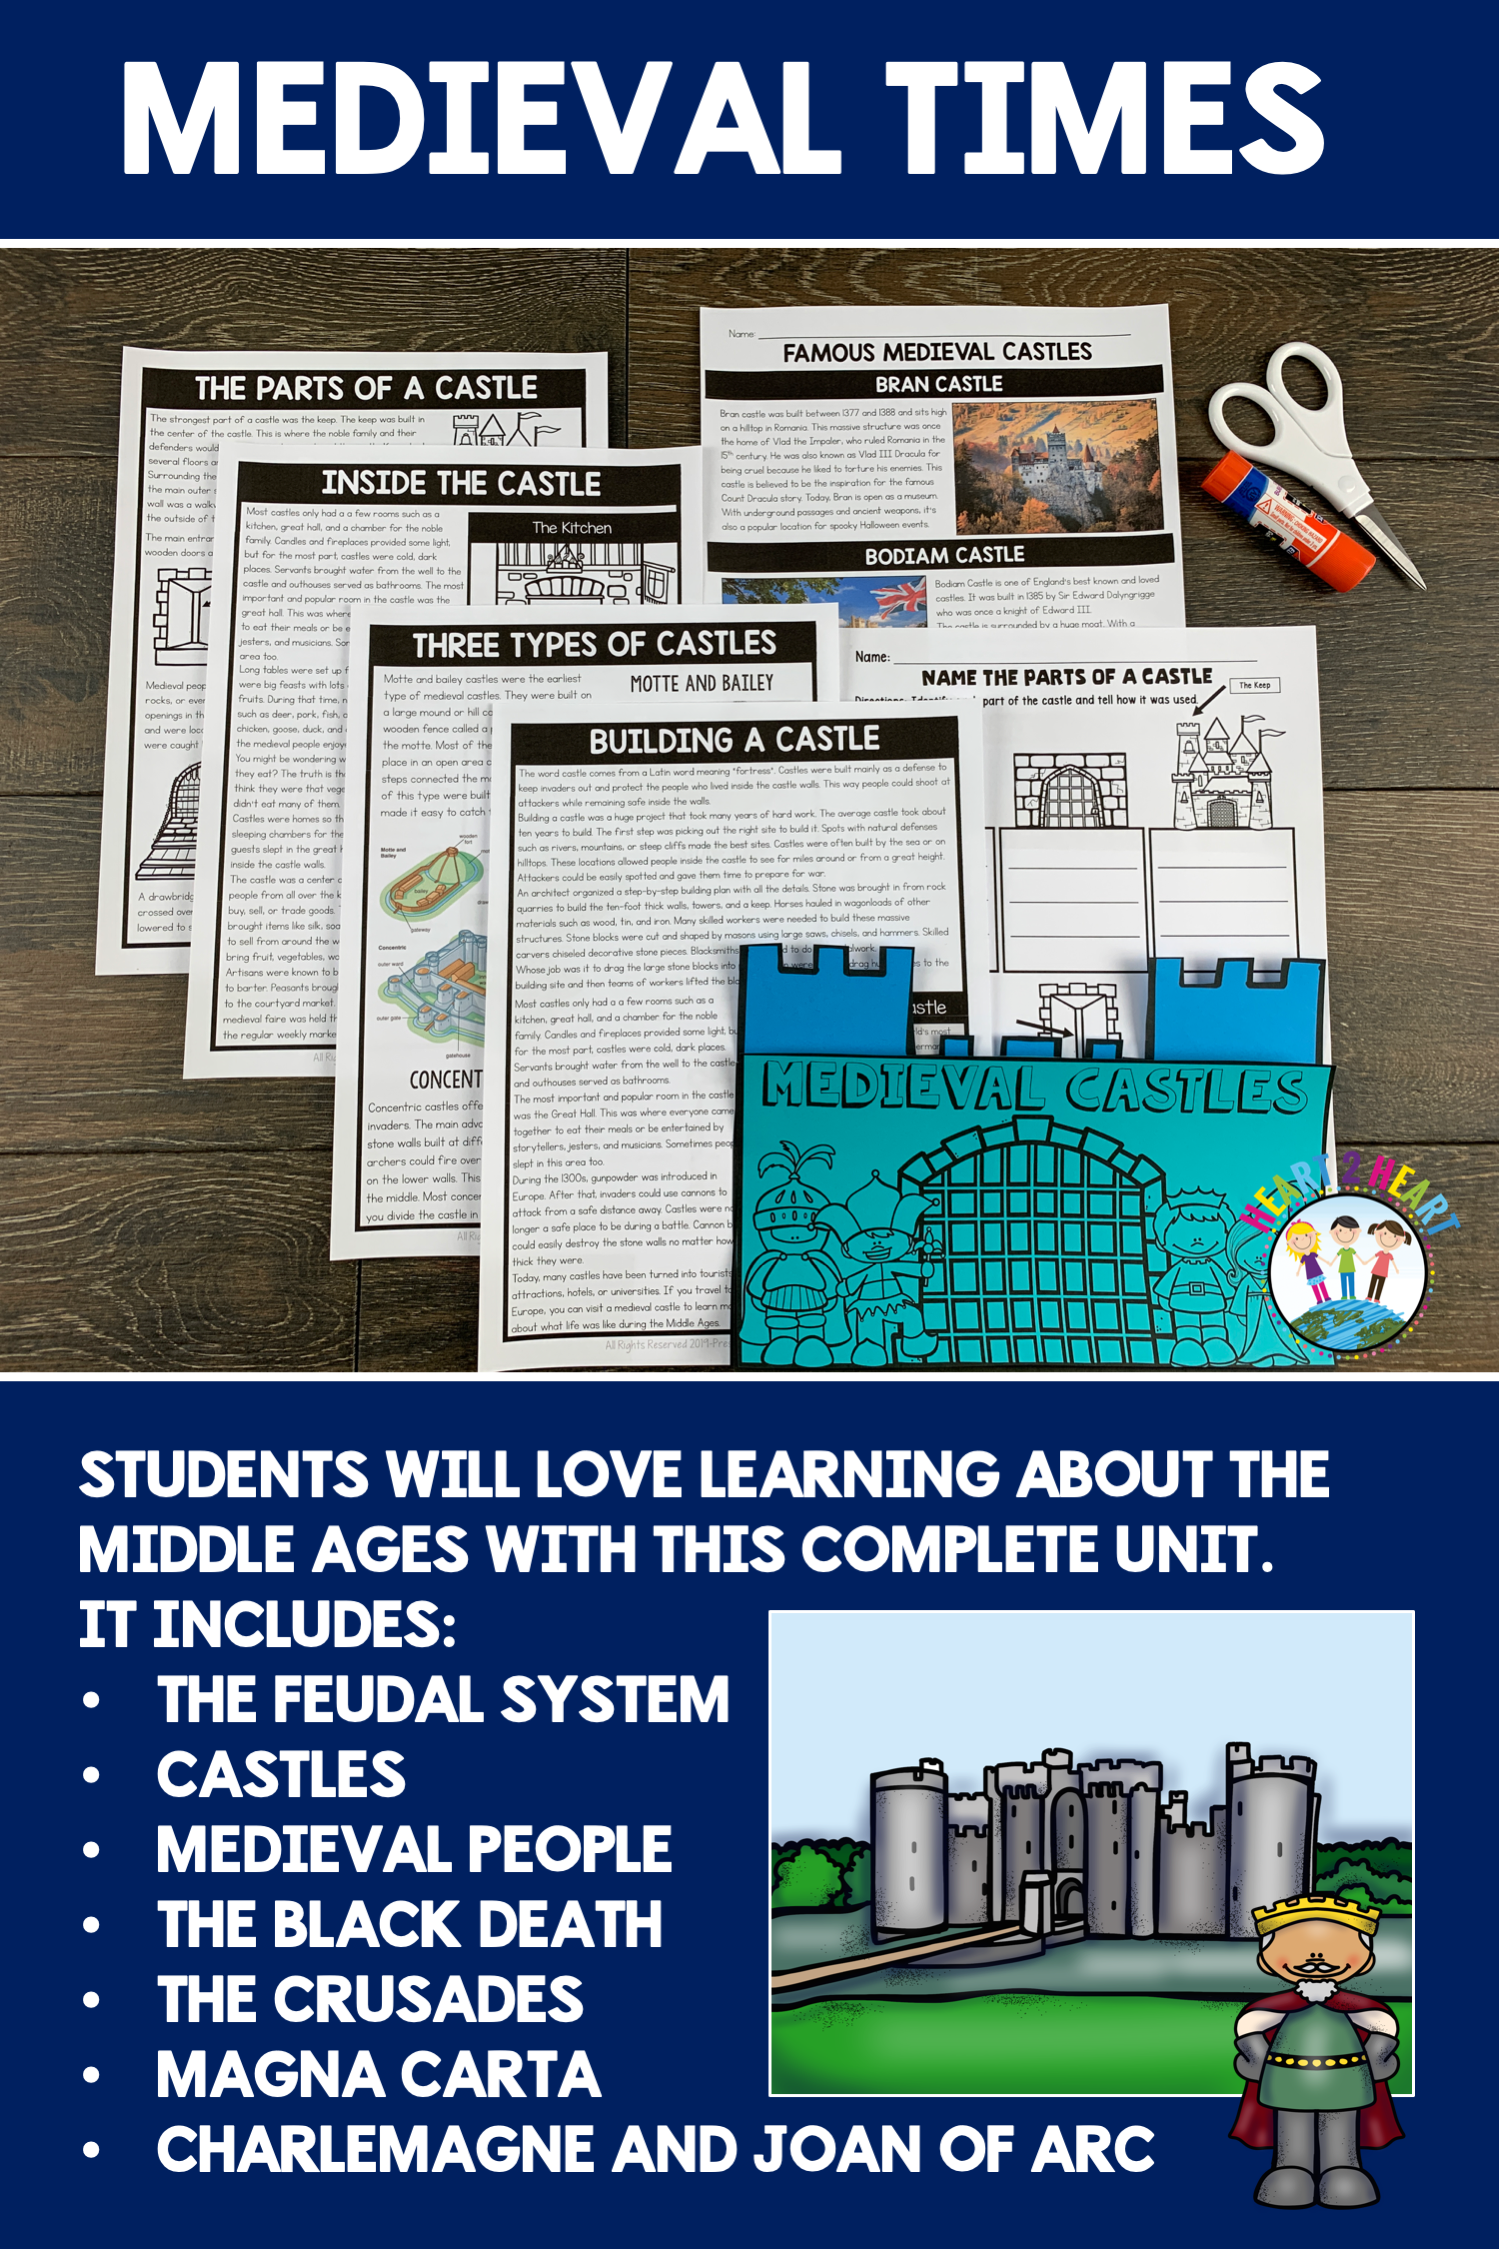
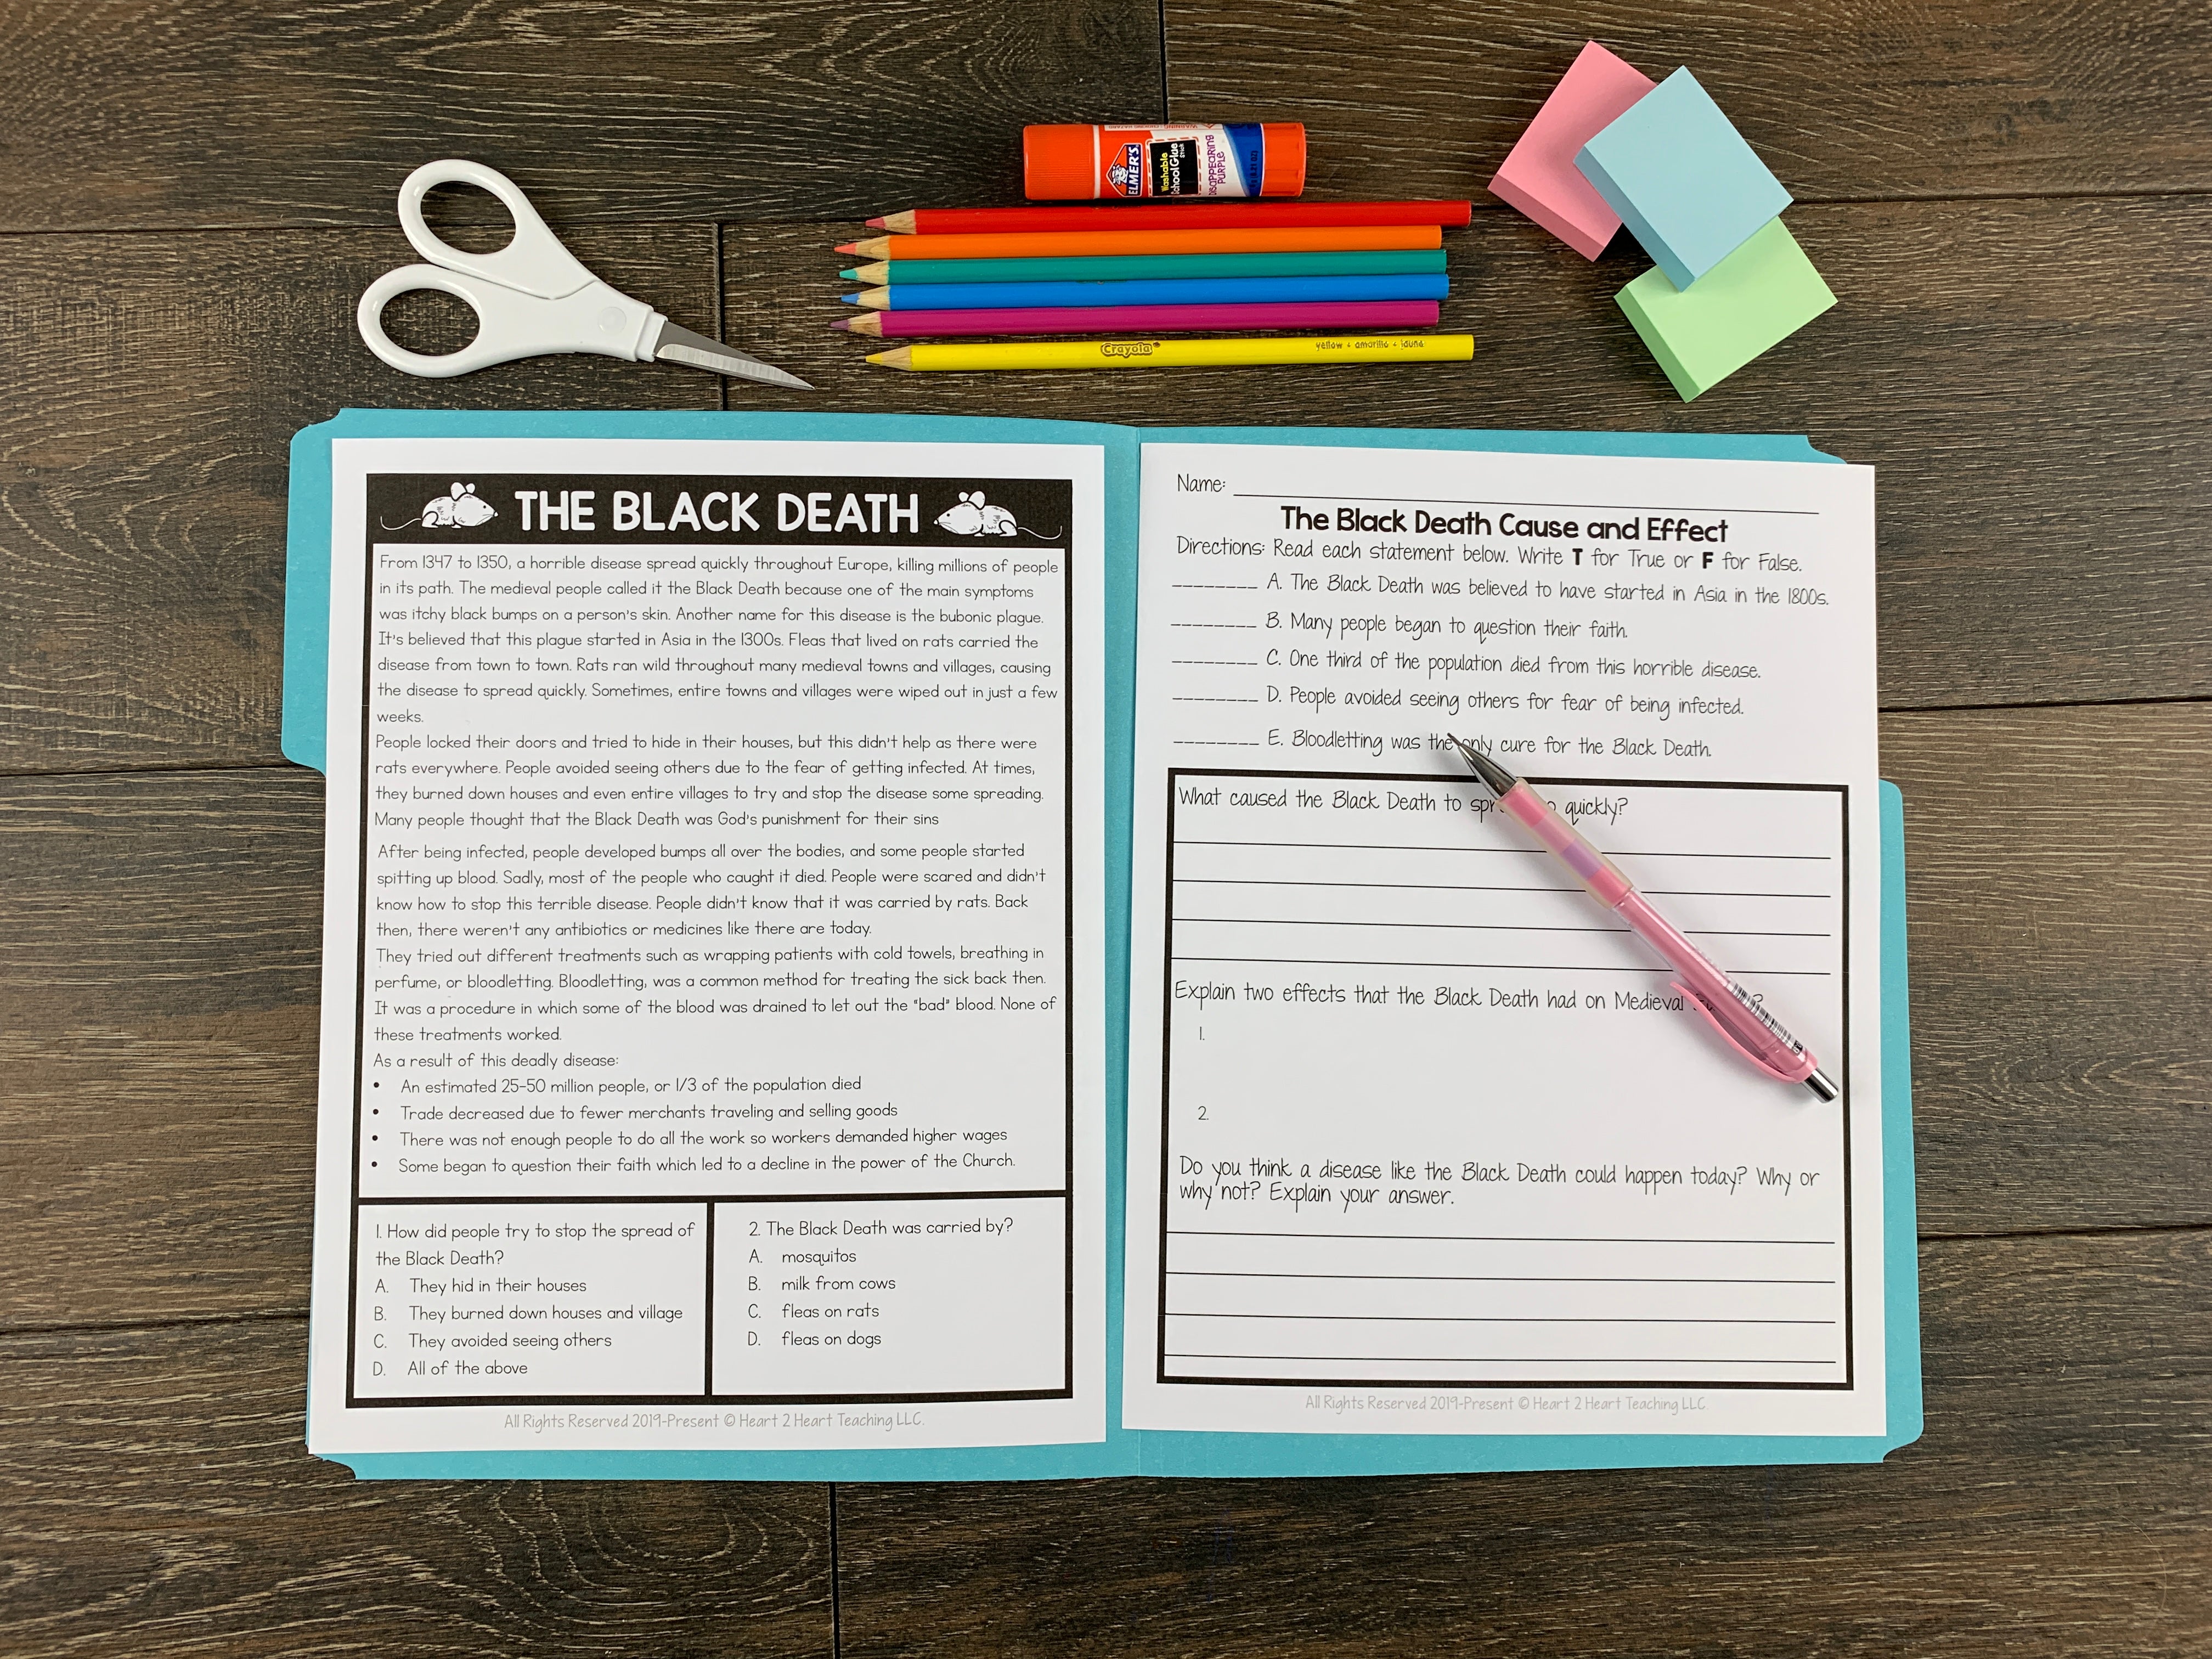
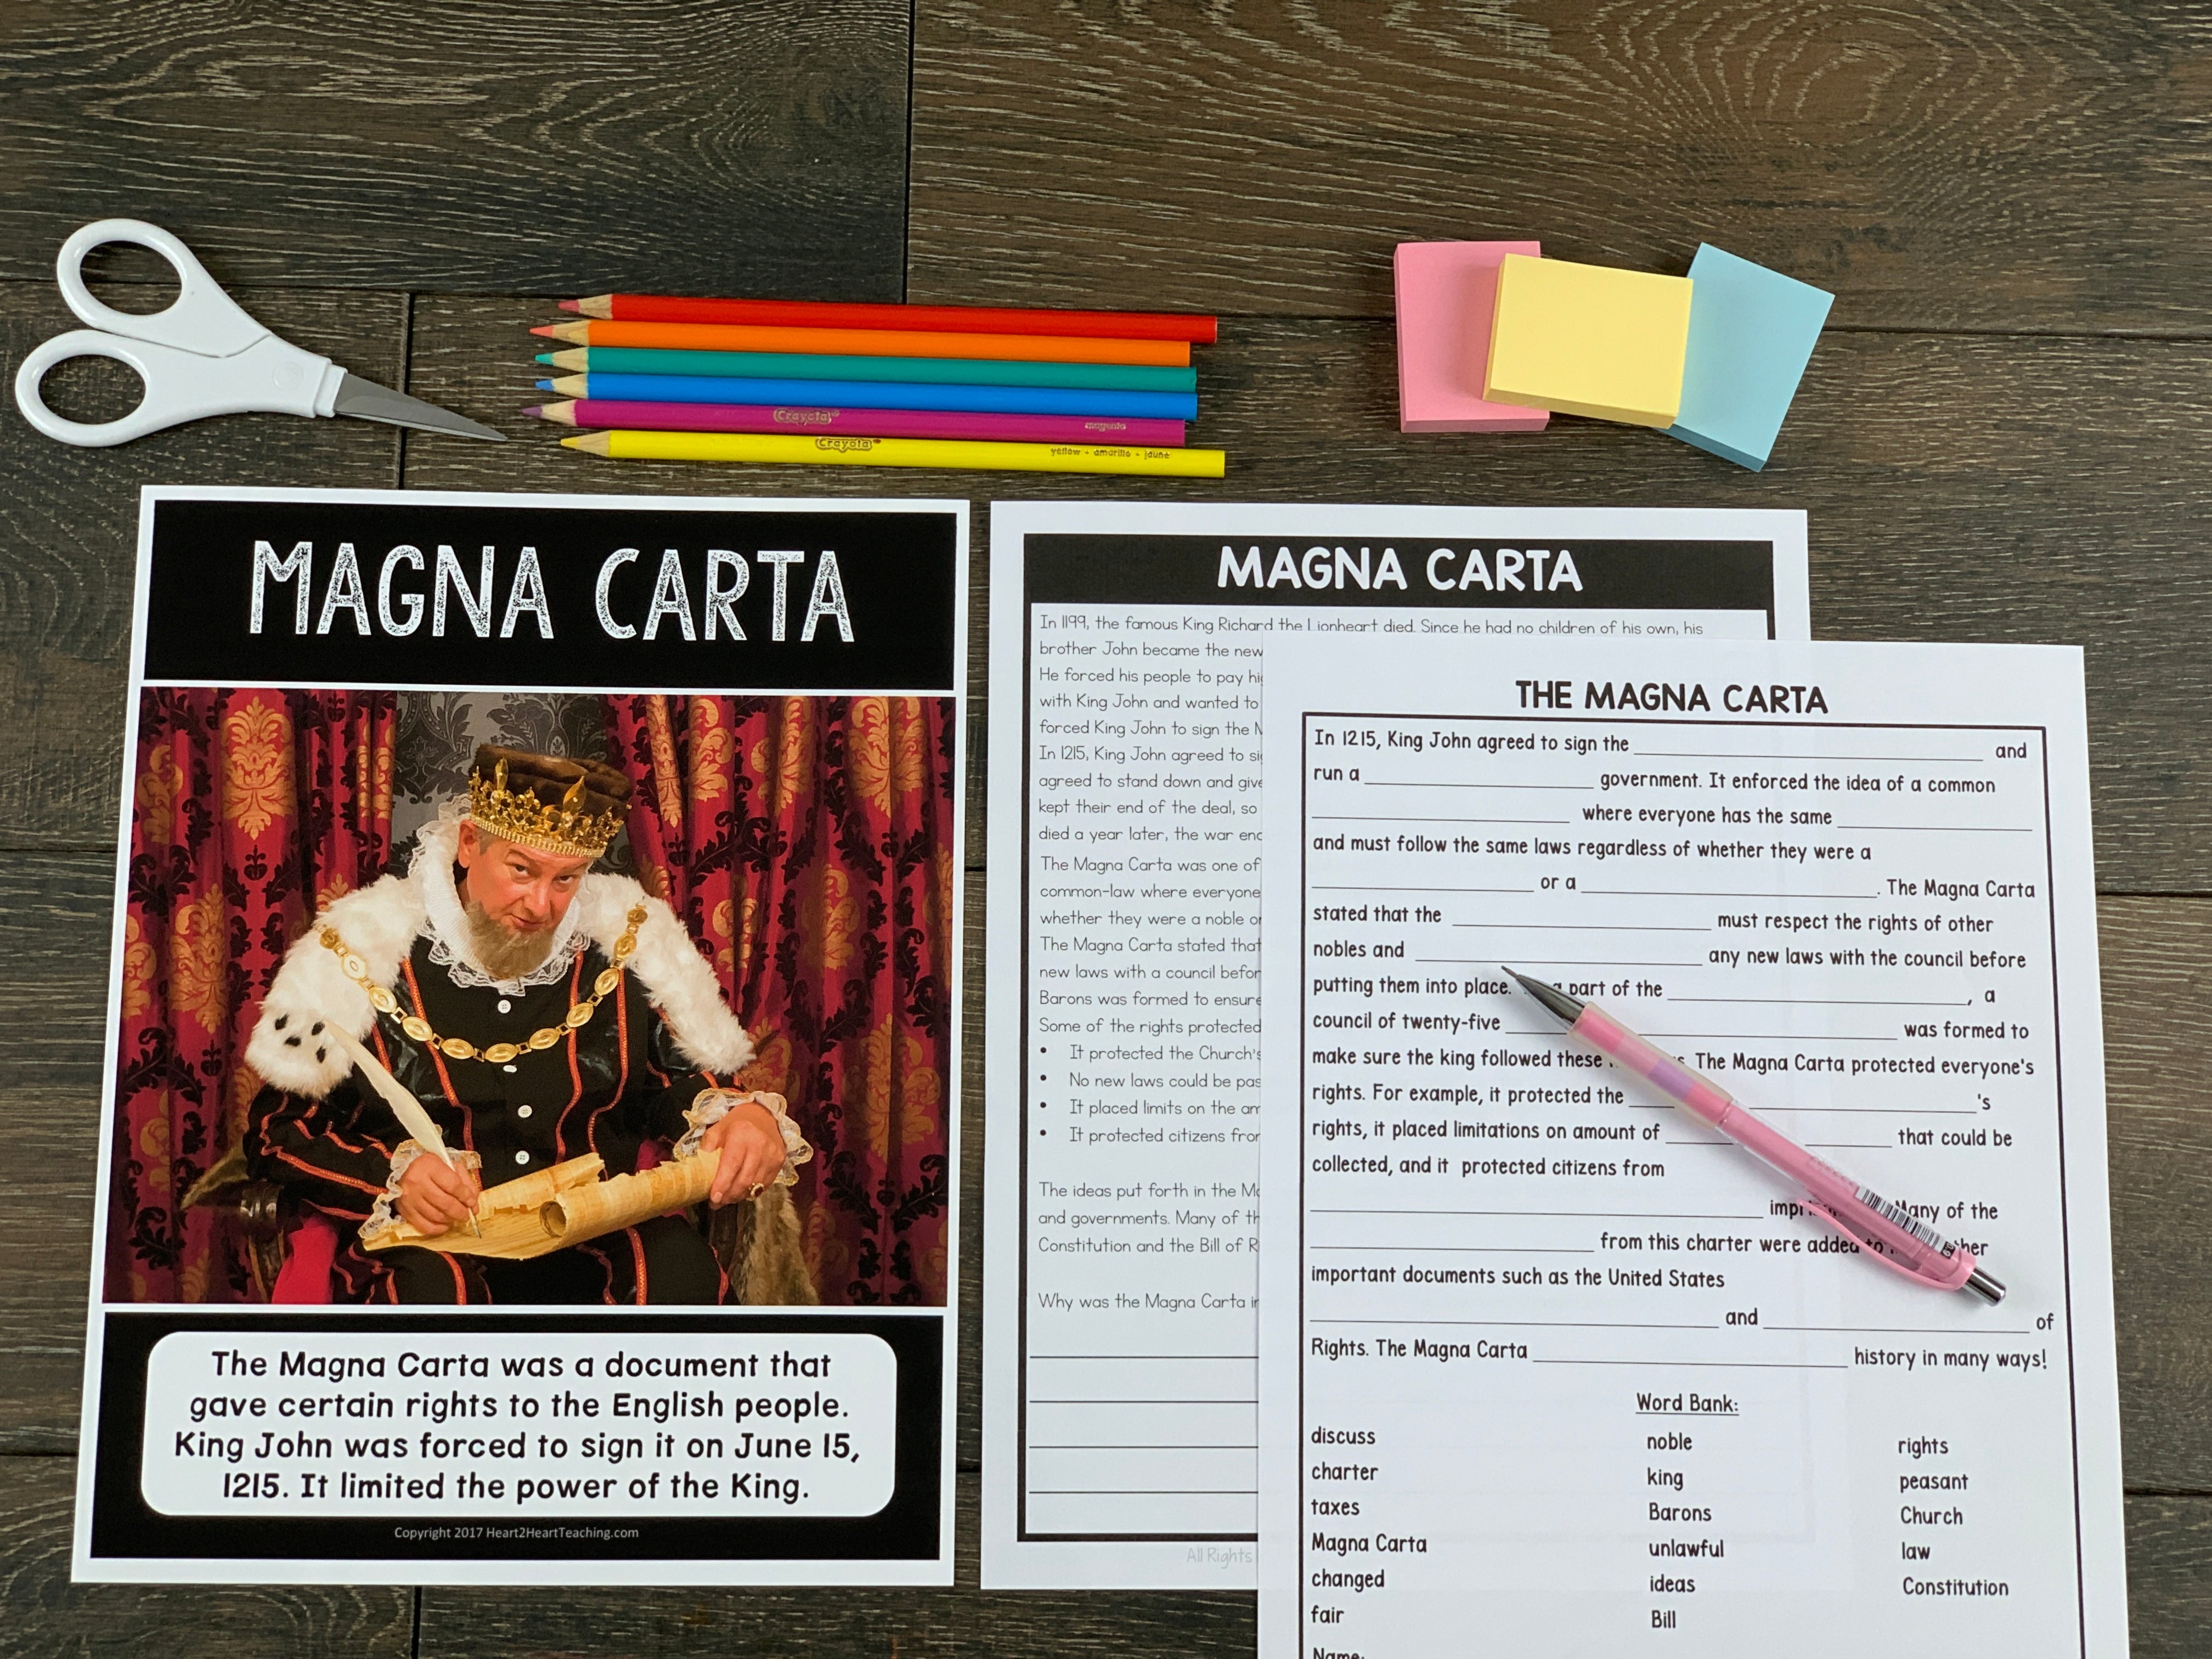
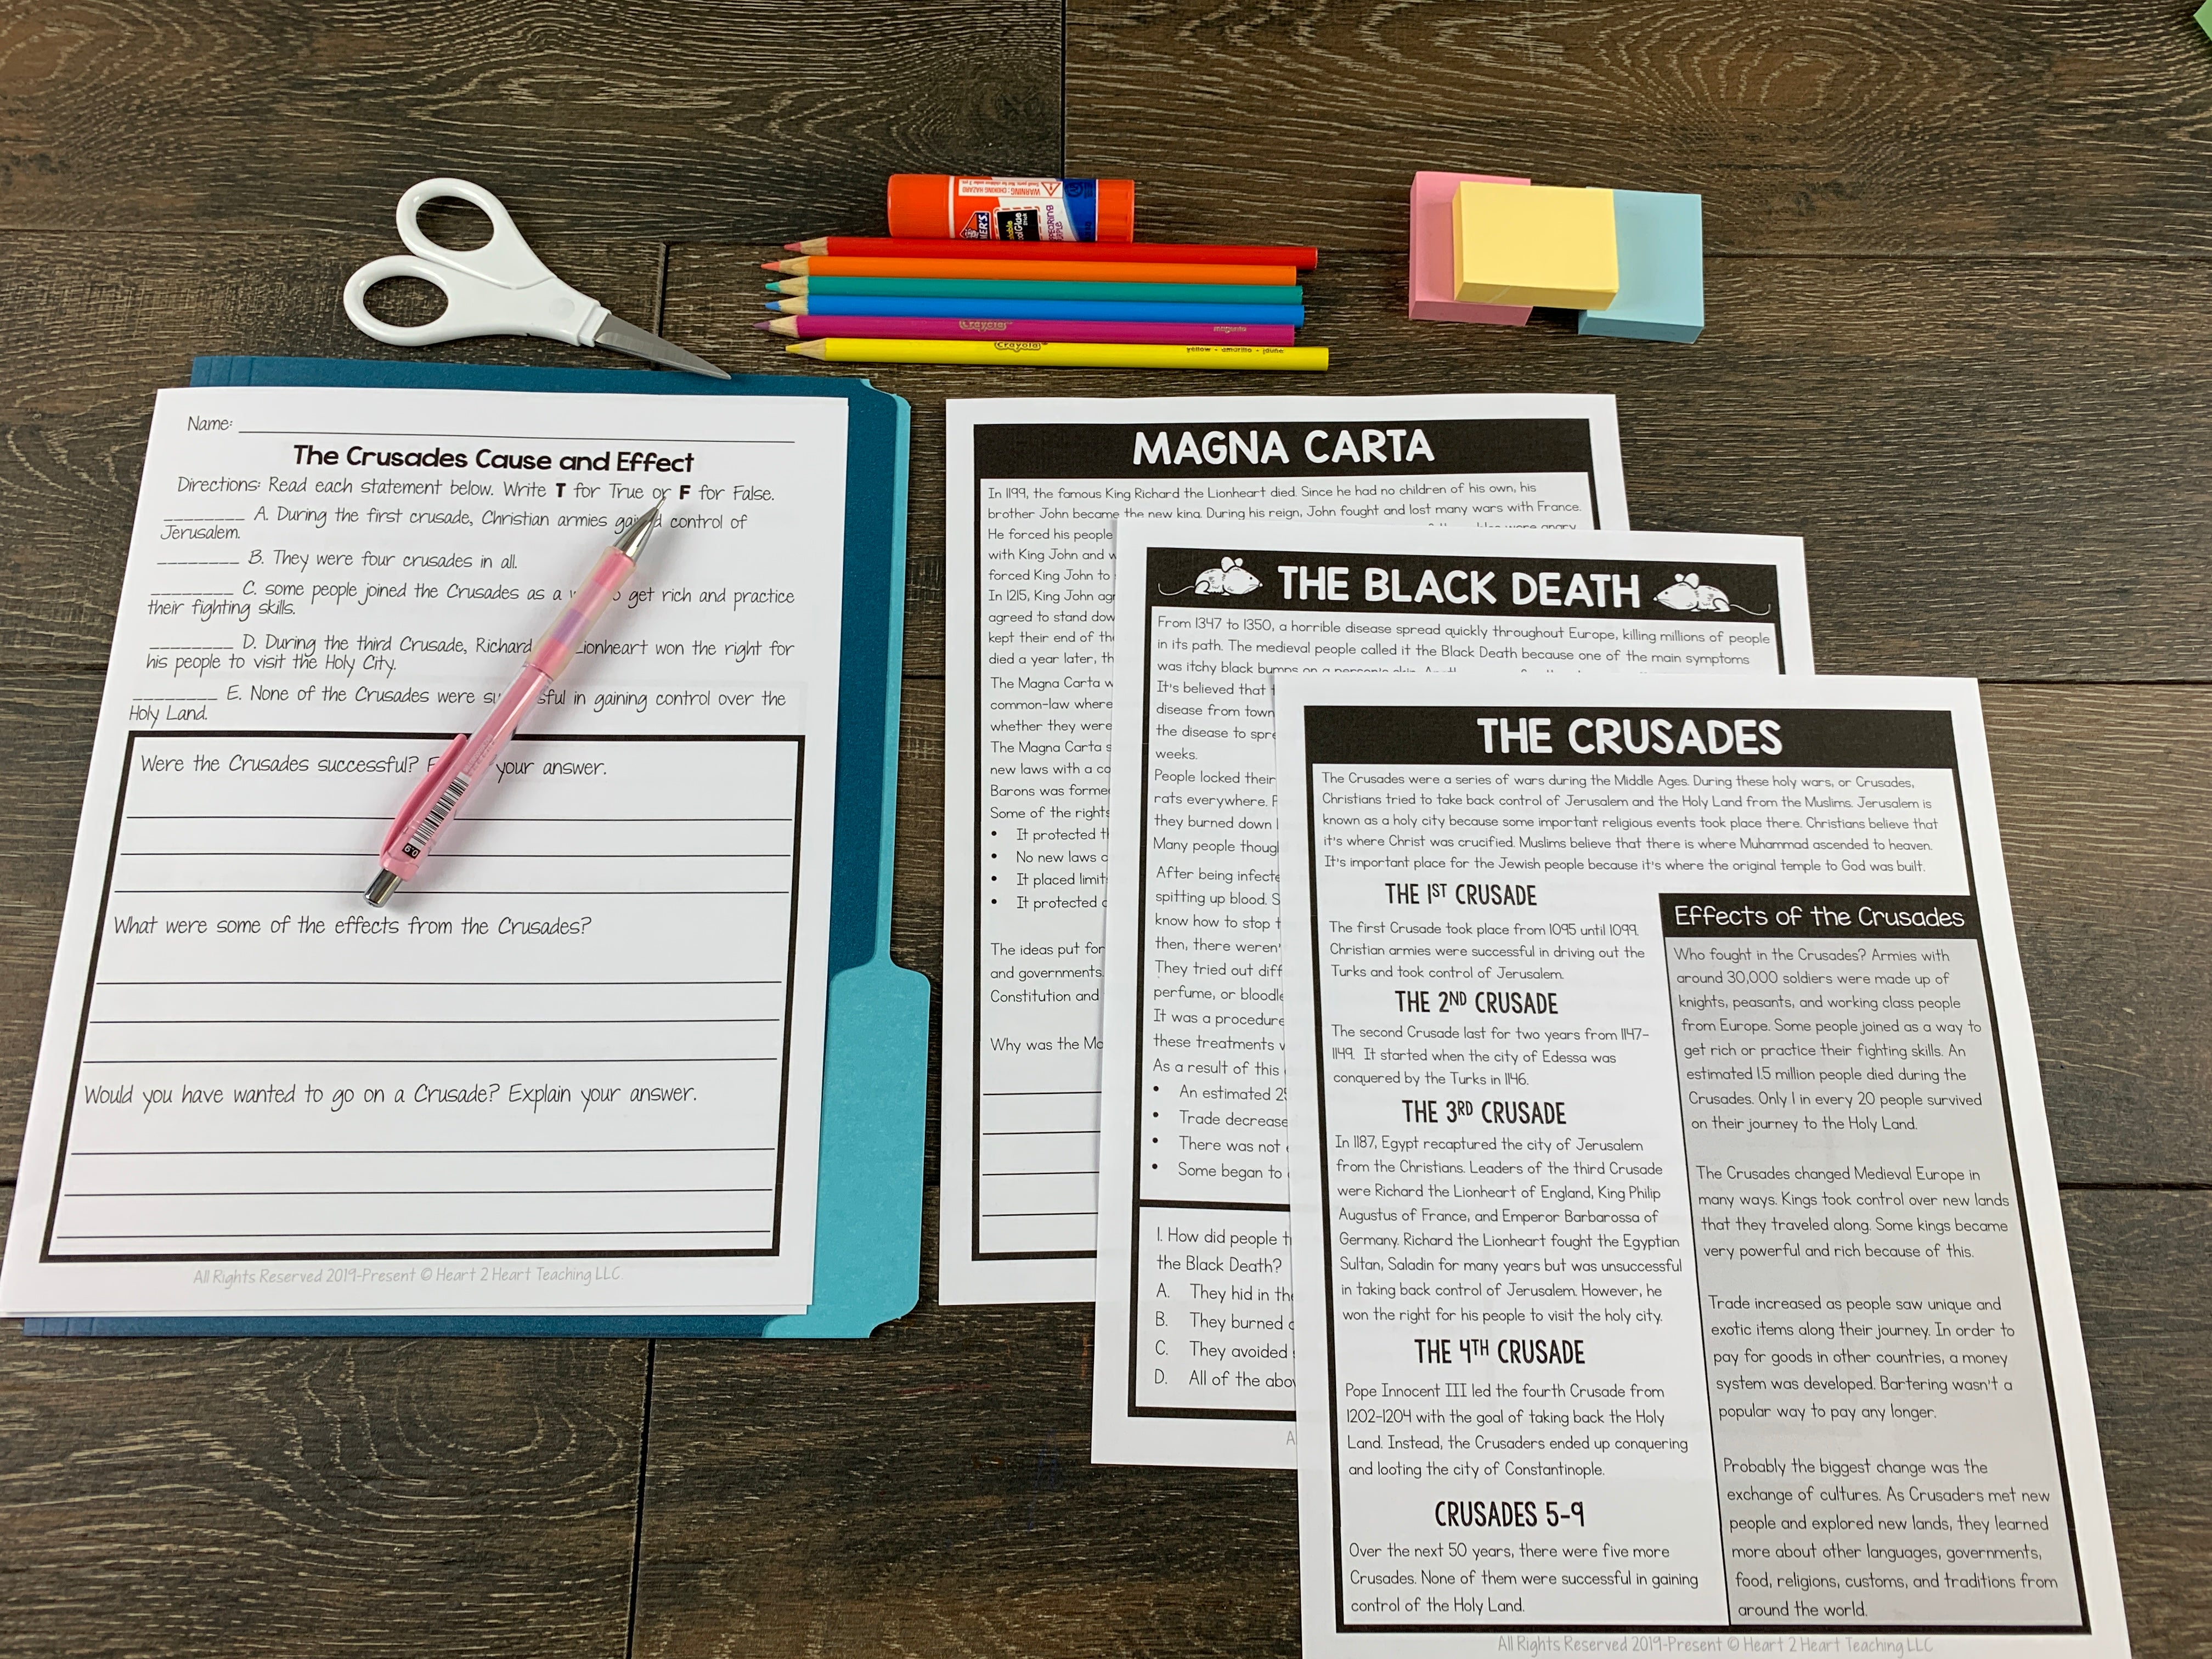
    •Important Events: Magna Carta, The Crusades, The Black Death, Hundred Years’ War

    •Unit Test (Editable)

    Part One: An Introduction to the Middle Ages

    A great way to introduce a new unit is to have students complete a short activity to pique their interest and build background knowledge. There are lots of ways to do this but a favorite way to get students excited about this new unit by using an anticipatory set. An anticipatory set doesn’t have to take a lot of time but it can make a big difference. 

    Here are some ideas:

    • Show a photograph or a short video about knights or castles
    • Use a mystery box filled with artifacts or clues about the unit (a crown, goblet, or large rock)
    • Do a sensory activity. (Maybe investigating a piece of chainmail–what was it used for?)
    • Present a real problem for students to solve (In today’s world, how can we stop Black Death?)
    • Predict if the statements are true or false –this activity is included in this unit for an easy no prep option!

    For this Medieval unit, start off with a geography lesson. Have students label a map of Medieval Europe and discuss any special landmarks that they might know about. Take it a step further to compare Medieval Europe to present-day Europe can be a good way for students to make connections.

    Part Two: People of the Middle Ages

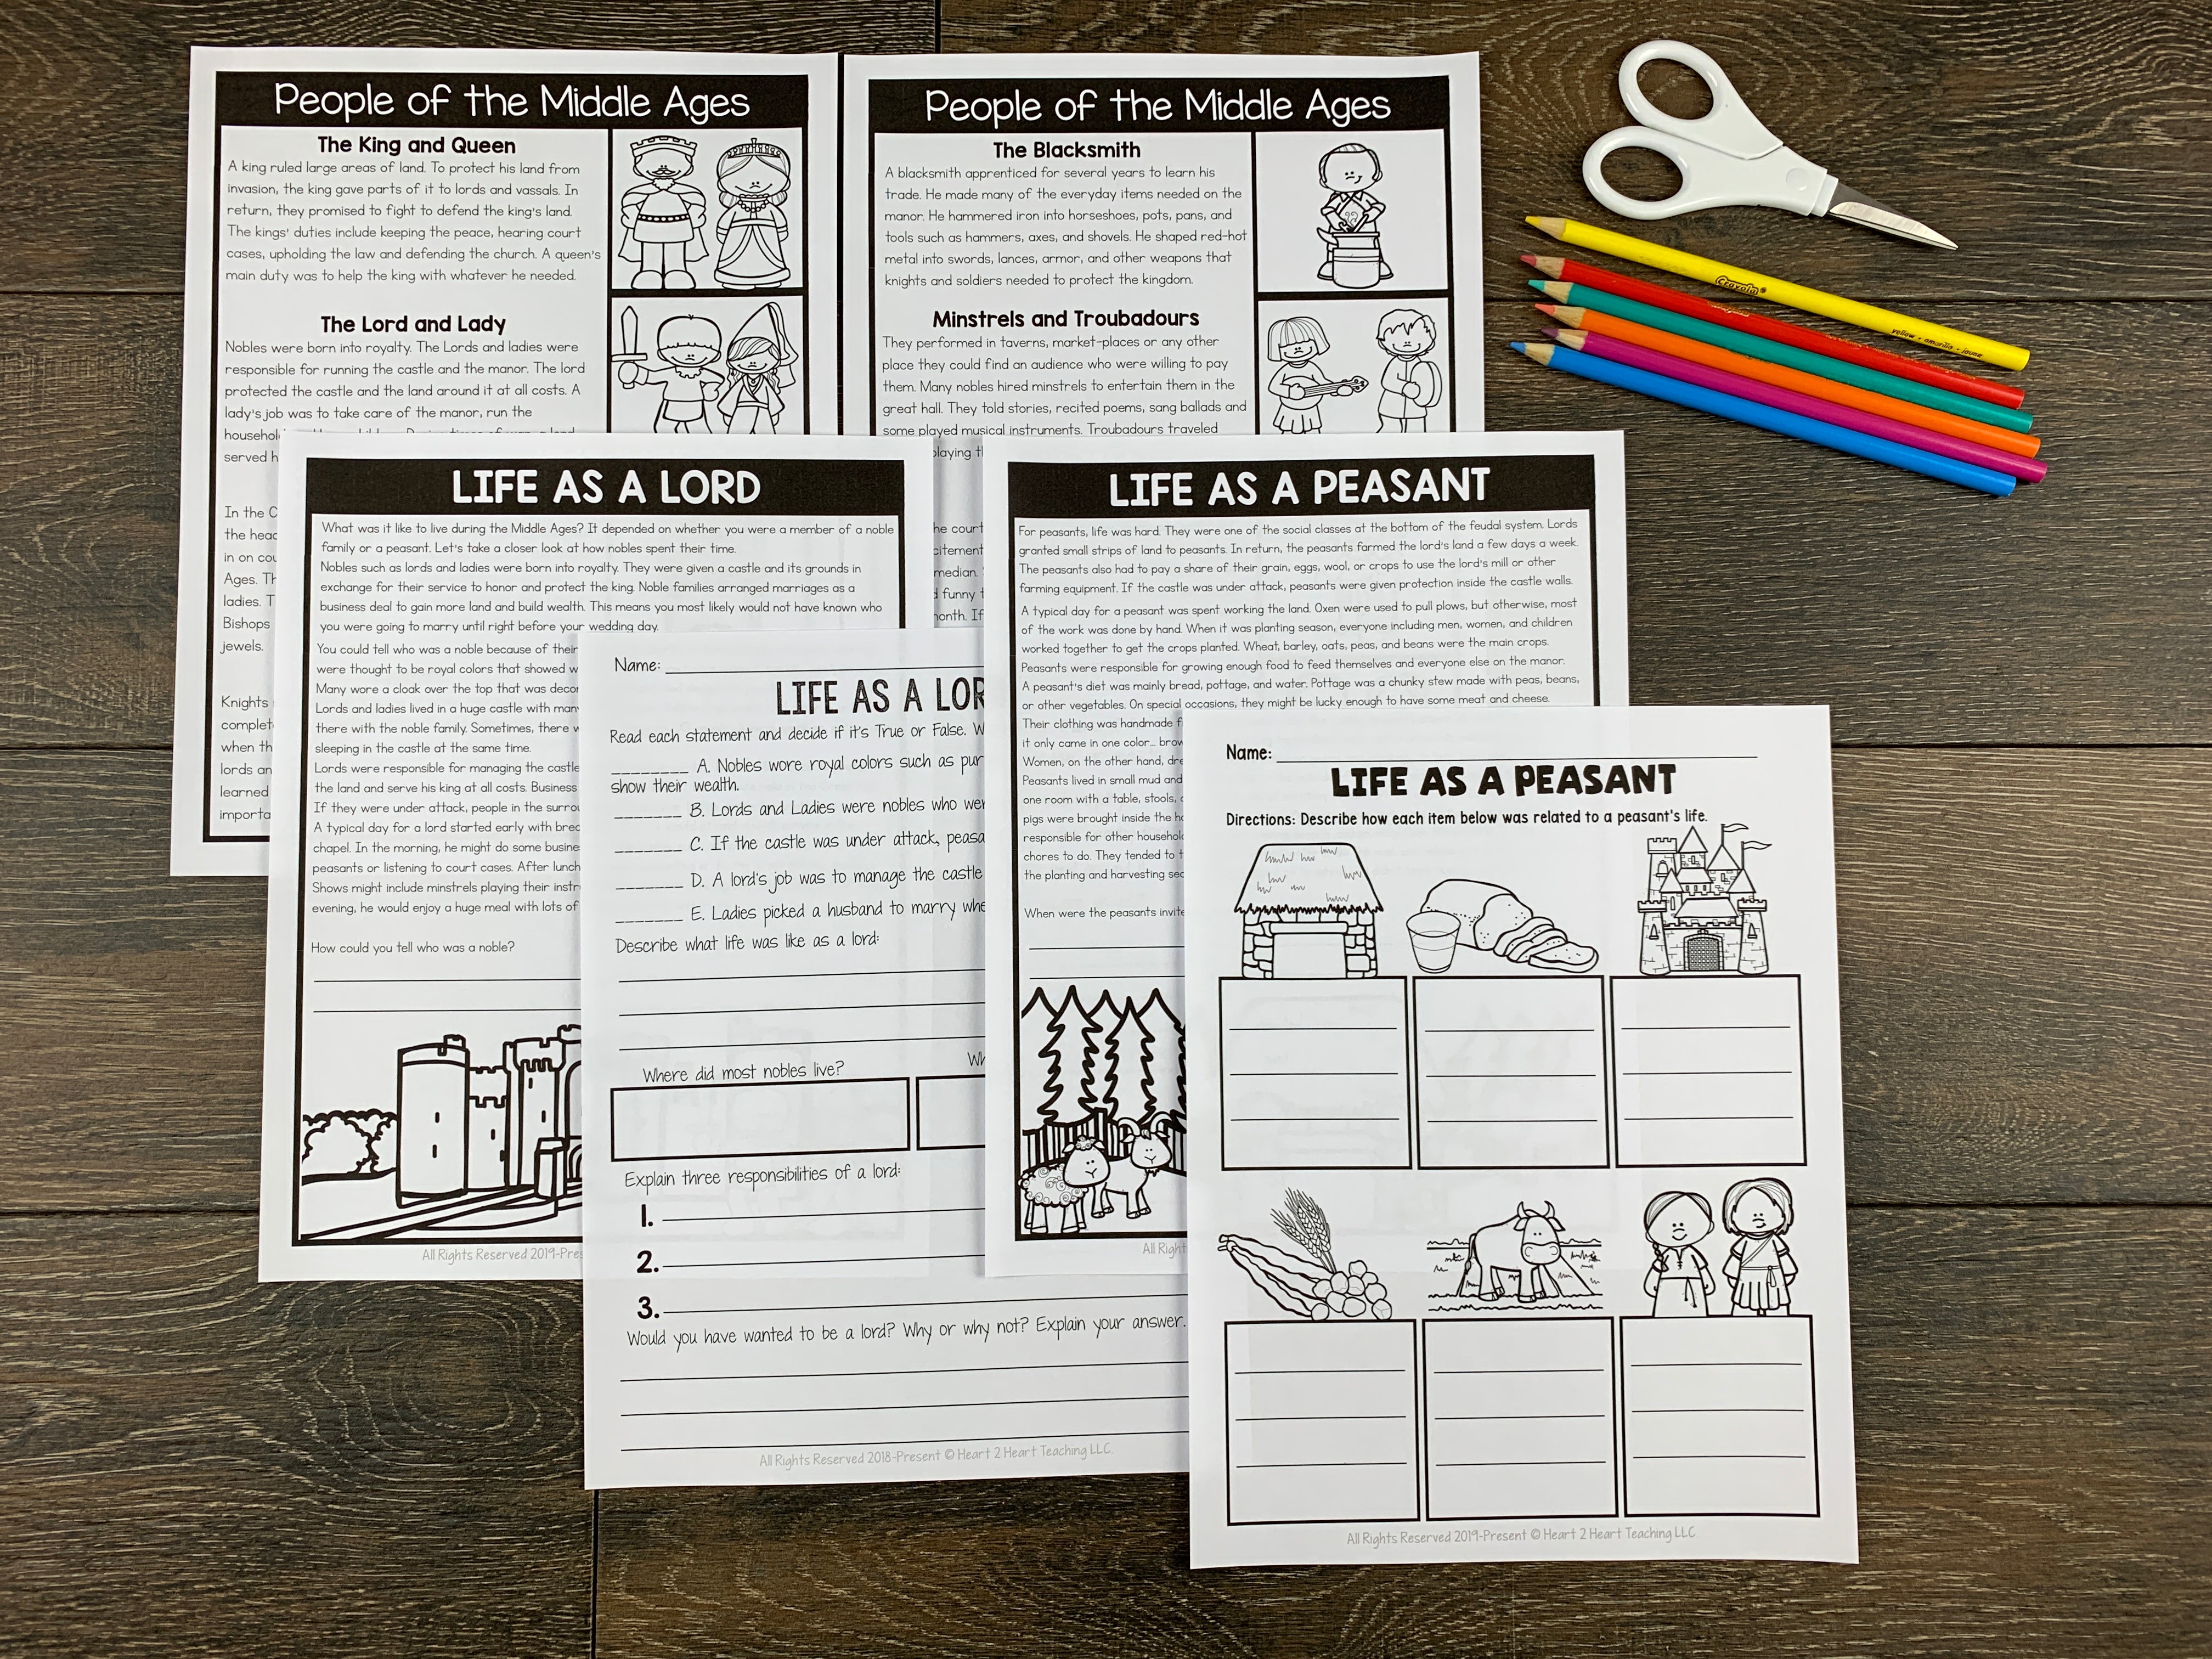
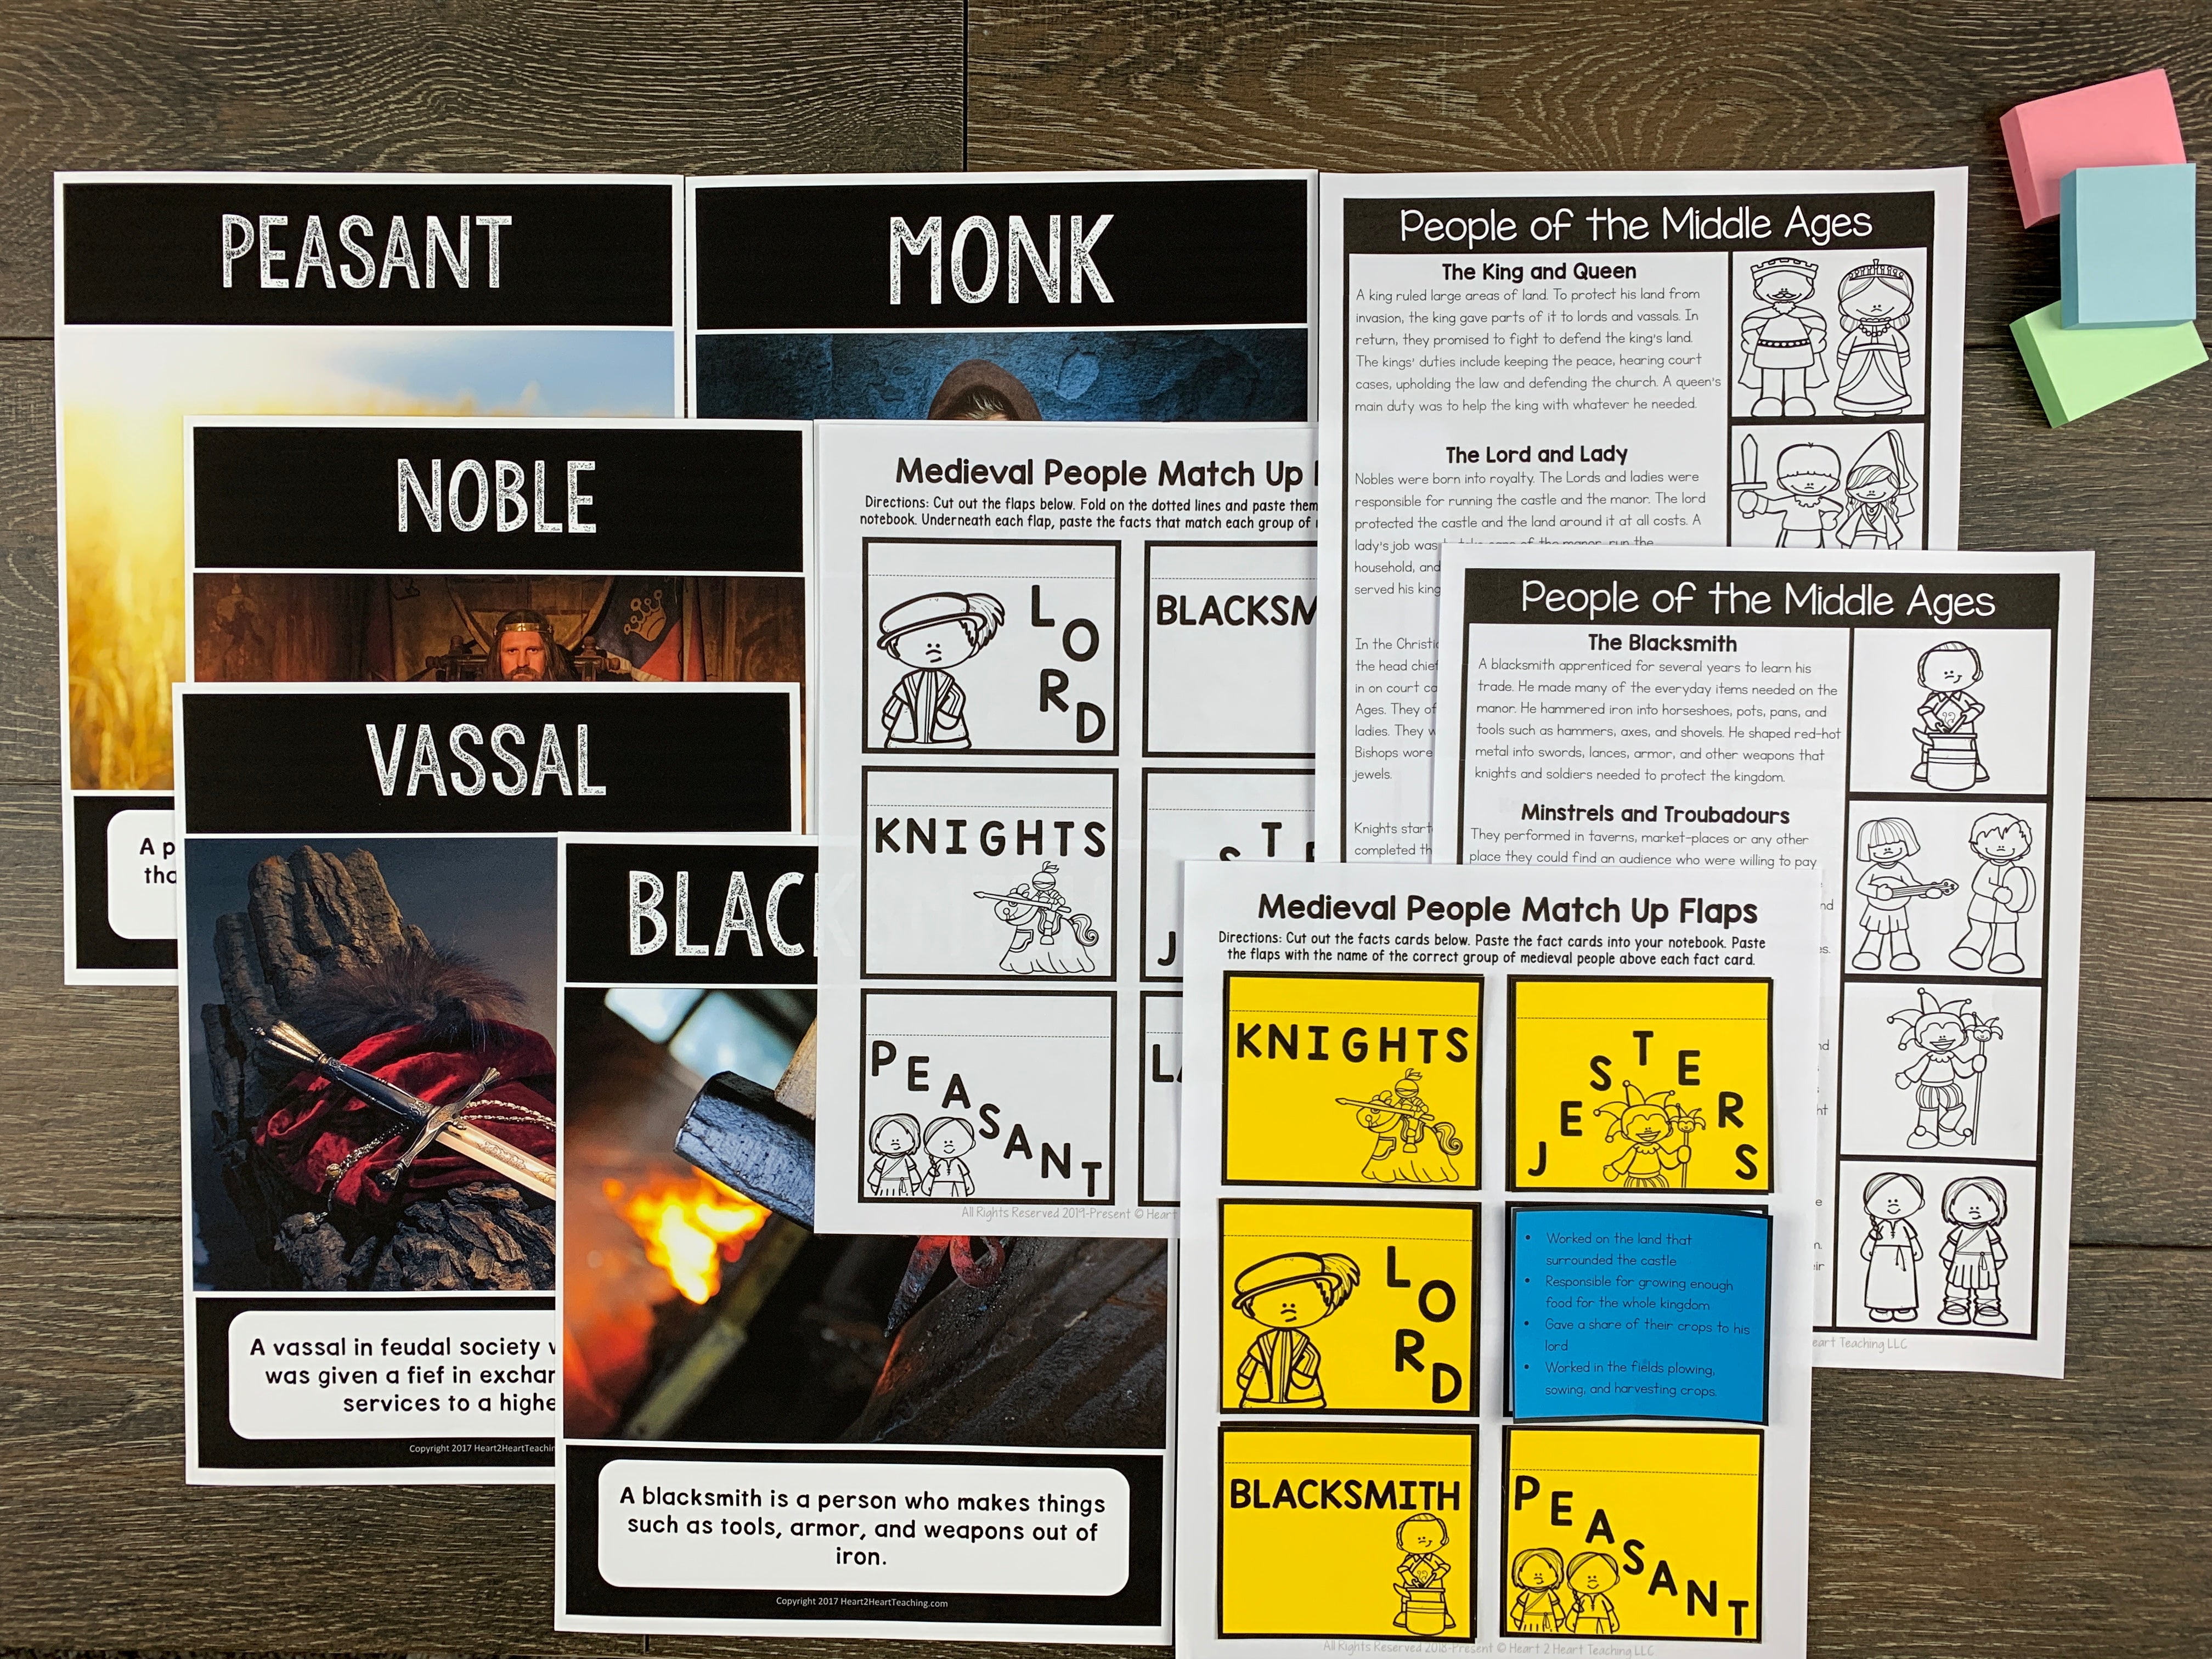
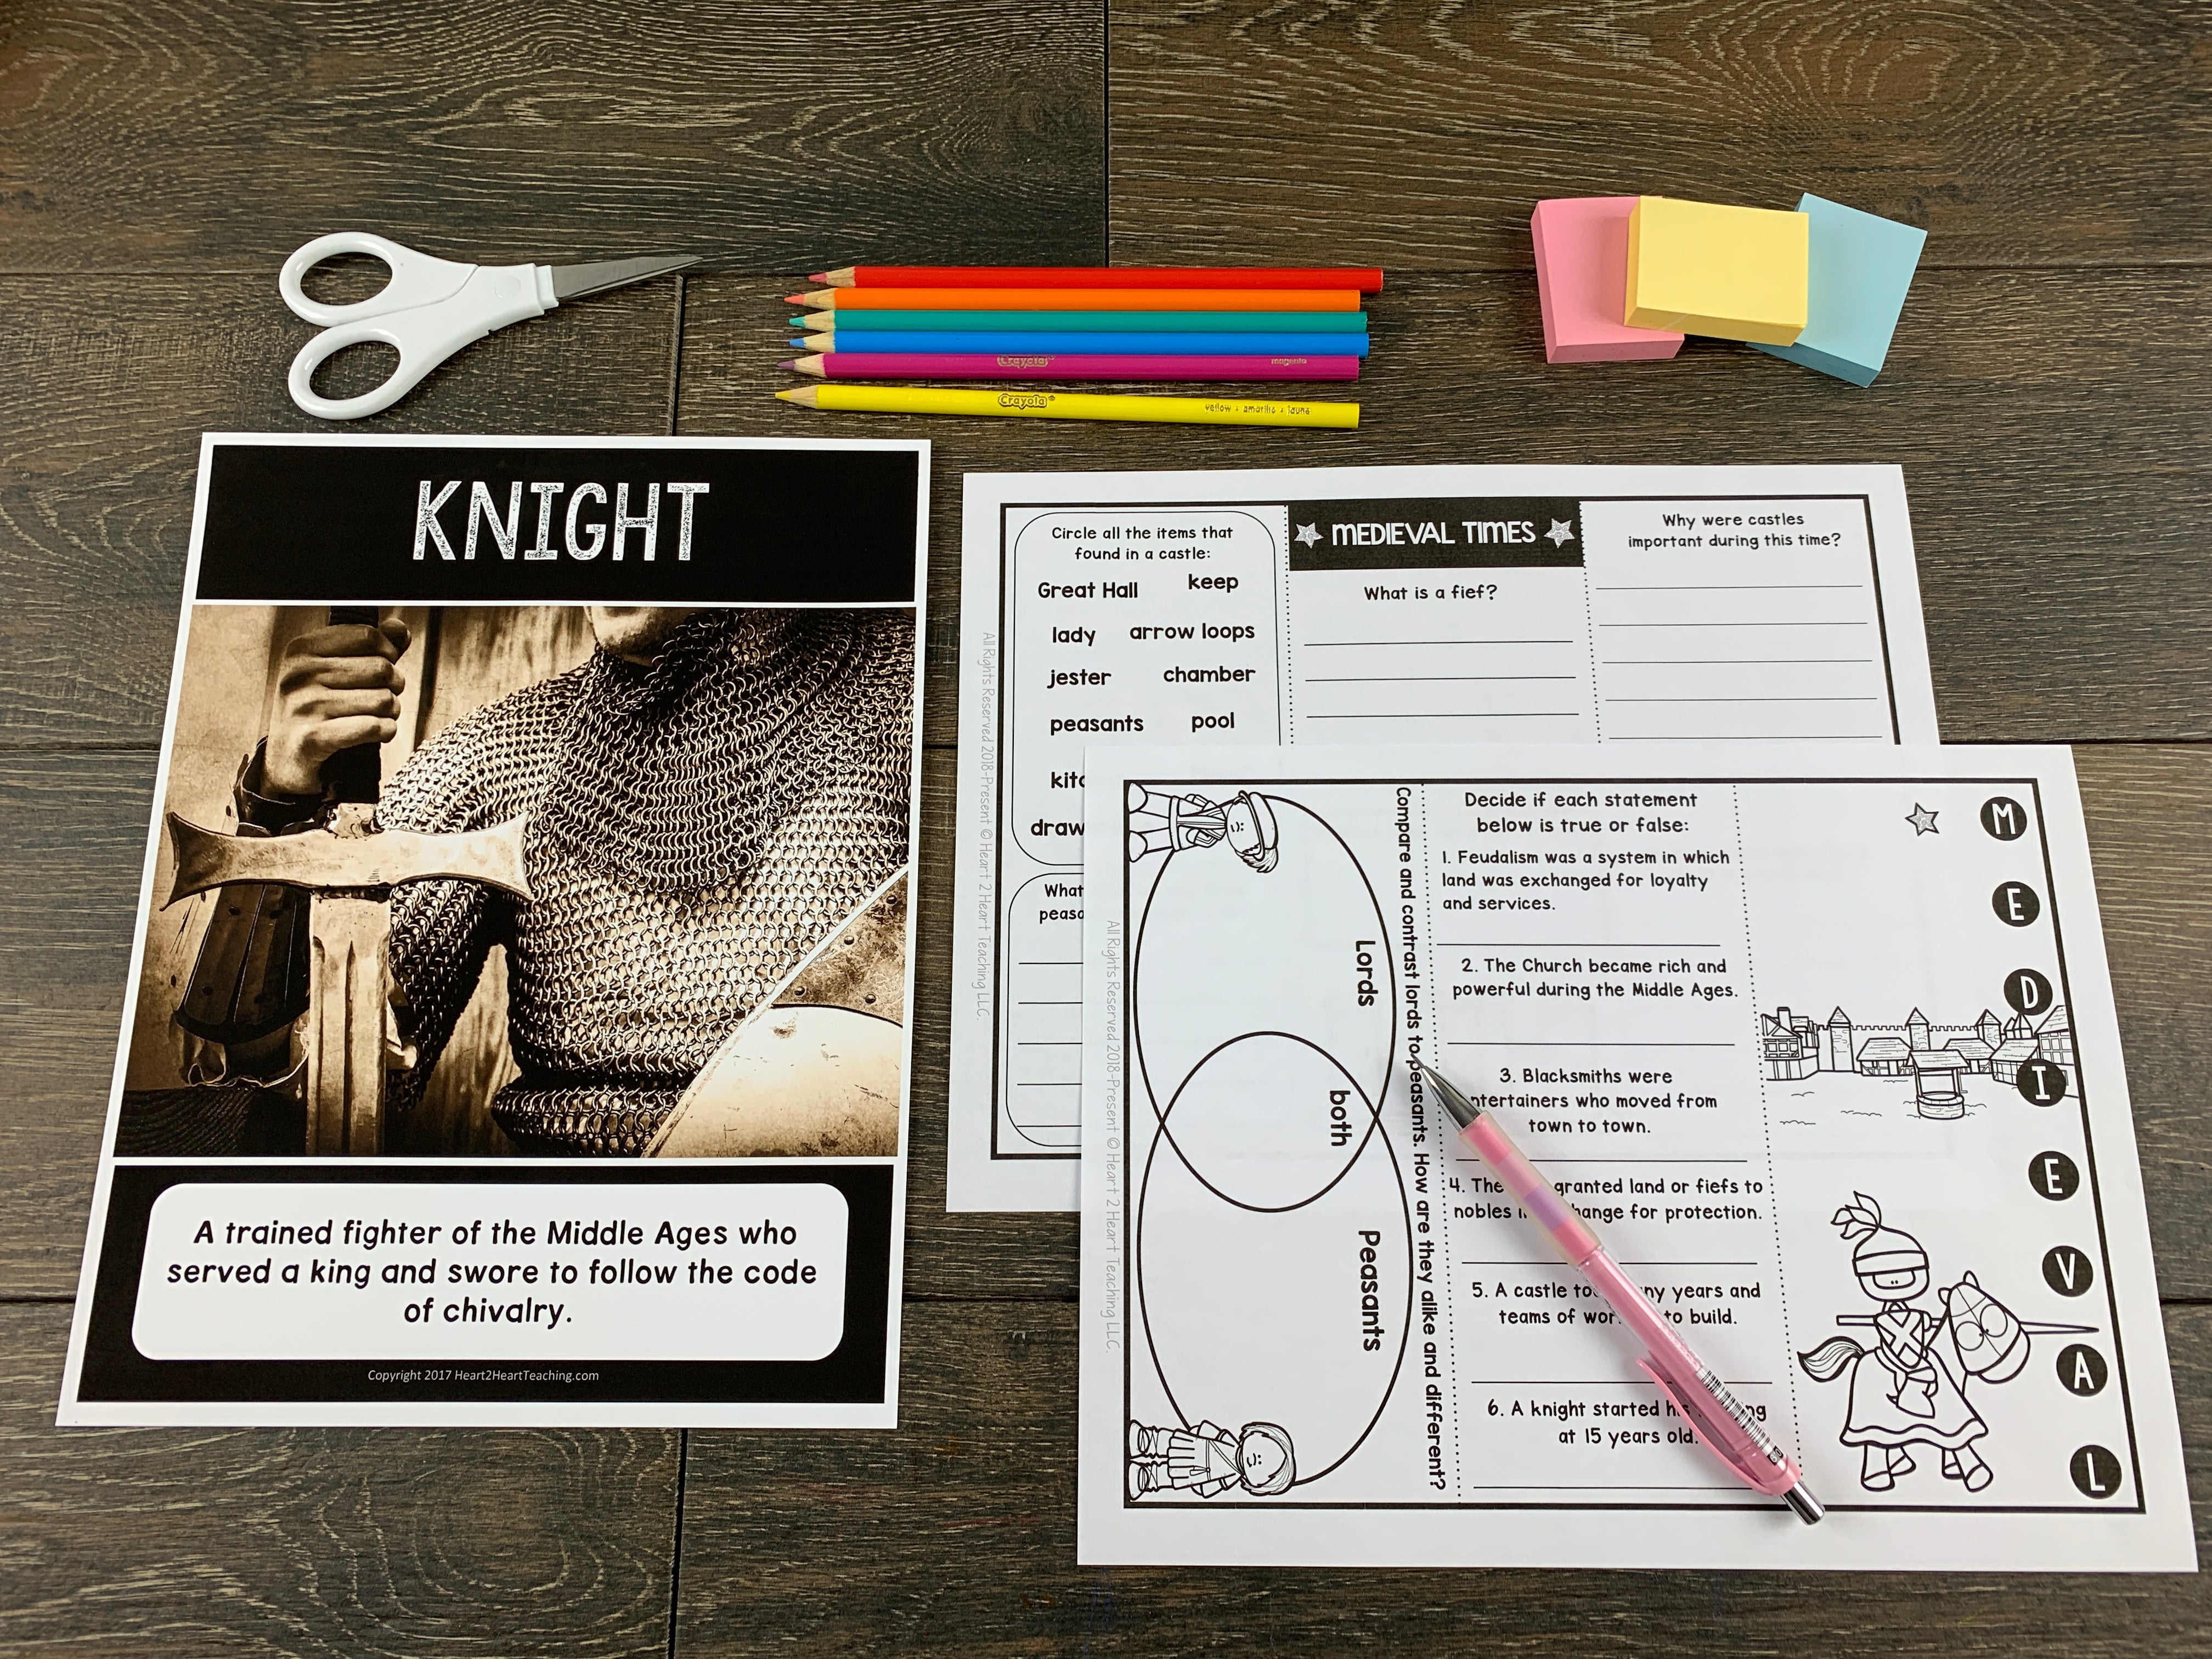
    Start off the next section by learning about People of the Middle Ages. Students will love learning about the different social classes of that time period. There are several reading passages as well as an in-depth look at what life was like as a lord and a peasant. 

    Essential Questions:

    • What was the life of a lord like?
    • What was the life of a peasant like?
    • How was life different for nobles and peasants?
    • What was life like for medieval women?
    • Name and describe some different groups of medieval people.
    • Would you have wanted to be a serf or peasant? Why or why not?

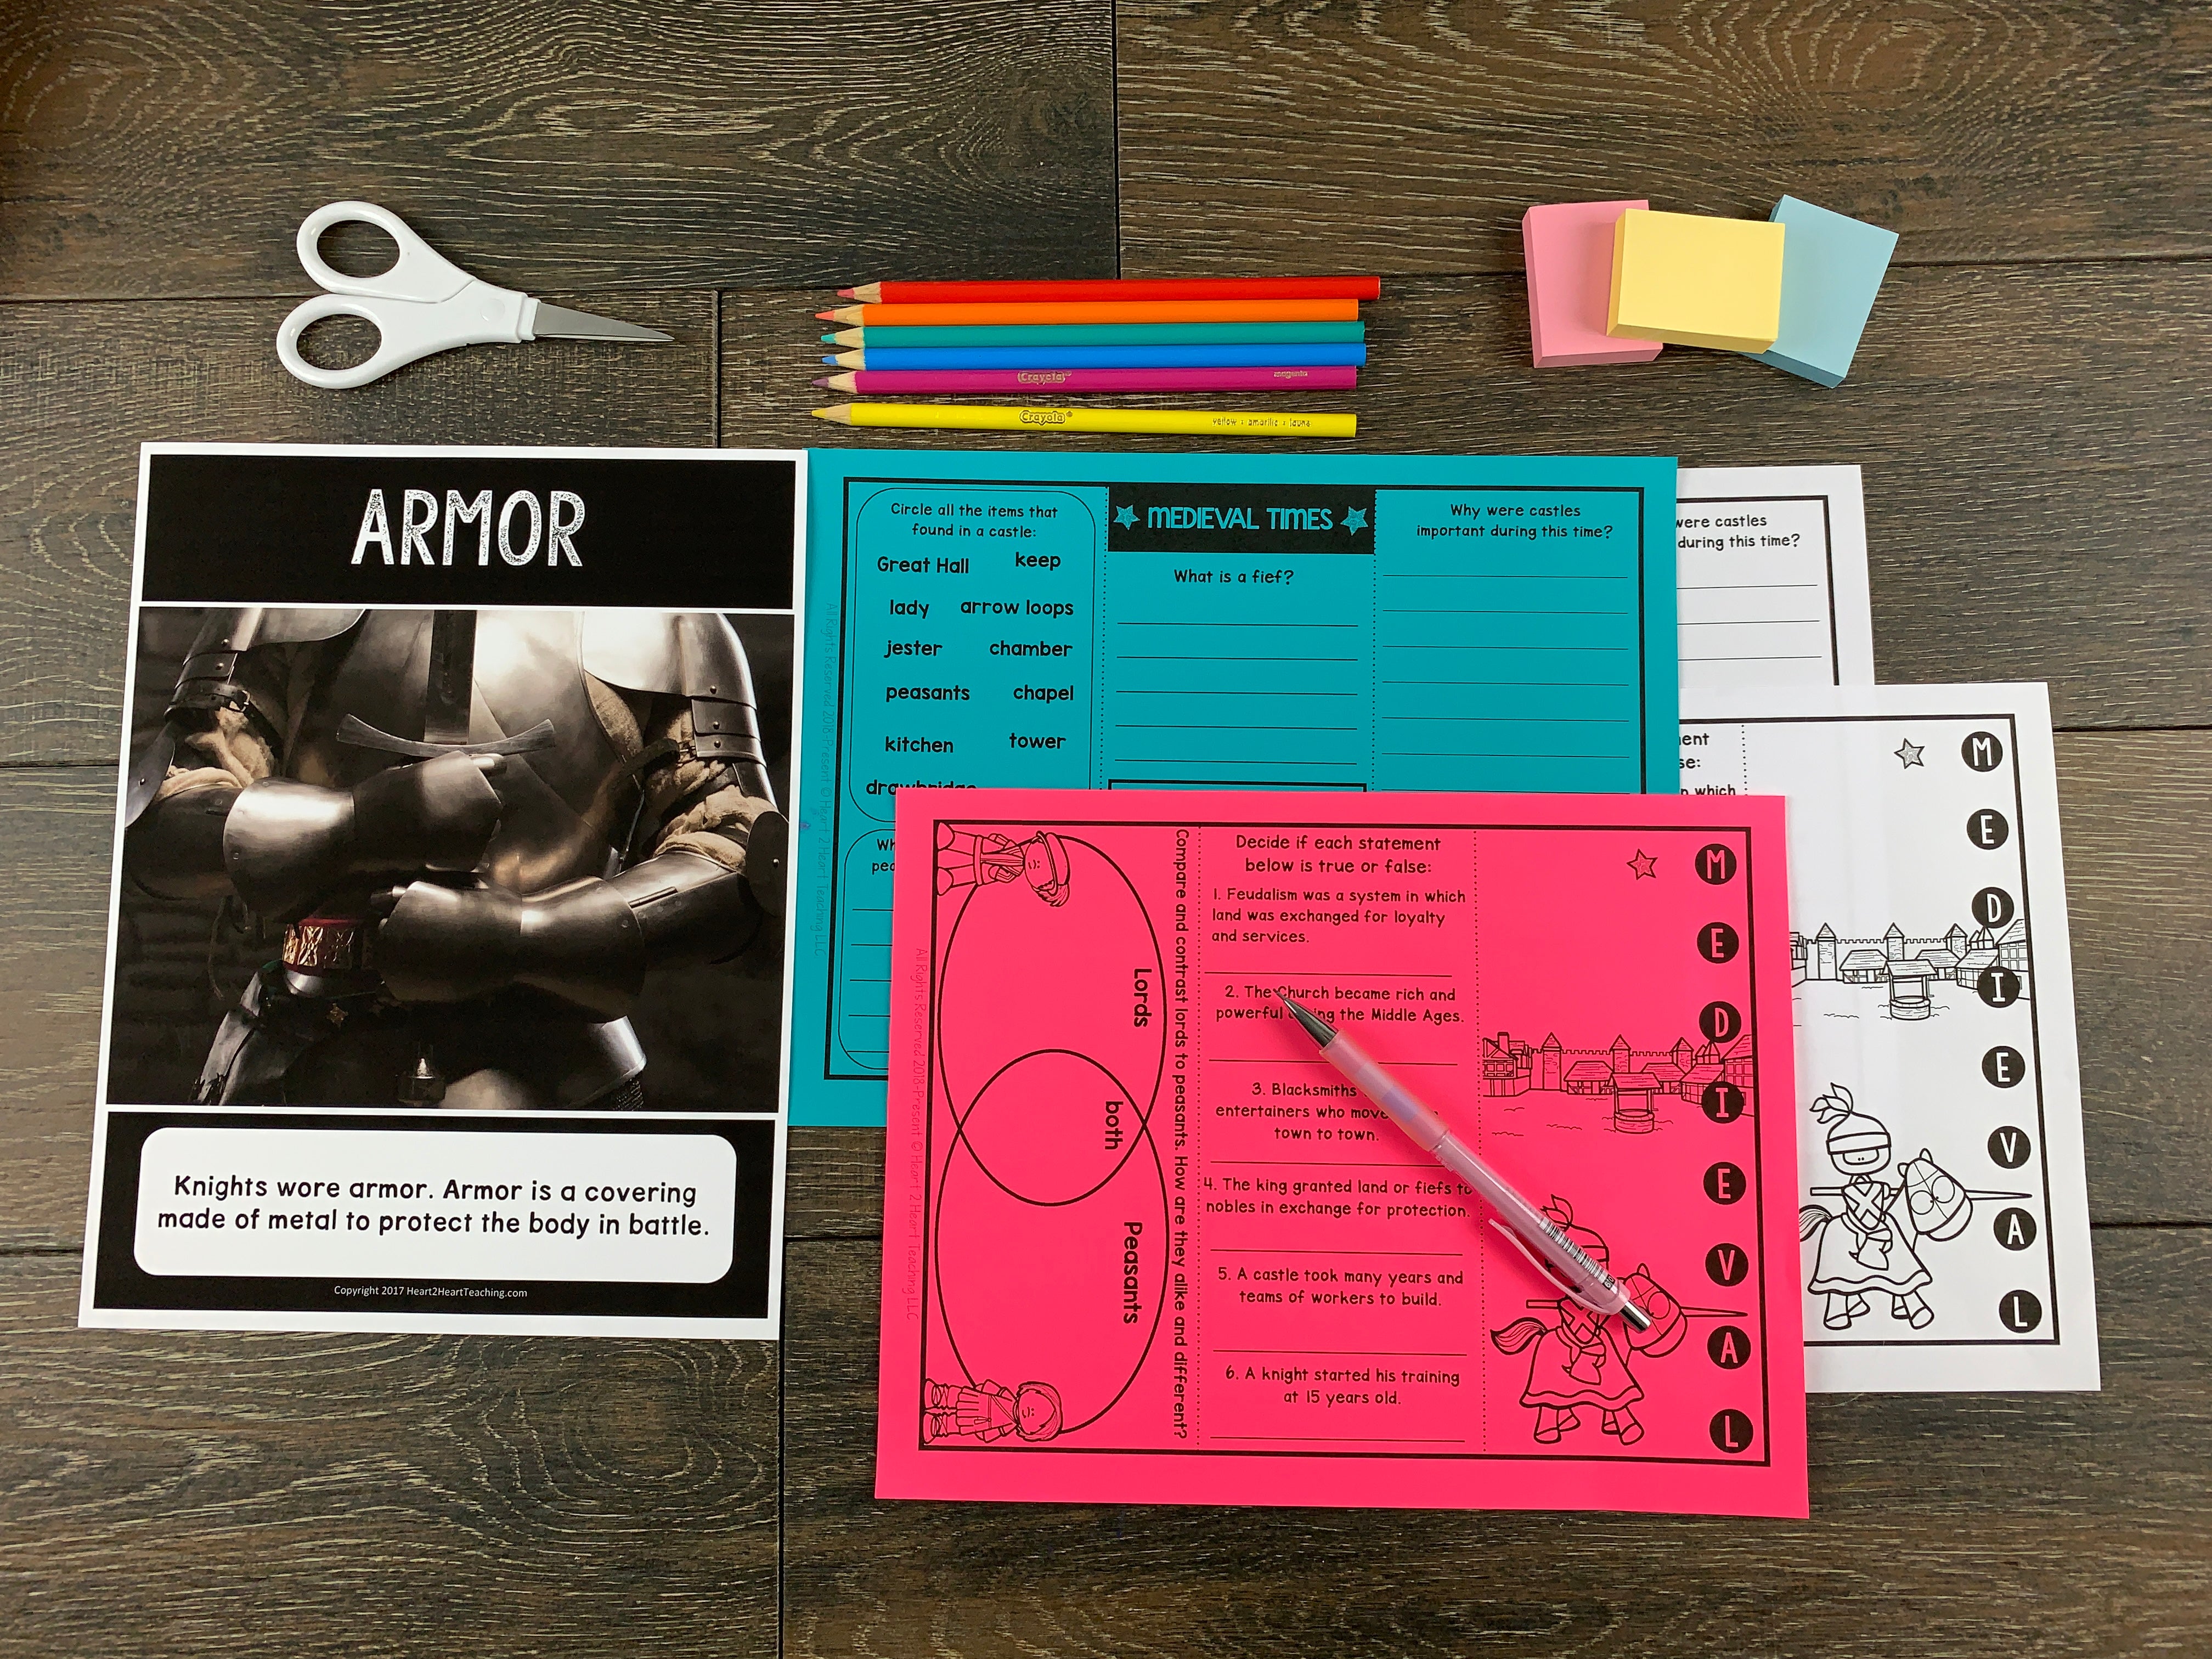
    After learning about the Medieval people, have students complete a match up flaps activity. This is a great way for students to show what they have learned. Some flaps have space for students to write in the correct answers.

     Part Three: The Feudal System

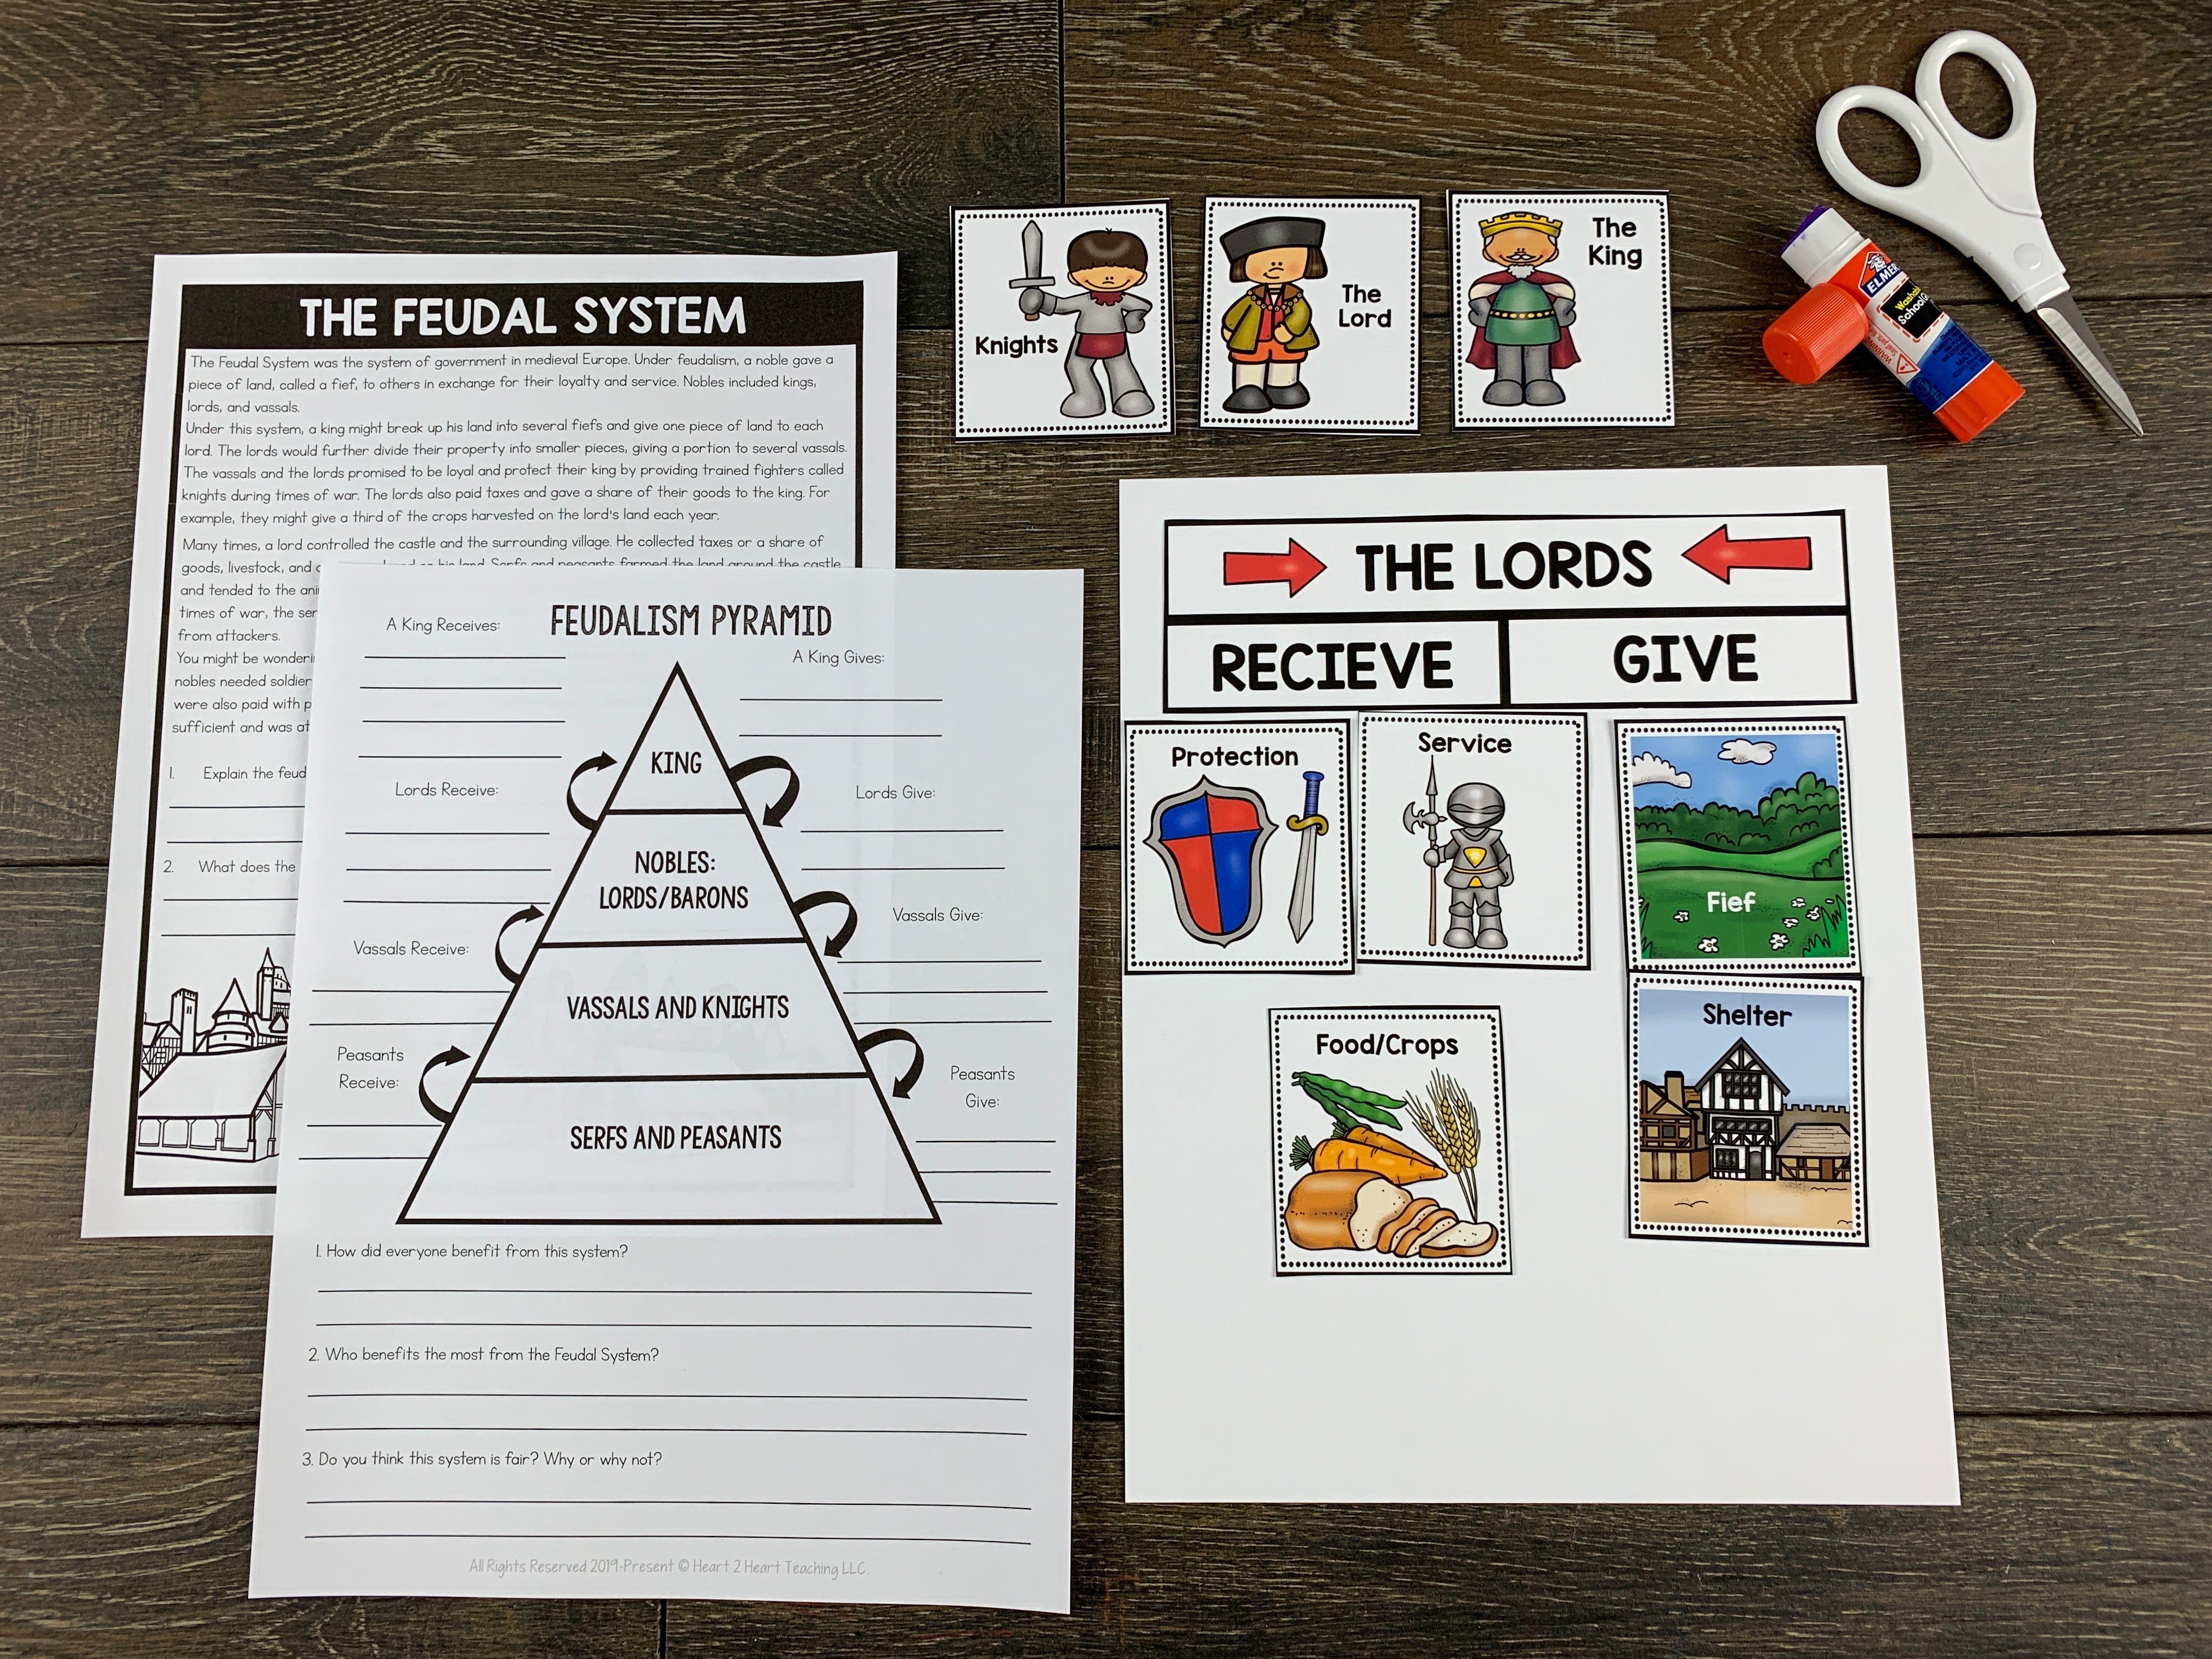
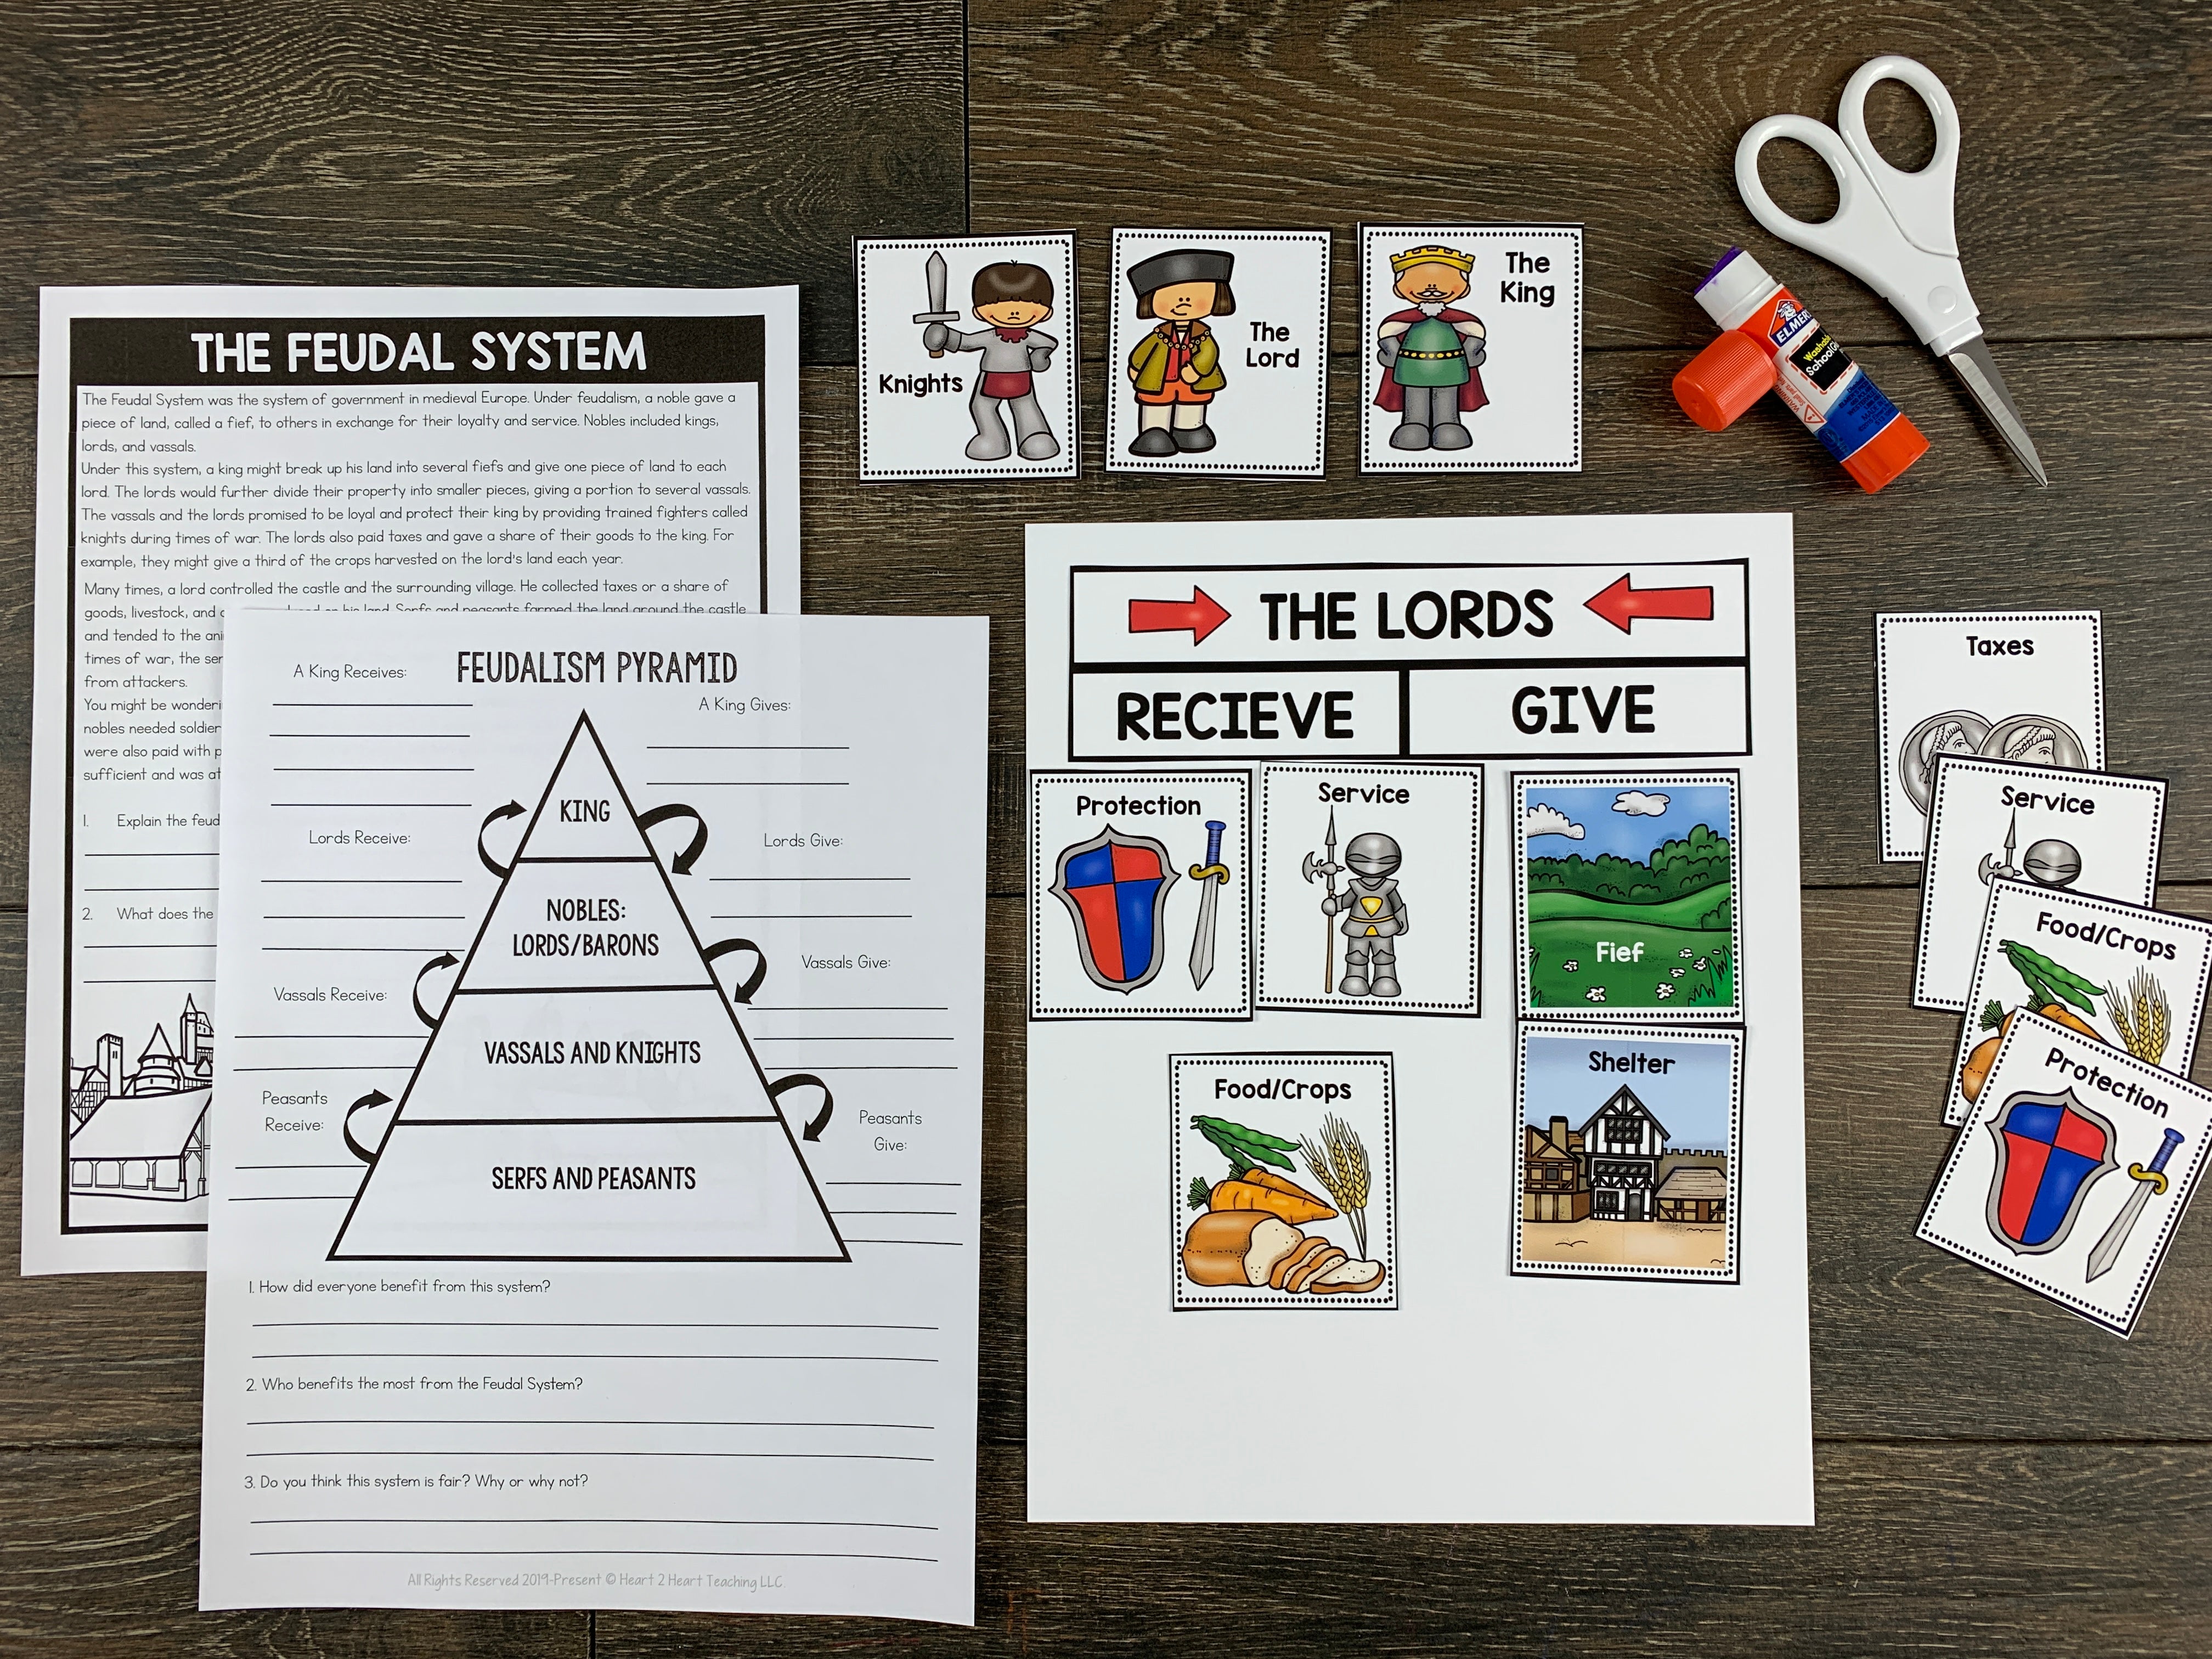
    For the second part, it’s time to learn about the Feudal System. The Feudal System was the system of government in medieval Europe. Under feudalism, a noble gave a piece of land, called a fief, to others in exchange for their loyalty and service. The Feudal System was the foundation for people living in the Middle Ages. 

    Feudalism was a system of government in medieval Europe in which land is exchanged for loyalty and service. To help students better understand and visualize this system, I recommend doing a variety of interactive activities. First, read the passage about The Feudal System and then try one or more of the activities outlined in the unit including role-playing or a poster project.

    Have students create a poster with the Feudal System Exchange Cards and Poster Project Page.

    Each group of students will need a copy of the Feudal System Exchange Cards, Poster Project Pages with Titles, Gives and Receive Boxes and a large sheet of construction paper.

    First, students cut out all the exchange cards, title boxes, gives and receives cards. Next, students paste The King at the top of the page with the Gives and Receive boxes underneath it. Students discuss as a group and use the Feudal System Diagram page as a source to help them figure out what the King gives and what the King receives and place those cards under the correct column. Repeat this process for each of the four groups of medieval people. Check over their posters to be sure the cards are correct before having them paste the cards to the paper.

    Essential Questions:

    • Why did the feudal system develop in Europe?
    • How did the feudal system hold communities together?
    • Who benefited the most from the feudal system?
    • Do you think the feudal system fair?
    • How is the feudal system different from a democracy?

    Part Four: Medieval Castles

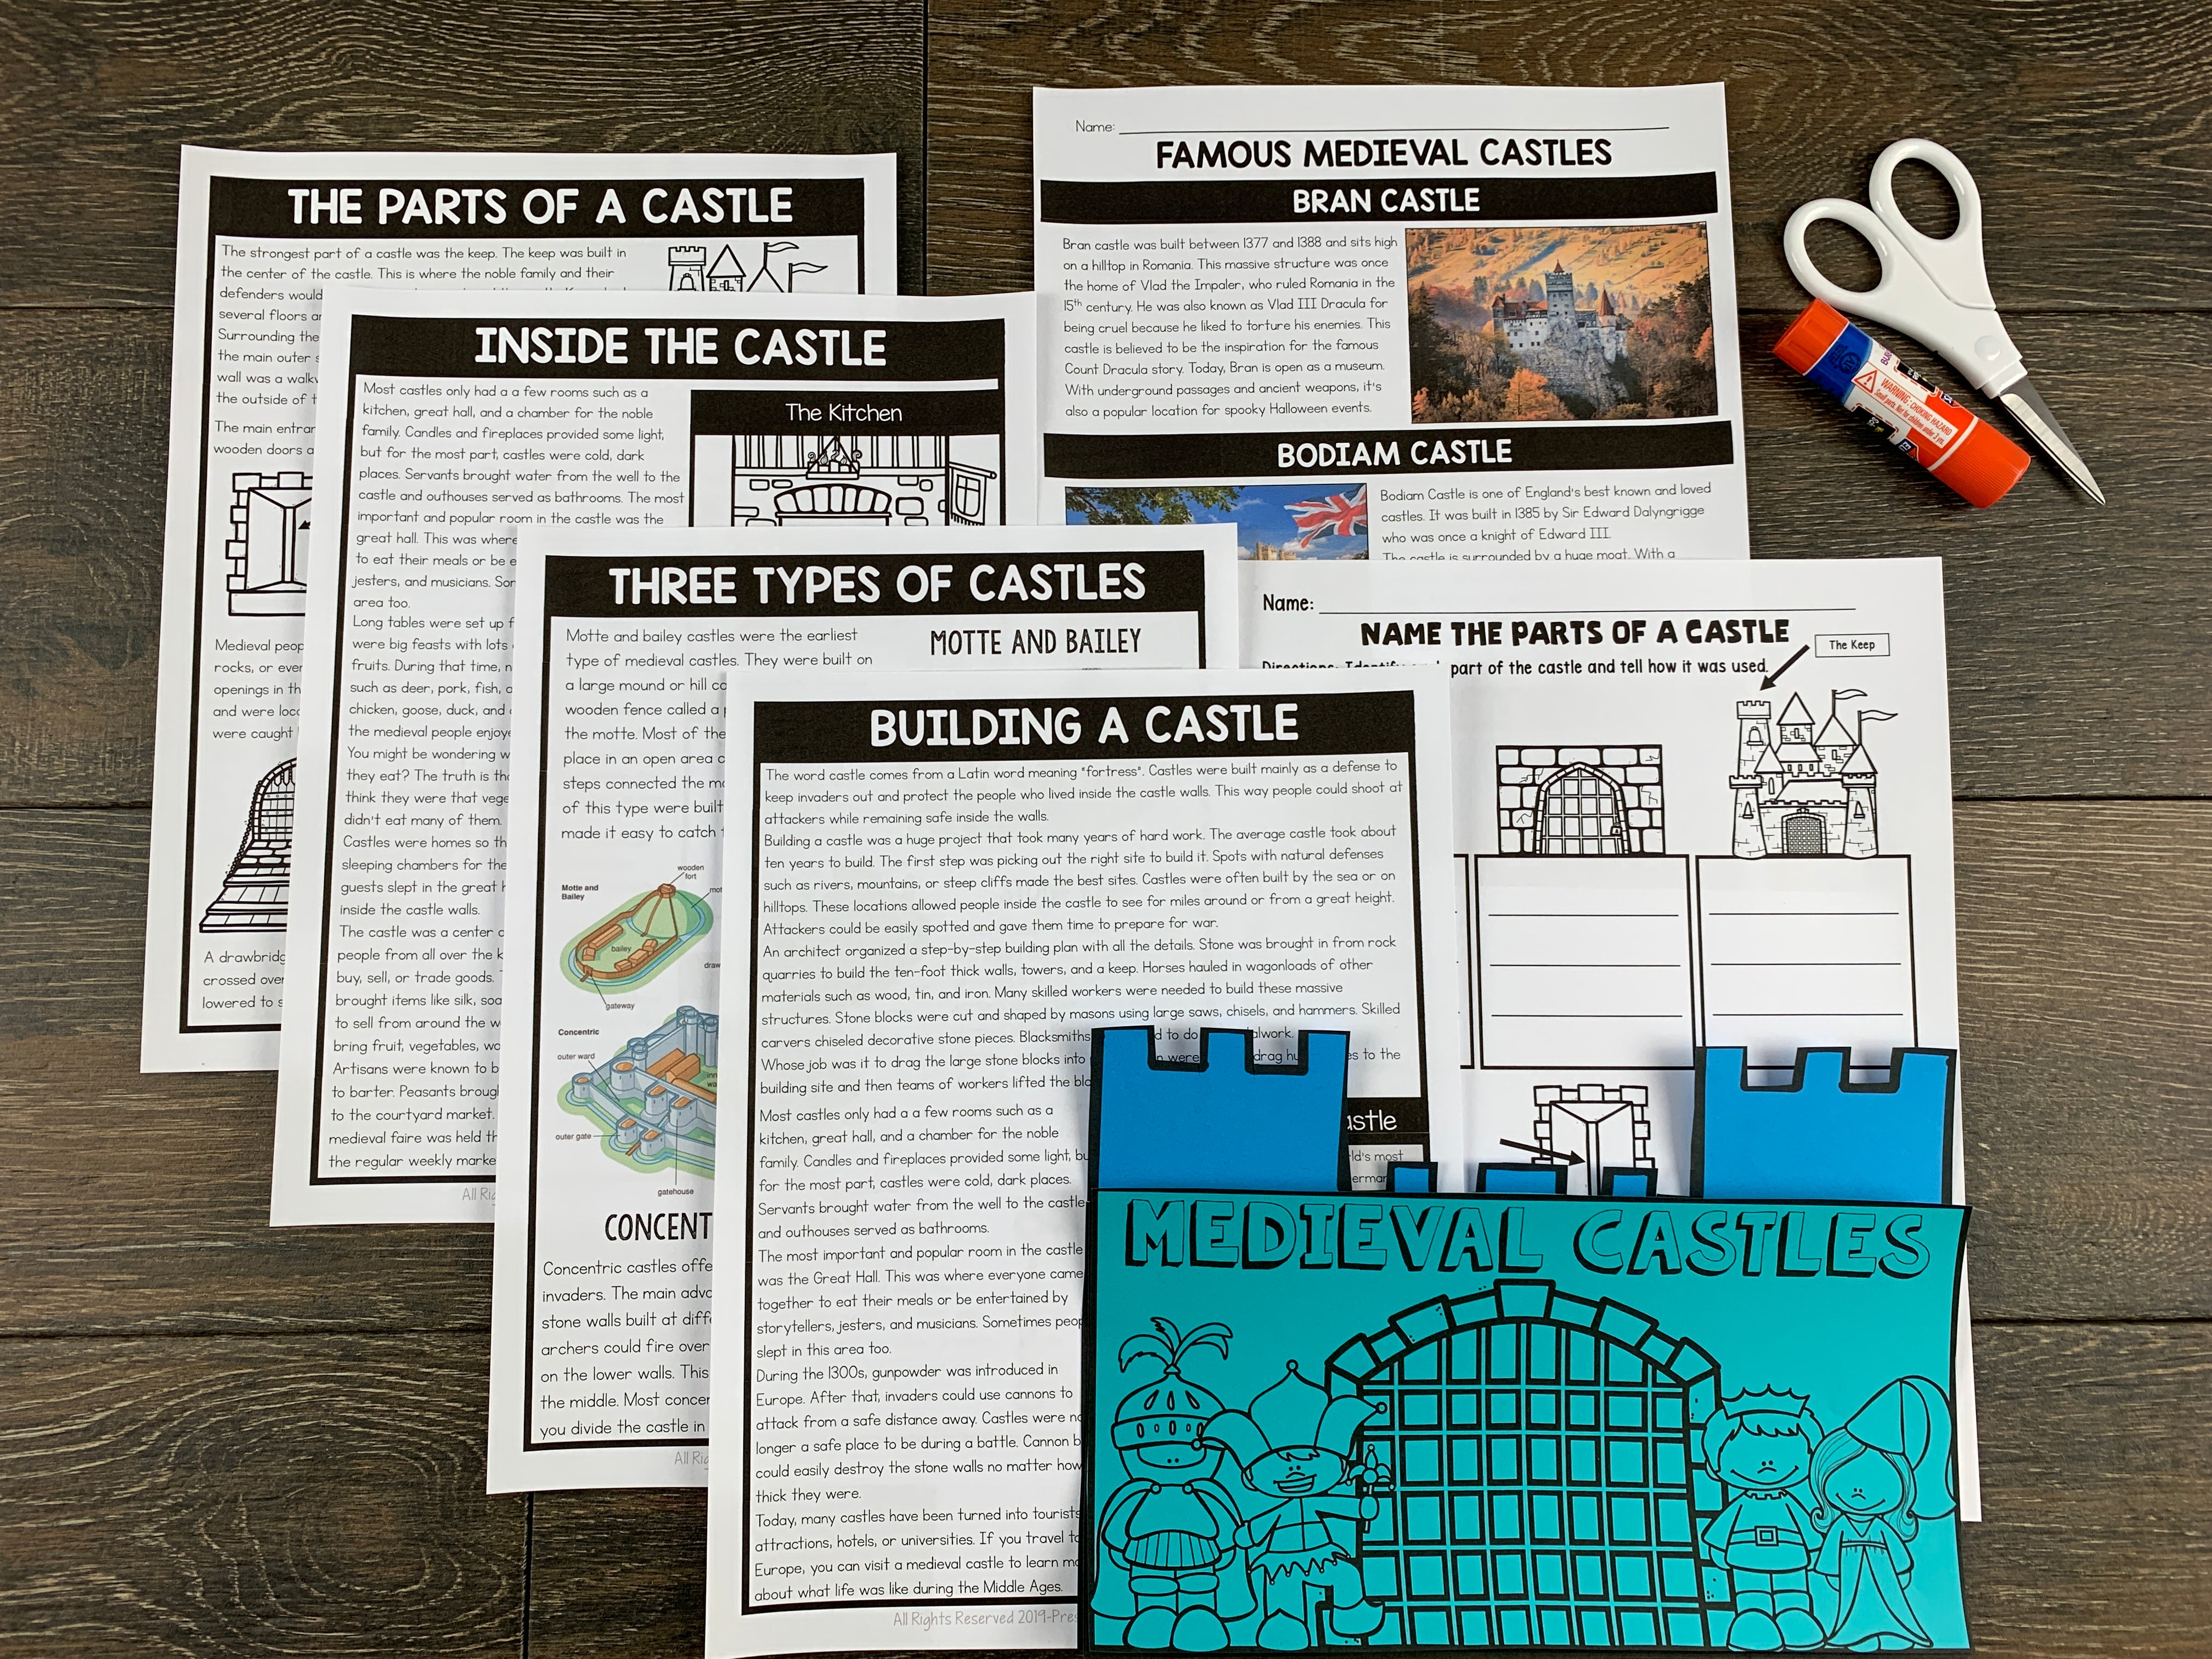
    Castles were built mainly as a defense to keep invaders out and protect the people who lived inside the castle walls. This way people could shoot at attackers while remaining safe inside the walls. There are several passages all about castles including:

    • Building a Castle
    • Inside the Castle
    • The Parts of a Castle
    • Three Types of Castles
    • Famous Castles

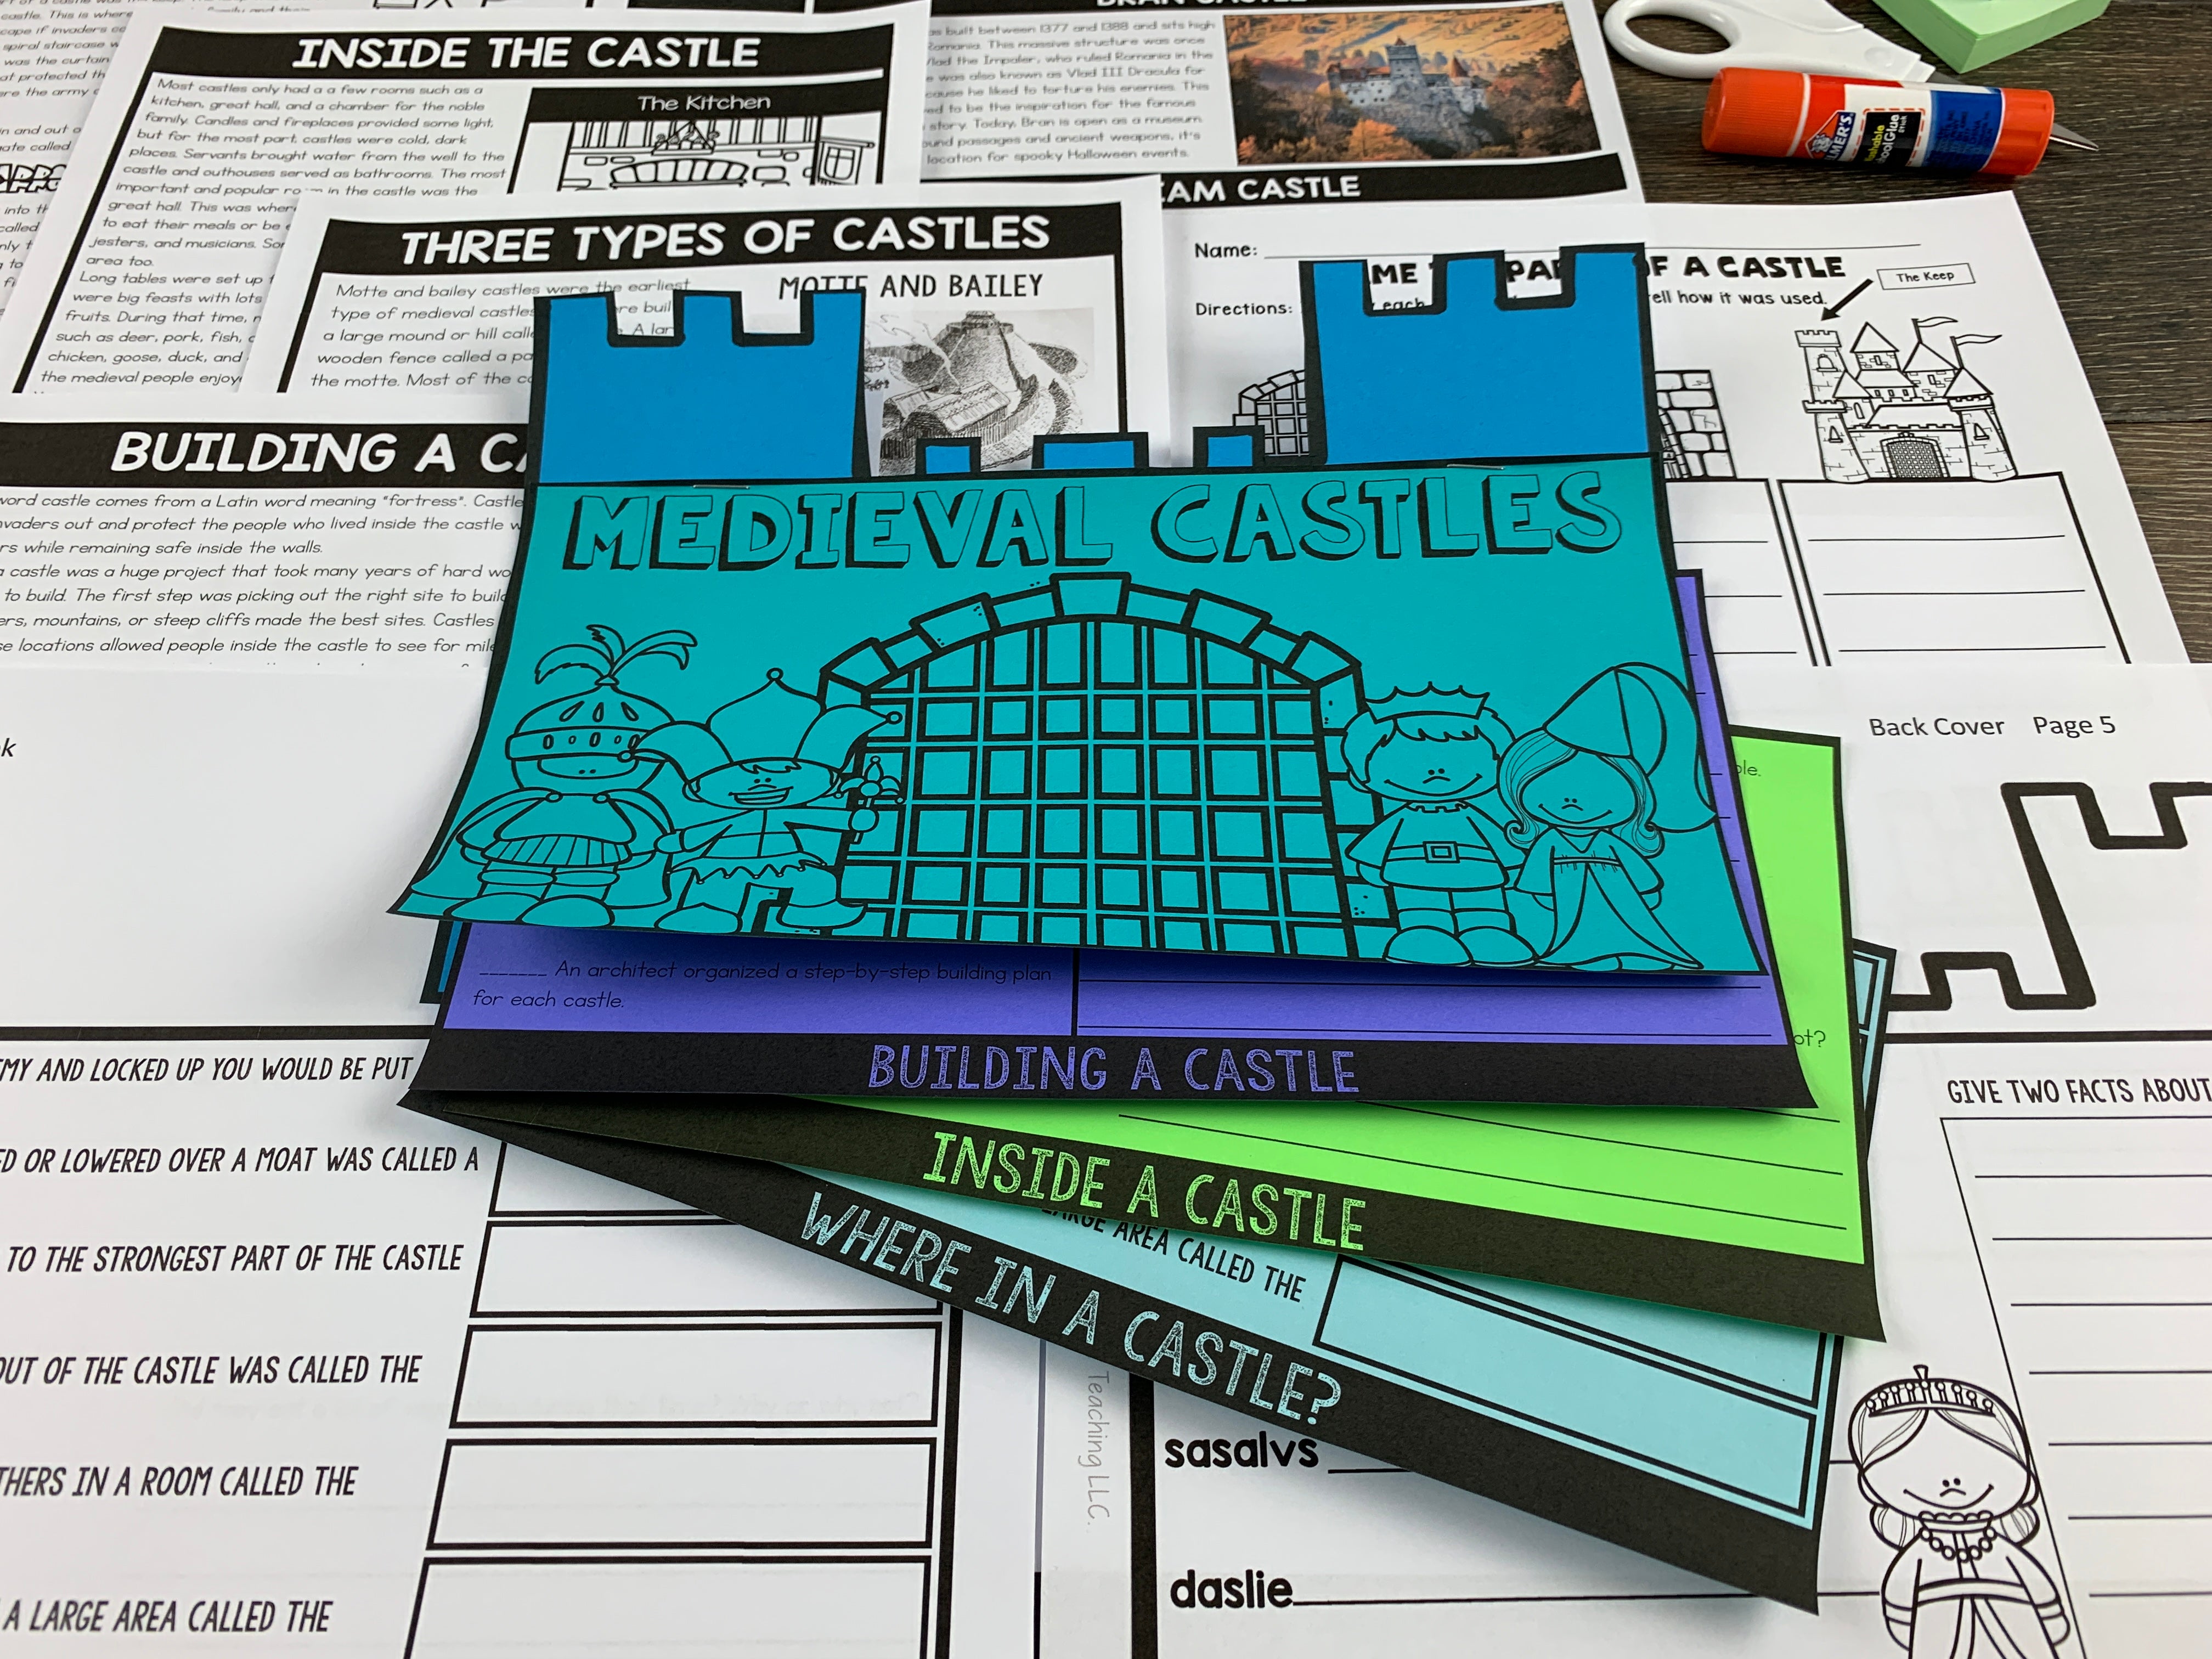
    There are several hands-on activities about castles included in this unit. But I’m positive that the Castle Flip-up booklet will be one of the most favorite activities for students to complete. There are five pages with different activities related to each of the articles. Then students cut out the castle-shaped booklet and assemble it to create a castle flip-up booklet. 

    Essential Questions:

    • What was life like in a castle?
    • Why were castles built?
    • How were castles built?
    • Name and describe the parts of a castle.
    • Name the three types of castles.
    • How did castles change over time?

    Part Five: Becoming a Knight

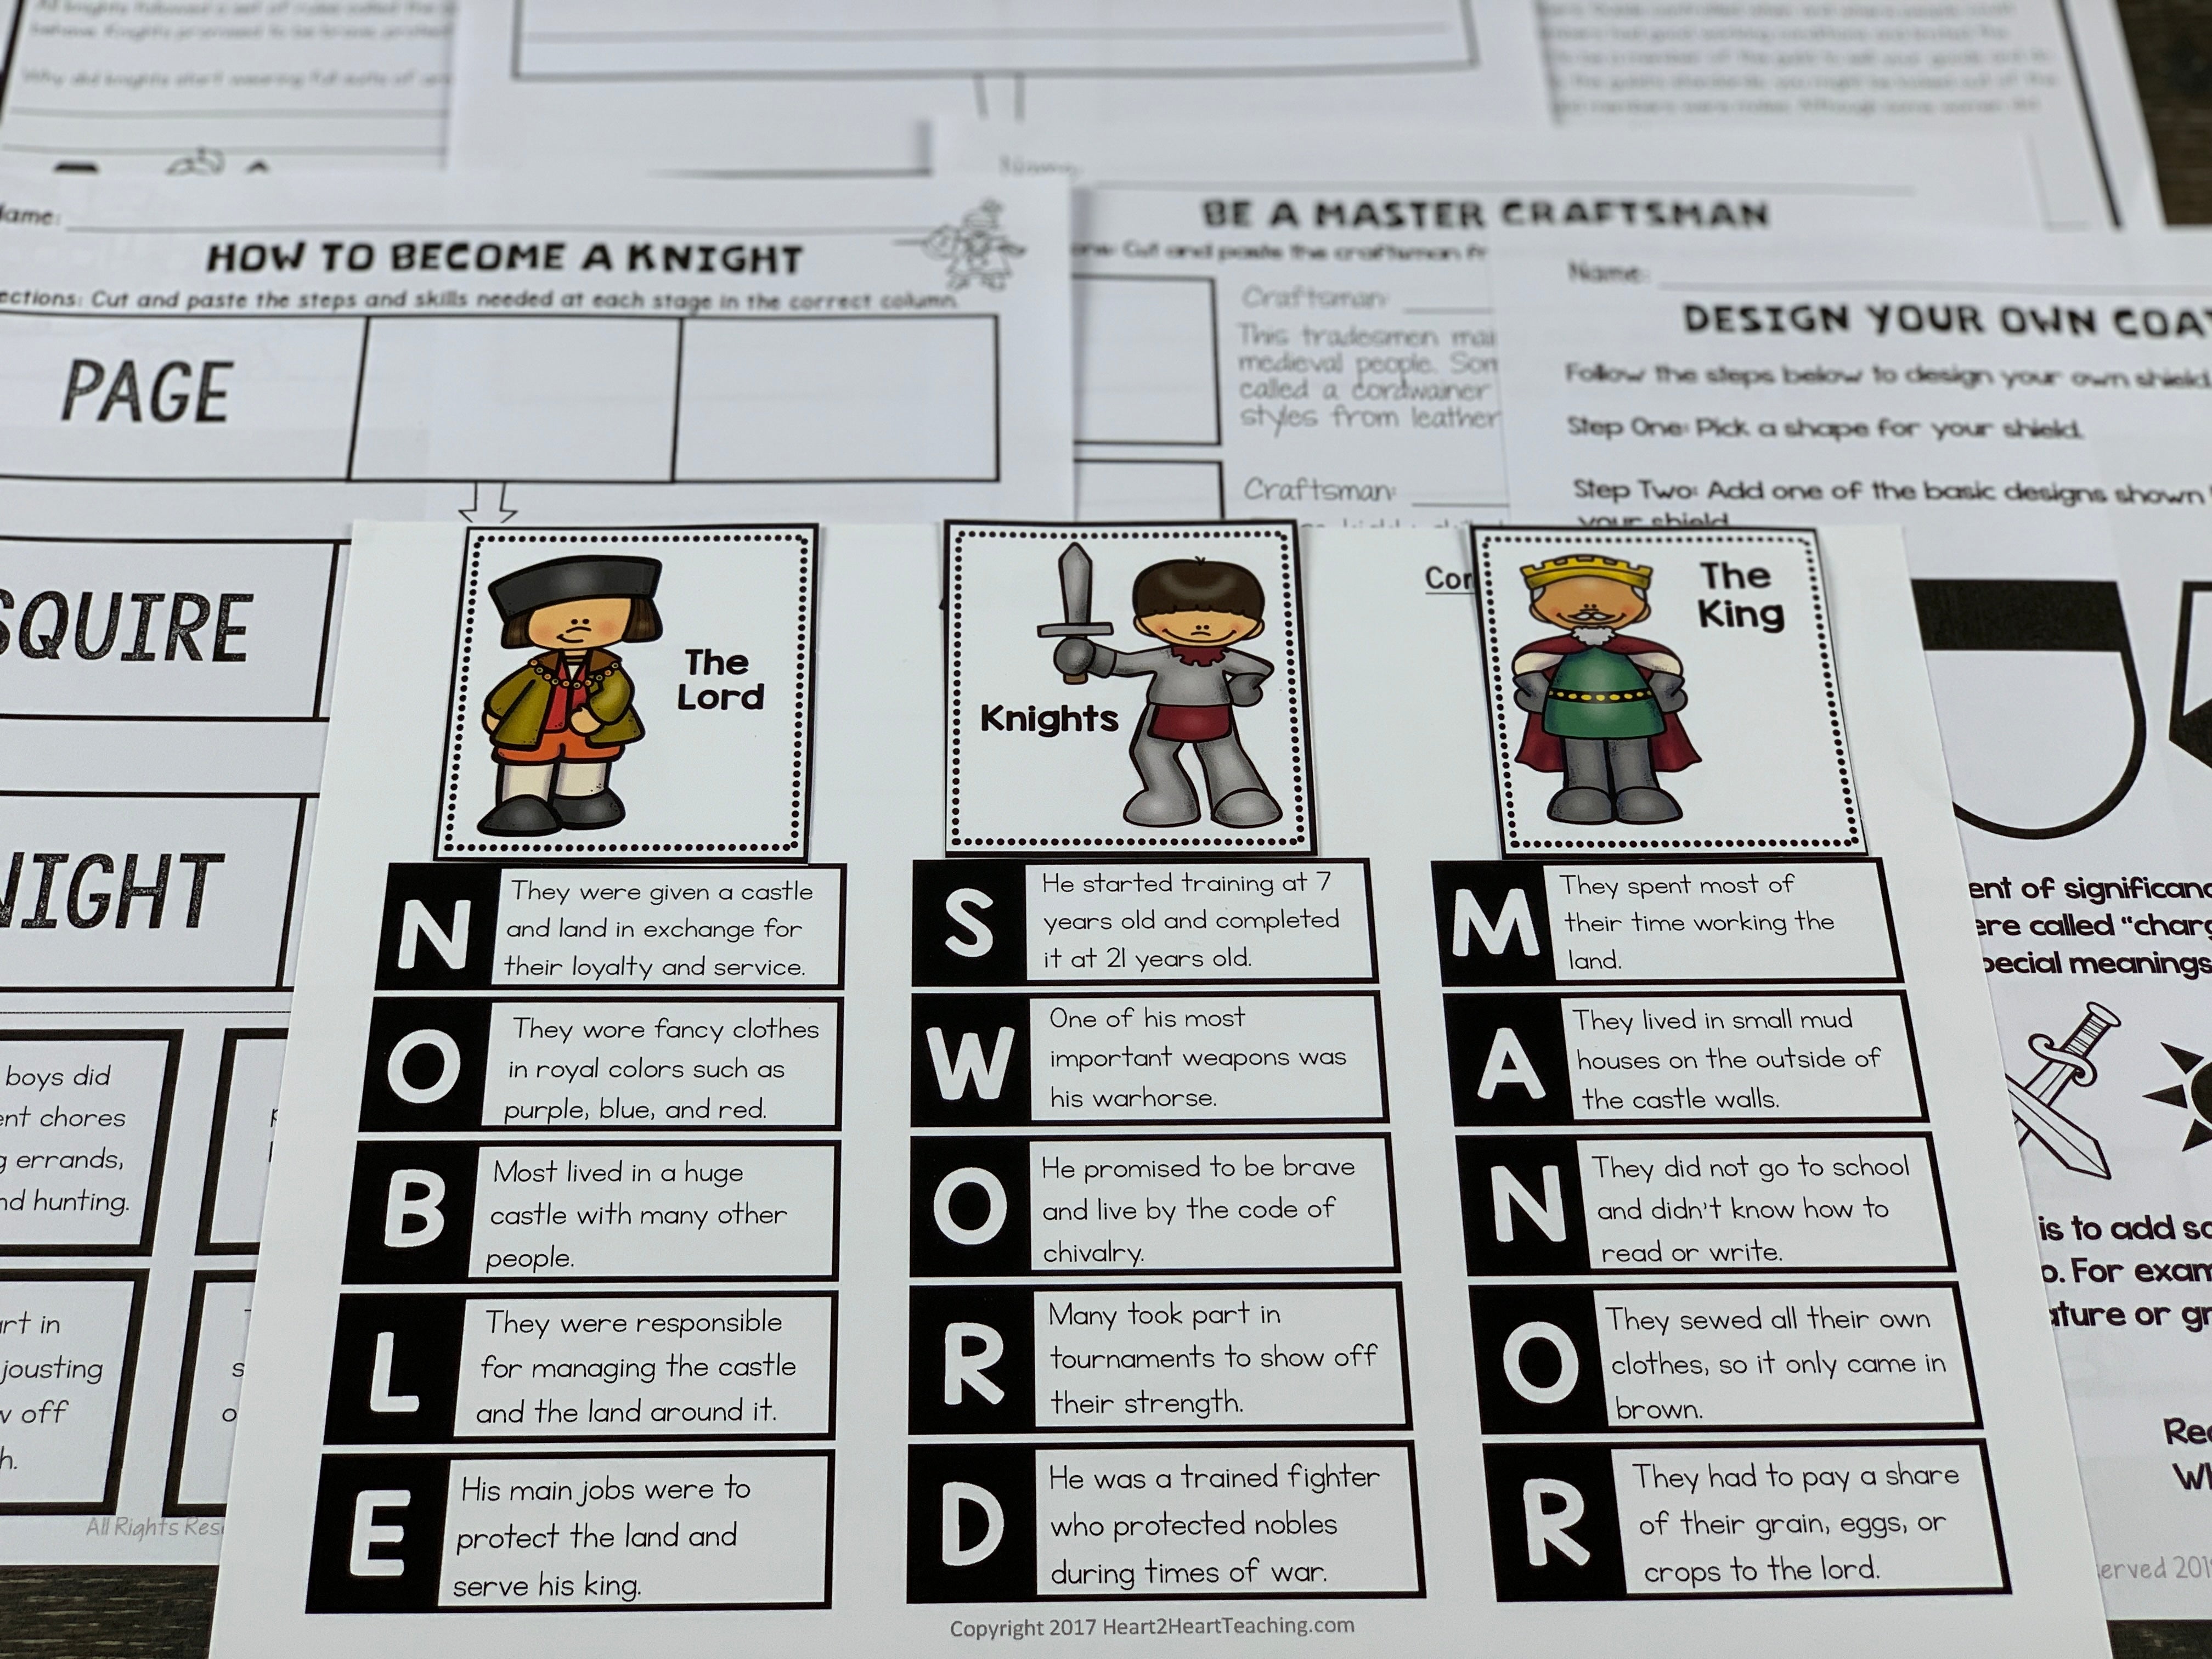
    Not just anyone could become a knight. Only boys from wealthy, noble families could afford to pay for a horse, weapons, and the armor needed. If you were one of the lucky ones, training to become a knight started when you turned seven years old. Students will enjoy learning about the steps to become a trained fighter or knight. Many people during the Middle Ages apprenticed to become other skilled tradesmen such as blacksmiths, masons, or tailors. 

    They can complete a trifold booklet and design their own coat of arms as culminating activities to wrap up this part of the unit.

    Essential Questions:

    • What were the steps to become a knight?
    • What was the life of a knight like?
    • What was the code of chivalry?
    • Why were guilds important?
    • How did a journeyman become a master craftsman?

    Part Six: Famous People of the Middle Ages

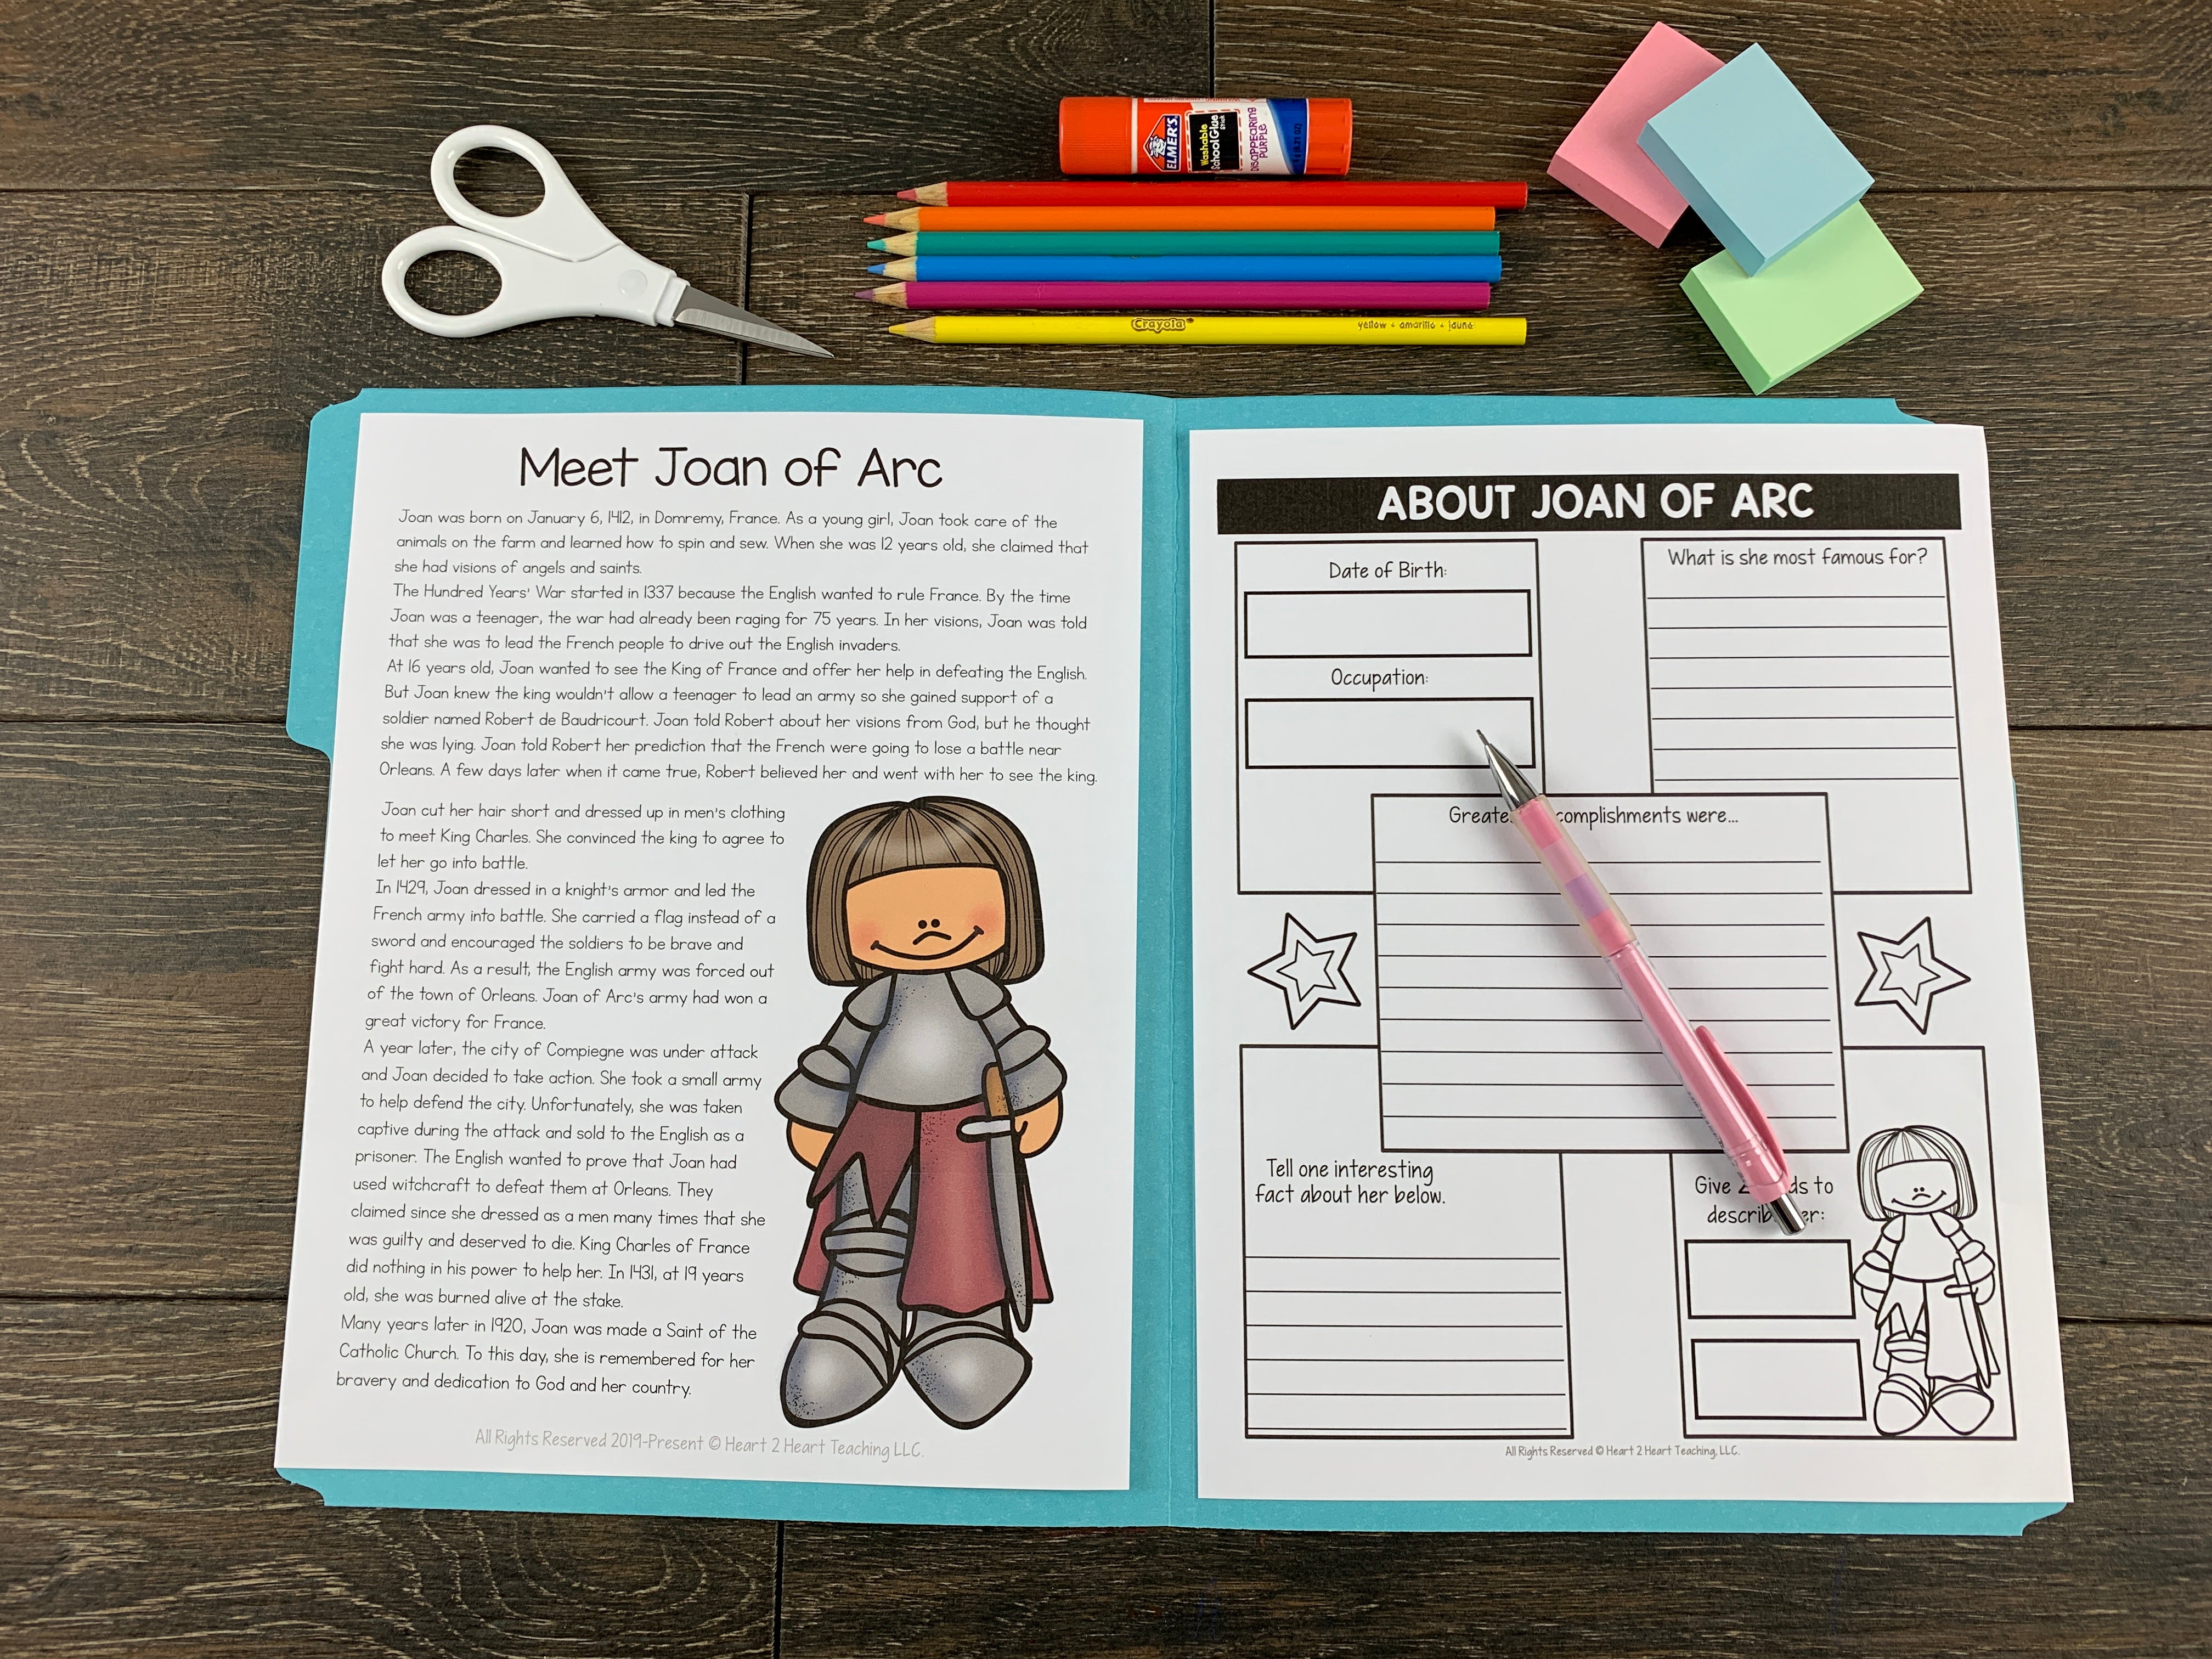
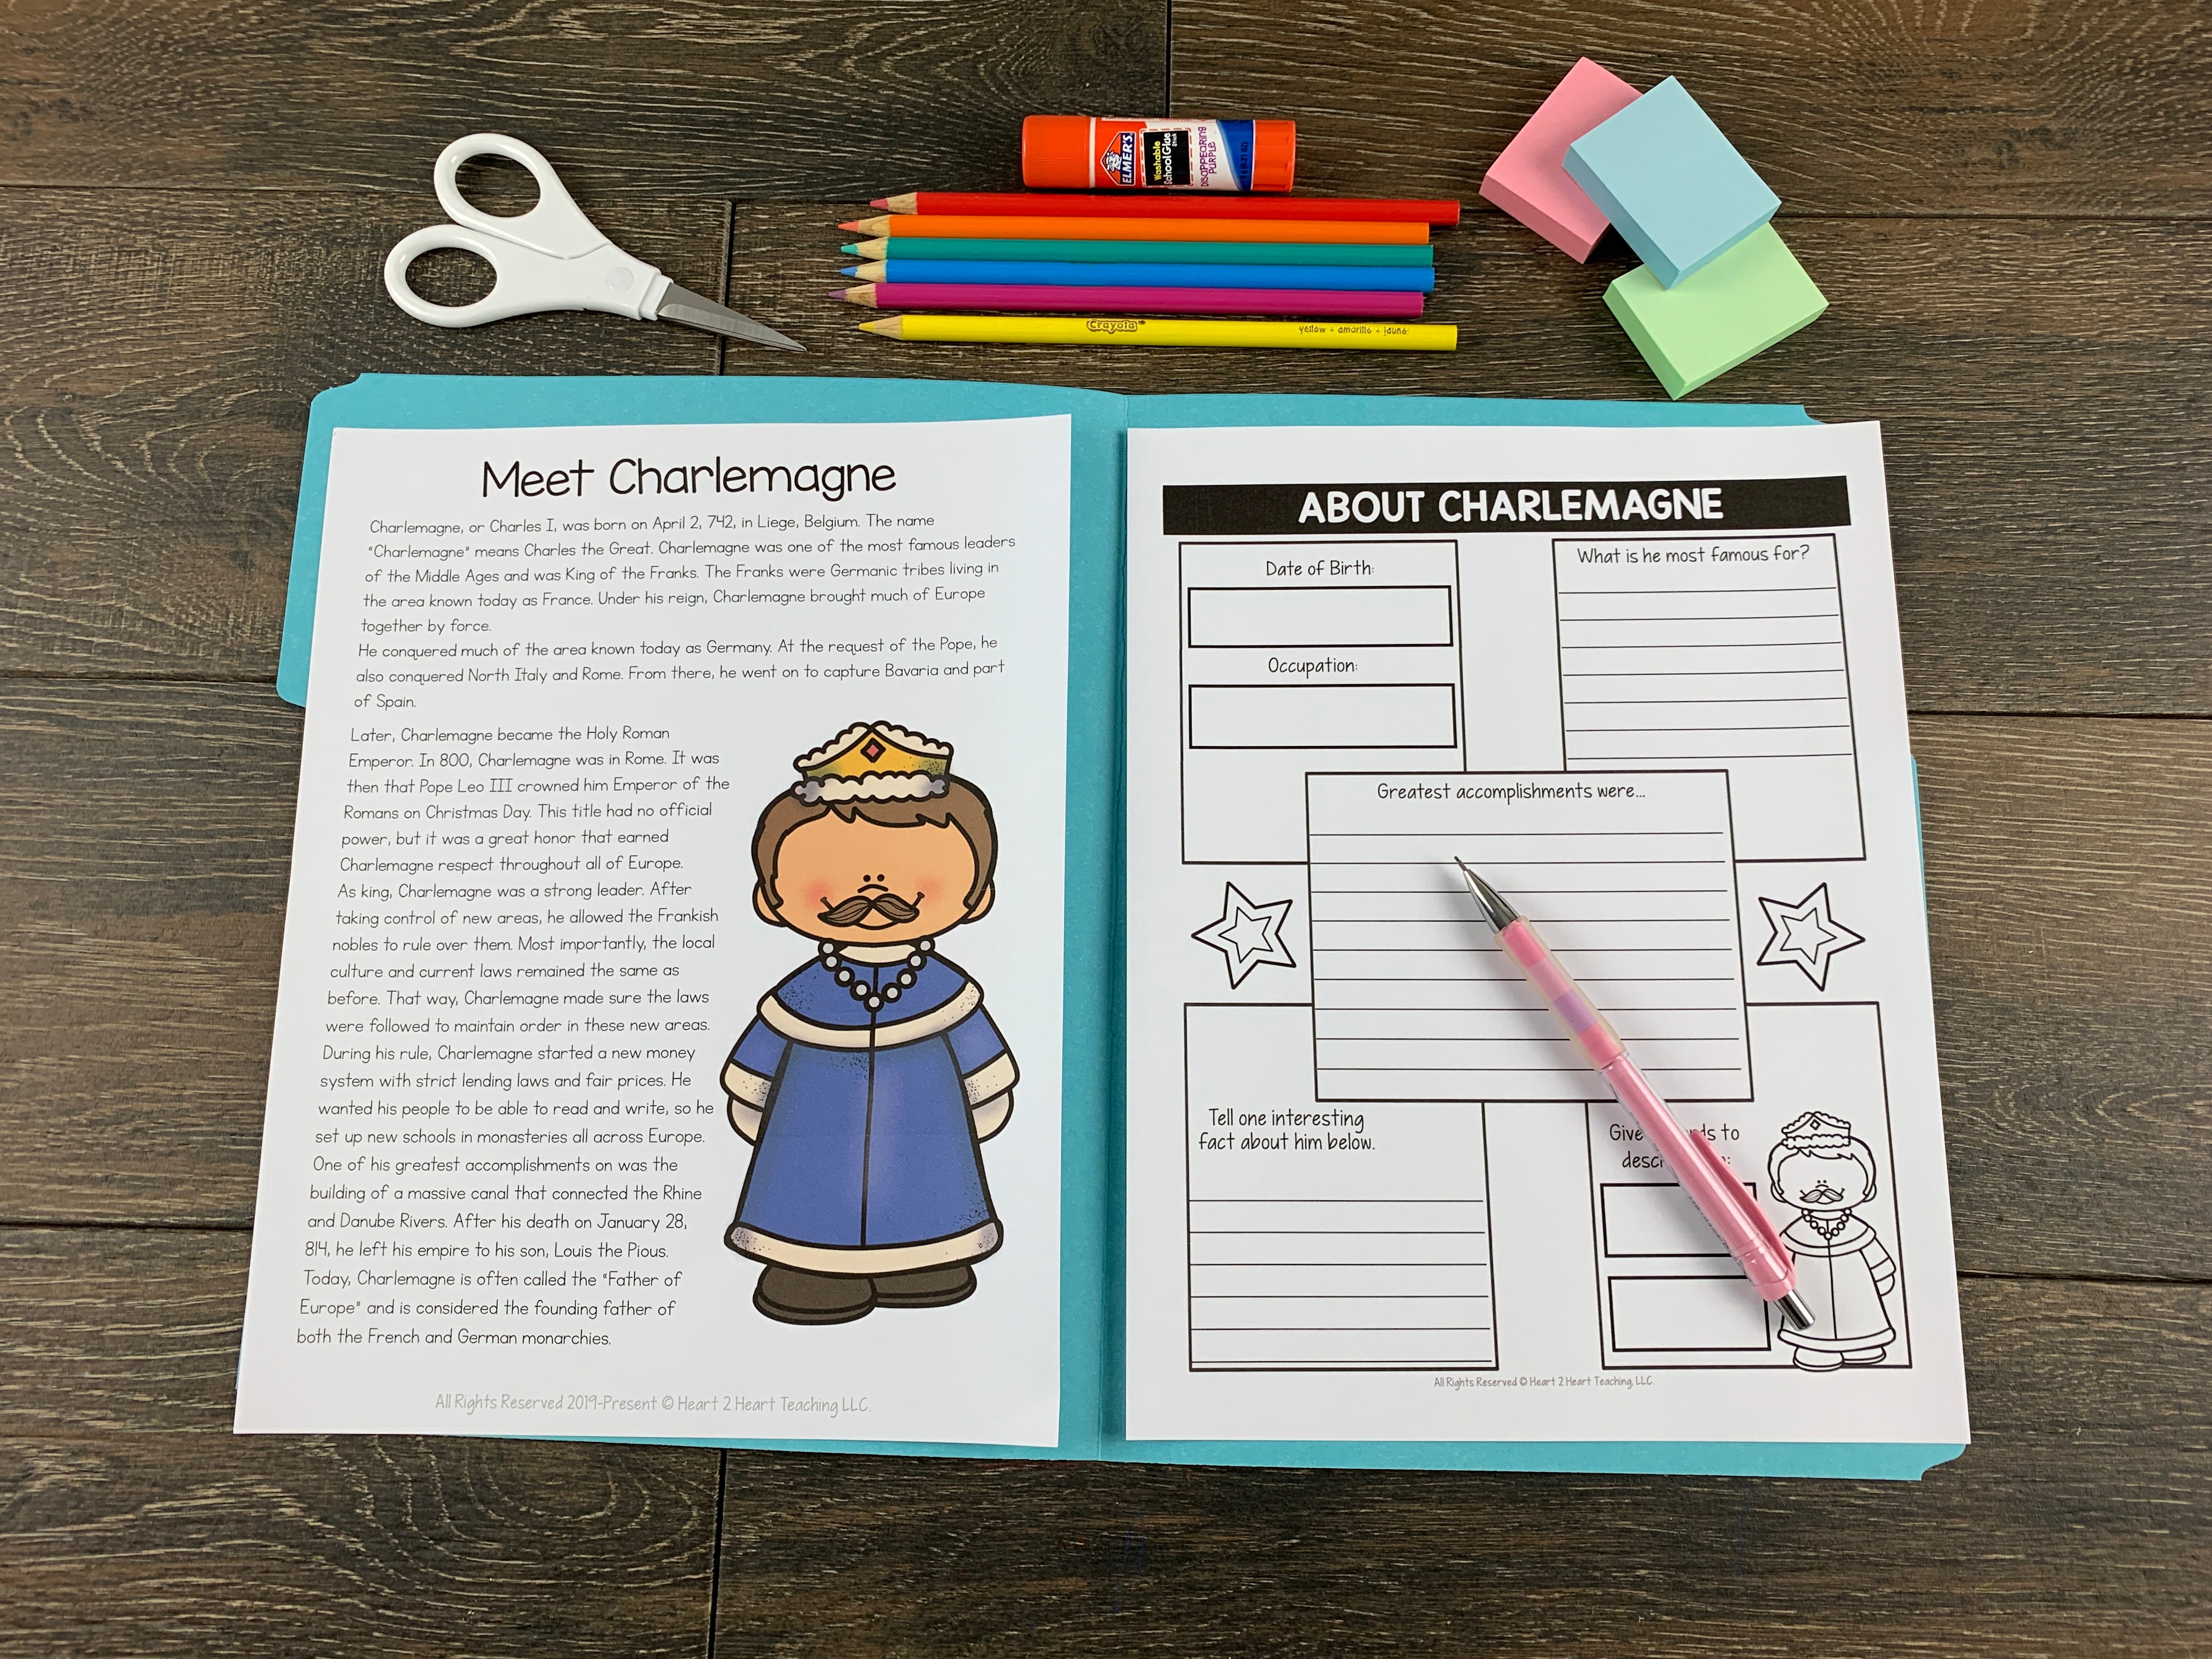
    Students will love meeting three important people who changed history: Charlemagne, Richard the Lionheart, and Joan of Arc. This unit includes reading passages, biography organizers, character mini-booklets, and a trading card project for each one.

    Essential Questions:

    • What is Charlemagne’s famous for?
    • What is Richard the Lionheart’s famous for?
    • What is Joan of Arc famous for?

    Part Seven: Important Events of the Middle Ages

    There were many important events during this period that greatly influenced life. 

    Four major ones were:

    • The Magna Carta
    • The Black Death
    • The Crusades
    • The Hundred Years’ War

    Students will learn about the causes and effects that each one of these had on Medieval Europe through a variety of hands-on activities:

    • Timeline
    • Cloze Passage
    • Writing Prompts
    • Trifold Booklet
    • Vocabulary Posters
    • Spotlight on Vocabulary

    Part Eight: Unit Assessment & Reflection

    End the unit by having students take the unit assessment and complete the reflection.  The unit test is editable so you can modify it to meet your standards. 

    Pin it to save it for later!

    I hope your kiddos enjoy this unit as much as mine! 

  • How to Help Your Child Find His Study Groove: Setting Up a Distraction-Free Space

    How to Help Your Child Find His Study Groove: Setting Up a Distraction-Free Space

    Guest post by Susan Good from Retired Educator

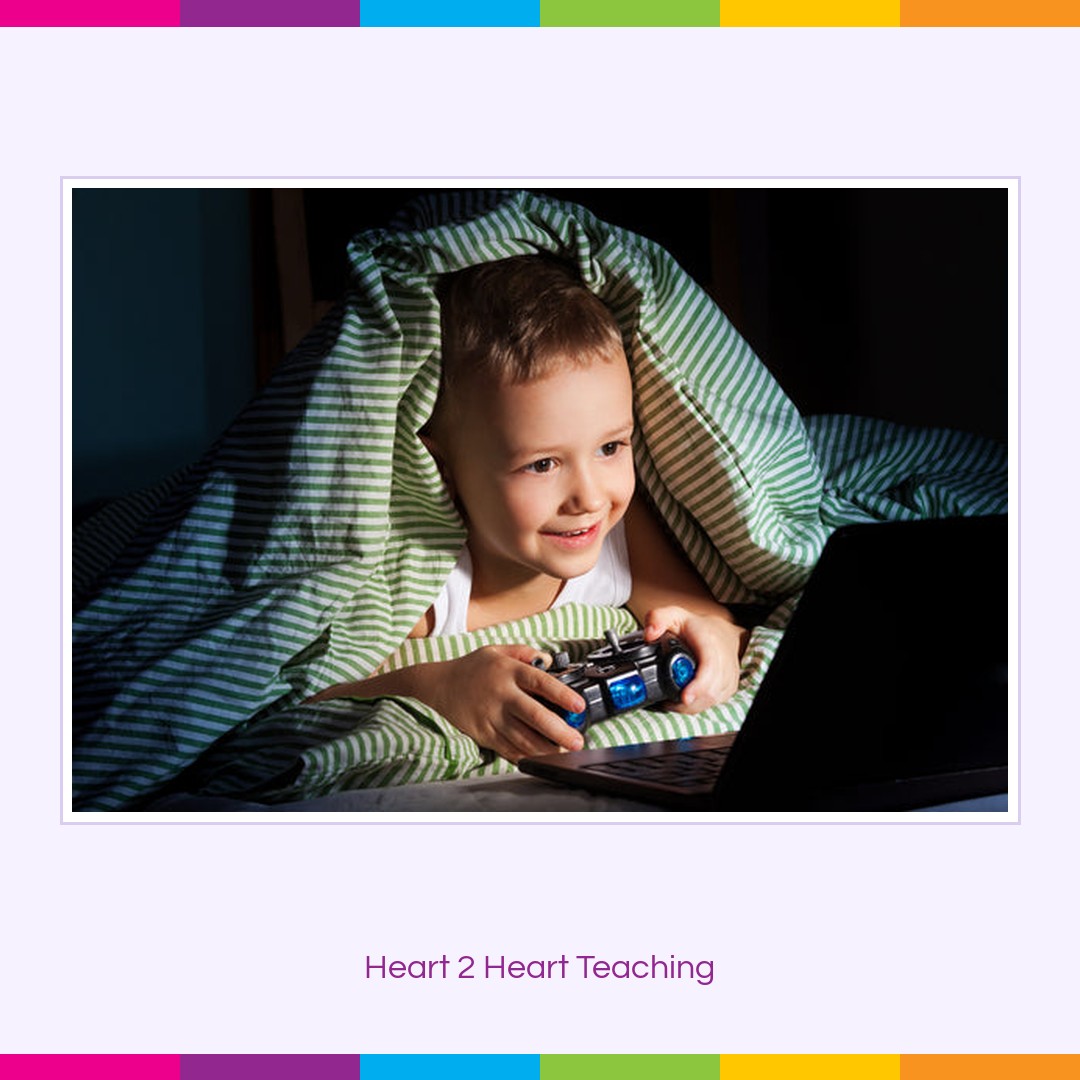
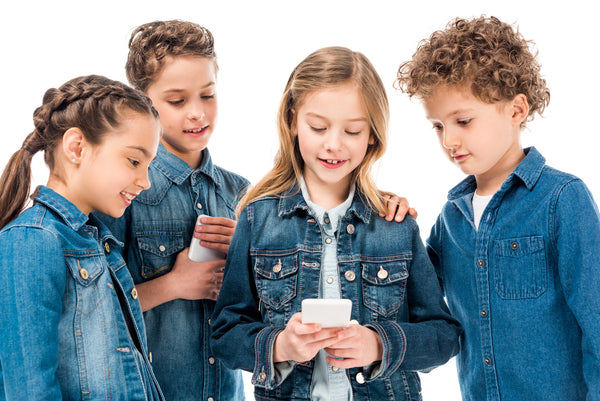
    Kids today have more to fascinate and entertain them than ever before. Gaming and virtual reality technologies provide youngsters (and adults) with endless hours of entertainment and indulgences in fantasy. Television has evolved into a device for streaming an endless array of channels and providing access to media in previously unimaginable ways. Kids communicate in real time through smartphones that are seldom far from their reach. But media in all its forms represent a tremendous distraction from the acquisition of mental disciplines that are central to a child’s education and overall development.

    Parents are, to say the least, challenged to keep these distractions at bay when it comes to establishing good study habits. Discipline is important, but not as heavily in the traditional sense of compliance or punishment as might have been the case once upon a time. Today, kids need to be engaged and taught to understand that school and personal habits that will help them excel academically are resoundingly in their long-term interest. Consistency, comfort, and cooperation are the keys.

    Turning the World Off

    Creating a distraction-free learning space is about more than making sure children are concentrating on studying for tomorrow’s math test or working on next week’s science project. It’s part of an investment in their future. Getting good grades, getting into a good college, and performing well from year to year are a function of focused and disciplined study. You can’t impart these values if your kids are doing schoolwork while watching SpongeBob Squarepants or instant messaging with friends about the events of the school day and what they plan to wear to school tomorrow.


    Establish set hours for homework and study every night. During that time, all handheld devices, gaming consoles, and television remotes should be turned off and put away until all work has been done. If internet access is necessary for homework, make sure instant messaging is turned off on the computer and that other distracting sites are inaccessible. Make it clear that if all work is completed and done thoroughly, they may have access to media until bedtime.

    Set Up A Quiet Place for Study

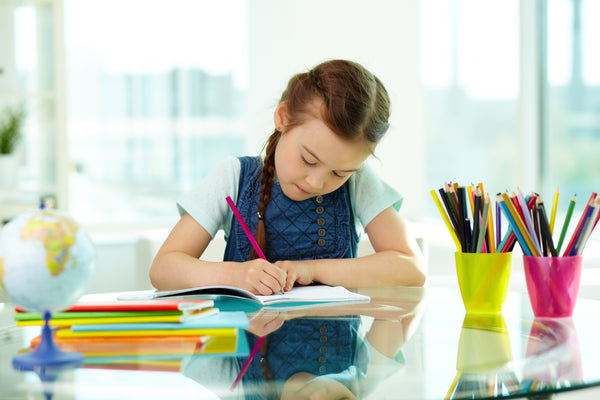
    A productive studying and reading area should have ample space for all books, pencils, pens, calculators and other academic tools that may be necessary. It should also face away from distractions like televisions and doorways so that comings and goings to, from and within the home don’t disrupt concentration. If possible, each child should have their own individual space that is set up to help them maximize the time. Try to avoid wasting time looking for study aids and tools that should be kept within easy reach at all times. Part of developing good study habits is learning to make the most of each study session.

    Setting up a distraction-free study space at home

    Positioned for Success

    Ergonomic experts will tell you that where and in what position one studies has a lot to do with how much information is retained and how successful the outcome will be. Kids have a tendency to become bored after a while and switch to different locations and positions. For instance, a half hour sitting upright at a desk can quickly turn into an hour lying on the couch or sitting cross-legged on the floor, both of which are not optimal study positions. The natural tendency when lying down is to relax and get sleepy rather than actively cover material and take notes, which are essential study habits. Bean bag chairs are a great option because kids think they’re fun, and they come in a variety of sizes and shapes that make them easy to work into a variety of spaces.

    Establishing a comfortable, efficient, and productive learning space is key to your child’s academic performance. It’s also essential for teaching study habits that will remain with them for life. Collaborate with your child on finding a spot that’s free of distractions and comfortable for them. 

  • STARS: A Student Recognition and Reward System That Really Works!

    STARS: A Student Recognition and Reward System That Really Works!

    One of the most important decisions you will make when setting up your classroom is what type of recognition and reward system you will use. Over the last 15 years, I have tried many different types of reward systems. But the one that I have had incredible success with is called STARS. STARS is a student recognition and reward system. It’s easy to implement and cost very little to start.

    There are two parts to the STARS program:

    • a whole group, or class recognition and rewards
    • individual student recognition and rewards

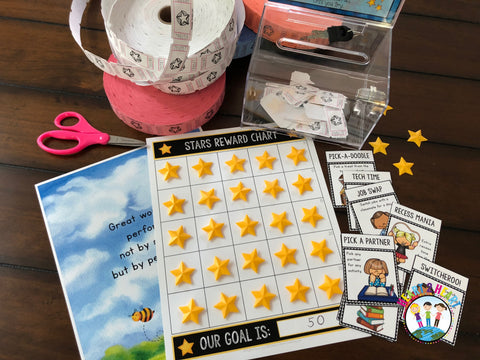
    Stars reward system

    What is STARS? 

    STARS is a program where the whole class AND each individual student is recognized and rewarded for positive behaviors, academic improvements, and accomplishments. This program offers an excellent way for teachers to recognize, reinforce, and encourage each student individually. It also gives the teacher a way to recognize and reward the class as a whole group.

    Benefits of Using the STARS Program

    Here are some of the benefits:

    • reinforce positive behaviors
    • reward the completion of an academic goal
    • reward the completion of a behavioral goal
    • recognize areas of improvement
    • encourage improvement in behavior
    • encourage improvement in academics
    • reward individual students consistently
    • can be used with a behavior modification system

    Stars reward system

    A classroom management system that really works

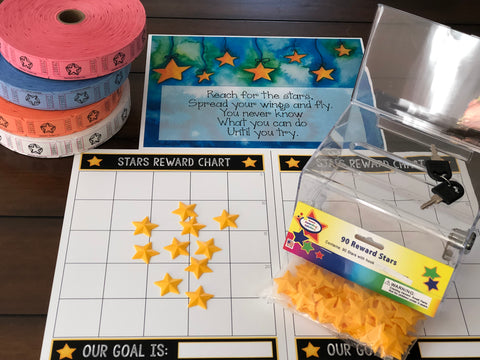
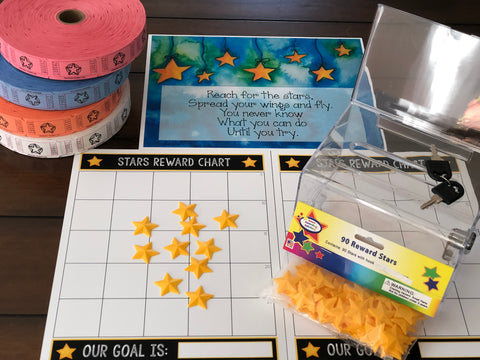
    List of Supplies Needed to Start:

    Part One: Individual Recognition

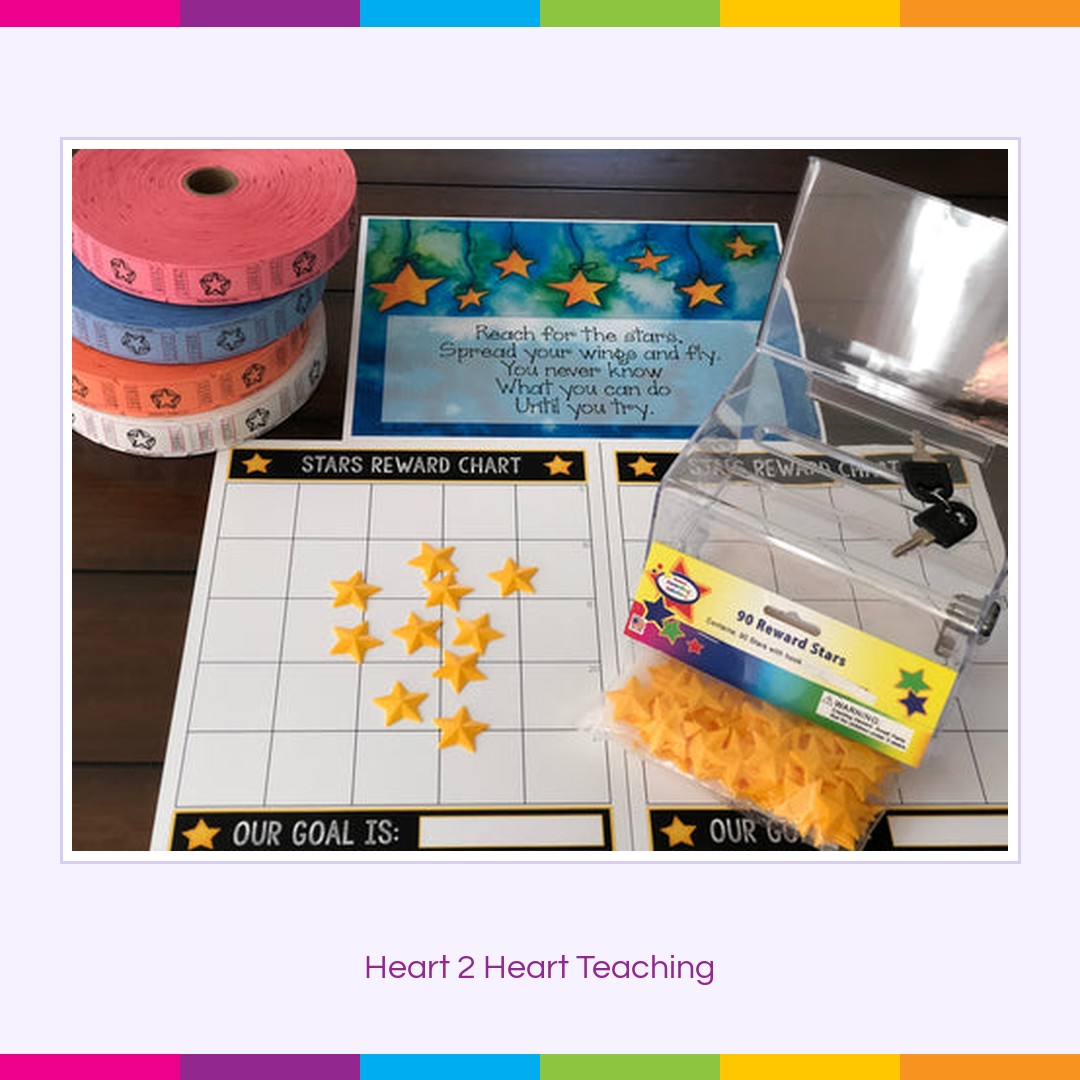
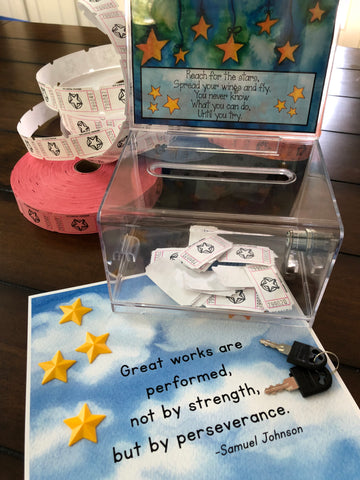
    When a student acts in a positive behavior or meets an academic goal, he or she is given a ticket. The student writes his or her on the ticket and places it into a bin. Each Friday, 5 (or more) names are drawn from the bin. Those students are allowed to pick one reward or item from the treasure chest. The key here is that there is no limit on the number of tickets a student can earn. That is the reason why students want to earn as many tickets as they can so that they have more chances to earn a reward at the end of the week.

    Stars Student Reward System

    How to Earn a Ticket 

    Because each student is unique, he or she can earn tickets for different reasons each week. It’s important to stress that ALL students are STARS!

    Below are some examples of when a student might earn a ticket:

    • when a student helps another student without being asked
    • when a student leads a group during group work
    • when a student shows great teamwork
    • when a student stays on task for a specified time
    • when a student follows directions right away
    • when a student prepares for the next transition without directions
    • when a student gives a compliment to another student
    • when a student helps the teacher without prompting
    • when a student has handed in his or her homework all week
    • when a student has done an exceptional job on a presentation
    • when a student has done a great job on a project
    • when a student has shown improvement
    • when a student has accomplished a goal
    • when a student didn’t give up but instead persevered
    • when a student displayed a growth mindset
    • for any behavior that you want to reinforce and encourage
    • for any improvement (academically or behaviorally) no matter how small
    • for meeting a goal (academically or behaviorally)

    Growth Mindset Awards

    Best Practices of the Program: 

    1. When a student earns a ticket, he or she can choose to donate the tickets to the class fund instead of entering them into the bin for an individual prize. This encourages generosity and the idea of putting others before yourself.
    2. Because each and every student is has different goals, he or she might earn a ticket for different reasons. That is why at times, it’s best to reward students quietly so you don’t draw attention to or embarrass a student in front of the class.
    3. When drawing names from the chance bin at the end of each week, I only allow each student to earn one reward, even if their name is drawn two or three times that day.
    4. Students are not allowed to donate or give away their tickets to other students. Earning a ticket is a huge accomplishment and should be treated as a big deal.
    5. If a student loses a ticket, or it goes through the wash, or the dog eats it, they are out of luck. No replacement tickets will be given. This encourages students to take responsibility for their own personal items.
    6. When a student has been rewarded a ticket, they may not get up to place the ticket into the bin during class time. There are only certain times during the day when students are allowed out of their seats to place their tickets into the bin. These times might be during free time, at the end of the day, or the start of the day, or another time during the day that works for your daily schedule.
    7. At the beginning of each month, I empty the bin and we start over again. Make sure to empty the bin when the students are not around so that they don’t pick the tickets out of the garbage to put back into the bin later. (I learned by mistake when one student was in tears after seeing me throw the unused tickets into the trash.)
    8. Never take a ticket away from a student. If a student earned a ticket on Monday and then makes a bad choice on Tuesday, don’t take the ticket he or she already earned the day before away from him or her. The purpose is to encourage and reward positive behaviors. This undermines the value of earning a ticket. Instead, when a student makes a bad choice, there needs to be consequence equal to the action. For example, if a student didn’t complete his or her math homework on Tuesday, then he or she will have to give up part of their recess time to complete the missing math homework. But please don’t take a chance ticket away from a student that he or she already earned on another day previously.
    9. On the last day of school, I pull from tickets from the bin until we run out of time, or every student has won a prize.
    10. For the tickets, you can use decorate slips of colored paper with STARS that you copy at school. But, I have found that purchasing the raffle tickets like the ones you might see a fair or festival offers the most cost-effective way.
    11. I have seen a similar system used with paper money instead of tickets. Then students save their money to buy items at the classroom store. This is an excellent way to reinforce basic economic skills. One of the problems that I have encountered with this system is that often times, students misplace or lose their money.  This can cause them to become very upset and takes the focus away from earning a reward.

    Stars Student Reward System

    Part Two: Whole Group Recognition

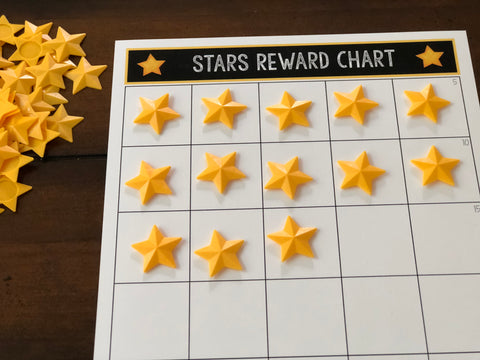
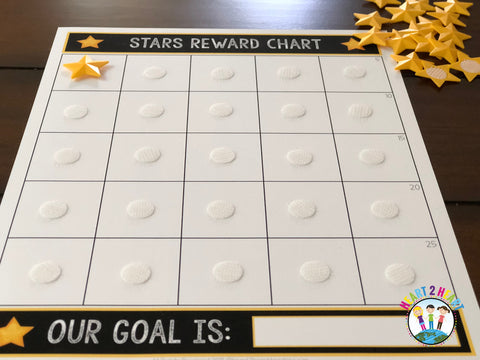
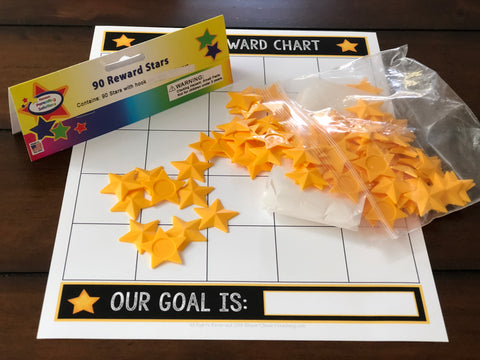
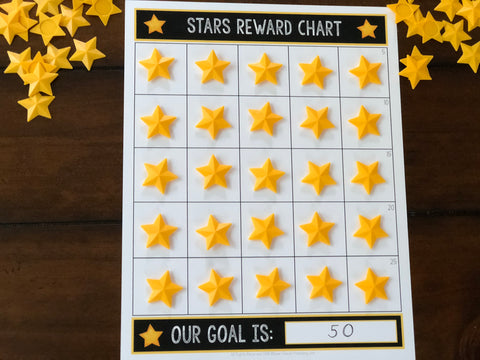
    It’s as simple as collecting stars on a chart! As part of the STARS system, the whole class is recognized and rewarded too! Each time that the class has done something that should be recognized, the teacher places a star in Stars Reward Chart. When the chart is full OR the class has earned a set amount of tickets then the class earns a reward.

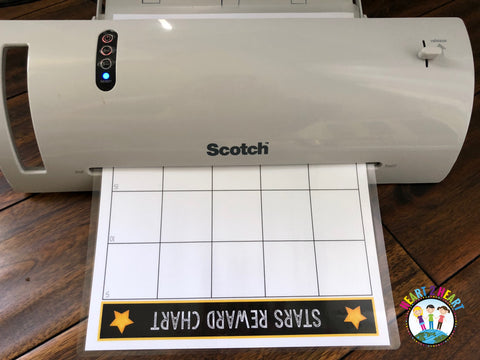
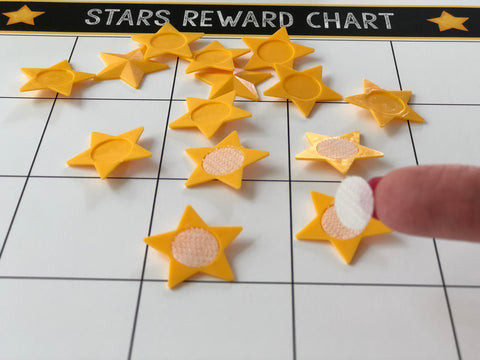
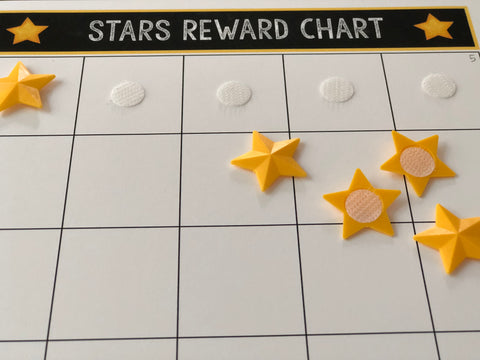
    I usually laminate the stars reward chart and then attach one velcro dot in each box and one on each star as shown below.

    Set the number to win a class reward at 25 or 50. The rule of thumb here is, the bigger the prize, the more stars required to win it!

    Below are a few of the many examples of when a star might be earned by the class: 

    • the principal walked into the classroom to deliver a message to the teacher and the class acted respectfully and stayed quiet
    • every student handed in their homework that was due that day
    • the class received a great report from another teacher (art, music, computer lab, etc.)
    • the class walked quietly through the hall to music class
    • during centers time, all students stayed on task and worked hard
    • at lunch, the class worked together to clean up their area
    • the phone rings in the classroom during indoor recess, and the class quiets down so the teacher can answer it
    • the class was well behaved for a substitute teacher (this earns 2-3 stars)

    Stars Student Reward System

    Likewise, there are times when a star might be removed from the Stars Reward Chart. If the class receives a bad report from the P.E. teacher or another teacher, for example, then remove a star from the chart. It is important for students to learn that there are consequences for our actions. This builds classroom community because students do not like to let down their peers. This instills the fact that they need to think about their actions and make good choices. 

    The ultimate reward for filling up the Stars Reward Chart with 50 stars is a class party, a special day, or some other predetermined prize. Depending on your school’s policies, you might want the reward to be in the form of extra recess time, free time, or a special snack.

    Stars Student Reward System

    Brainstorm a List of Class Rewards 

    At the beginning of the year, as a class, we brainstorm a list of rewards that they can earn. It’s fun to see what ideas the class comes up with and values most. Sometimes, it’s a simple thing like extra recess time, having an ice cream party, or eating lunch in the classroom. After we create a list together, we narrow it down to the top 10 or 15 rewards by holding a class vote. On average, your class will earn one whole group reward each month so 10-15 rewards will give you plenty of options.

    I like to write the rewards on a large piece of poster paper and hang it up where the class can see it. This creates a visual representation of what the class is looking forward to earning. Each time the class has earned the 25 or 50 stars, we refer back to the reward list and vote to determine what their next reward will be. The age of your students will determine what rewards will have the greatest value to them. Younger elementary students tend to like the fun-themed days and the older students will love having a pizza party or earning extra time to socialize with their friends.

    Here are some ideas that my class came up with as rewards. Having the students brainstorm a list with you, ensures that the students will buy into this system and gives them choices. This combination equals a win-win situation!

    • crazy hair day
    • mismatched sock day
    • hat day
    • double recess time
    • dress up as your favorite book character day
    •  Sit anywhere you want for a day
    • extra free time at the end of the day
    • stinky feet day
    • pizza party
    • eat lunch in the classroom
    • watch a movie
    • PJ day
    • ice cream sundae party
    • smoothie party
    • upside down day
    • create an invention from recyclable materials
    • create your own special day 

    Stars Student Reward System

    What’s in the Prize Box?

    You can decide what is best to put inside the prize box for your class. I like to have a combination of special treats and other non-food prizes. I try my best NOT to include treats that are high in sugar. For healthier options, I might include granola bars, small bags of pretzels or crackers, Rice Krispy treats, or other prepackaged snacks.

    Other prizes might include sugar-free gum, chocolate kisses, or even small trinkets or toys. Some years I’ve purchased or had parents donate small toys, books, bubbles, and other trinkets that were bought at the dollar store to put into the prize box.

    Rewards That Don’t Cost Any Money

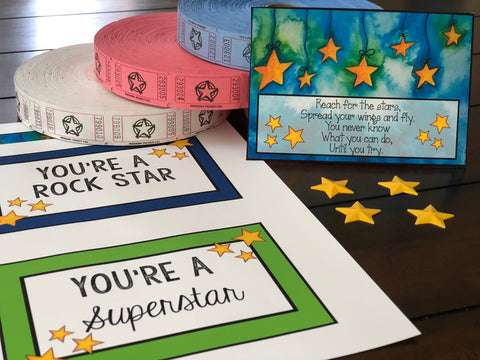
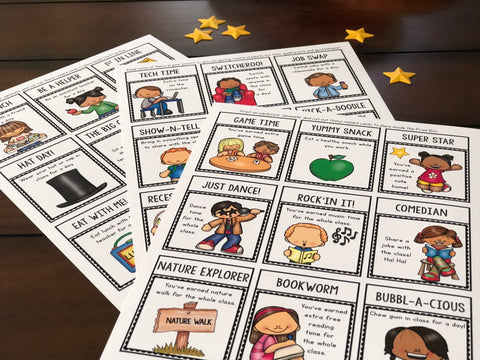
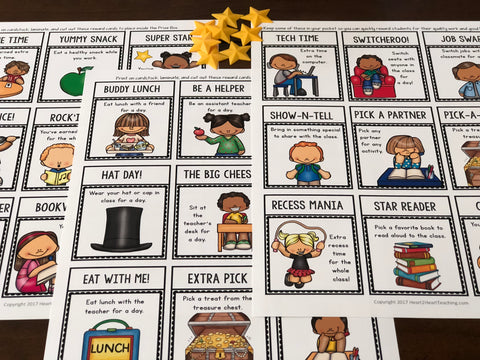
    Other rewards in the prize box that don’t cost anything and students love are small laminated reward cards with the following prizes: 

    • pick a partner for any activity
    • pick a favorite book to read aloud to the class
    • eat a healthy snack while you work
    • switch seats with anyone in the class for a day
    • you’ve earned extra free reading time for the whole class
    • you’ve earned a nature walk for the whole class
    • you’ve earned an extra game time
    • eat lunch with a friend for a day

    GRAB THE FREE PROGRAM GUIDE AND REWARD CARDS HERE!

    Student reward cards

    Rewards for Under $1.00

    • granola bars
    • small-sized candy bars
    • sugar-free gum packs
    • chocolate kisses
    • bubbles
    • bouncy balls
    • small trinkets
    • gummy bear pouches
    • small pouches of pretzels, crackers, or other snacks

    TO GRAB THE FREE STARS PROGRAM GUIDE CLICK HERE!

    A Classroom Reward System That Really Works


  • 6 Steps To Creating An Awesome Autism-Friendly Child’s Bedroom

    6 Steps To Creating An Awesome Autism-Friendly Child’s Bedroom

    Guest Post by Jenny Wise from Special Home Educator

    As most parents of autistic children know, making a child on the spectrum comfortable will often involve some tweaks and modifications. People on the autism spectrum often receive too much or too little stimulation from the world around them, so their environment should be designed to provide the most pleasant sensory experience. 

    In the case of a bedroom, you need a space that makes your child feel comfortable and safe, but also one that soothes them into a state of sleepiness. This is easily achieved by focusing on the following areas.

    Colors

    A room’s color scheme can have a huge effect on mood, and this is especially true for children with autism. Choose colors that are soothing and promote sleep – shades of blue are often considered the best. That said, it is important to keep your child’s preferences in mind – if they love pink or yellow, go for that! Just make sure to use muted pastel tones instead of bright ones.

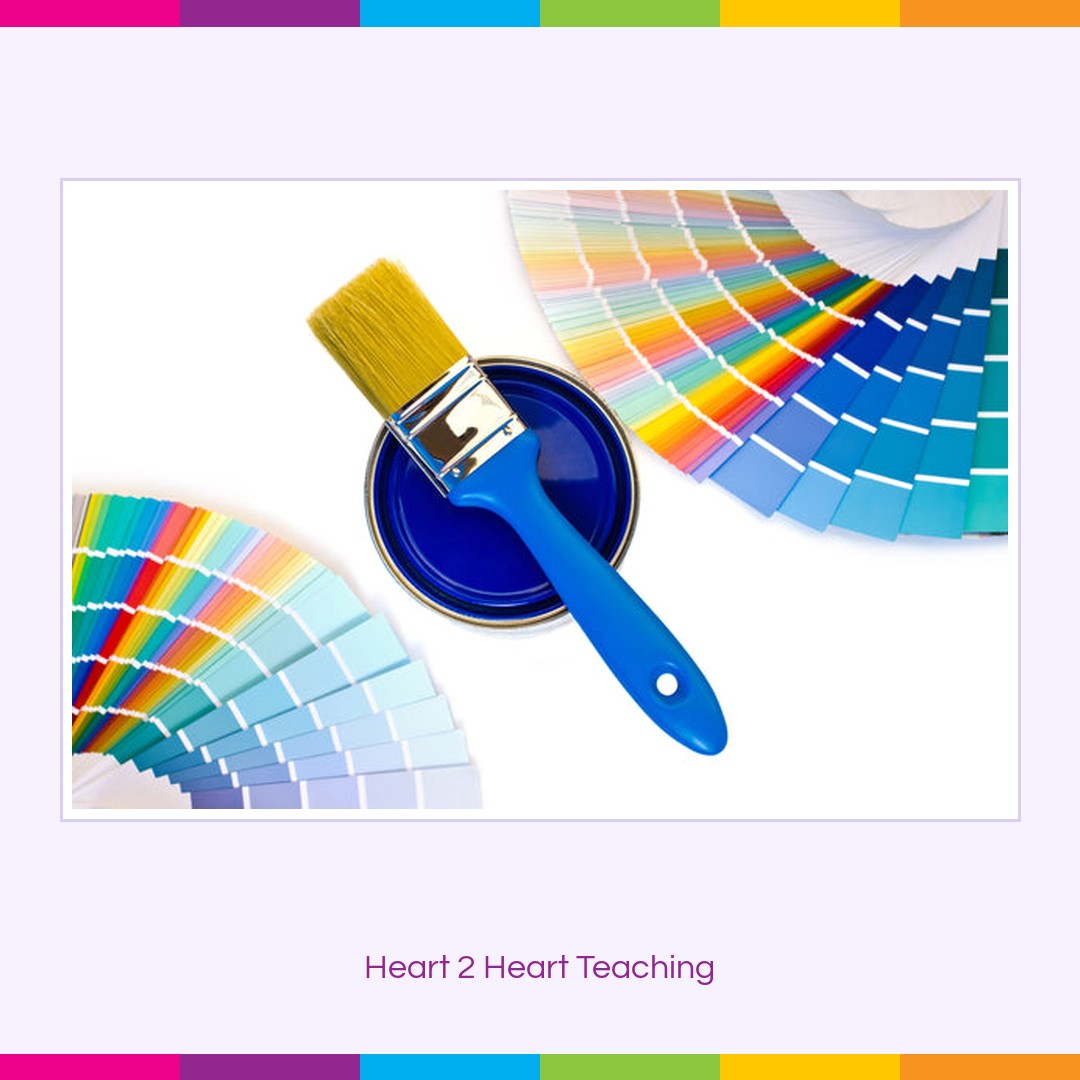
    Shades of blue paint for bedroom walls

    Lighting

    Sensitivity to bright lights is a common symptom of autism, so make sure to keep lighting muted. Fluorescent lights, in particular, are a no-no, with more than half of people with autism being severely sensitive to them. Incandescent light bulbs are a good idea, as are dimming switches your child can control.

    Furniture

    The bed is, of course, the most important piece of furniture in the bedroom. There is not a “correct” type of bed for a child with special needs, but there are a few key tips for making the right choice. Avoid using beds with very light frames, as a child could easily injure themselves by moving it, and bolt it down (or against the wall) to further protect them from this.

    Autism swings are also popular, as the rocking motion can be greatly calming to over- or under-stimulated children. They also give the child a place to relax that’s perfect for reading, listening to music, or watching videos.  

    What about desks? The Asperger/Autism Network recommends parents of children with autism always remain available for help with homework. For this reason, you should consider setting up a homework station somewhere else in the house more convenient for you and leaving the bedroom for sleep and play. However, if your child loves drawing or creating, you will want to have a child-sized desk in the room.

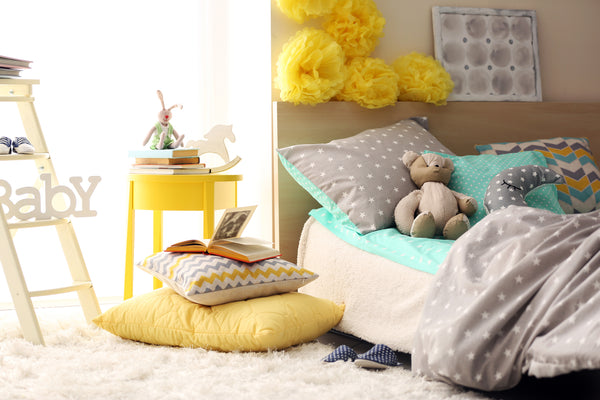
    Child's bedroom design

    Storage

    Visual clutter can be a source of overstimulation and stress for children with autism. The best way to prevent this is to ensure that everything in the room has its correct place and that there is ample storage for everything.

    Mama in the Now has a great article on room organization for children with autism, which is worth checking out. Tips include using see-through containers so your child knows exactly what is where, and using labels and color coding to make the system clear. 

    Smells

    Several aromatherapy oils are said to have calming and stress-busting properties, which can be beneficial for children with autism. They also make the room smell nice which is always a good thing. Do make sure to choose oils with your child so they can select which ones they like – the most relaxing smell in the world won’t do much good if it smells bad to them.

    Flooring

    Flooring is also an important consideration. You want something that’s soft and padded, both to protect from falls and to minimize noise. Carpet is the most obvious choice, preferably made with natural fibers. Laying down rugs of various thicknesses and textures creates a fun sensory experience while helping define different “areas” in the room.

    As you can see, many of the general concepts of soothing interior design apply here, from muted tones to cozy textures and relaxing smells. However, since every child with autism is different, it is crucial that parents develop the sensory bedroom in collaboration with their child. What works for one child won’t necessarily work for another, and the ideal bedroom is one designed around their specific needs and sensory preferences

  • 5 Awesome Ideas to Make Your Own Easter Treat Bags

    5 Awesome Ideas to Make Your Own Easter Treat Bags

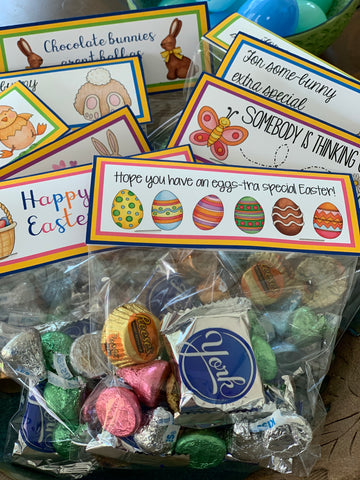
    Easter is a great holiday to get creative with kids! Whether it’s coloring eggs, hunting for chocolate bunnies, or making goodie bags filled with treats that kids will love.

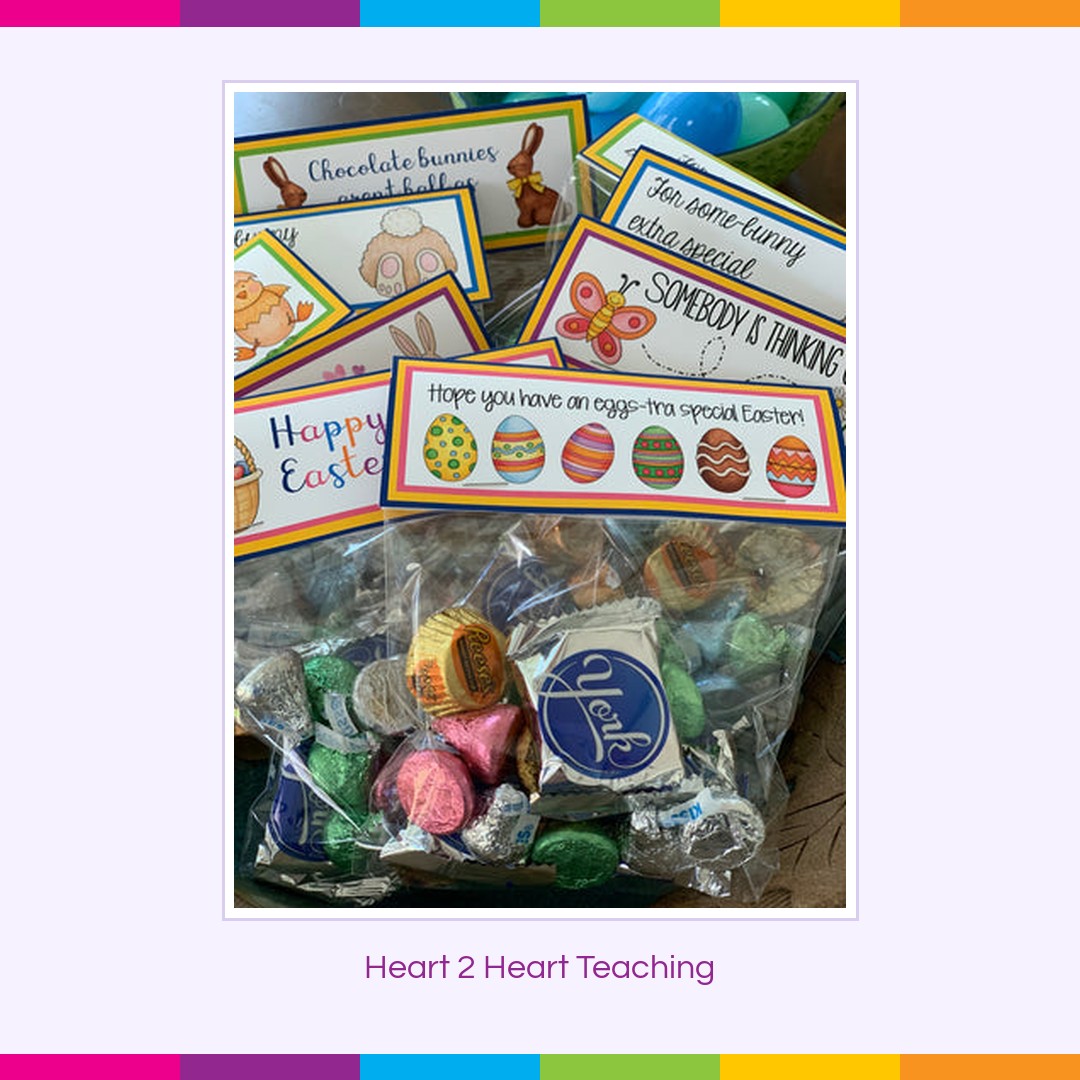
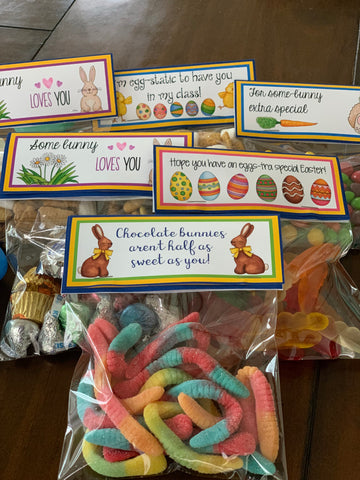
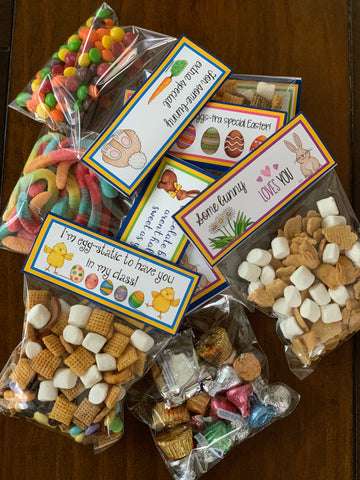
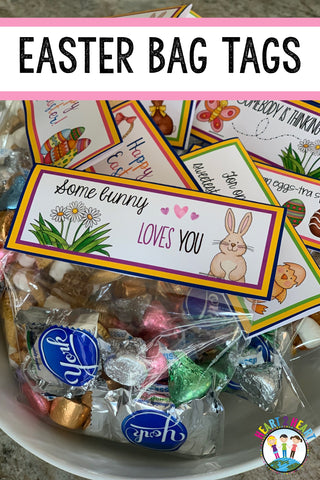
    This year, I wanted to give my students a special treat the day before they left for spring break. The first step was creating some colorful TREAT BAG TAGS for the treat bags. I purchased some 4 x 6 clear plastic bags from Amazon and headed to Target, Trader Joes, and Michaels in search of goodies to fill the bags. I had so many ideas but take a peek below to see what I finally decided on.

    1. Chocolate Mini-Mix

    Easter Treat Bag Tags

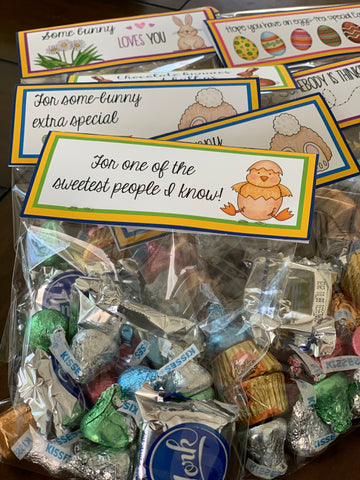
    The first chocolatey mix is made up Hershey’s kisses, York Peppermint Patties, Reese’s Mini Peanut Butter Cups and Rolo caramels. 

    Easter Treat Bags

    2. Bunny Hop Mix

    Easter Treat Bags Ideas

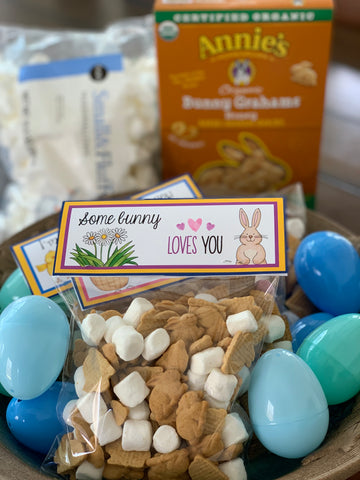
    Have you seen Annie’s Organix Bunny Grahams? I found these adorable bunny crackers at Trader Joes. They come in all different flavors including chocolate, honey grahams, chocolate chip, cheddar cheese, birthday cake, lemon, and a variety pack. I added mini-marshmallows to the bags for a cottontail treat.

    3. Chex Trail Mix Treat

    Chex Trail Mix Treat Bags

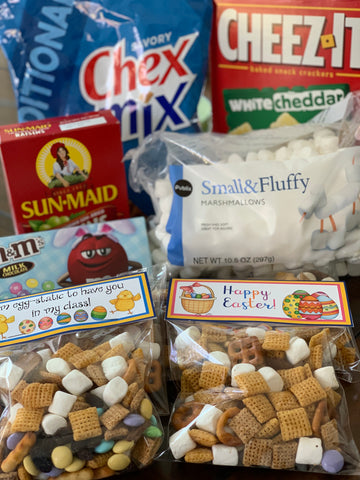
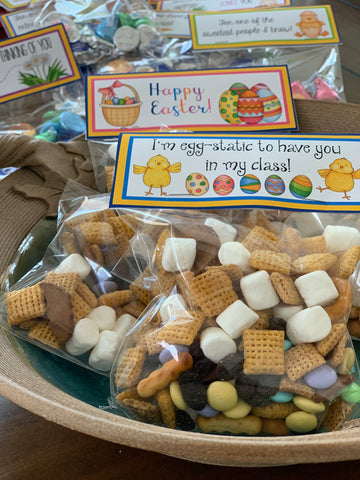
    Keeping it simple is the name of the game. For this bag, simply combine Chex Mix, Cheez-Its, Raisins, M&M’s (I used pastel colors), and mini-marshmallows. Mix all together and scoop some crunchy goodness into the bags. It’s that simple.

    Chex Mix Treat Bags

    4. Gummy Worms Galore

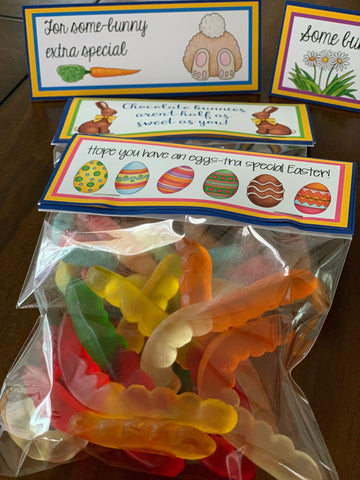
     Gummy Worms Treat Bags

    Gummy Worms Treat Bags

    Kids love anything gummy. I couldn’t resist these colorful gummy worms for an extra special treat.

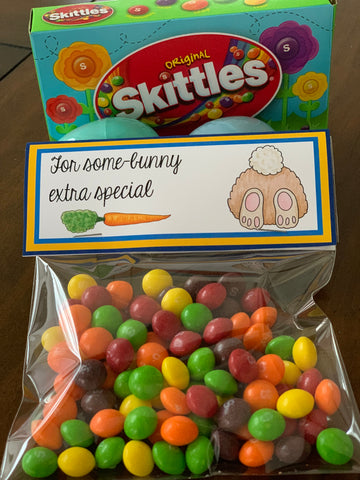
    5. All the Colors of the Rainbow 

     Easter Treat Bags Ideas

    I bought a box of Skittles at Target for $1. They also have Skittles Jellybeans during the Easter season that comes in many different flavors and would be a really sweet treat too!

    To Assemble Treat Bags:

    1. Grab Easter Treat Bag Tags HERE!
    2. Print tags on heavyweight paper such as Premium Brochure Paper or cardstock
    3. Carefully cut out tags
    4. Fold tags in half
    5. Place goodies in self-adhesive 4 x 6 clear plastic bags (Amazon and Michaels have them)
    6. Seal bags closed
    7. Slip tags over the top of the bags
    8. Staple to hold in place

    Other Easter-Themed Treats Ideas:

    • Marshmallow Peeps
    • Jellybeans
    • Chocolate Easter Eggs
    • Robin’s Eggs
    • Chocolate bunnies

    Other Non-Food Treat Ideas:

    • Giant Sidewalk Chalk
    • Bubbles
    • Flower Pouches with seeds, soil, and plant marker
    • Legos

    In the end, no matter what you decide to put in the treat bags, kids will love them!

    Easter Treat Bag Ideas

    Easter Treat Bag Tags

    Happy Easter!

    Related Articles:

    Easy Easter Bunny Craft Project

    Ladybugs Are Amazing Critters Project

    A Sneak Peek at Our Animal Classifications Unit

  • Easy Easter Bunny Craft Project for Kids

    Easy Easter Bunny Craft Project for Kids

    How did a rabbit become a symbol of Easter? A long time ago, the Easter hare (Oschter Haws) started as a folktale. As the story goes, the Easter hare would lay colorful eggs in nests for children on Easter Sunday. This tradition dates back to the 1600s in Germany. Long ago, children would make nests for the Easter Bunny to leave colored eggs in. This has changed over the years to include chocolate and other goodies, and a decorated basket replaced the nest.

    Rabbits are Social Creatures

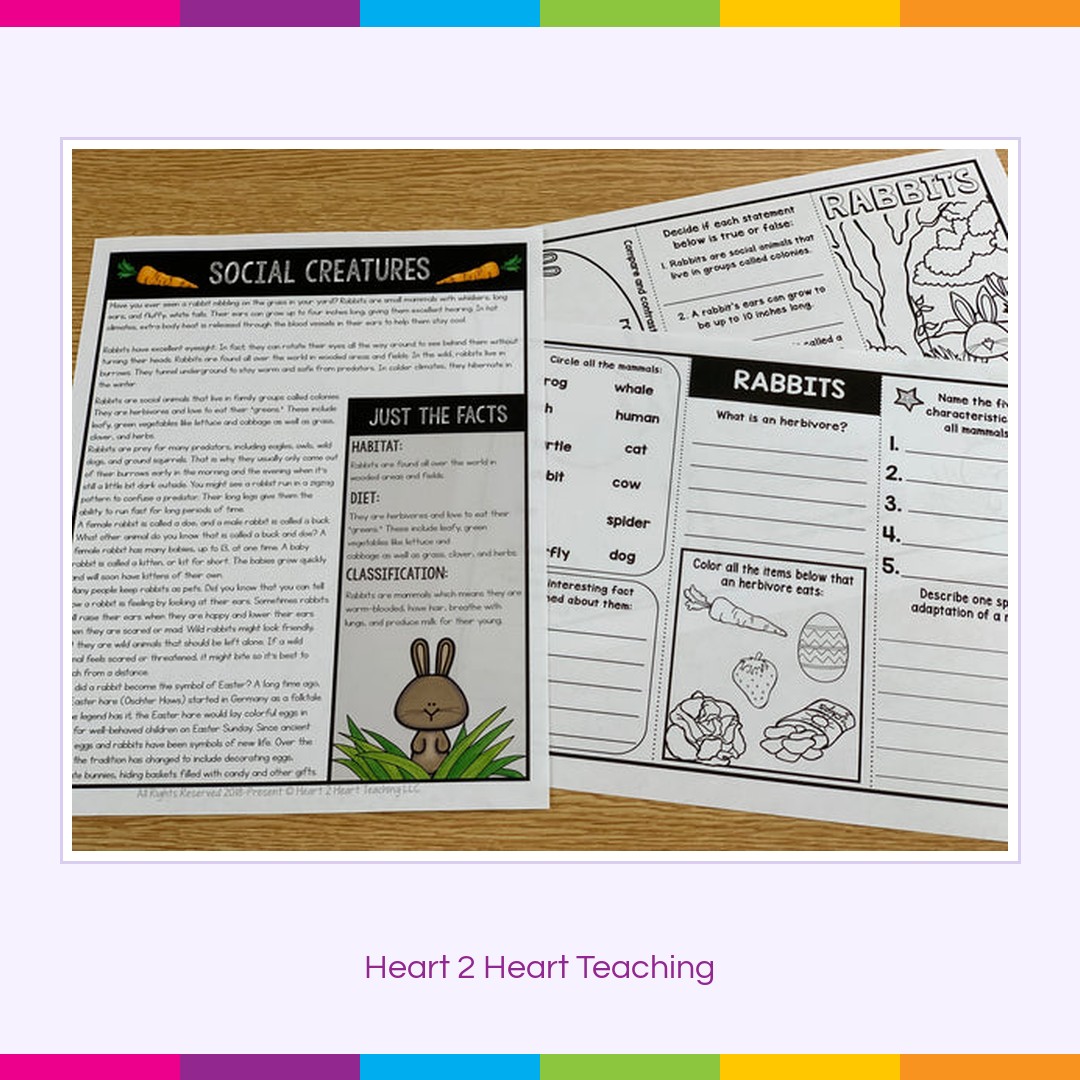
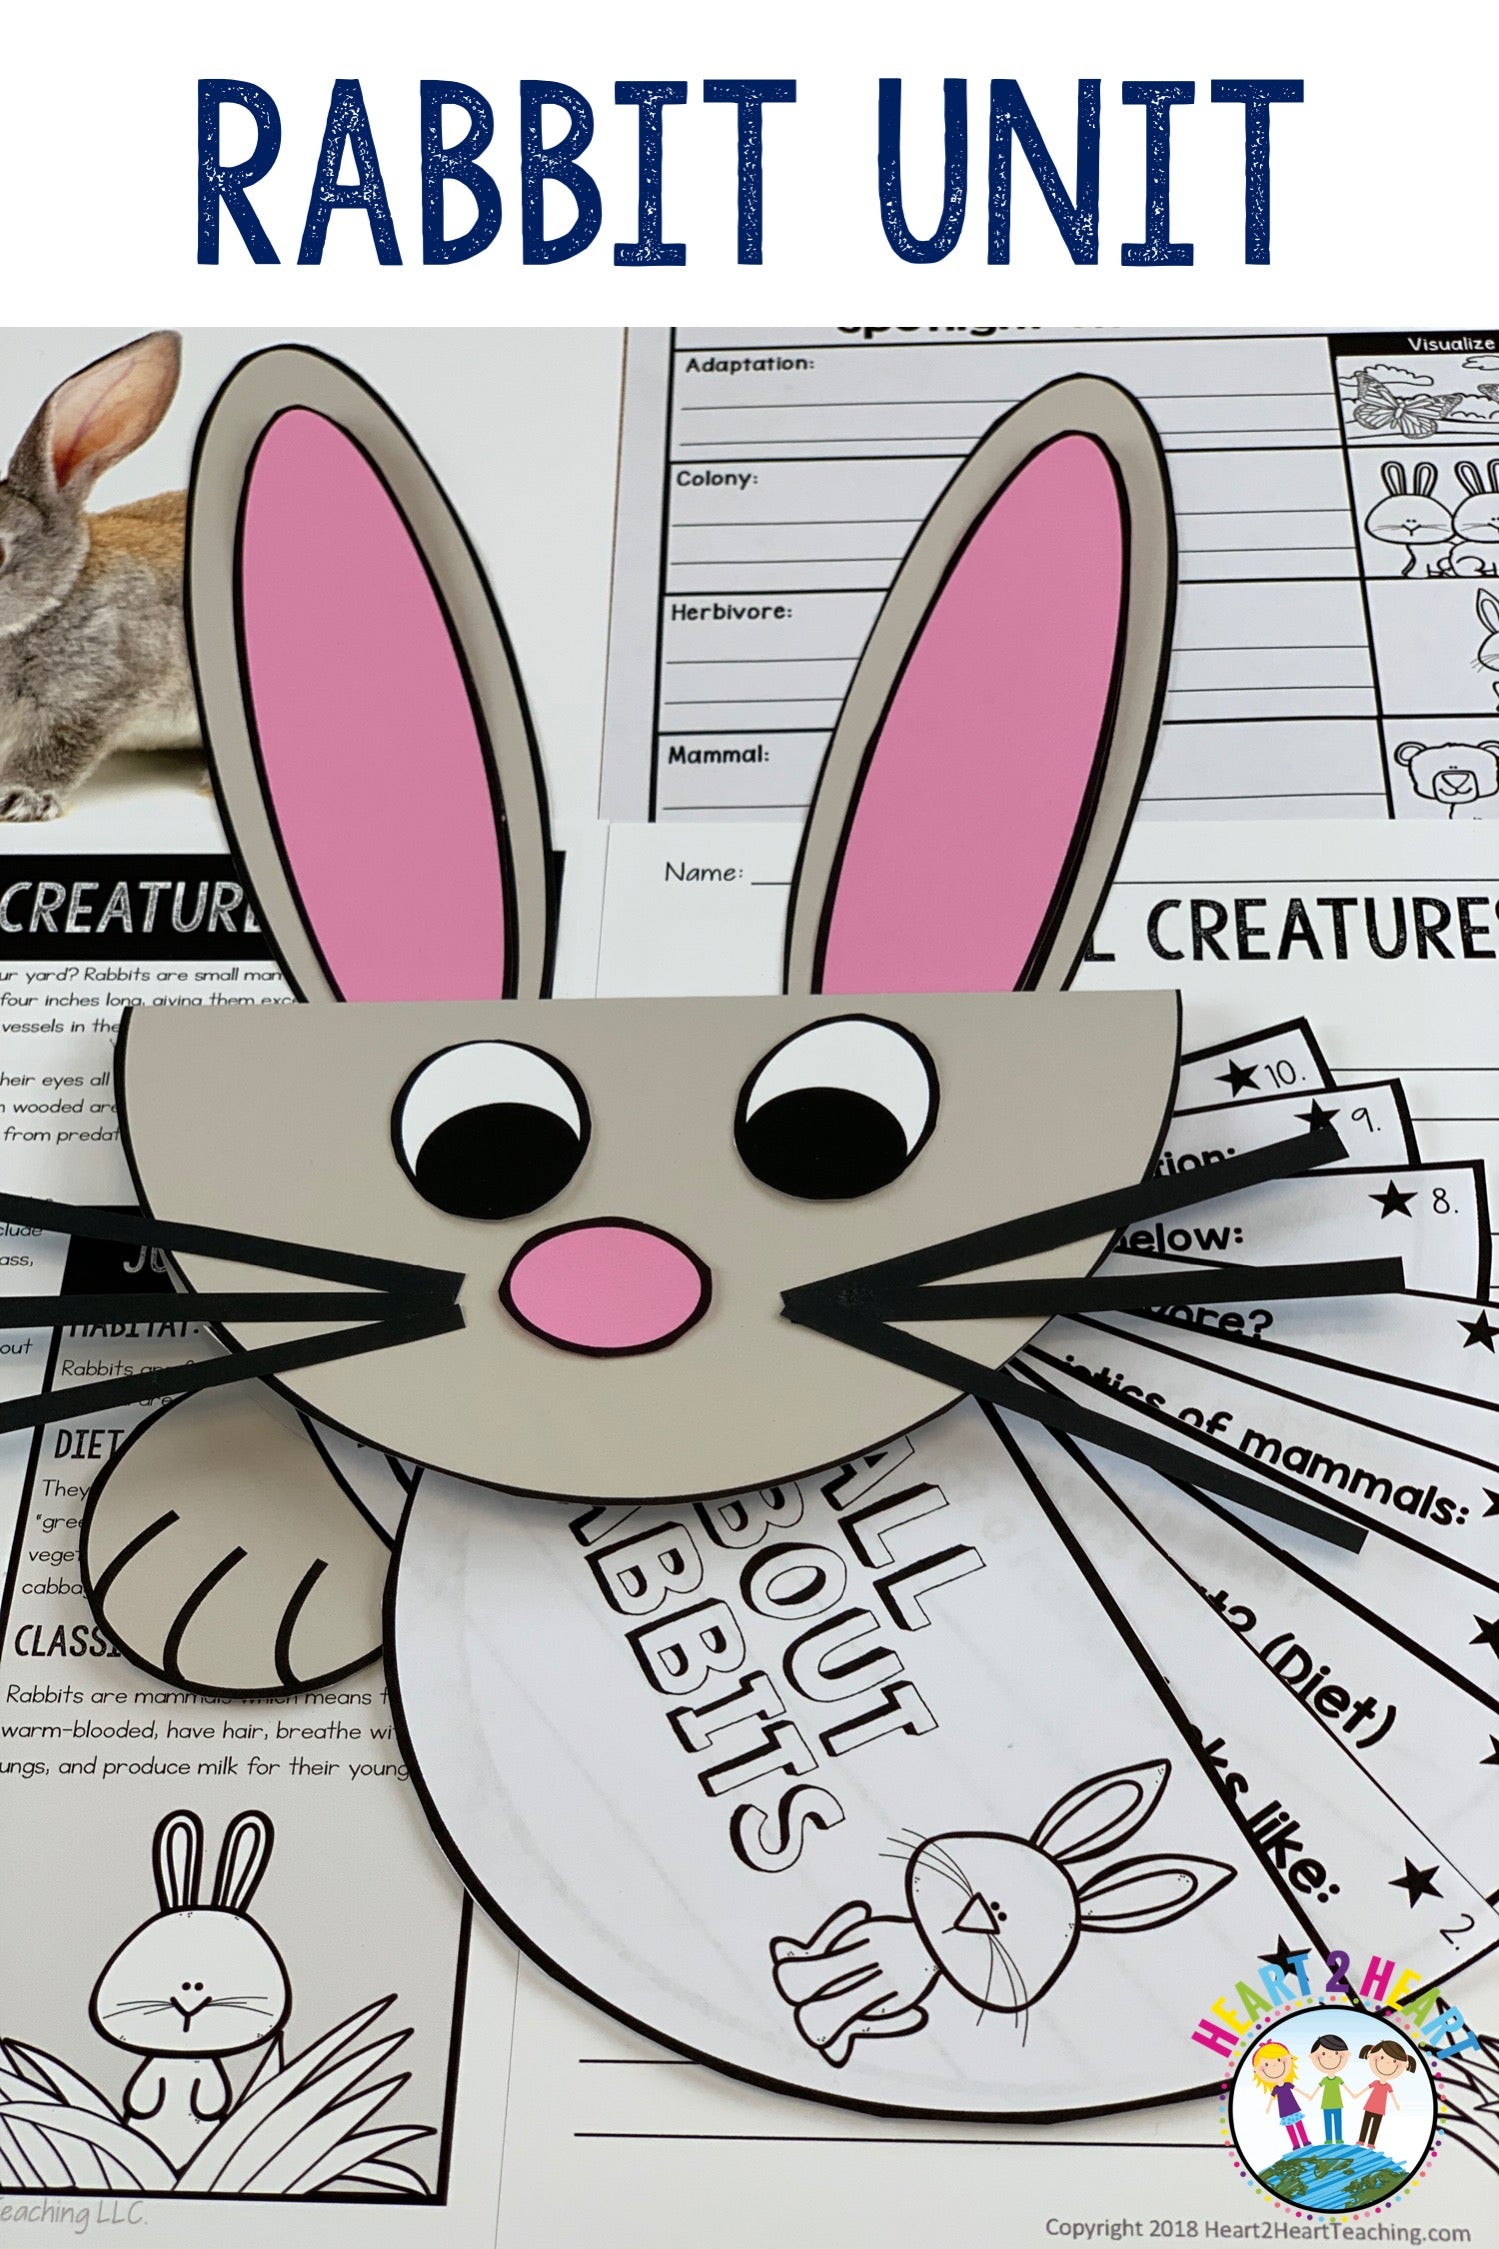
    Rabbits are small mammals with whiskers, long ears, and fluffy, white tails. Some species have ears that can grow to be up to 26 inches long, from tip to tip, giving them excellent hearing. Students will love this activity pack all about rabbits and making an adorable Easter Bunny craft project.

     Easter Bunny Craft for Kids

    Reading About Those Furry Mammals

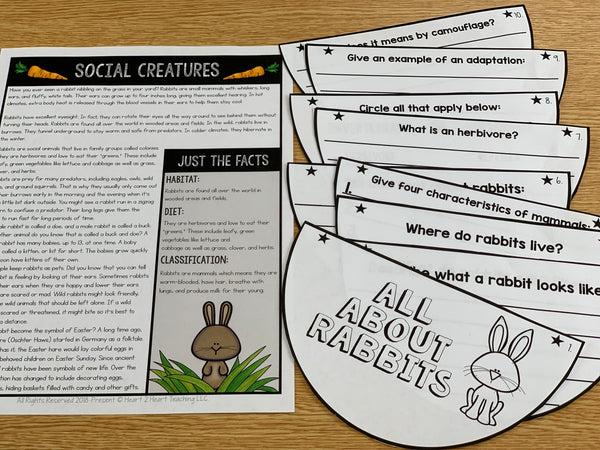
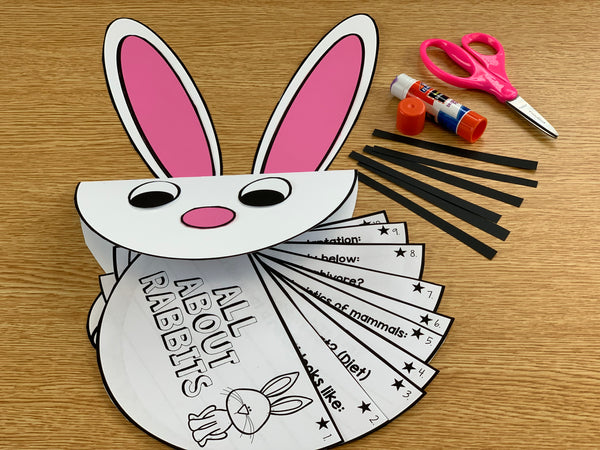
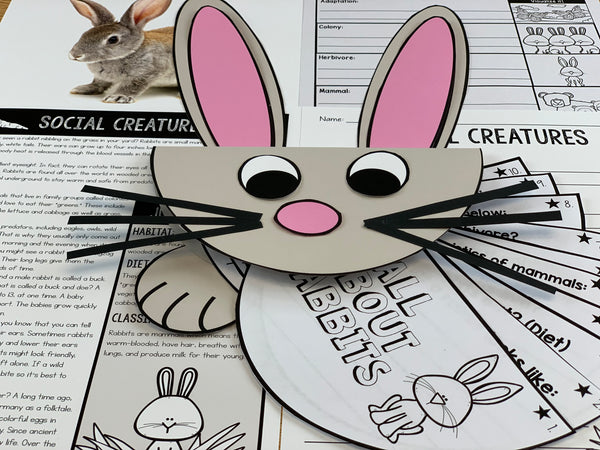
    Start by reading the passages all about rabbits and answering the comprehension questions. Students will love making this cute bunny craft and assembling the 10-page flip-up booklet. The flip booklet pages attach to the inside of the bunny’s mouth. These super cute bunnies make an extra cute bulletin board display too!

    Easter Bunny Craft for Kids

    Make an Easter Bunny Craft

    Using the reading passage, students can answer the questions on the flip book pages. Lastly, they cut, color, and assemble the craft. 

    Follow the Steps Below:

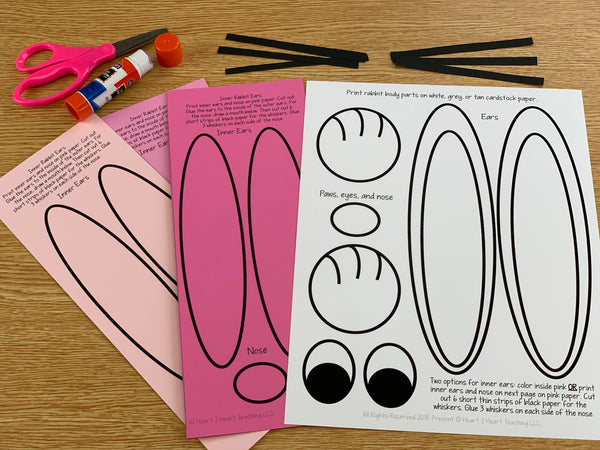
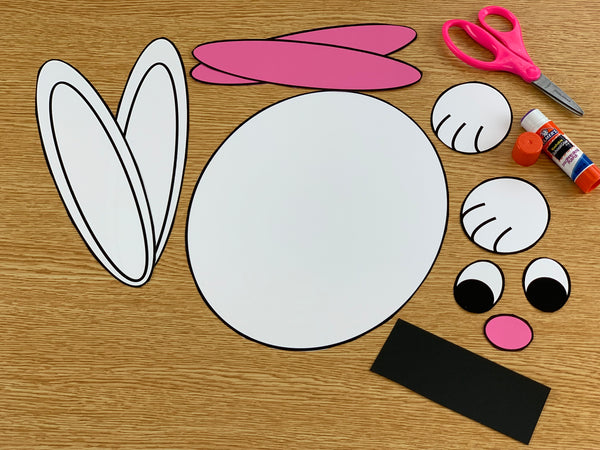
    Print the bunny templates on colored cardstock as directed in the pack. You can choose to make your bunny white, grey, light brown, or beige. I recommend using a thicker paper like cardstock (65 lb) from Michaels, Hobby Lobby, or Amazon.

    Easter bunny craft project for kids

    The inner ears and nose can be colored pink or printed on pink paper or cardstock. There are lots of pretty pinks available. You’ll also need a piece of black construction paper to make the whiskers.

    Easter Bunny Craft for Kids

    Easter bunny craft project for kids 

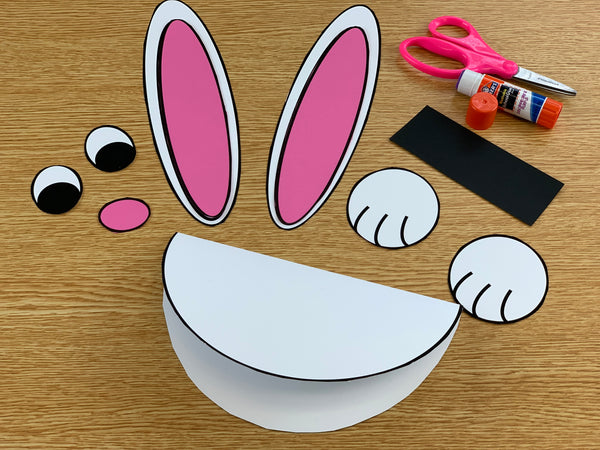
    Cut out the large circle and fold in half. This will become the bunny’s face and mouth.

    Easter rabbit craft project for kids

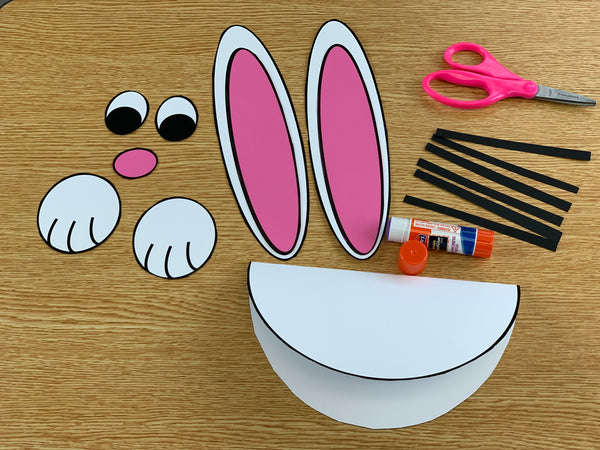
    Glue the inner ears to the outer ears and attach them behind the bunny’s head. Cut six thin strips of black construction paper for his whiskers. 

     Easter bunny craft project for kids

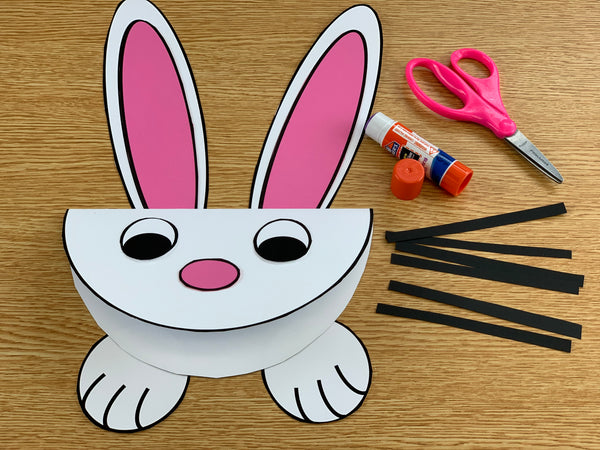
    Glue the eyes, paws, nose, and whiskers in place.

    Easter bunny craft for kids

    Lastly, attach the flip up pages to the inside of the bunny’s mouth.

    Easter Craft Project for Kids

    Vocabulary Activities

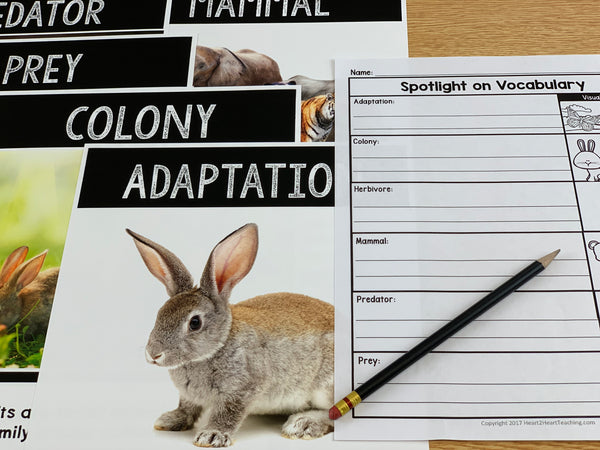
    Vocabulary posters are included in this unit to help students visualize and connect to the information. These colorful posters make an attractive bulletin board in a snap! A Spotlight on Vocabulary activity is included too.

    Rabbit vocabulary activities for kids

    Click here to see this fun unit with a bunny craft project in my shop!

    Rabbit Craft for Kids

     Related Articles:

    5 Awesome Ideas to Make Your Own Easter Treat Bags

    Ladybugs Are Amazing Critters Project

    A Sneak Peek at Our Animal Classifications Unit

  • Ladybugs are Amazing Little Critters That Help Our Planet

    Ladybugs are Amazing Little Critters That Help Our Planet

    The world is full of insects. In fact, scientists estimate that there might be as many as ten million different species of insects! It’s important for children to understand that insects can be useful for the environment and that we shouldn’t be afraid of them. In this post, I’ll share some activities, resources, and books for kids to learn more about these amazing little critters.  

    Lucky Little Ladybugs

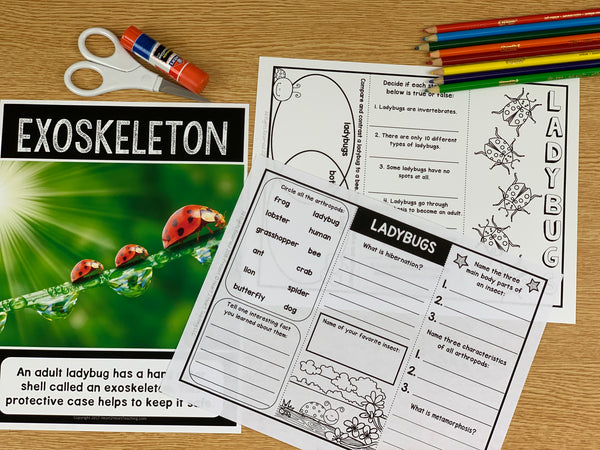
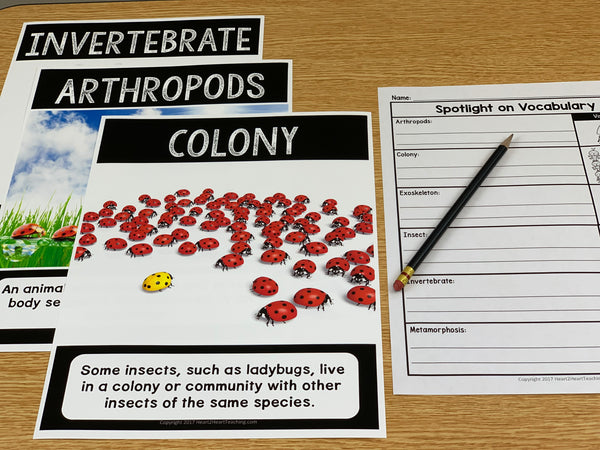
    Did you know that if a ladybug lands on you, it’s a sign of good luck? A ladybug is easy to identify. If you see a tiny red bug with black spots flying by, it is probably a ladybug. Students will love this ladybug unit and adorable craft project.

    Q: Why did the bug cross the road?

    A: Cause he wanted to see the “Ladybugs” 

    Ladybug activities for kids

    Reading:

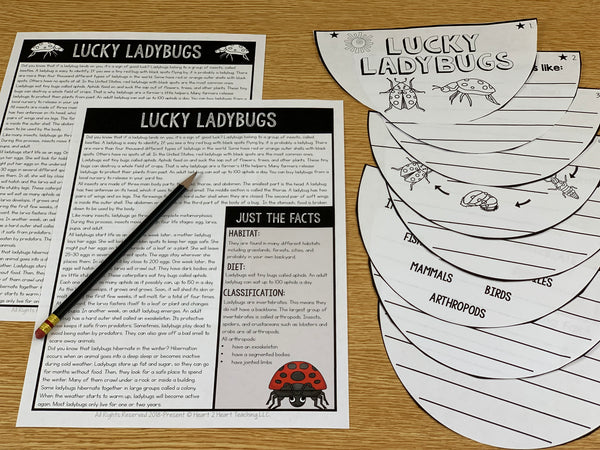
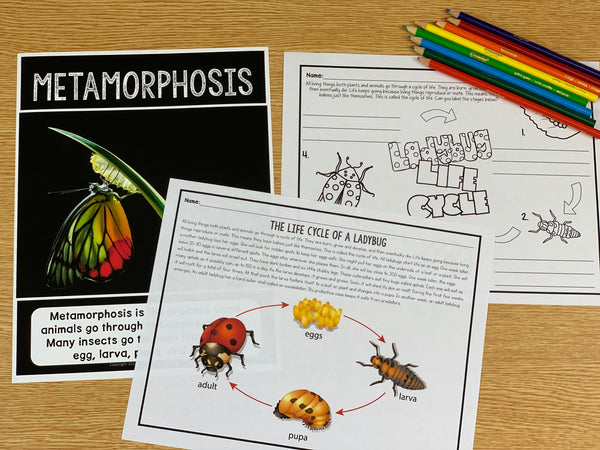
    Start by reading the passages all about ladybugs and their life cycle and answering the comprehension questions on the tri-fold booklet. Students could work with a partner or you can use it as a learning station activity. An answer key is included.

    Ladybug Crafts for Kids

    Ladybug Crafts for Kids

    Ladybug craft for kids

    Ladybug crafts for kids

    Ladybug Craft:

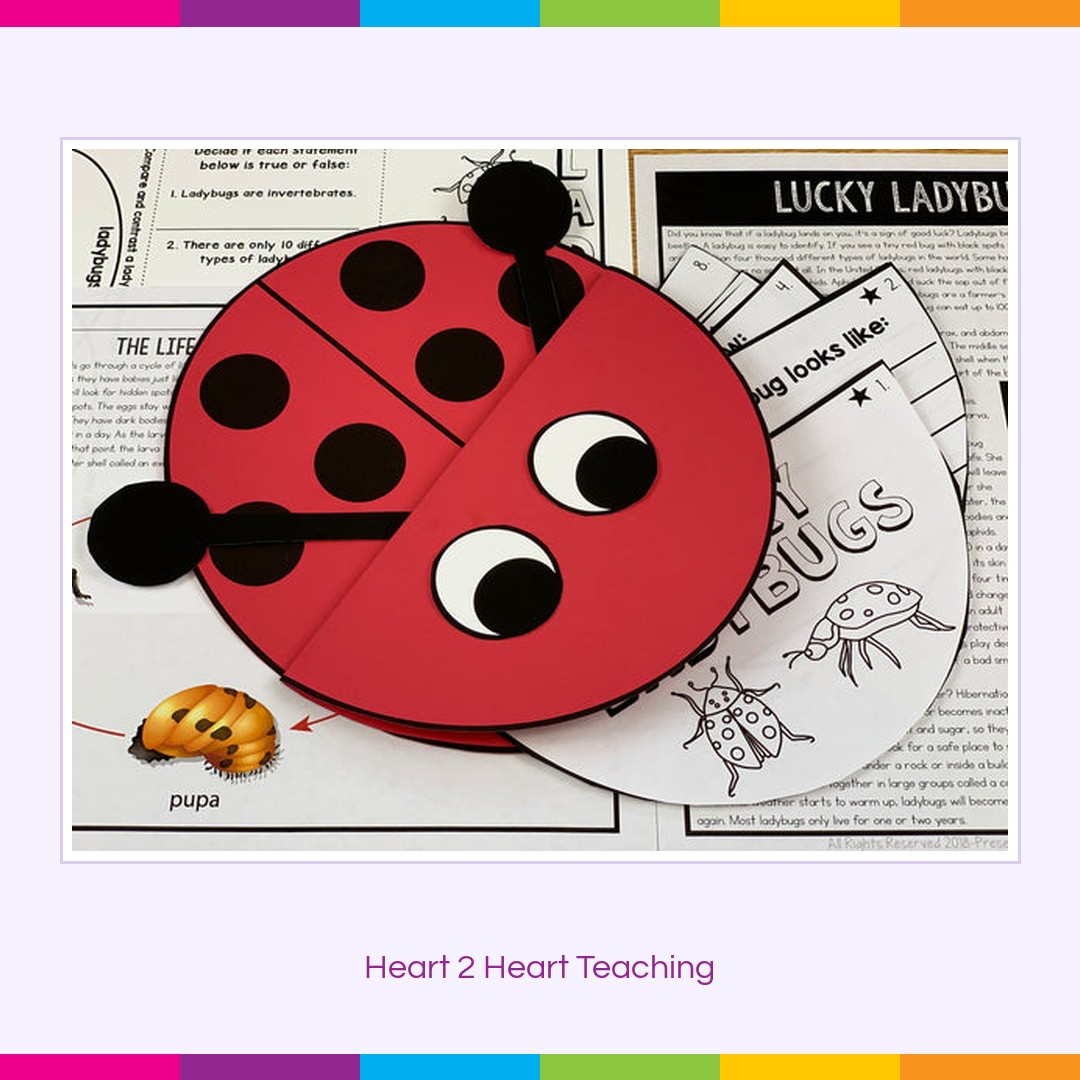
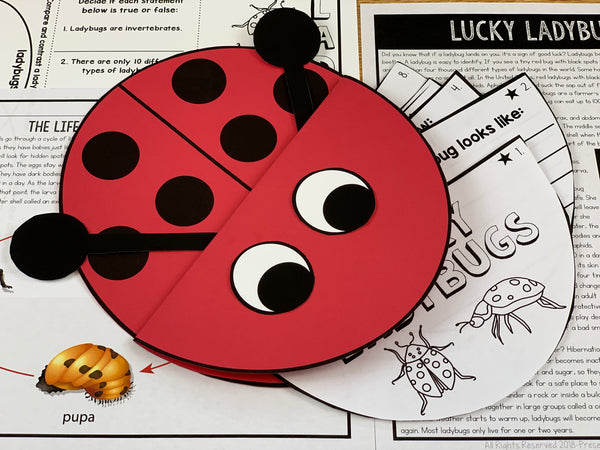
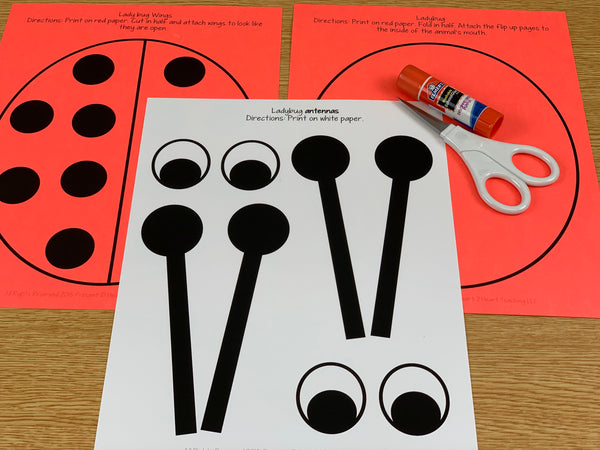
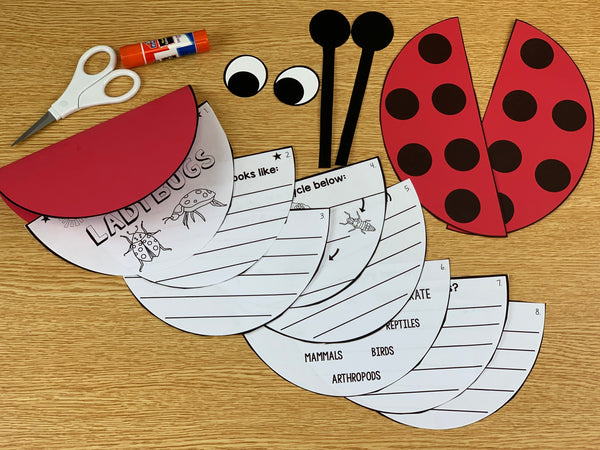
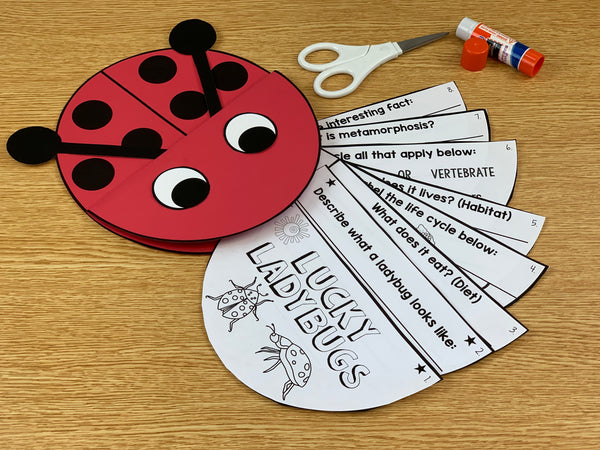
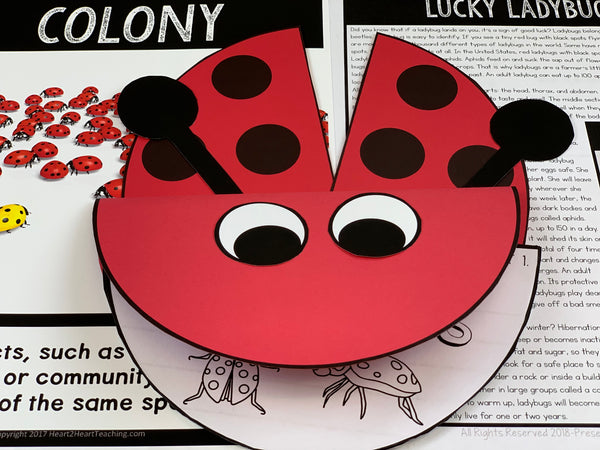
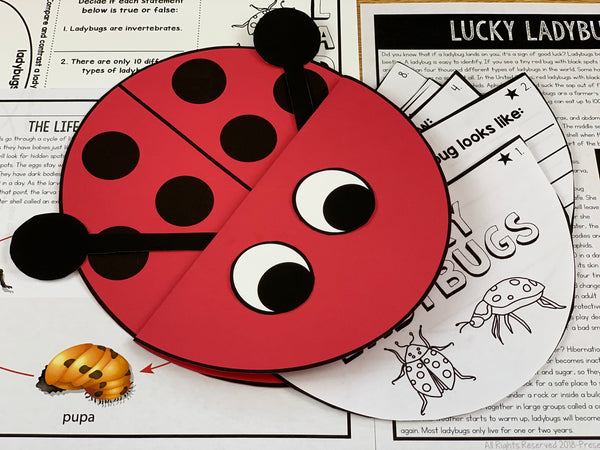
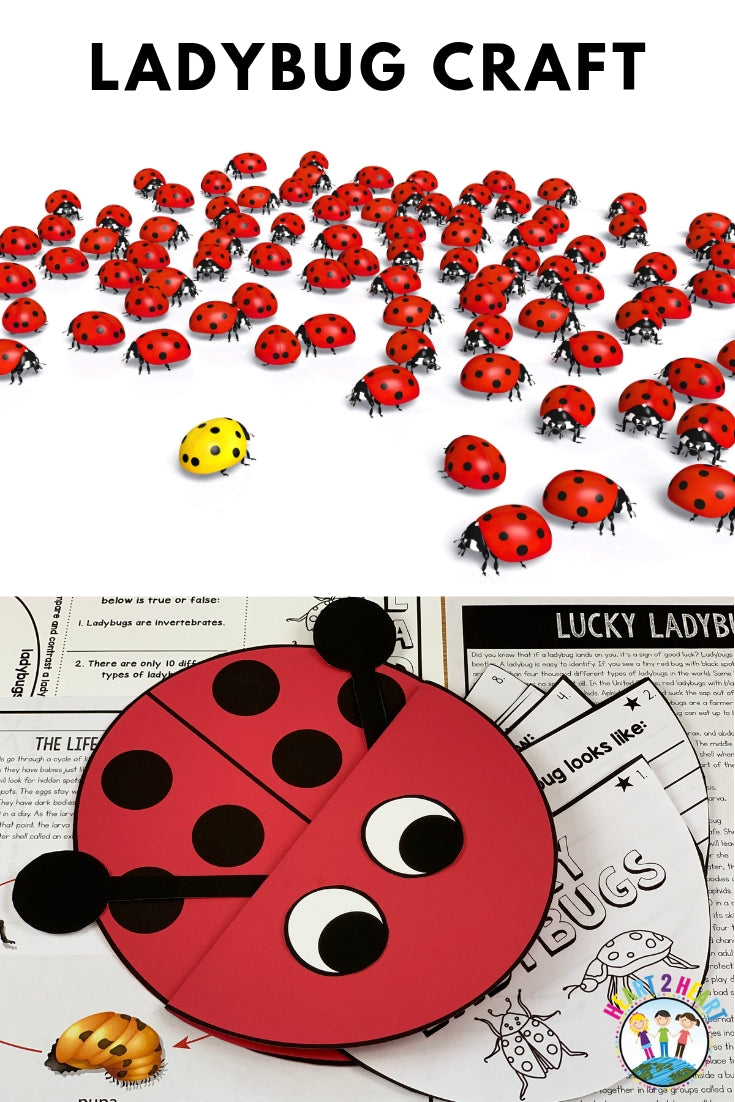
    Students will love making this cute ladybug craft and assembling the 8-page flip-up booklet. Print the ladybug templates on red, orange, or yellow paper as shown in the pack. I used this starter cardstock kit from Amazon.

    Ladybug crafts to do with kids

    Cut out each of the ladybug’s body parts and flip-up pages.

    Ladybug crafts for kids

    The flip booklet pages attach to the inside of the ladybug’s mouth.

    Ladybug Crafts for Kids

    These lucky ladybugs make an extra cute bulletin board display too!

    Ladybug crafts for kids

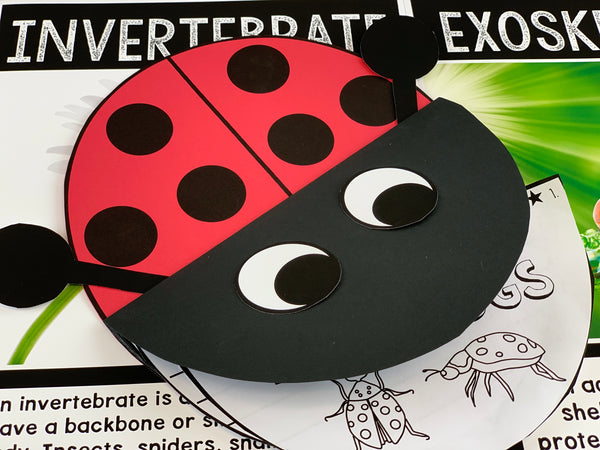
    The ladybug’s head can be either red or black. For a black head, simply trace around the circle using a white colored pencil or chalk. 

    Ladybug Activities for Kids

    Vocabulary:

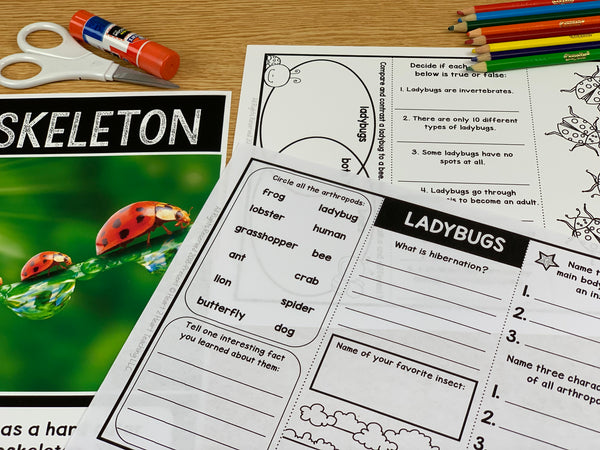
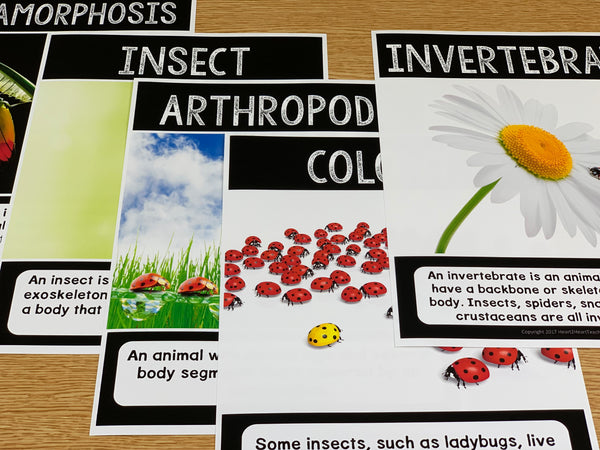
    Vocabulary posters with real-life photos are included to help students visualize and connect to the information. I recommend printing the vocabulary posters on premium brochure and poster paper to make them come to life!

    Ladybugs unit for kids

    Ladybug craft for kids to make

    These colorful posters make an attractive bulletin board in a snap! Vocabulary activities are included to reinforce learning.

    Ladybug craft for kids

    This activity pack includes all you need to teach students about ladybugs and create this creative craft project. You can find this fun unit by CLICKING HERE!

    Ladybug crafts for kids

    Recommended Books to Accompany This Unit:

    Are You A Ladybug? by Judy Allen

    Beginning with its title question, “Are you a ladybug?”, this accessible book is perfect for reading aloud and tells young readers how they would experience life if they were a ladybug.

    It’s a Good Thing There Are Ladybugs by Joanne Mattern

    This book opens with a short list of “good things” that each animal contributes to the ecosystem opens these books. Bats, for example, eat insects and spread pollen and seeds. The content then shifts to more general information about physical features, life cycles, and habitats. Full-page photos of mostly high quality match the simple text effectively, aided by useful labels. Interesting details are judiciously woven into the broader overviews, some within the main text and others through “fun facts” insets.

    Ladybugs by Gail Gibbons

    Ladybugs are a type of beetle. They live on six of the seven continents. There are believed to be about 5,000 different kinds of ladybugs around the world. Here are descriptions of their physical characteristics, their four states of development from egg to adult, and how they live. Ladybugs eat insects that damage plants and are an important part of our environment.