Author: JSamayoa

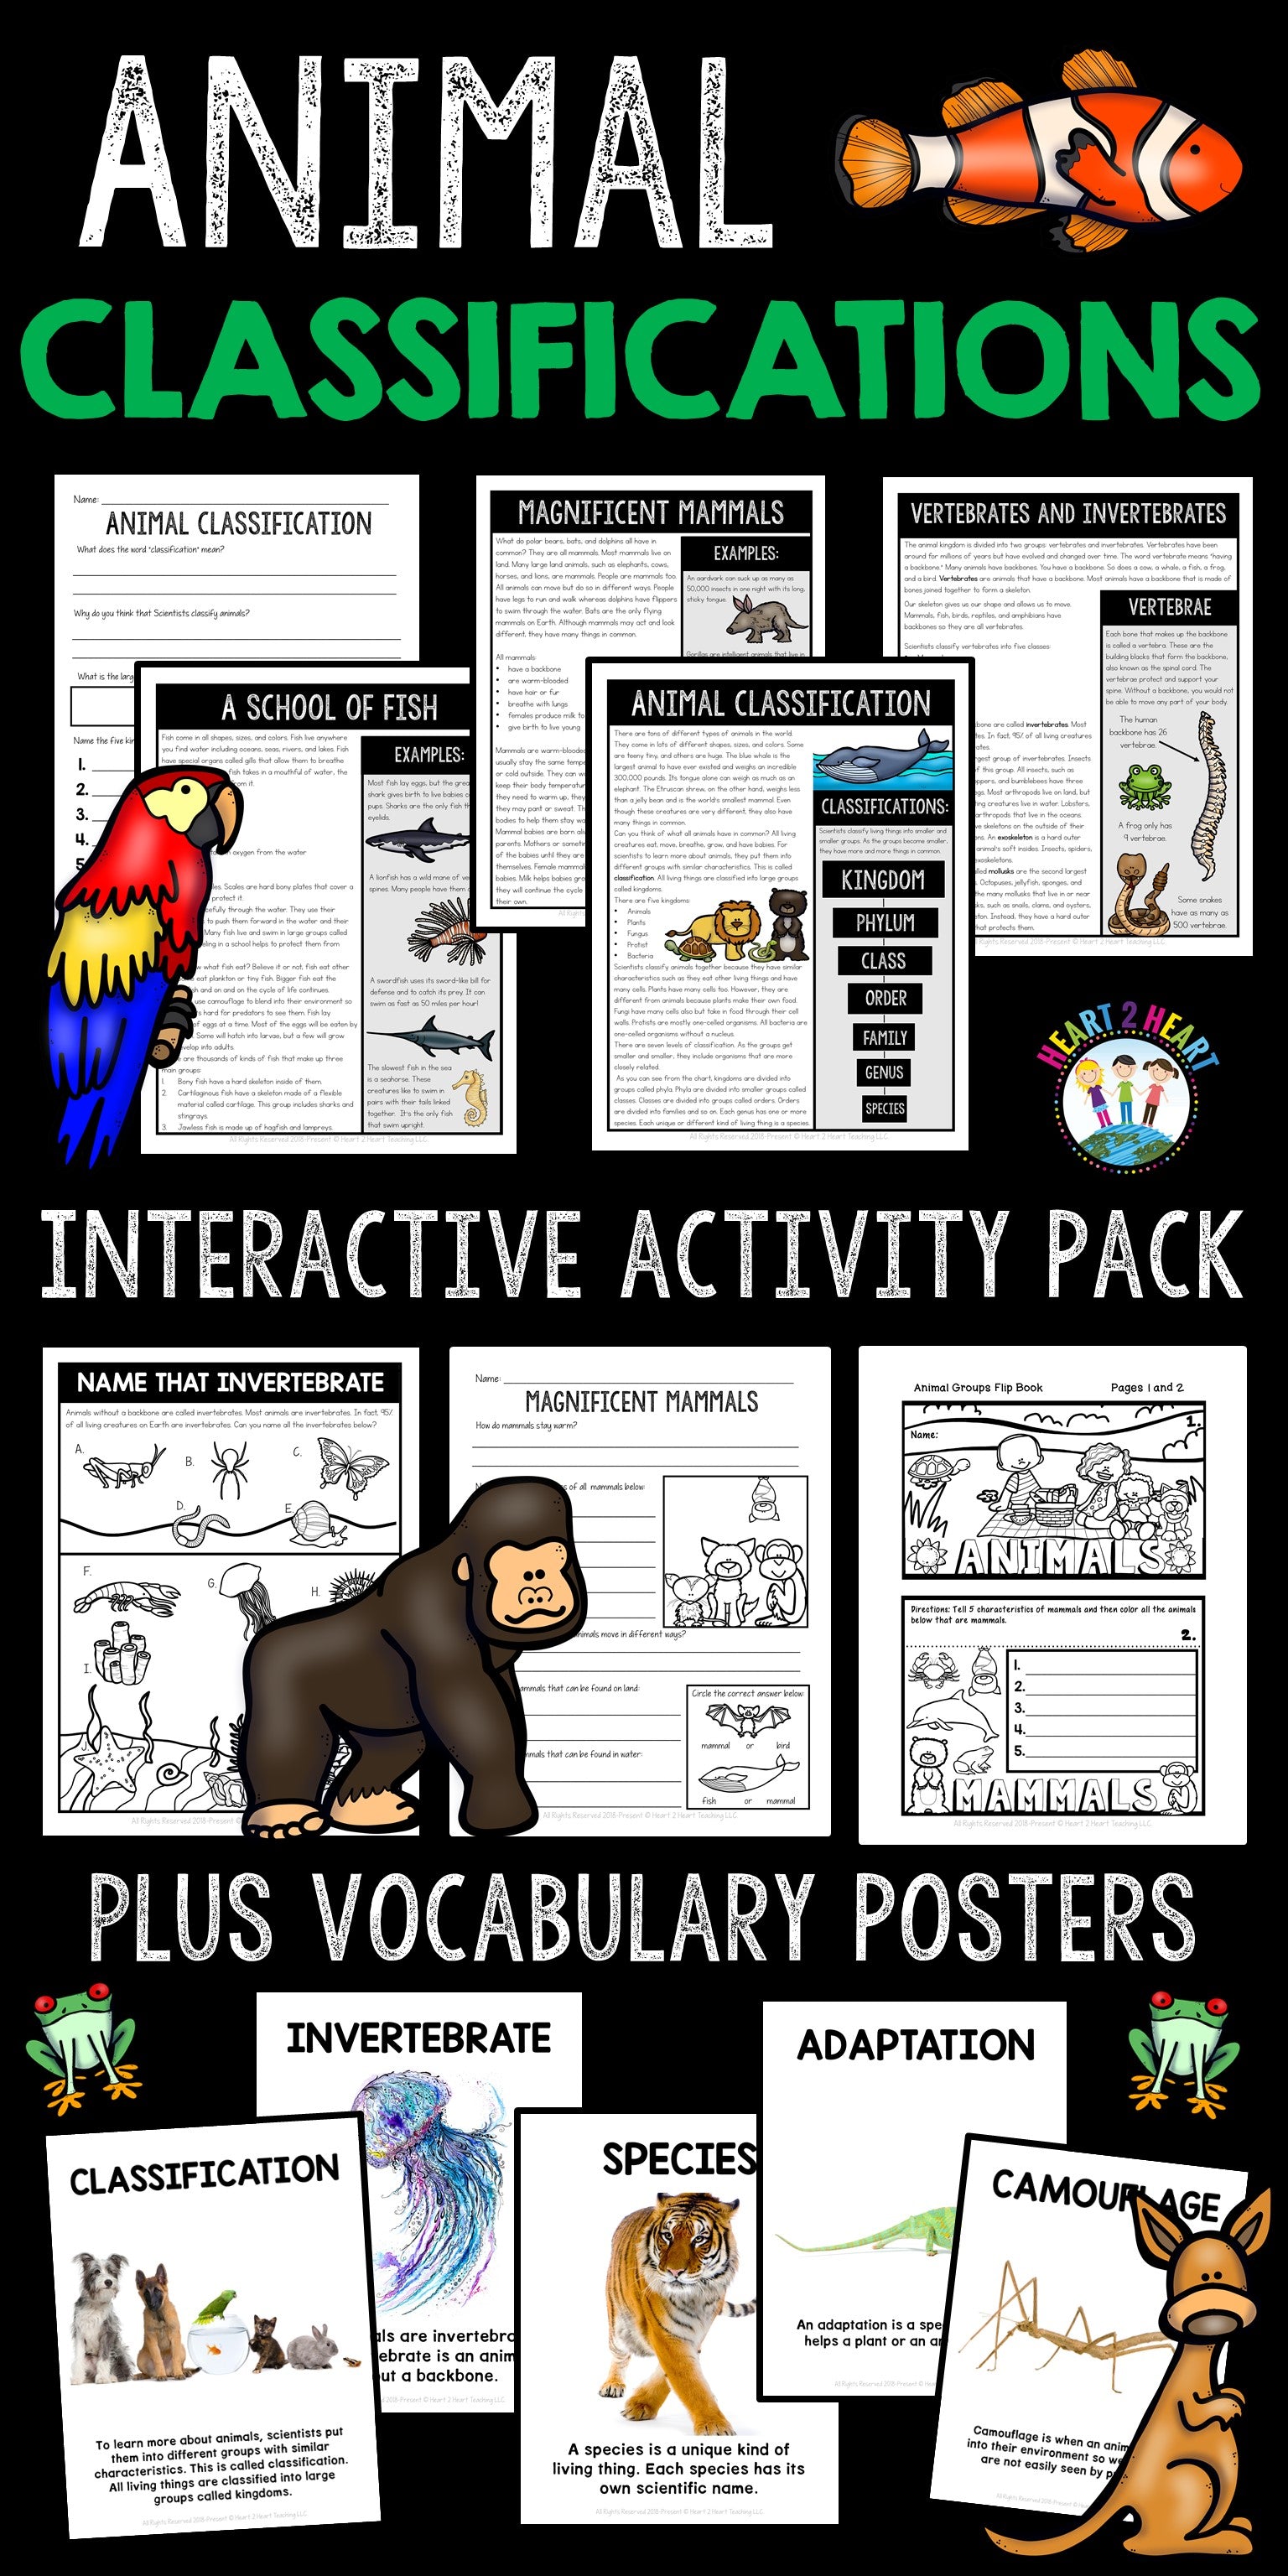
  • Take a Sneak Peek at Our Animal Classification Unit

    Take a Sneak Peek at Our Animal Classification Unit

    Most children are fascinated with animals and we can build on that interest in the classroom.

    Introduce the Unit

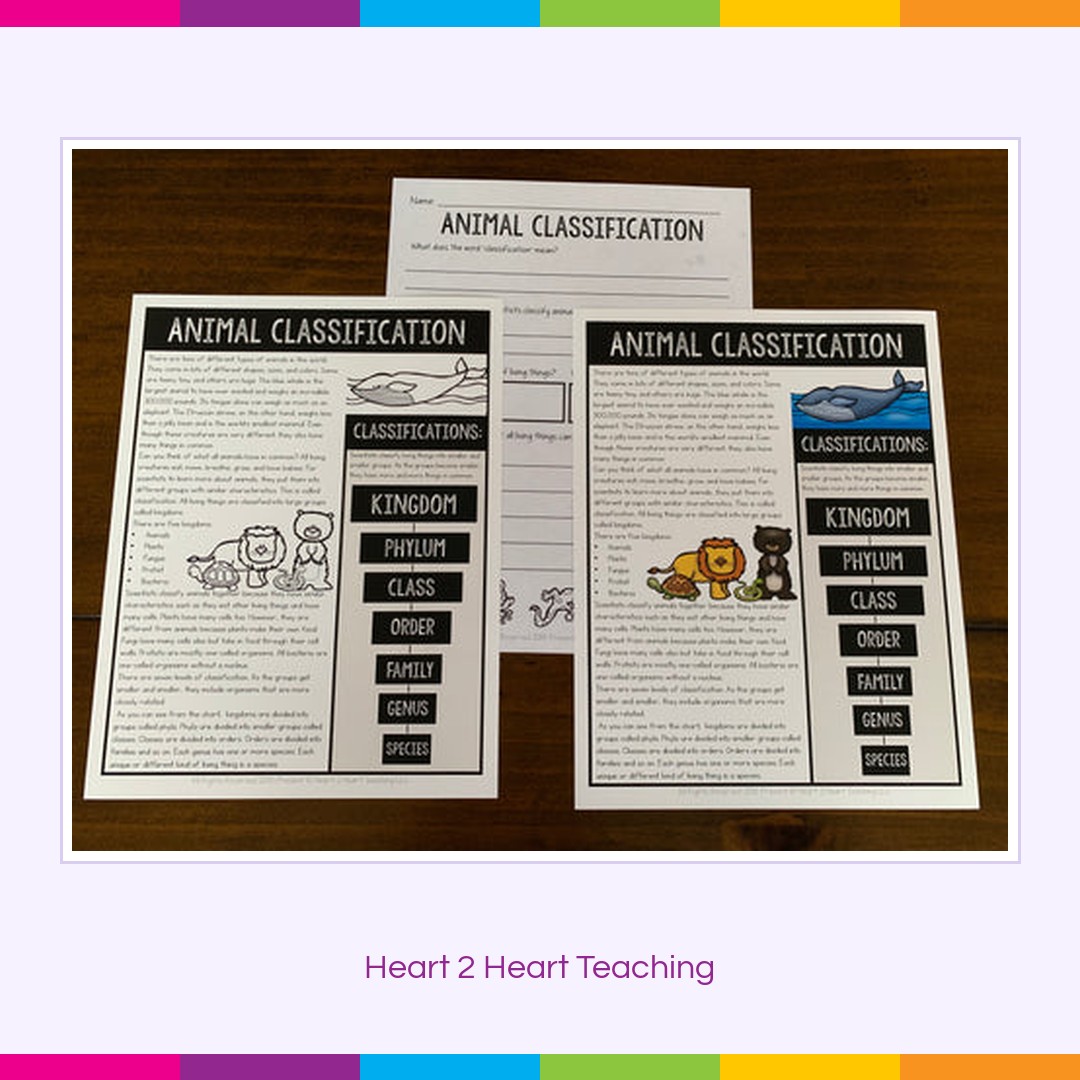
    I like to start our animal classification unit by asking the class, what do all living things have in common? Remind students that people are animals too. As a class, we brainstorm a list.

    All living creatures eat, move, breathe, grow, and have babies. For scientists to learn more about animals, they put them into different groups with similar characteristics. This is called classification. 

    The first passage in our unit introduces students to how scientist go about classifying animals and gives a brief introduction of each of the five groups.
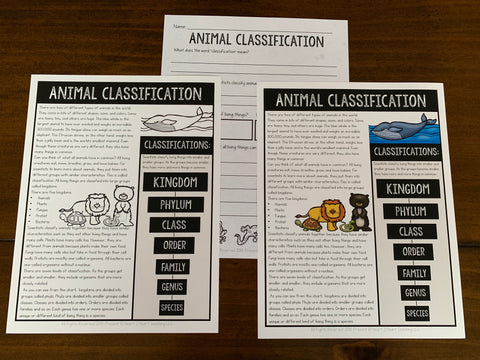
    Animal Classification Unit for Kids

    Vertebrates and Invertebrates

    After the introduction to classification, we move on to talk about the vertebrates and invertebrates. To demonstrate how our backbone helps us move, I have the students do the following movements:

    • stand up
    • touch their toes
    • do a jumping jack
    • pat themselves on the back 
    • feel the bones on the back of the neck

    This activity demonstrates how our backbone gives us and all vertebrates the ability to move.
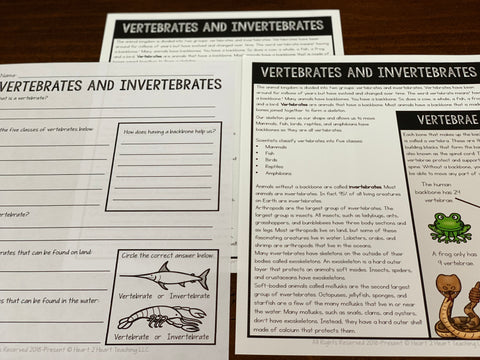
    Vertebrates and Invertebrates Activities for Kids

    Vertebrates and Invertebrates Activities for Kids

    Pocket Sort

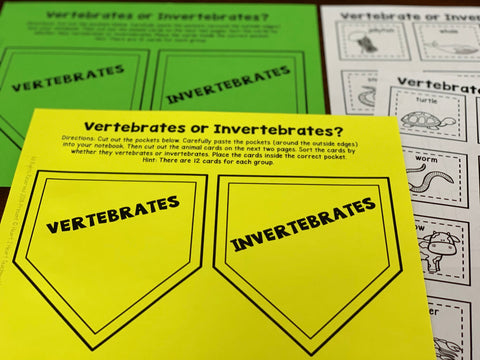
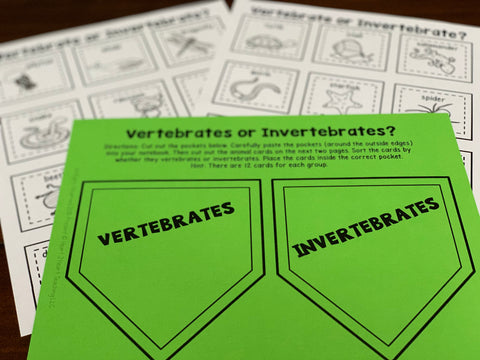
    After reading the passage and answering the comprehension questions, we go on to do our pocket sort. This is a fun activity to reinforce their learning. Print the pockets on different colored paper.
    Vertebrates and Invertebrates Activities for Kids

    Vertebrates and invertebrates activities for kids

    Have students cut out the pockets and carefully paste the pockets (around the outside edges) into their notebook. Next, they can cut out the animal cards and sort them by whether they are vertebrates or invertebrates. Place the cards inside the correct pocket. 

    Then we dive deeper into each of the five animal groups. Each passage includes information about each group as well as examples.

    The Five Big Groups

    The following animal groups are highlighted in this unit:

    ⭐Mammals

    ⭐Birds

    ⭐Fish

    ⭐Reptiles

    ⭐Amphibians

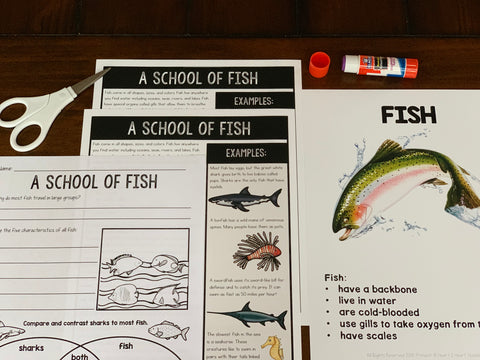
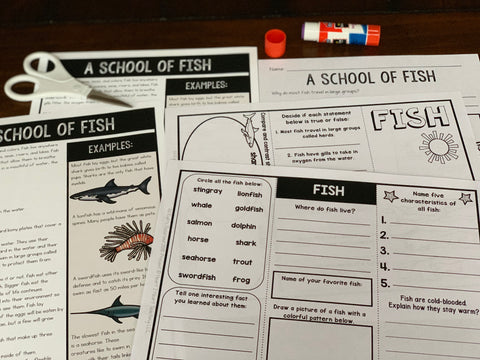
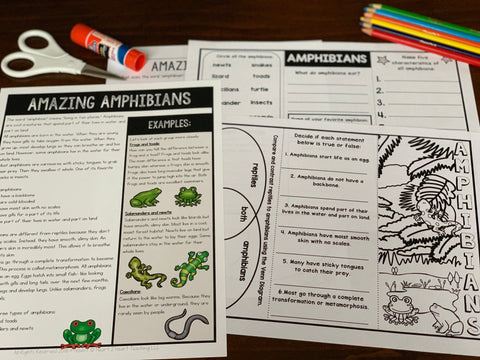
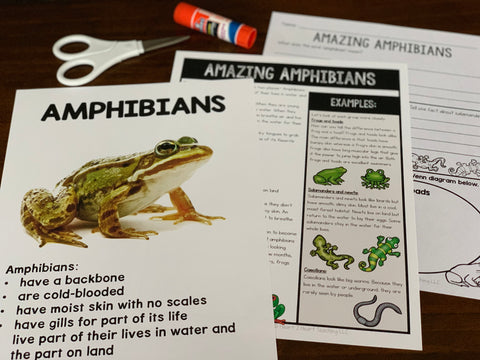
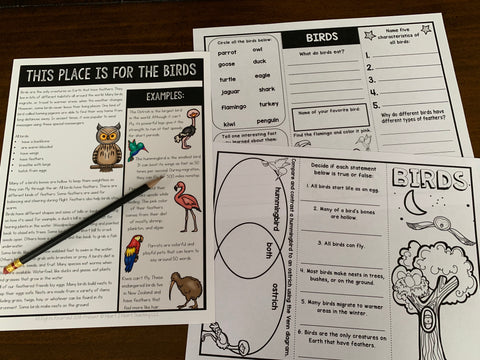
    For each of the five animal groups, there are reading passages, comprehension questions, and a tri-fold booklet. Students read the passage, answer the comprehension questions, and then complete the tri-fold booklet. 

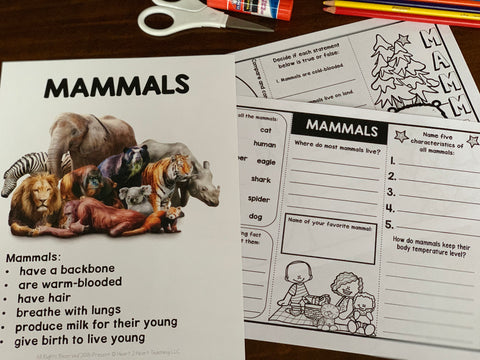
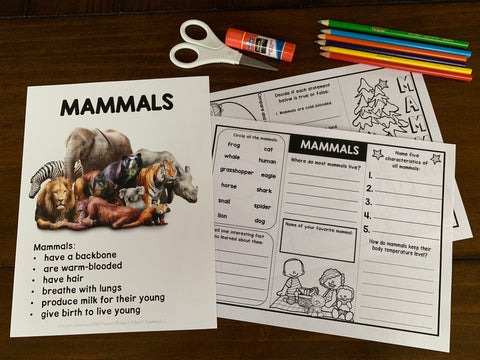
    Mammals
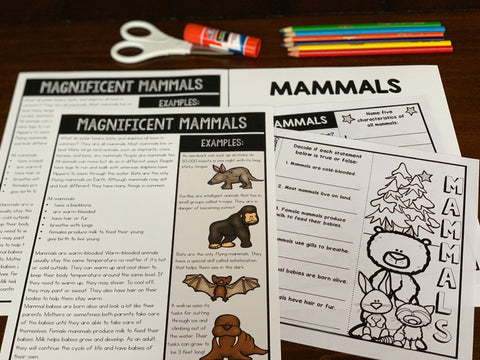
    Mammals activities for kids

    mammals activities for kids

    Animals activities for kids

    I like to set up five learning stations, one for each animal group. Then students can rotate through each station. 

    Birds
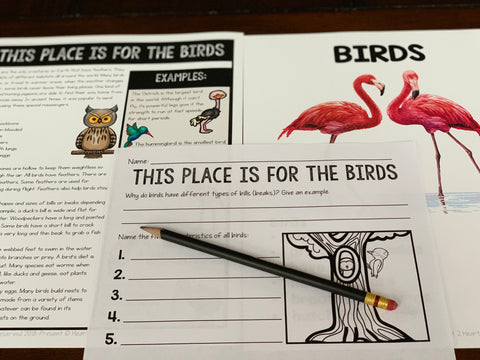
    Animals activities for kids

    Reading passages come in both color and black and white. You might want one copy in color to use at the learning station and then print off copies in black and white for the students to use. 
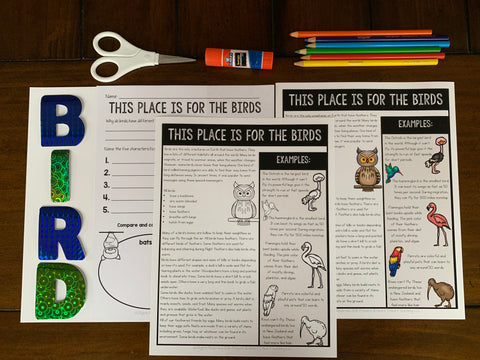
    Animals activities for kids

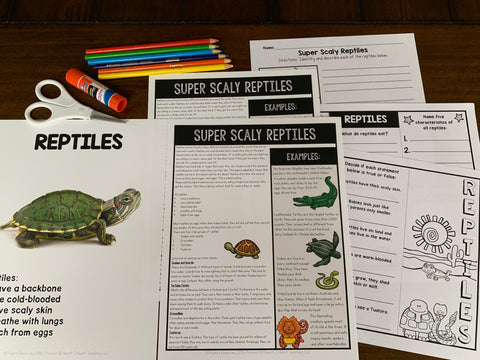
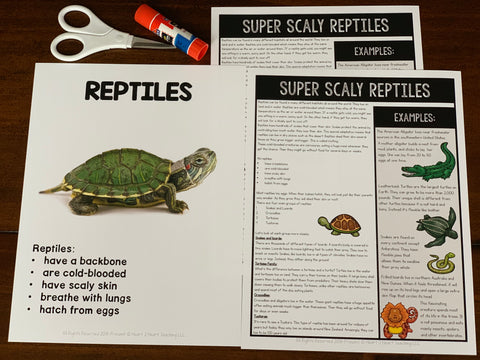
    Reptiles

    Animals activities for kids

    Animals activities for kids

    Fish

    Animals activities for kids

    Animals activities for kids

    Amphibians

    Animals activities for kids

    Animals activities for kids

    Tri-fold Booklets

    One of the student activities in this pack is the tri-fold booklets. These are double-sided booklets that after they are completed, look like a brochure. 

    To complete the tri-fold booklets:

    1. Copy booklet pages back to back. 
    2. Have students answer the questions on both sides.
    3. Cut along the black lines.
    4. Color the front cover.
    5. Fold the flaps on the dotted line so that it looks like a brochure
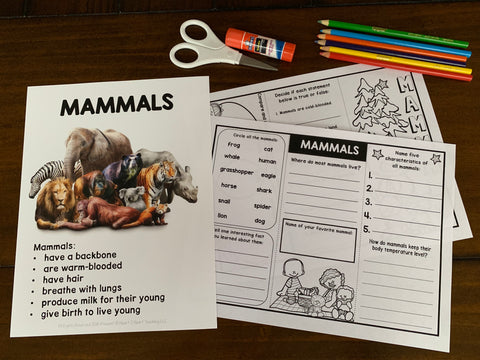
    Animal activities for students

    Animal groups for kids

    Animal Characteristics Posters

    Animal characteristics posters with real-life photos of animals are included for each of the five groups. These posters make a colorful and attractive bulletin board display in a snap!
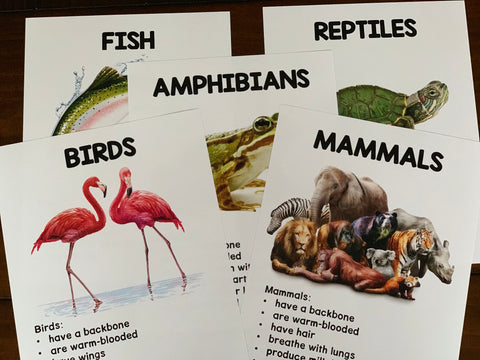
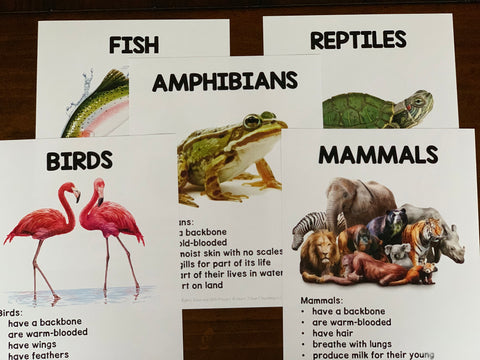
    Animal activities for kids

    Animals activities for kids

    Flip Books

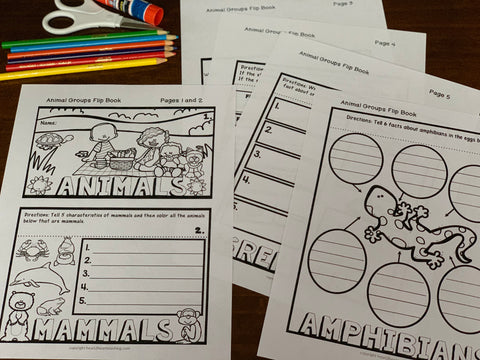
    There are several hands-on activities included in this unit to reinforce learning. For example, there is a 6-page flip book for the five groups. Students can work on one page each day and complete it in about a week. Flipbooks fit neatly into notebooks or can be designed as a stand-alone booklet.
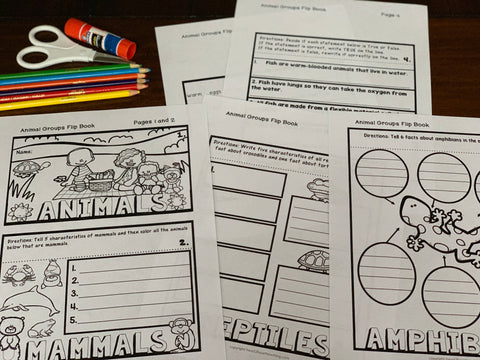
    Animals activities for kids

    Animals activities for kids

    Flip Fact Flaps

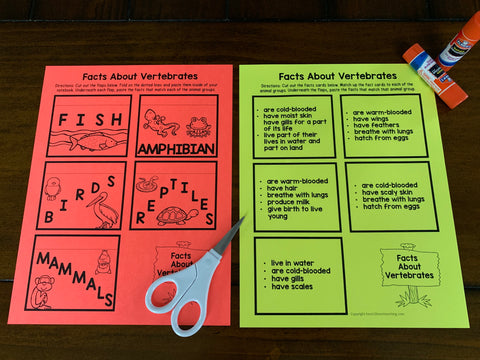
    This is a fun and easy activity for students to complete as homework or for early finishers. Have students cut out the facts cards and paste them in a notebook. Next, they match up the flaps with the name of the correct animal group for each fact card. I like to print them on different colored papers and then students can pick a variety of colors for the different groups.
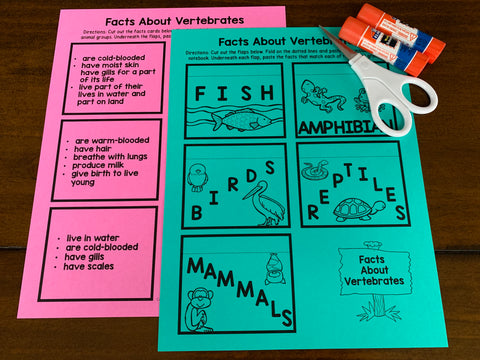
    Animal activities for the classroom

    Animal activities for kids

    Animal Card Sort Game

    There are three different ways to play this fun sorting game. 

    Classification Sort

    • Print the animal classification cards #1-3 and name tags of each group on the next pages that follow. You won’t need the invertebrate cards for this activity. Cut into 24 cards and mix them together. (Laminate cards if desired.)
    • This activity works well for centers, small groups, or partners.
    • Ask students to group animal cards based on one property. For example, they make a group of animals based on the property of body covering. They might have animals that have fur and ones that have feathers. This will illustrate the concept of classification.
    • Have students report to the class about how they have grouped their cards.
    • Next, have students organize their cards in a different way and report back to the class. This will show them that there are many ways to group or classify, animals.

    Vertebrates Sort

    • Print the animal classification cards #1-3 and name tags of each group of vertebrates: mammals, birds, fish, reptiles, and amphibians. You won’t need the invertebrate cards for this activity. Cut into 24 cards and mix them together.
    • Students pick one card at a time and sort them into the five groups of vertebrates: mammals, birds, fish, reptiles, and amphibians.
    • Check their cards to make sure they are in the correct groups.

     Vertebrate or Invertebrate?

    • Print animal classification cards #1-5 and name tags for only vertebrates and invertebrates. You won’t need the other tags. Cut into 40 cards and mix them together. Cards #4 and #5 are all invertebrates.
    • If this is too many cards for students to sort pick one sheet (8 cards) for each group.
    • Have students sort the cards into two groups: vertebrates and invertebrates.
    • Students will have to determine if the animals have a backbone or not. *Hints: have students look for animals have a soft body such as a jellyfish or octopus and animals that have an exoskeleton like insects.

    Vocabulary Posters and Activities

    This unit also includes vocabulary posters with real-life photos. There are flip flaps that are perfect for interactive notebooks and a spotlight on vocabulary activity to complete.  

    A quiz and answer keys are also included. Just print and teach!

    Students will love learning all about animals with this fun and engaging resource. This unit includes reading passages, comprehension questions, tri-fold booklets, vocabulary posters, and activities for each of the five animal groups.

    SEE IT IN MY SHOP BY CLICKING HERE!
    animal classification for kids

  • 5 Fun Ways to Celebrate Groundhog Day

    5 Fun Ways to Celebrate Groundhog Day

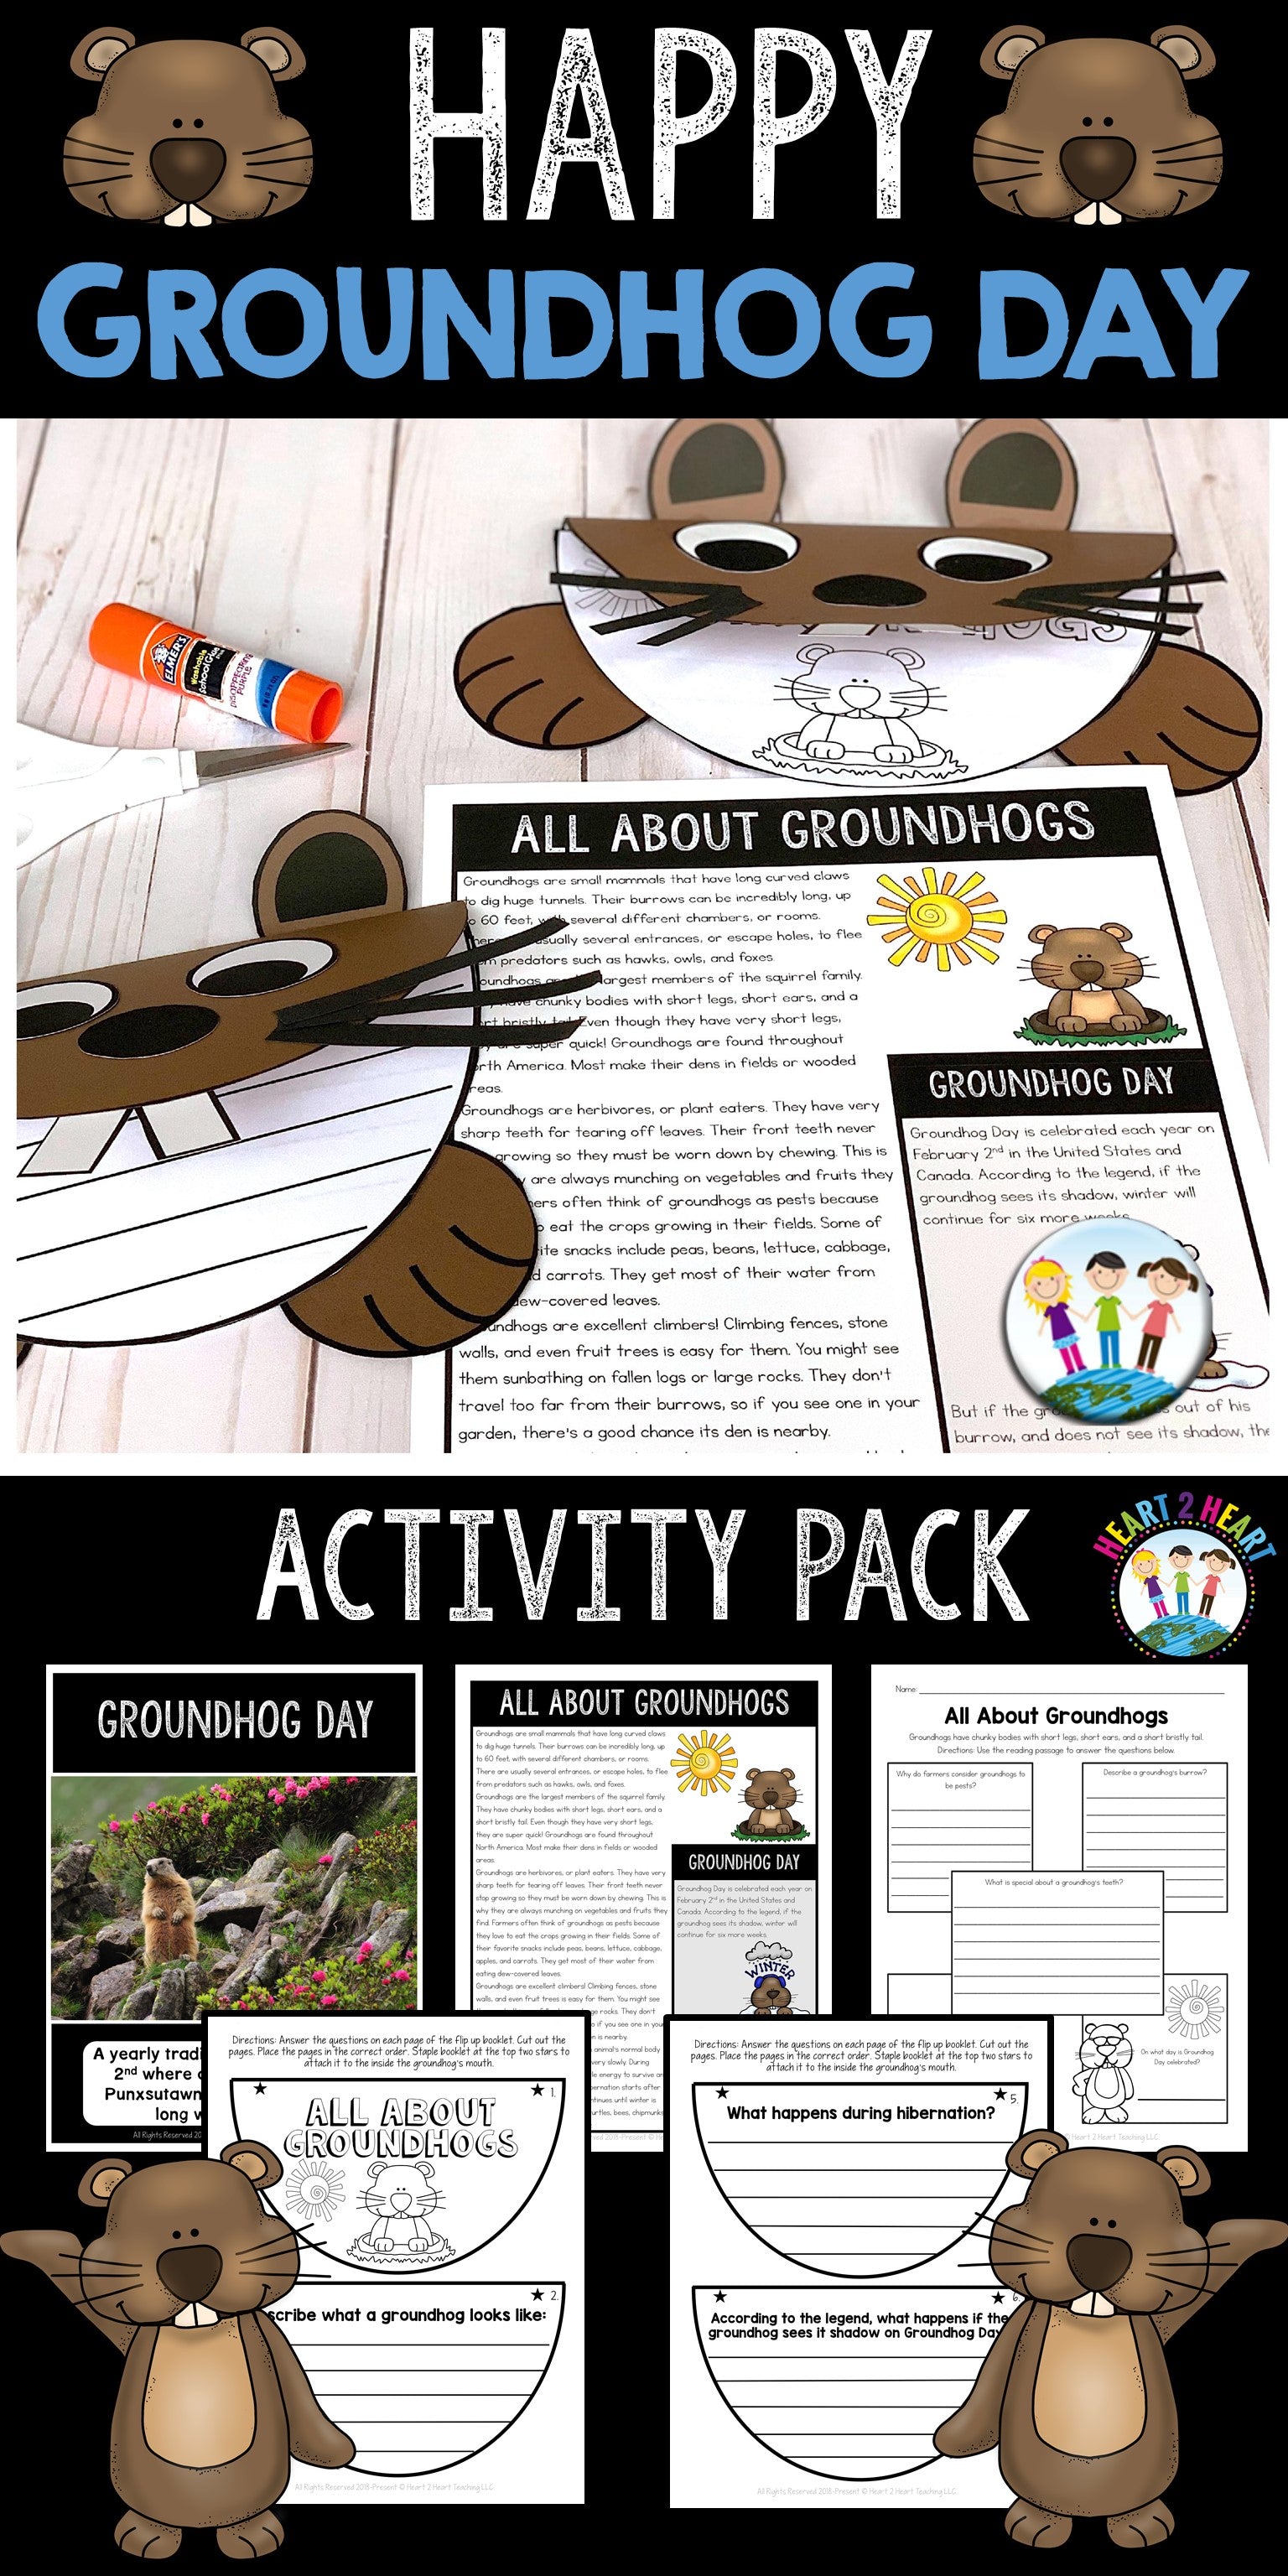
    Groundhog Day is a yearly tradition held on February 2nd where a special groundhog, named Punxsutawney Phil, predicts how long winter will last. According to the legend, if the groundhog sees its shadow, winter will continue for six more weeks. But if the groundhog comes out of his burrow, and does not see its shadow, then we will have an early spring. Although the groundhog is only right about 40% of the time, your students will love making their own predictions and this fun craft project.

    Groundhogs are such curious creatures that students will love learning about. Chances are that they have seen one at some point in their own backyard. 

    Here are 5 Fun Ways to Celebrate Groundhog Day:

    1. Make Their Own Predictions

    Take the kiddos outside to see if they can see their own shadow. Use this FREEBIE to record their own predictions about Spring. 

    This groundhog prediction activity is sure to be a big hit with young kids. 

    What’s inside this freebie pack:

    • Where do groundhogs live?
    • What is your prediction?
    • What happened today?

    2. Watch Punxsutawney Phil on TV

    For 2019, the groundhog is set to come out at 7:25 am on February 2. Fans can wait for his arrival starting at 6:00 a.m., thanks to a live stream provided by Visit Pennsylvania. The live stream has been a tradition for the past several years, allowing more people than ever to watch this famous groundhog.

    3. Make a Groundhog Craft

    Follow the steps below to make your own groovy groundhog.

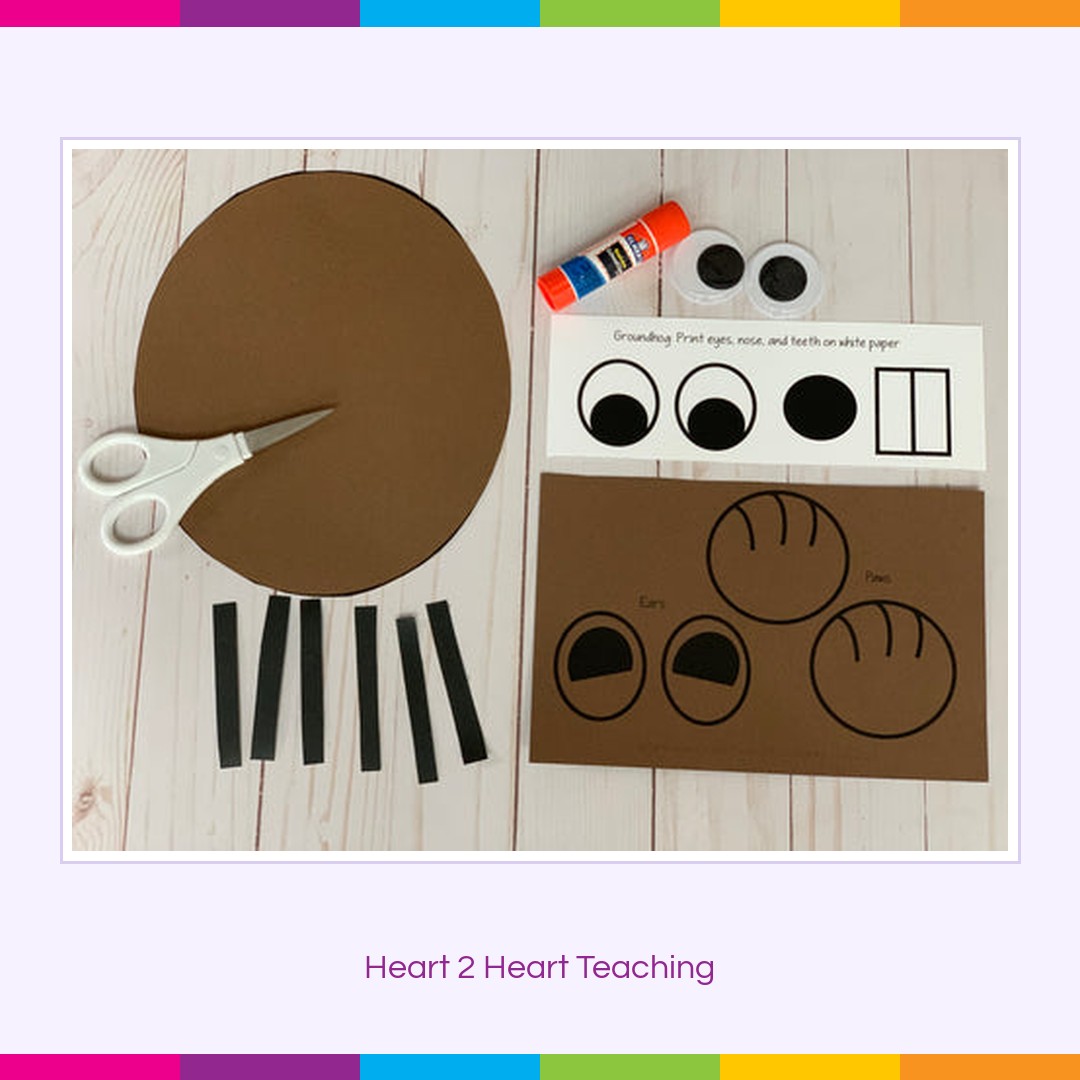
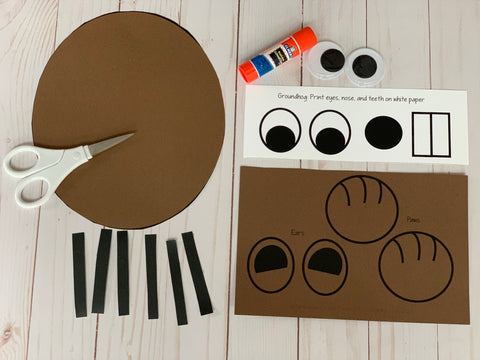
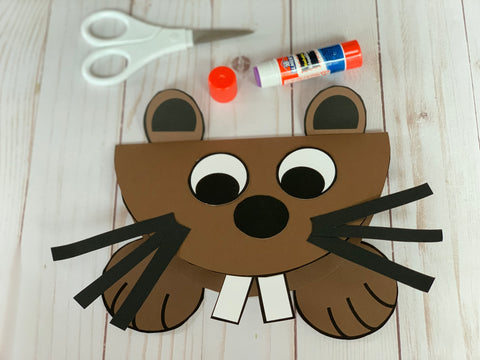
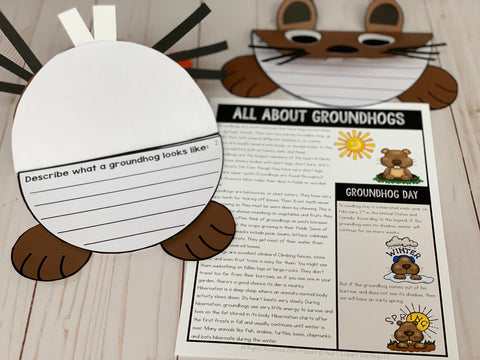
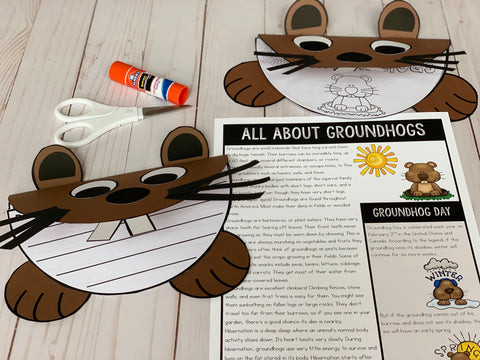
    1. Gather supplies: glue, scissors, crayons, or colored pencils. For the groundhog, you will need brown card stock or construction paper to make the head, paws, and ears. Use white paper for the eyes and teeth. You will also need a small piece of black construction paper for the whiskers. You can purchase the Groundhog Craft Project HERE.

    Groundhog Day Craft Project and Activities for Kids

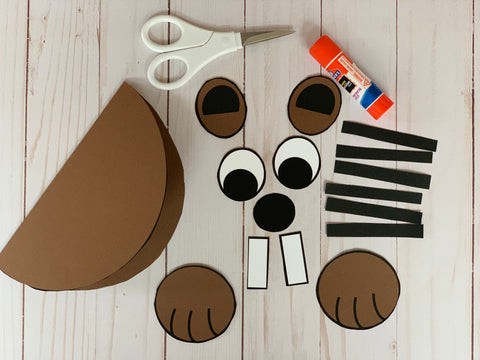
    2. Cut out a large circle from brown card stock or construction paper and fold in half. This will become the groundhog’s mouth. 

    Groundhog Day Activities for Kids

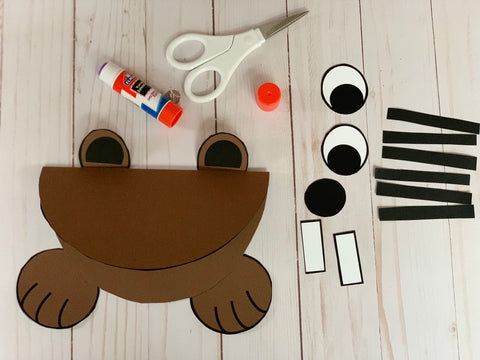
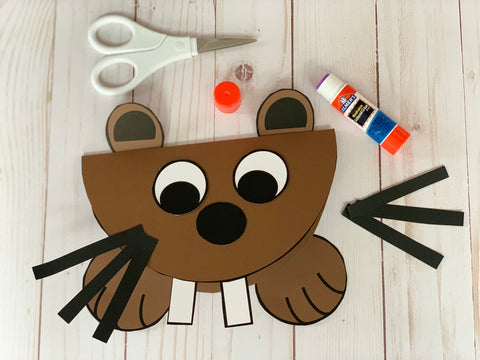
    3. Cut out the eyes, ears, paws, teeth, and nose and glue them on the front to make the groundhog’s face. Cut out 6 thin strips from black paper to make the whiskers. Glue onto the groundhog’s cheeks.

    Groundhog Day Activities for Kids

    Groundhog Day Activities for Kids

    4. Learn All About Those Groovy Groundhogs

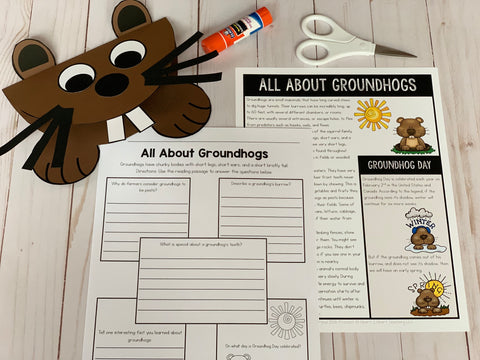
    In our Groundhog Day Craft Project Pack you will also find reading passages to learn all about these curious critters. 

    4. Read the passage and answer the questions on the organizer. Check their answers.

    Groundhog Day Activities for Kids

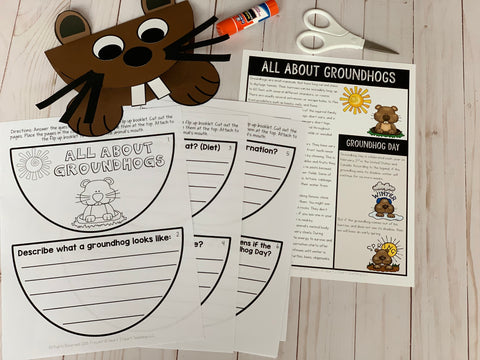
    5. Students can use the passage to answer the questions on each page of the flip up booklet.

    Groundhog Day Activities for Kids

    6. Check their answers. Then cut out each page of the flip booklet. Put them in the correct numerical order.

    Groundhog Day Activities for Kids

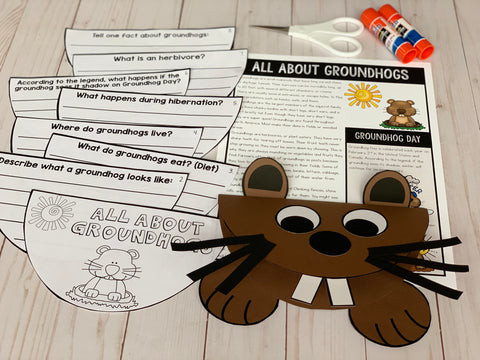
    7. Staple the pages of the booklet at the top to attach it to the the inside of the groundhog’s mouth.

    Groundhog Day Activities for Kids

    Groundhog Day Activities for Kids

    Students will love making these adorable groundhogs and assembling the 8-page flip-up booklet. The flip booklet pages are attached to the inside the groundhog’s mouth. These groovy groundhogs make an extra sweet bulletin board display too! Celebrate this special holiday with a creative groundhog craft project!

    5. Read a Favorite Groundhog Day Book

    Celebrate Groundhog Day with this fun and quick activity! Students will love this adorable Groundhog Day craft project. Start by reading a book about this special holiday. See our favorites below. 

    Groundhog’s Day Off By Robb Pearlman

    This is one of my favorite books for Groundhog Day! Every year, people ask Groundhog the same, boring old question. Is spring around the corner? Or are we doomed to more winter? Sure, they care about his shadow, but what about him and his interests? He’s had enough! Groundhog packs his bags and sets out for a much-needed vacation. Now the town is holding auditions to find someone to fill his spot. None of the animals seem right for the job, though. Not Elephant, not Ostrich, and most certainly not Puppy. No one has Groundhog’s flair for the dramatic, but is it too late to woo him back into the spotlight?

    Groundhog’s Dilemma by Kristen Remenar

    Student’s love this adorable book! After Groundhog announces six more weeks of winter, half his animal friends are disappointed, while the other half are excited. Each animal asks Groundhog to make his prediction in their favor the following year. Rather than being truthful about the fact that he just “calls it like he sees it,” he leads them to believe he can control the weather, accepting their gifts of food and favor. On the next Groundhog Day, he finally admits he made promises he couldn’t keep because he was trying to please everyone and makes amends.

    Groundhog Day! by Gail Gibbons

    This is a great book to explain how Groundhog Day started so many years ago. Every February 2, people all across America wonder about the groundhog Punxsutawney Phil. Will he see his shadow on that day or won’t he? Will spring come early or late? Here is information about Groundhog Day and its origins, as well as facts about the animal at the center of this delightful annual event.

    Groundhog Weather School by Joan Holub

    Ever wonder where Groundhog Day first began? Want to know the reason why we have different weather seasons? Curious about how some plants and animals can help predict the weather? Learn the answers to these questions and many more at Groundhog Weather School! This clever story—starring a cast of lovable groundhog characters—is a fresh, informative, and fun look at Groundhog Day through the eyes of the animals who are the stars of it each year.

    You can also download one of our activity packs that come complete with passages all about groundhogs, comprehension questions, and hands-on activities. 

    Happy Groundhog Day!

    Pin it to save it for later!

    Groundhog Day Craft for Kids Pin

  • Communication Made Easy With ClassTag

    Communication Made Easy With ClassTag

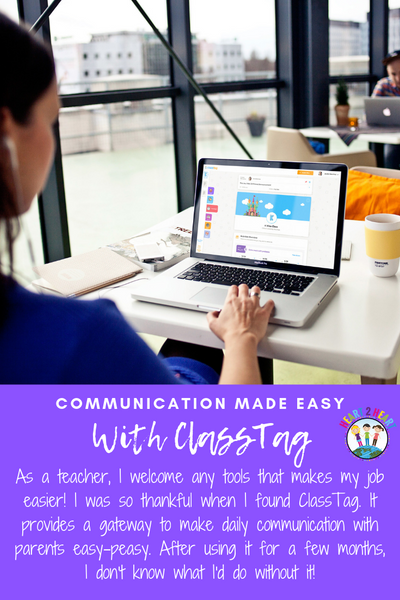
    As a teacher, I welcome any tools that makes my job easier! I was so thankful when I found ClassTag. It provides a gateway to make daily communication with parents easy-peasy. After using it for a few months, I don’t know what I’d do without it!

    Let’s take a closer look at 5 ways to use ClassTag in the classroom.

    1. Parent-Teacher Conferences:

    Meeting with parents is an important part of being a teacher. In the past, I would make copies of sign up sheets with days and times and send it home with the kiddos. Then after the sign-up sheets come back,  the difficult job of coordinating everyone schedules begins. Talk about stressful! Not anymore!

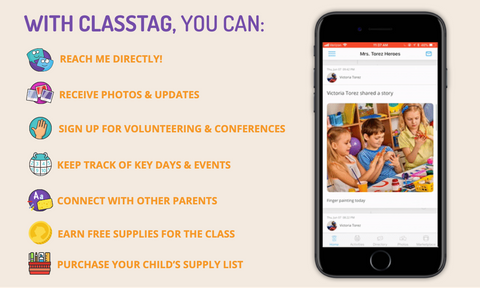
    With ClassTag, the sign up is all online so I can create time slots for conferences, add any details, and direct the parents where to sign up. This saves me soooo much time and is much easier! They simply sign up and the scheduling is all done! 

    2. Classroom Photos

    With ClassTag, I can quickly upload photos of our day. Parents love this feature! They can see what we are currently working on in class, projects, homework, and presentations. Sometimes, when I’m teaching a difficult concept, I might snap a picture of a diagram from the interactive white board for parents to review with their child that evening. This has become a way for parents to feel more involved at school and quickly review and reinforce difficult concepts. 

    3. Class Volunteers

    Parent volunteers are so welcomed (and needed) in the classroom. We use volunteers for guided reading groups, special events, and classroom parties. This feature on ClassTag is a real timesaver! You can very quickly request a certain number of volunteers for any activity, event, or even a field trip. Parents can respond instantly and before you know it, you have everyone needed for that special event!

    4. Field Trips

    You can access ClassTag instantly and from anywhere. Imagine you’re on a field trip and you’re going to be ten minutes coming back to school. What do you do? With ClassTag, you can quickly send a note to every single parent for your class to let them know. Maybe you only need to contact one parent and not the whole class, you can do that too! This is seriously one of the best things about ClassTag. Parents feel safer knowing that you can contact them right away, if needed.

    5. Classroom News

    When I first started teaching, I used to spend hours each week typing a newsletter for parents. I would email them to let know what we were working on in class, upcoming important dates, classroom supplies needed, and any funny stories. This took a lot of time. And I wasn’t sure if parents were even reading my emails. Now, I can do all of those tasks and more in just a few minutes each day. You get notified who’s read your messages. So far, parents have been amazing at responding to messages and asking questions. It’s quick, easy, and best of all…simple. 

    After only using ClassTag for a few months, I don’t know what I would do without it! It has become one of the most effective communication tools for my classroom. I highly recommend giving it a try. It’s FREE for everyone! 

    New! ClassTag now offers a free Google Slides Presentation that you can use to present it to your parents for Open House or Meet the Teacher Night.

    You can download a copy of the FREE presentation by clicking HERE!
    ClassTag a Communication Tool for Teachers

  • 5 Ways to Build Self-Esteem in the Classroom

    5 Ways to Build Self-Esteem in the Classroom

    The Awesome Project

    Self-esteem is the one of the most valuable tools for students to succeed in school. As
    teachers we are instrumental in making this happen. But how do we make it happen? Teachers have a lot of power! Do you remember your favorite teachers? The ones who made a difference in your life?

    It’s the little things that make a BIG difference! Start small by starting an “Awesome” Book!

    •  Set up your “Awesome” Book: First, find a large notebook that lies flat when I open it. I prefer to use a one subject spiral notebook with pocket folders, not composition, because then I can open it up and flip it around. Label the top of each page in the notebook with the name of each student.
    •  Decorate the Notebook Over the Top! Cover it with the word “AWESOME” with either colorful permanent markers, stickers, or even fancy duct tape that you know the students will recognize. Be creative and have fun to make it look colorful and extraordinary.
    •  Introduce the “AWESOME notebook” and ritual to students. Make a big deal out of it! Explain to them that you will be walking around the classroom at different times during the day and observing them. So if they see you carrying around this notebook or clipboard and taking notes, it’s because you are looking for “Awesome” things to write in your notebook.

    Awesome Job

    • Set Expectations & Give Examples: Explain that you know that they will be doing tons of awesome things like helping out a partner, highlighting details in an article, sharing a pencil with a student who needs one, taking detailed notes on their sticky note during reading time, being a good leader by handing in your homework every day, keeping a group on task, or whatever your specific classroom expectations are.
    •  Model it: I might say to the students, “For instance, today I noticed that Meggen volunteered to read the poem to the class. And did you notice the way she read it? She read it expression and proper rhythm. She did an “Awesome” job of reading that poem. I was very proud of her. How many of you noticed that after she read it to us, I jotted down a note in my “Awesome” notebook? Here’s what I wrote down, “September 22. Meggen volunteered to read “title of poem” aloud to the class. She read it loudly and with lots of expression.”
    •  Get the students Involved! Ask the class what do they think I will be doing with these notes of awesomeness? Call on students to hear what they think. You might even get some new awesome ideas.

    Classroom Management

    • Show them the power of the “Awesome” book & sell it to your students!I often tell the students, “I love all your ideas and I will keep them mind for the future. But for now, here’s what I plan to do with these notes. Inside this notebook is a page dedicated for each of you (show them a few pages with names). At the end of each day and week, I am going to look through my “Awesome” book and chose a few students to recognize. I might share my observations with the class and sometimes I might share it with your families at home. I might send home a positive (good) note home, it looks like this. Everyone say, “Oooh! Ahhh!” Do you know how much you’re your parents and grandparents are going to love to get these good notes home? They will absolutely love it! Or I might even send a note to the principal of our school, so she knows how awesome you’re doing in this class. Who knows I might even do all these things. The most important thing is that you continue doing awesome things all the time because you never know when or who I am watching. But know this. . . I am watching all the time.”

    •  

      Practice it right then! Tell them you’re going to practice it. Begin on the next lesson of the day. Take some notes in your “awesome” notebook. Show the students the front of the notebook so they see that you’re taking down some notes. After the lesson is over, share a note or two with the students. It’s very important to continue practicing this everyday so it become a routine. Pick a time that works well with your classroom schedule. Maybe right after recess or at the end of the day. But always hold up the “awesome” notebook many times throughout the day so they see that you’re following through on your word and that you’re watching and taking notes. You will probably see or hear students whisper, “Look Ms. Smart has the “awesome” book out. Let’s do our best on this project. Maybe she’ll notice us.” 

    • Weekly Recognition: At the end of each week, draw a line across the page under where the notes end for each student’s name. This makes it easier to figure out where to start the next week. It also helps you to notice who you haven’t taken notes on recently.  Then pick out a few students that you want to recognize and write a positive (good) note home. Put a star next to those student notes. It’ll help you remember who you’ve recognized and how many times as the
      weeks fly by. Set a goal of how many students you want to recognize each day and/or week. I announce 1 or 2 students and good deeds at the end of each day. Weekly I send home 2-3 positive notes home at the end of the week. I set a goal of doing this on Friday afternoons and won’t let myself leave for the weekend until it’s finished.
    • What’s the Purpose? Now, what the students don’t know is that you’re using this notebook for several purposes. First, as a way to reinforce positive behavior and build self-esteem in each student. However, you can make any kind of note in this notebook that also helps you because the students will never get to read it.

    The more ways you use it, the more valuable it becomes!

    1. This notebook is a way to record anecdotal notes such as strengths or weaknesses of a student, what students need extra help on a specific concept or skill, or what you need to reteach or practice more.
    2. In the back of the notebook where there’s some extra pages, I have a “Miscellaneous” Section where I can write down notes to myself.
    3. It also becomes a classroom management tool. The more you use it the more the students will follow your class procedures and be better behaved.
    4. For reflection notes not only about each student but also about the class as a whole. For example, I might note that Miguel was struggling with his multiplication facts so I need to send home some fact cards or extra practice sheets for him.
    5. Another great way to use this strategy is you could jot down behavior or social issues that arise too. Maybe you notice that Sam and Sophia had a hard time working together during centers today. Then you can have a talk with both them and see how if it gets better. If not, maybe they shouldn’t be in the same group for a bit.
    6. It also serves as a record for Parent Teacher Conferences, important meetings, and report cards. 


  • 5 Fun Ways to Celebrate Earth Day

    5 Fun Ways to Celebrate Earth Day

    Celebrating Earth Day with kids is a wonderful way to teach them the importance of environmental stewardship and conservation. By participating in fun and engaging activities, such as gardening, recycling, and nature walks, children can learn to appreciate and respect the natural world around them. They can also develop a sense of responsibility for taking care of the planet and making a positive impact in their own communities. 

    Earth Day is a day to celebrate planet Earth. The very first Earth Day was celebrated on April 22, 1970. Over 20 million people participated in events to support environmental protection. Cities and schools planned educational presentations, recycling events, and cleanups at their local parks, beaches, and other outdoor areas. Today, over 141 nations around the world celebrate Earth Day.

    Here are 5 quick and creative ways to celebrate Earth Day in the classroom:

    1. Go on an Earth Day Scavenger Hunt!

    Enjoy Earth Day by going on an Earth Day Scavenger Hunt! Have students grab a clipboard and the Earth Day Scavenger Hunt that’s part of my FREE Earth Day Activity Pack. Instruct them to be on the lookout for all that Planet Earth has to offer. Use their senses by asking the following questions:

    •  What do they see? Do they see any creepy crawly insects, birds gliding overhead, new buds or leaves on trees, a clear blue sky, or gray rain clouds?  Have students draw or sketch and color their findings in the boxes on their sheet.
    • What do they smell? Have students focus on smelling. Can they smell any sweet fragrant flowers, fresh cut grass, or someone grilling in the distance?
    • What do they feel? Have students close their eyes and touch the ground. Can they feel the soft grass, or the rough rock, bark on a twig, the warmth of the sun, or even a light breeze?
    • What do they hear? Listen closely. Do they hear a bird chirping, other children playing outside, zipping cars in the distance, a school bell, or plants swaying in the breeze?
    • What do they taste? This one will have to wait for a later Earth Day Snack!

    The other purpose of this Scavenger Hunt is for students pick up any litter or trash they find on our mini field trip. Remember to bring a couple of trash bags.

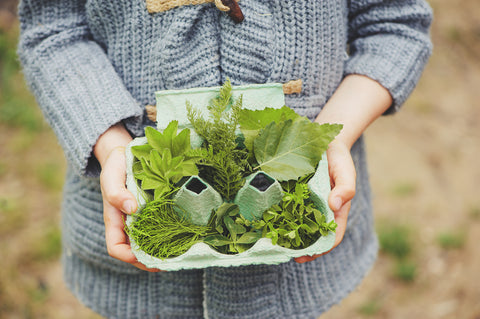
    Go on a nature scavenger hunt

    2.  Learn About Ways We Can Save the Earth!

    In our Earth Day Activity Pack there are three high-interest kid-friendly informational articles and activities to teach about:
    *What is Earth Day?
    *Ways to Save Our Earth
    *The Natural Cycles of the Earth

    CLICK HERE TO SEE OUR EARTH DAY ACTIVITY PACK

    Save Our Earth Activities

    3.  Plant a Flower Sponge

    Have students bring in one small new clean sponge from home. Purchase some flower seeds. Have students wet the sponge so that it’s really damp. Next, they plant their seeds inside the sponge. Have them push the seeds down into the sponge just enough so the seeds won’t’ fall off when the sponge is picked up. Place the sponges on a Styrofoam plate that has each student’s name written in permanent marker. Place the plates in a sunny window. Have students water their sponges each day. *Don’t let the sponge dry out completely. Place a clear plastic container over sponges at night to keep it moist.

    4. Spring Clean the Classroom

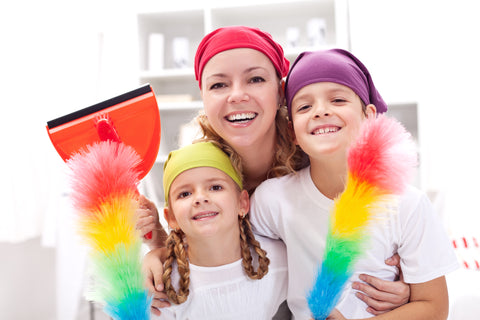
    Earth Day is also about cleaning up our Earth. So why not have the students do some spring cleaning? Buy some Green Wise disinfectant wipes or make your own solution with Baking Soda, Lemon Juice, and water in a pail. Dip in a paper towel and it’s ready to go. Have students clean bookshelves, cupboards, supply bins, sinks, counters, and door handles. It’s also a perfect time to clean their desks and cubbies inside and out.

    Kids cleaning up

    5.  Explore our Earth Day Doodle Coloring Pages

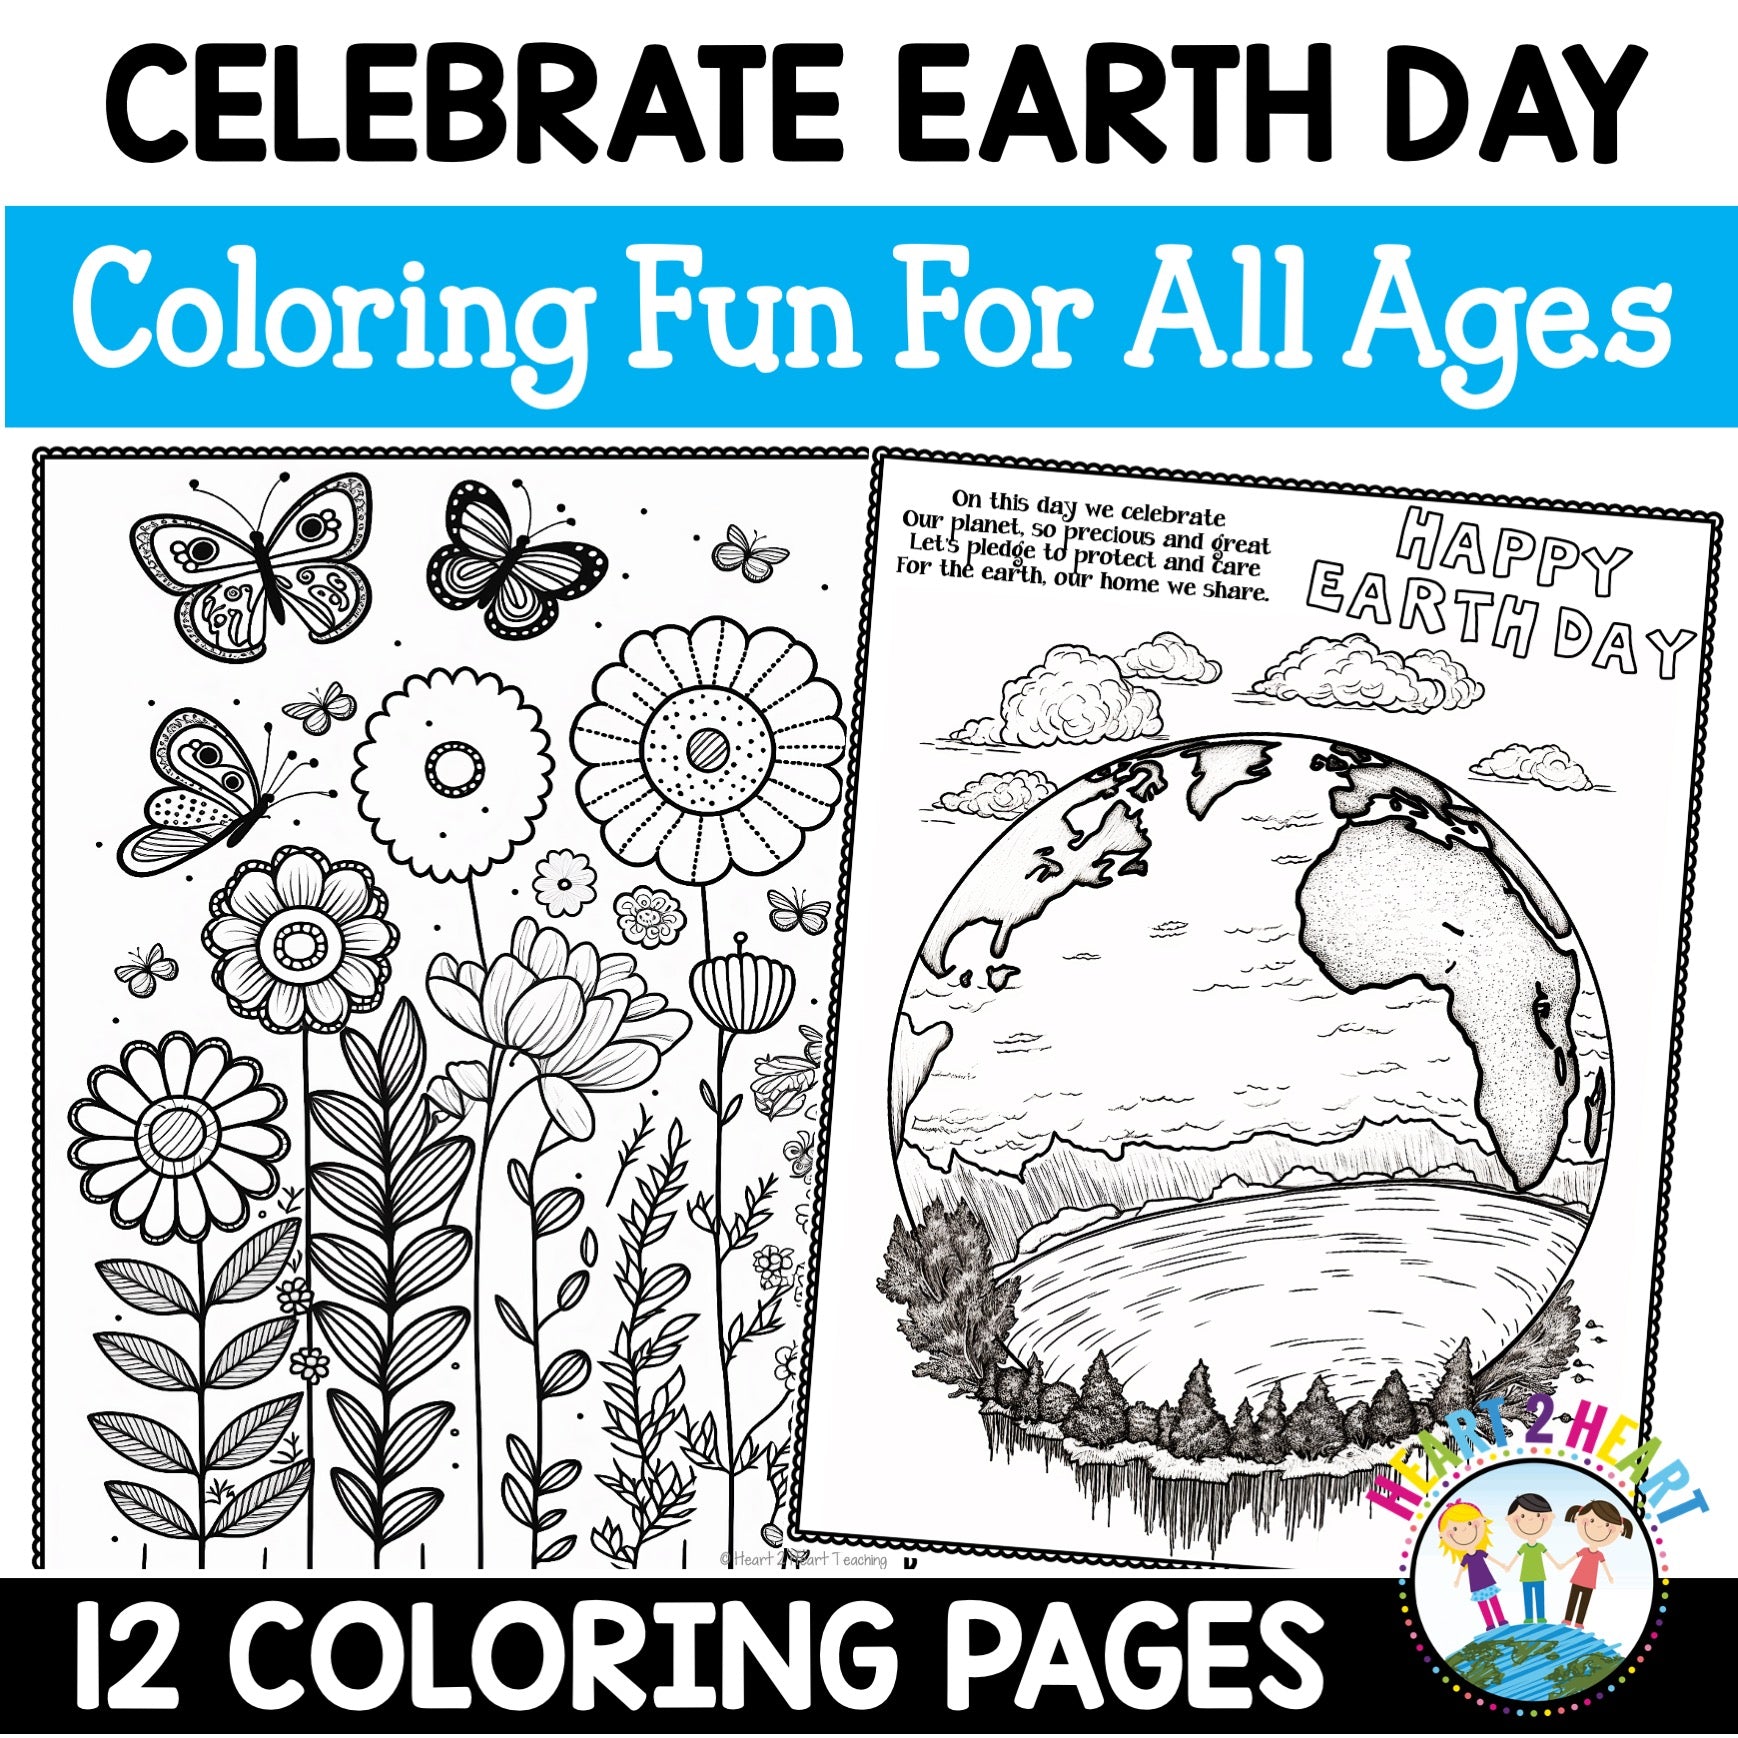
    Students will love these Earth Day Doodle Coloring Pages. This pack comes with 12 coloring pages and 4 pages have poems that can be used for National Poetry Month. Coloring activities provide students with time to relax and express themselves creatively.


    Whether it’s planting a tree, spring cleaning, or simply spending time in nature, there are many ways to celebrate Earth Day and inspire kids to become lifelong advocates for the environment. By taking small steps towards sustainability and showing children how to make a difference, we can create a brighter future for our planet and all of its inhabitants.

     Make Everyday Earth Day

  • Make History Come Alive with Discussion Partners

    Make History Come Alive with Discussion Partners

    “Discussion Partners” are partners that work on an activity, reading assignment, project, or other assignment together and then discuss what they’ve learned or complete a written activity.

    Why use Discussion Partners?

    Research has shown that students not only need to read and write but also need to discuss (or talk) about a new concept or skill to really learn and fully understand it. According to the University of Washington, “A well-planned discussion can encourage and stimulate student learning and add variety to your class.  While “good” discussions can be a powerful tool for encouraging student learning if done correctly.”

    Students in a classroom working together

    In My Classroom:

    At the start of each unit, I have students set up their “Discussion Partners” for the entire unit. It’s a quick 15 minute activity that will make our transitions into partner work seamless for the next 4 to 6 weeks. Setting it up takes a little practice for the students but by the second unit they’ve got it down and look forward to it (as much as I do!)

    What it Looks Like:

    It consists of a map with 3-5 cities or countries listed below the map where the students will write the name of their Discussion Partner at each destination. However, it’s not as simple as that! There are guidelines that students must follow in order to pick their Discussion Partners and this must be taught and practiced like every other classroom procedures. For example, look at the working partner example below for ancient Rome. Below the map, list 5 cities where students will meet with their chosen partners.
    Teamwork

    How it Works:

    Give the students specific guidelines they must follow when setting up their “Discussion Partners.” I write the 5 requirements on the board. For example, I might say, “For Rome you will need to find someone in this class who is born in a different month than you. In Florence, you must work with the opposite sex (boy-girl). In Venice, you must find someone who gets to school by a different mode of transportation than you. In Naples, you must work with someone who you’ve never worked with before in this class. In Milan, you may work with a friend. (I always let them have one friend partner for each unit.) Each unit it’s a different set of guidelines, except for the friend and working with someone different. I tell them that by the end of the year, they will have worked with everyone in the class. I also tell them that you don’t have to like everyone but you do have to work with them in a courteous and team-like manner just like in the real work world.

    Other Rules:

    I let the students know that they will have 6-8 minutes to find all five discussion partners and then sit back down at their desk. I tell the students that, “When I call time, if you don’t  have a partner for one or two of the cities then I will choose your partners for you.” This helps to encourage them to get it done themselves. Also, if you have an odd number of students in that class, then tell them that you have the last say in deciding who the group of 3 will be or if you want someone to work alone.
    Lastly, practice it. Don’t expect the first time to go perfectly. This is work in progress so to speak! It’s probably new to them so give them feedback on how to make it go smoother. Then practice it again. I use it for all my units in social studies throughout the year. I have found it’s well worth the extra time in the start of each unit because at any point during the unit, I can just say, “It’s time to meet with your Naples Discussion Partner to read the article about the Roman Republic and answer the questions that follow. You have fifteen minutes to complete the reading and questions together…go!”
    Next, model for them how to ask someone nicely to be their partner.
  • Role Playing is an Awesome Strategy for Group Work

    Role Playing is an Awesome Strategy for Group Work

    Group work is been proven to improve student retention and enhance student learning. In fact, our whole culture is based on team work and working together to solve problems. It makes sense that when people work together (more brainpower) they come up with more ideas, suggestions, and solutions to a problem. But the question remains how do we get children to work together effectively? How do we make sure they are actually working and not talking about what they did last weekend? The answer: We teach them.

    The method I have found to be extremely effective is through role playing. Role playing to teach how you expect groups to work together can be a fun yet powerful strategy. Kids loves role playing and what better way to teach such an important life skill as working together. Setting up skit cards for each role is recommended.

    First and foremost, we set up structured procedures for group work. We teach the students, model it, and have them practice it over and over until they have it down.

    The Task: you want groups to take turns reading an article, stopping after each paragraph to highlight the key ideas. Then using those key ideas to figure out the main idea of each paragraph and then of the entire article.

    The Performance:

    Prepare the scenario or skit in advance. Set up your student actors and actresses ahead of time
    who you know will be charismatic as they perform this important skit. Set up the Skit Cards with what you want them to say.

    Scene 1: Have the student actors come up the front of the class so you can introduce each student actor. You might want to give yourself a role (as a student) also. The class will get a kick out of the
    performance and you acting as a student. Now, run through the group work scenario. For our specific task it might go something like this:

    Read an article out loud, stopping after each paragraph.

    Now the acting or role playing begins…

     Bob:
    “Ok, we read the paragraph so what do you think is the main idea of this paragraph?”

    Tamara: “I don’t know.”

    Braden: “What did Mrs. Smart say about finding the main idea?”

    Marta: “I can’t remember do you?”

    Bob: “I think she said to ask ourselves, what is the author trying to tell us?”

    Braden: “Oh yeah, that’s right.” 

    Marta: “Then we are supposed to look for key details that support that.”

    Tamara: “Yeah. So let’s see what do you think the author is trying to tell us in this paragraph?”

    Braden: “I’m not sure.”

    Tamara: “Maybe we should read it again.”

    Bob: “Good idea! I’ll go first.”

    Then read the article again and go through the whole process while modeling it for the class. Afterwards, ask the class “What did you notice about what our group just did?”

    Have the students come up with strategies or things they noticed that made this group work effectively together. For instance, they took turns reading, they reminded each other how to complete the task, they treated each other nicely, they used their quiet inside voices, they focused on the assignment, everyone had a turn to speak and read, they listened to everyone’s thoughts and ideas, etc.

    Quick Steps:

    • Set up the Scenario
    • Role play to model it
    • Practice it
    • Give feedback
    • Pick the most productive group or best working team

    Before we start any group activity, I always tell the class that I’m going to be looking for the most productive group or the group with the best team work. As groups are working and I circulate around the classroom, I look and listen—jotting down notes about what I saw or heard from different groups.

    At the end of the activity, I give feedback to all the groups and share my findings. Then I announce which group was the most productive or best working team for the day.

    What are the benefits of group work?

    Group projects can help students develop a host of skills that are increasingly important in the professional world (Caruso & Woolley, 2008; Mannix & Neale, 2005). Positive group experiences, moreover, have been shown to contribute to student learning, retention and overall success
    (Austin, 1997; Tinto, 1998; National Survey of Student Engagement, 2006).

    Properly structured, group projects can reinforce skills that are relevant to both group and individual work, including the ability to:

    • Break complex tasks into parts and steps
    •   Obtain deeper understanding through group discussions
    • Give and receive feedback on performance
    • Develop stronger communication skills
    • Learn how to delegate roles and responsibilities
    • Share and learn from different perspectives and opinions
    • Pool their knowledge and skills
    • Receive social support and encouragement to take risks 
    •  Develop a new approach to solving problems or tasks
    • Establish a shared identity with other group members.
    • Develop their own voice and perspectives in relation to their peers.

    Once students learned how to work productively in groups, try to resist the temptation to jump in too 

    early and put the students on the right path. Part of effective group work is learning how to work together to solve a problem, perform a task, or create a project in collaboration with others.


  • 5 Ways for Teachers to Save Money On Back to School Supplies

    5 Ways for Teachers to Save Money On Back to School Supplies

    Back to school time means empty your wallet time. But, it doesn’t have to! While times may be tight and pennies may be pinched in school buildings across the country, buying your own supplies doesn’t mean going bankrupt! Read on to learn about five easy ways you can save money when picking up some of your back to school supplies!

    1. Take Advantage of Teachers Pay Teachers

    If you haven’t visited this site yet, you’re missing out! Teachers Pay Teachers is a site created by teachers for teachers. They share their most effective ideas and make products for you to purchase (inexpensive) or download for free! If you find yourself purchasing name tags each year or even borders to decorate your bulletin board-think again. You can choose from at least twenty designs of name tags and print them out in color, in a flash! Simply click on the ones that you like, print them, laminate them, and label them! It’s that easy!

    When I started teaching fourth grade for the first time, I was shocked how much time I was spending getting ready for school on the weekends. I had to learn the curriculum, create activities, grade papers, and more. I even had my husband shopping and laminating for me. After a few months of spending all my time working on school stuff, my husband and I had a discussion. He told me he was worried about me and about “us”! He confessed that he didn’t want me working all weekend every weekend and we needed to find a balance between work and home. I looked to Teachers Pay Teachers (TPT) and I’m
    so glad I did. I found an Ecosystems Unit that followed the Common Core State Standards (CCSS) exactly! It was just what I was looking for! Absolutely Perfect. And it only cost $8.95 with over 50 pages and a week worth of activities for my students! I downloaded it, printed it, and showed my husband. The bottom line is I got my weekends back, precious time with my family, time to relax, time for myself, all for under $10! It’s a true time saver and lifesaver!

    2. Shop Consignment Stores

    If you are an Early Childhood Educator (K-3), don’t turn your nose up at consignment shops or Goodwill. They are the perfect place to visit if you are in need of some toys for your indoor recess
    center. You can also use them as inspiration for writing prompts, or even a motivator for a lesson. You can also find cute playhouses, art tables, and even puzzles and books for an unbelievably affordable price.

    3. Dollar Store Pit Stop

    The dollar stop should be a teacher’s best friend. You don’t need to go to expensive department stores to stock up on crayons, glue, and other school essentials. You can literally find everything you need to start the year off right all in one place. You can also pick up toys and candy to put in your prize box. Sometimes the store will boast a sale around back to school time so you could end up getting supplies priced two for a dollar!

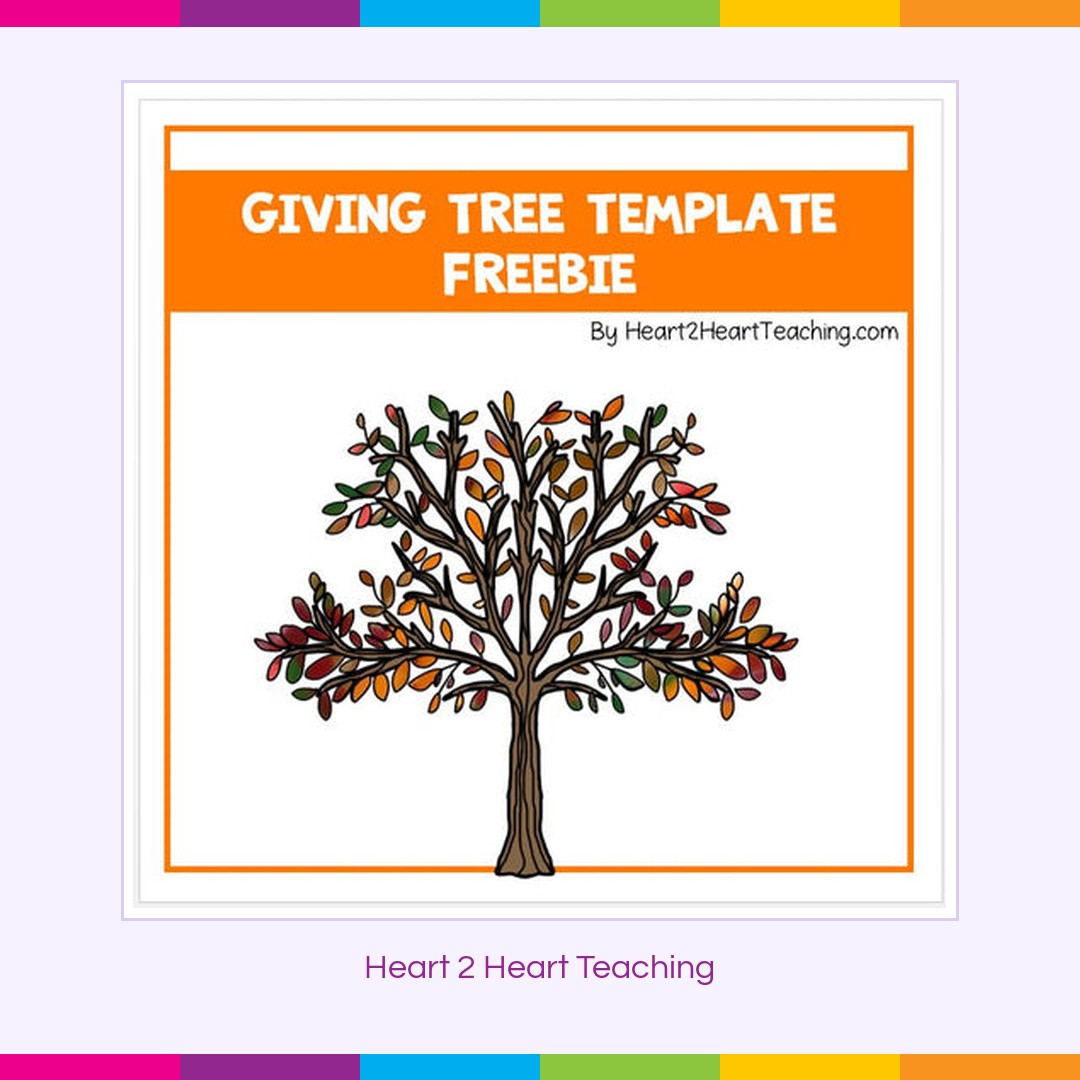
    4. Create a Giving Tree for the Classroom

    For more expensive items like hand sanitizer, construction paper, pencil boxes, and tissues; consider
    constructing a giving tree on your chalkboard during Meet the Teacher or Open House
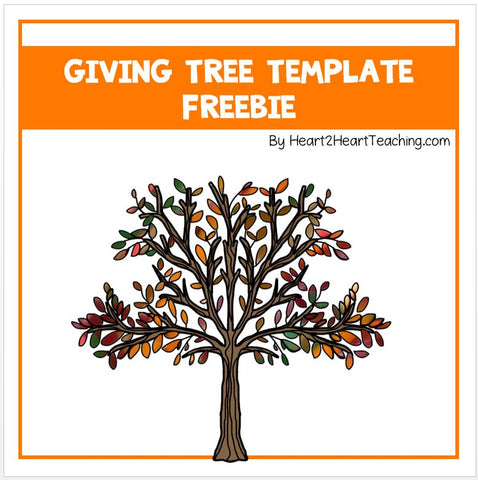
    night. Make a bunch of leaves and attach them to the body and branches of a tree you make out of chalk (or construction paper). Tell parents if they are interested in donating any items, they can take a leaf off of the tree and return the item the first week of school! I attach these donations to a Homework Pass that students can use for a donated item. Parents love this idea, many times, I’ve had parents hang on the homework passes until the holidays so they can use it during the busiest time of the year. What a great give back! Get the FREE “Giving Tree” template and donation idea list here!

     Giving Tree Freebie for Meet the Teacher and Open House Night

    5. Save from the Year Before

    Send a letter home the last week of school asking if parents would be interested in donating their child’s used school items for students next year. Children can leave behind their rulers, scissors, notebooks, and folders. You can even take their stray crayons and toss them in a giant art bin. Every little item counts, so take what you can get! This is a wise collection to start for when students misplace their supplies during the school year.

    Being a modern-day teacher means being clever and thrifty. Consider the five tips above to ensure that you don’t break the bank when buying supplies this fall! Wishing you a great start to your school year!


  • Indoor Recess Activities When It’s Too Rainy To Go Outside

    Indoor Recess Activities When It’s Too Rainy To Go Outside

    Guest Post by Jenny Wise from Special Home Educator

    No one likes being stuck inside, especially kids. To keep them occupied, it’s good to have some plans in your pocket to keep them from climbing up the walls. Not being able to go outside and run around and play to burn off energy can negatively impact attention spans. Here are some ideas to help everyone enjoy staying inside during recess.

    Have Fun with Science

    Sometimes, science can get a bad rap with kids. They think it’s boring or dry, and may not be motivated to experiment themselves. Thankfully, there are lots of entertaining activities that you can do indoors when the weather is poor. Even something simple like playing with building blocks can teach them spatial awareness and problem-solving. You can get a set of magnets for the kids to play with and teach them about magnetism. Another fun experiment is to create geode crystals. It’s a good opportunity for them to create something and for you to teach them about igneous and sedimentary rock formations.

    Make Math a Blast

    Unfortunately, math is similar to science in that many kids do not want to learn it. It can seem complicated and be difficult for them to relate to their own experiences. That’s why it’s important to show them how math can be used in everyday life, and a rainy day is a perfect time to do so. Use coins to solve math problems and teach budgeting skills, or even play games online together with math apps.

    Rainy Day Activities for Kids

    Do Something Offline

    There are plenty of activities that stir creativity we can do without relying on the internet. The art of oral storytelling is one that should be preserved. Storytelling can develop students’ language abilities and vocabulary, as well as get children thinking creatively to develop characters. You can start with historical figures or folklore that you’re interested in. Have students come up with a new take on fables or something similar. You could also host a scavenger hunt around the classroom. If you do, make sure that the clues are guessable for young minds, but not too easy. To make things more fun, transform your clue lists into cryptogram, word scrambles or word searches. It’s a good idea to have these prepped and ready to go so you don’t have to rush at the last moment to create them when they’re needed. If your kids are extra restless, you could play some games together. Teach them a classic card game, like Go Fish, or get a giant game of hide and seek going.

    Get Active with the Internet

    Many of us associate the internet with lethargy, but it can actually inspire kids to be active. If you want to help your classroom burn through some of their energy and get the wiggles out, consider putting on an exercise or dance video. Everyone can follow along together, which can encourage camaraderie between the little ones. Not only that, but it’s fun to get up and move, especially if everyone is doing so together. By following along to a video, your classroom can practice hand-eye coordination and work on following directions at the same time. If your students need to get some wildness out of their systems, you may want to simply put on some child-appropriate dance music and let them move as they feel. Classic Disney songs are always a good choice but think of other musicals for kids or movies that strongly feature music, like Shrek.

    Don’t let the bad weather get you and your class down. With a bit of planning and some smart preparation in advance, you and the kids can have a blast despite the rain. It’s the perfect time to experiment with math and science, to develop language skills, and to let your class shake out their wiggles with a bit of dancing. After all, recess should be about fun, not just learning.

  • 6 Fun Ways to Celebrate St. Patrick’s Day

    6 Fun Ways to Celebrate St. Patrick’s Day

    St. Patrick’s Day is such a fun holiday to share with students. They love “being green” for a day and learning about this unique holiday. There are many creative and inexpensive ways to celebrate St. Patrick’s Day in the classroom. Here’s a list of my top 6!


    1. A Visit From A Leprechaun

    In the spirit of the mischievous leprechauns everywhere, early in the morning before students arrive turn a few things upside down or sideways. The calendar or posters on bulletin boards are great things they will notice. I also flip my computer chair over, leave a few dry erase markers on the floor, tip over a box of rulers, and pull out a few books from the bookshelf left open with a bookmark to look like someone was reading!


    2. Got Glitter?

    I love haphazardly spilling a handful of lucky charms on all the desks. Adding a dash of gold or green
    glitter around the classroom (on countertops, in the sink, on bookshelves, or on an empty desk) gives it an extra element of surprise. I love seeing the student’s eyes light up when they enter the classroom and see it.


    3. Share a Great Book

    Here are my favorites:

    • How to Catch a Leprechaun by Adam Wallace is an awesome best-selling book that is sure to delight your students. The author sets up the scene by creating the perfect trap! Now all you need to do is wait. Is this the year you’ll finally catch the leprechaun? Start a St. Patrick’s Day tradition with this fun and lively children’s book.
    • St. Patrick’s Day By Gail Gibbons tells the history behind Saint Patrick. A perfect introduction to the customs surrounding the holiday– parades, special meals, and of course wearing lots of green.
    • Jamie O’Rourke and the Big Potato By Tomie dePaola tells an old Irish story that dates back to 200 years ago. It’s a fun story with some “good” luck that offers an opportunity to have discussions on a number of issues that make everyone think.

    St. Patrick's Day Activities for Kids

    4. Enjoy a GREEN Snack

    I usually buy a couple of gallons of milk and add green food coloring to make it green. Or you could buy some green fruit juice. When the students are gone to lunch, I hide some chocolate gold coins in their desks. 

    Other FUN ideas:

    • Fruits such as kiwi, green apples, and green grapes make a healthy snack.
    • Add some green veggies such as cucumber and zucchini sticks to the mix.
    • Lucky Charms Trail Mix–add some green M&M’s, popcorn, and mini-marshmallow.
    • Make Shamrock Shakes–add some vanilla ice cream, milk, peppermint extract, and green food coloring in a blender. Mix well. Top with whip cream and green sprinkles.

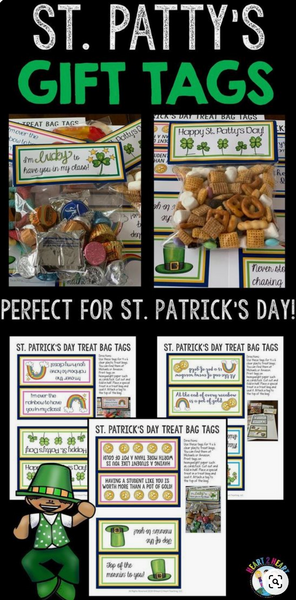
    Give your students a sweet and simple treat with our colorful bag tags and toppers. To assemble: I stapled these tags to the top of 4 x 6 clear plastic bags and filled it with a special treat such as Chex mix, gummy worms, chocolate gold coins, hugs, and kisses, or Lucky Charms cereal.

    See the St. Patrick’s Day Bag Tags Here!

    5. Learn About the History of St. Patrick’s Day

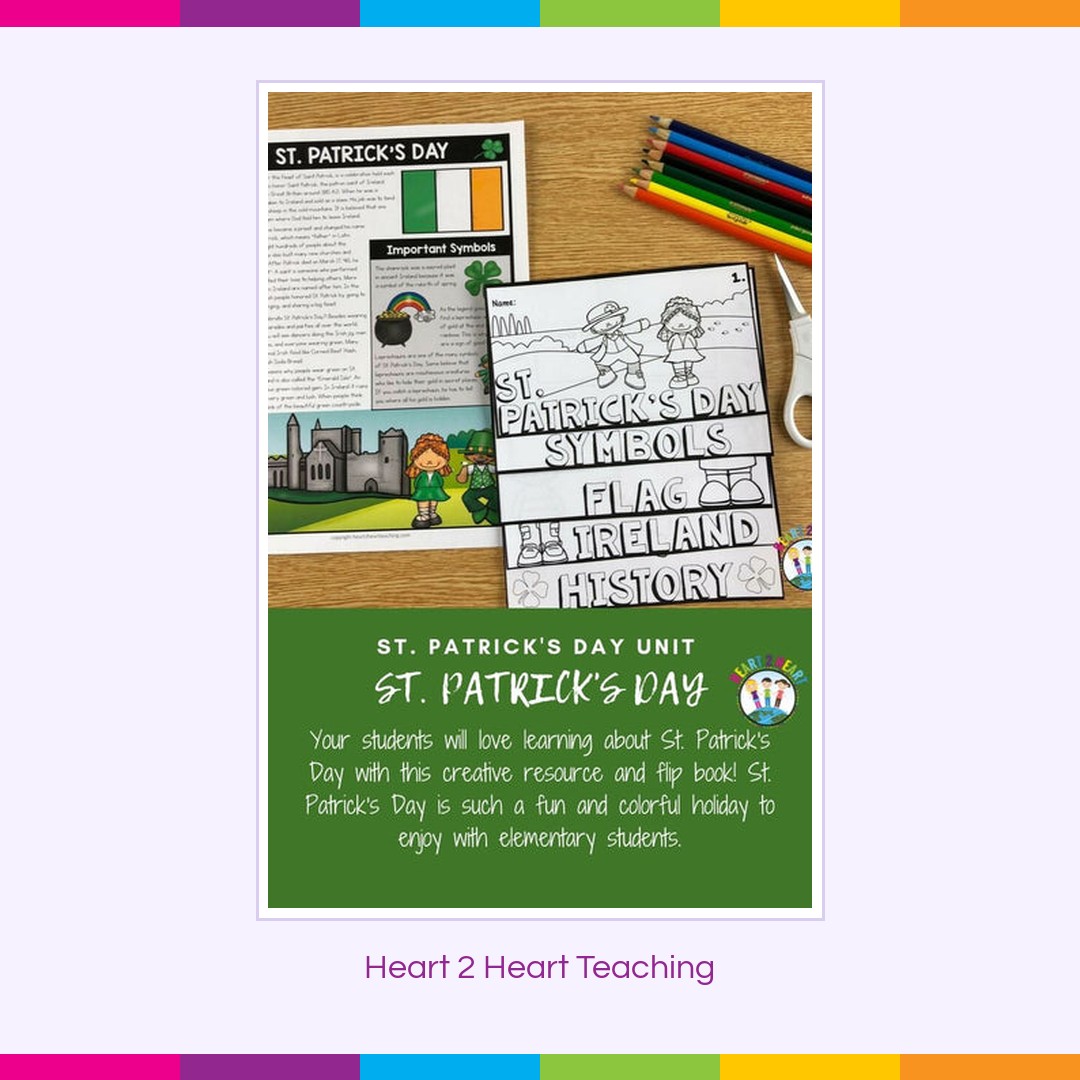
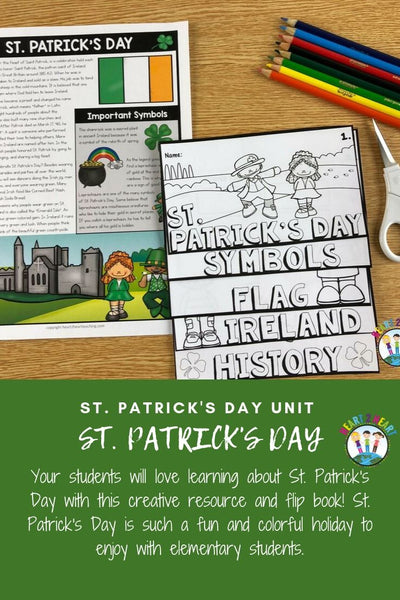
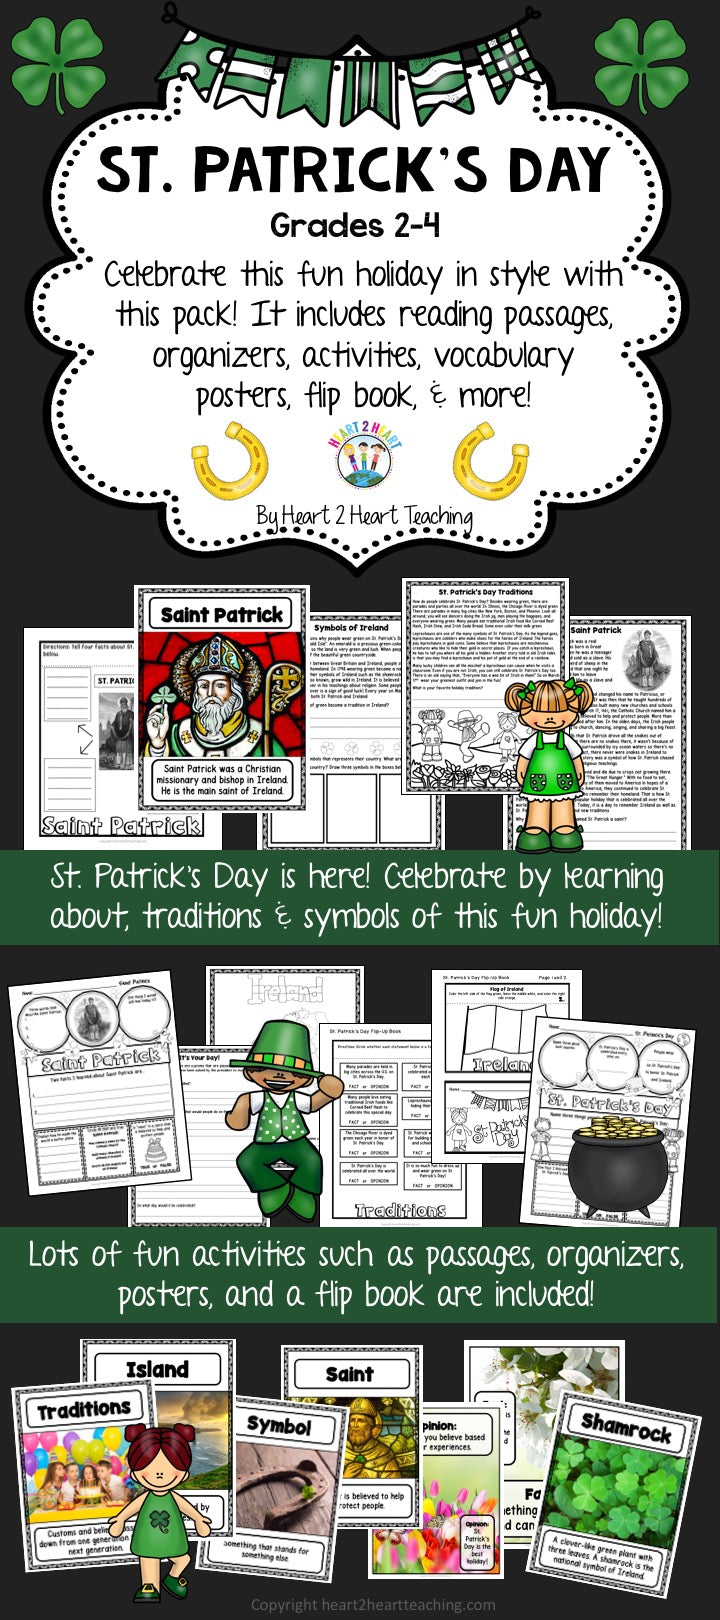
    Looking for a fun hands-on activity with some built-in character education? Have students learn about the history of Saint Patrick and this special holiday. Our St. Patrick’s Day Activity Pack comes with reading passages, hands-on activities, writing activities, and a flipbook.

    Check out our St. Patrick’s Day Activity Pack that has many activities about:

    • Saint Patrick
    • Symbols of Ireland
    • St. Patrick’s Day Traditions
    • Comprehension Questions
    • Map and Flag of Ireland
    • It’s Your Holiday! Writing Activity
    • St. Patrick’s Day Mystery Flaps
    • St. Patrick’s Day Organizers (2)
    • St. Patrick’s Day Flip Book
    • Vocabulary Posters
    • Spotlight on Vocabulary
    • Give a Good Luck Charm


    6. Check out our St. Patrick’s Day Scavenger Hunt Freebie!

    Post the posters around the classroom and have students travel around to find the answers to the questions on the scavenger hunt. Students will learn about the traditions of this fun holiday as they search for clues. 

    Sign up for the Heart 2 Heart Teacher’s Club and
    GRAB OUR ST. PATRICK’S DAY FREEBIE HERE!

    However, you decide to celebrate the day, stay green and have fun!
    6 Creative Ways to Celebrate St. Patrick's Day

  • Teaching Students the True Meaning of the Holidays

    Teaching Students the True Meaning of the Holidays

    The holiday season is a time filled with happiness and cheer for most of us, but we often don’t realize that everyone out there isn’t always fortunate enough to be shopping for gifts. The world is a very hectic place, and we are all so busy with work and family life that we don’t always take the time to notice that the world is also a place where many people are suffering from illness, loneliness, poverty, or other circumstances. Take the time this holiday season to help students see what they can do to make a difference for those who may not feel so cheerful.

    The holiday season has become so commercialized that buying presents is the central theme that we focus on rather than the celebration itself. There is certainly nothing wrong with wanting to purchase gifts for our children and loved ones but we sometimes get lost in the commercialization to the point where we even go into debt during the holidays. It is important to remember the true meaning of the holiday spirit and to carry that spirit with us all year long. Although you can’t change the world overnight, nor can you help everyone, there are ways that you and your class can spread holiday cheer to those less fortunate.

    Give to those who are in need. If you don’t have much cash to spend but still want to help out, contribute to organizations that collect food, clothing or toys during the holiday season. Your school or class can also start a food, clothing or toy drive. If you know someone in your class or school that has lost a family member or a home due to fire, get the administration, other teachers, and your class together and plan a way to help the family out. You can donate cash, food, household goods and more. The sky is the limit.

    Donating your time can be just as important as donating your money. Your class can donate time by helping dish out meals at a local soup kitchen. Your class could make festive cards and send them to other children in local hospitals that can use some cheering up this holiday. You can also contact nursing homes and see how your class can spread some holiday cheer.

    Students can raise money through fundraising or donations to help others around the world. Some unique projects and organizations that children will enjoy helping out with fundraising efforts include:

    1. DonorsChoose.org is a site where teachers all over the U.S. need your help to bring their classroom dreams to life. For as little as $1 it’s easy for anyone to help a classroom in need. Public school teachers from every corner of America create classroom project requests, and you can give any amount to the project that inspires you. You can find a class in your same area or one on the other side of the nation that needs help. Maybe you’ll even connect with them through letters or Skype.
    2. Heifer.org is an organization where donations go toward buying an animal such as a cow, goat, rabbits, geese, or alpaca for less fortunate people in other countries. Giving an animal is like giving someone a small business, providing wool, milk, eggs and more. Animal donations can provide families a hand up, increasing access to medicine, school, food and a sustainable livelihood. For as little as $10, children can learn about how their donations will help these families. What a fantastic learning opportunity for students!

    There are many ways to help others during the holiday season, so be creative and most of all, get your class involved. You can touch the hearts of those less fortunate by extending a helping hand. Helping others will teach students about having empathy and compassion for others. We can make the world a better place, one act of kindness at a time.

  • How to Throw a Spooktacular Halloween Party

    How to Throw a Spooktacular Halloween Party

    Kids young and old adore Halloween. It’s a fun chance to dress up as someone else, enjoy the fall weather, and have a scary good time. Hosting a frightfully fun kids’ party in the classroom can be simple and enjoyable with these creative ideas for homemade games, snacks, and decorations.

    Three Bone-Rattling Games

    No kids’ party would be complete without a few games to keep things active. Depending on the ages of the students, there are lots of Halloween-themed activities that can be played right in the classroom. Ask your room mother or other parent volunteers to come in and help with these fun activities. Gather all the supplies for the games and divide the students up into groups. Then organize the classroom into stations where students have space to play different games.

    Pin-the-Face-on-the-Pumpkin

    Instead of pin-the-tail-on-the-donkey, try the fun and festive pin-the-face-on-the-pumpkin. First, purchase an extra-large pumpkin, and place it on a stool or bench. Cut eyes, noses, and mouths out of black construction paper and affix masking tape or double-sided tape to the backside. To play the game, blindfold the kids and have them take turns trying to put on the jack-o-lantern’s facial features.

    Monster Bowling

    For monster bowling, make ghostly pins by putting beans or sand in empty plastic bottles and draping them with white fabric. Secure the fabric on the empty bottles with rubber bands and draw on faces with permanent markers. Add stick-on eyes, mouth, and teeth to make your bowling ball look like a monster’s head. Another quieter version of this game uses rolls of toilet paper as the pins. If you chose this option, you might want to wrap the toilet paper with a piece of fabric and tuck in the ends to keep it from falling apart too quickly. You can use a small round pumpkin or a tennis ball in place of the bowling ball.

    Mummy Wrapping Contest

    This fun game only requires a few rolls of toilet paper. Divide the class into 4-6 stations. Instruct the students to pick one person to be the “mummy.” The designated mummy is to hold very still while the other students carefully wrap him or her in toilet paper. The object of the game is to see which team is the fastest at wrapping their mummy. This is a team-oriented game where the students work together to pass the roll of toilet paper to each other. On your command, the game begins. The team to use all their toilet paper and wrap their mummy the best wins!

    Three Spellbinding Snacks

    Ghastly Ghostly Punch

    Regular snacks and beverages can take on a frightful theme with a little creativity. To turn your favorite punch or juice into witches’ brew, place a metal bowl inside a large cauldron-like pot. Make ghostly ice by filling a plastic mask and rubber gloves with water. Be sure to tape over the eye, nose, and mouth holes with duck tape before filling it with water. Then place them in the freezer overnight. The next morning, just remove the ice from the mask and gloves, and you’ve got a frozen face and hands for punch with a surprising punch.

    Mummy Mini-Pizzas

    For a quick and easy snack try some mummy mini pizzas. This is a fun snack that students can prepare on their own. Have parents donate the ingredients for this healthy filling treat and you are set to go. Students top English muffins with pizza sauce shredded mozzarella and black olives for eyes. Then devour!

    Creepy Crawling Cupcakes

    Cupcakes are always a bit hit with youngsters. Decorate cooled cupcakes with orange frosting and cobweb design. Wash and add a few plastic black spiders from the dollar store. If you prefer, decorate the cupcakes with facial features cut from black licorice to make festive-looking jack-o-lanterns.

    Read a Spooktacular Story

    Take a trip to your school or community library to gather a few spooktacular Halloween books to read to your class. You’ll find lots to choose from but here are a few favorite books that can be used as an activity during the party.

    Here are few of my favorites tales:

    Halloween Hustle by Charlotte Gunnufson. In the dark with a funky beat. Something white with bony feet. Skeleton dancing up the street and doing the Halloween Hustle. Your students will love this catchy rhyming story about Skeleton is dancing his way to a Halloween party.As he grooves across town, he keeps stumbling, tumbling, and falling apart! Can Skeleton stay in one piece long enough to make it to the party?

    The Runaway Pumpkin by Kevin Lewis is a story about two brothers and their little sister, who see the biggest pumpkin they’ve ever seen in their lives. They try to roll the pumpkin down the hill to show everyone, but it’s too big! Before long, it’s bumping and thumping and rolling down the hillside out of control. This is a catchy and repetitive story to read aloud in the classroom.

    Pumpkin Jack by Will Hubbel. The first pumpkin Tim ever carved was fierce and funny, and he named it Jack. When Halloween was over and the pumpkin was beginning to rot, Tim set it out in the garden and throughout the weeks he watched it change.

    Dreadful Classroom Decorations

    Turn your classroom into a haunted scene with fake cobwebs and floating jack-o-lanterns. Draw faces on a few orange helium-inflated balloons with a permanent marker for floating jack-o-lanterns.

    For your reading chair, use a white pillowcase to turn it into ghostly chair cover. Simply cut out eye and mouth shapes from black felt and attach with fabric glue.

    Be sure to set the mood with spooky sounds. Make a playlist with hits like Flying Purple People Eater, Monster Mash, and don’t forget Thriller.

    There is something about Halloween which really catches the imaginations of children maybe it’s all the sweets, games, tales, and dressing up! This year throw a spooktacular party for some downright thrilling fun! Happy Halloween!