

Category: Uncategorized

  • Teaching Economics With The Lemonade War

    Teaching Economics With The Lemonade War

    Teaching economics with The Lemonade War, supply and demand for kids

    A fourth grader once explained her lemonade stand to me like this. She sold eleven cups at fifty cents, so she made five dollars and fifty cents, so she was rich.

    I asked what the lemons cost.

    She looked at me and shrugged her shoulders.

    Her mother had bought the lemons, the sugar, the cups and the poster board, so as far as she was concerned none of that was part of the story. The money in the jar was the whole story.

    I had been teaching economics as vocabulary that year. Goods and services, producers and consumers, wants and needs. She could define every one of those words. She just did not have a way to think about her own five dollars and fifty cents.

    What changed it for my class was a novel. Evan and Jessie in The Lemonade War run real businesses with real numbers, and a story gives a child something to argue about that a definition never will.
    Quote: profit is not the money in the jar, it is what is left after the lemons are paid for

    Here are the five ideas I teach with this book, in the order that works, all of them at a level a third or fourth grader can actually hold.

    1. Start With What a Business Actually Is

    Before any vocabulary, get one sentence on the board: a business makes something or does something, and people pay for it.

    Then find it in the book. Evan makes lemonade. People pay him. That is a business. Jessie makes lemonade too. That is a second business, and now there are two, which is the whole plot.

    The useful move here is to have students name three businesses they visited this week and say what each one makes or does. The dentist does something. The bakery makes something. The bus does something. Once a child can sort the world that way, everything after this has a place to land.

    Keep the words to the ones the book uses, and the book is generous here. Every chapter of The Lemonade War is titled with a business term and opens by defining it in plain language. You are not writing a glossary; you are reading one.

    2. Profit Is Not the Money in the Jar

    This is the big one, and it is the misconception my fourth grader had. Almost every child thinks the money you collect is the money you made.

    Teach it as a subtraction sentence, because that is all it is:

    • What you took in, all the money customers handed you
    • minus what it cost you, the lemons, the sugar, the cups, the sign
    • equals your profit, what is actually yours to keep

    Then run the fourth grader’s stand on the board. Eleven cups at fifty cents is five dollars and fifty cents. The lemons and sugar cost four dollars. So she made a dollar fifty, not five fifty. Watch the room when that lands.

    Two words are worth naming once you have done the subtraction. What you take in is revenue. What you spend to make the product is cost. Both words are easier to hold after a child has felt the difference than before.

    The Council for Economic Education keeps a free lesson built on exactly this scenario, Resources for a Lemonade Stand, with tally charts you can print. Their whole library at EconEdLink is free with a teacher account and is the best K-12 economics collection I know of.
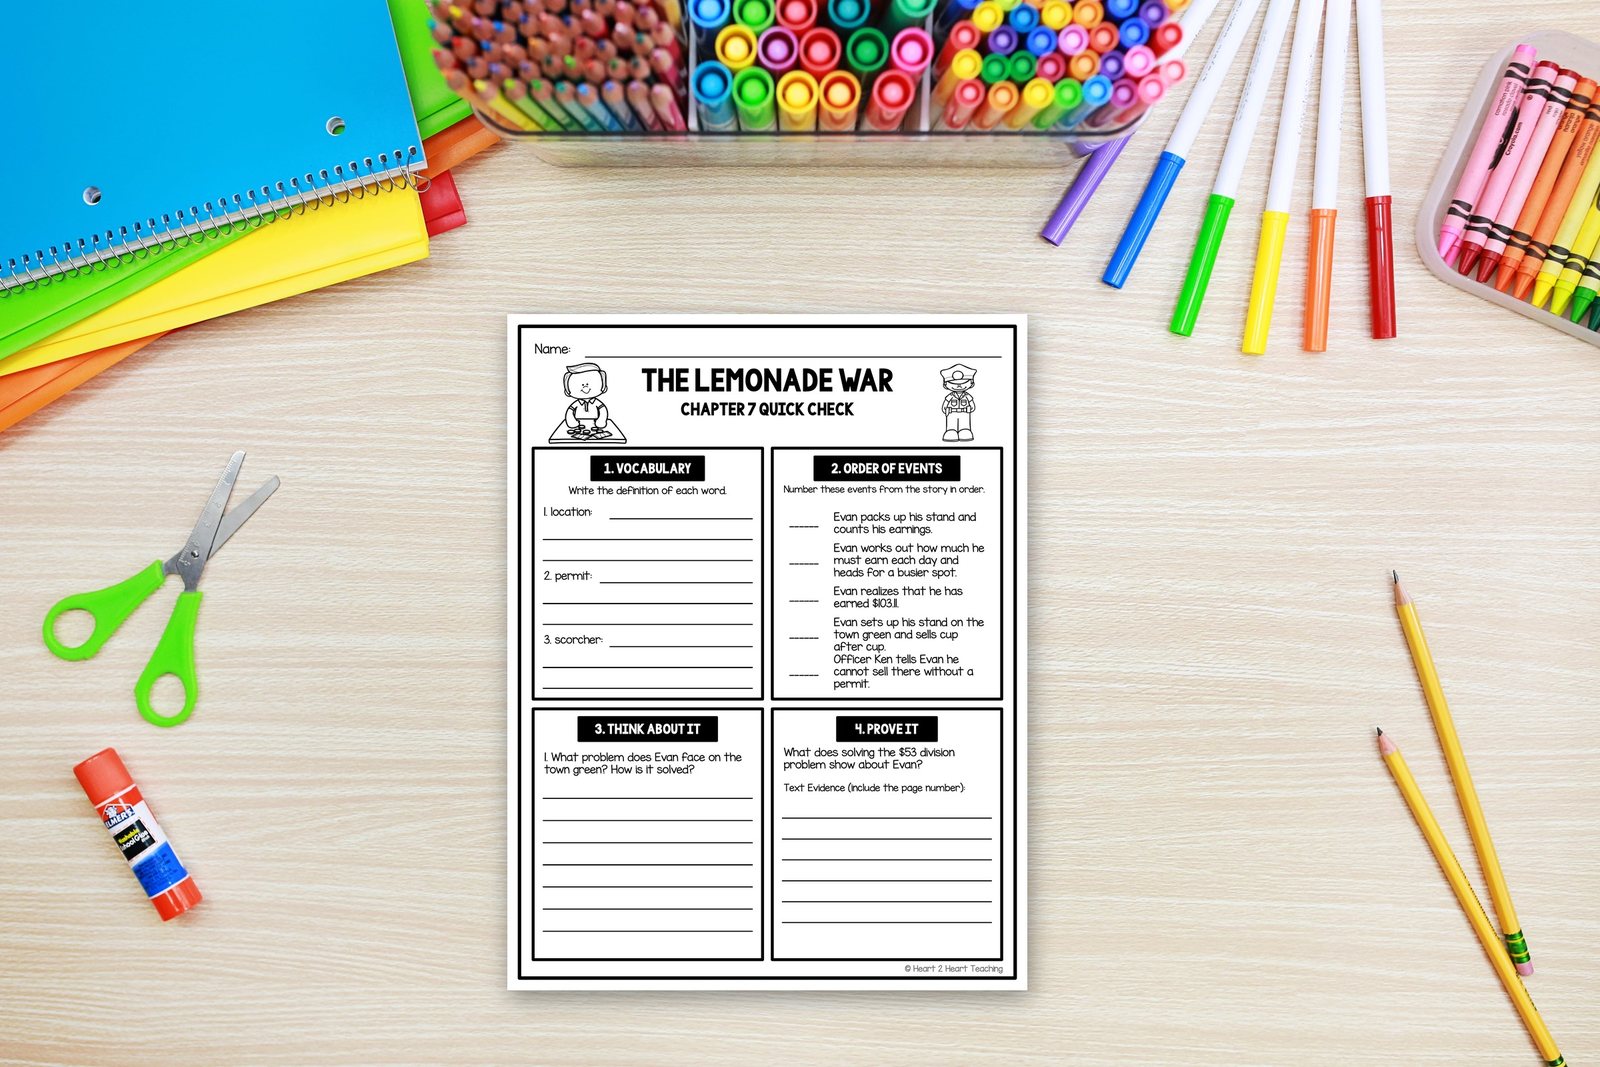
    A Lemonade War chapter 7 quick check page on a student desk with scissors, glue and pencils

    3. Supply and Demand, Put it into Kids Words

    You do not need the graph. Third graders can hold this idea perfectly well in ordinary words, and the graph in fifth grade will be easier because they already understand the thing it draws.

    Say it like this:

    • Demand is how many people want it. On a hot day, lots of people want lemonade. On a cold rainy day, almost nobody does
    • Supply is how much there is to sell. One pitcher is a small supply. Ten pitchers is a big one
    • When lots of people want it and there is not much of it, the price can go up. When nobody wants it, the price has to come down or it does not sell at all

    Then test it against the book. It is the hottest week of the summer, so demand is high, which is why a lemonade stand is a good idea in the first place. And when a second stand opens on the same street, there is suddenly more lemonade for sale than before, and both of them have to think harder about their price.

    The word for lowering your price to pull customers away from the other stand is underselling, and the book gives students a whole chapter of it. That is a vocabulary word most adults would struggle to define cleanly, learned from a story instead of a list.
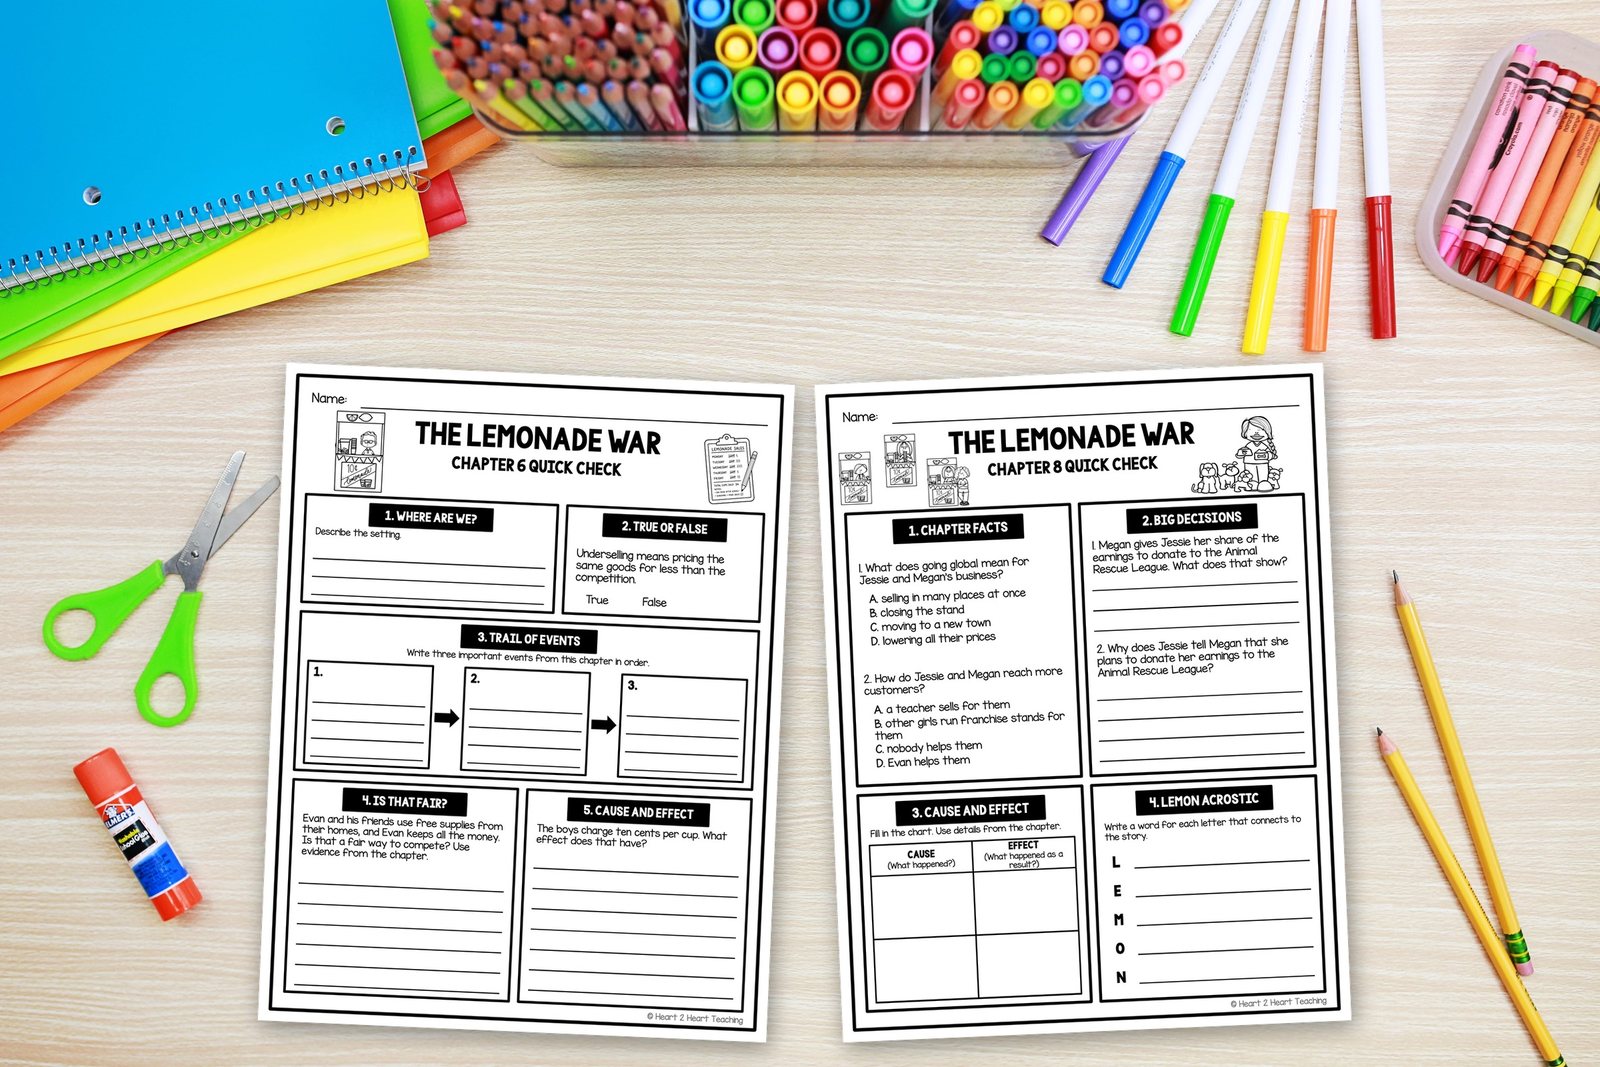
    The Lemonade War chapter 6 and chapter 8 quick check pages side by side on a student desk, covering underselling and franchises

    Quote: Evan sells to people he knows, Jessie sells with a plan, and the lesson is that both of them are right

    4. Two Business Plans, And Both Work

    This is my favorite lesson in the book, and it is the one that only a novel can teach.

    Evan and Jessie run their stands completely differently:

    • Evan sells to people. He knows his customers, he is generous with them, he is the kind of kid people want to buy from. He is not tracking much of anything
    • Jessie sells with a plan. She counts, she thinks about location, she thinks about price, she brings in help. She is not naturally the one people warm to

    Put both on a two column chart and have students fill it from the text, then argue which one was the better businessperson. Make them use a page number.

    The answer is that both approaches are real and both work, and that is the actual lesson. Goodwill, the trust and liking that makes a customer come back, is worth money, and so is a plan. Businesses that have one and not the other struggle, which students can see happening to each sibling in turn.

    It is also the kindest thing this book does for a classroom. The planner and the people person are both good at business, and in most rooms you have both kinds of kid sitting there deciding which one they are.
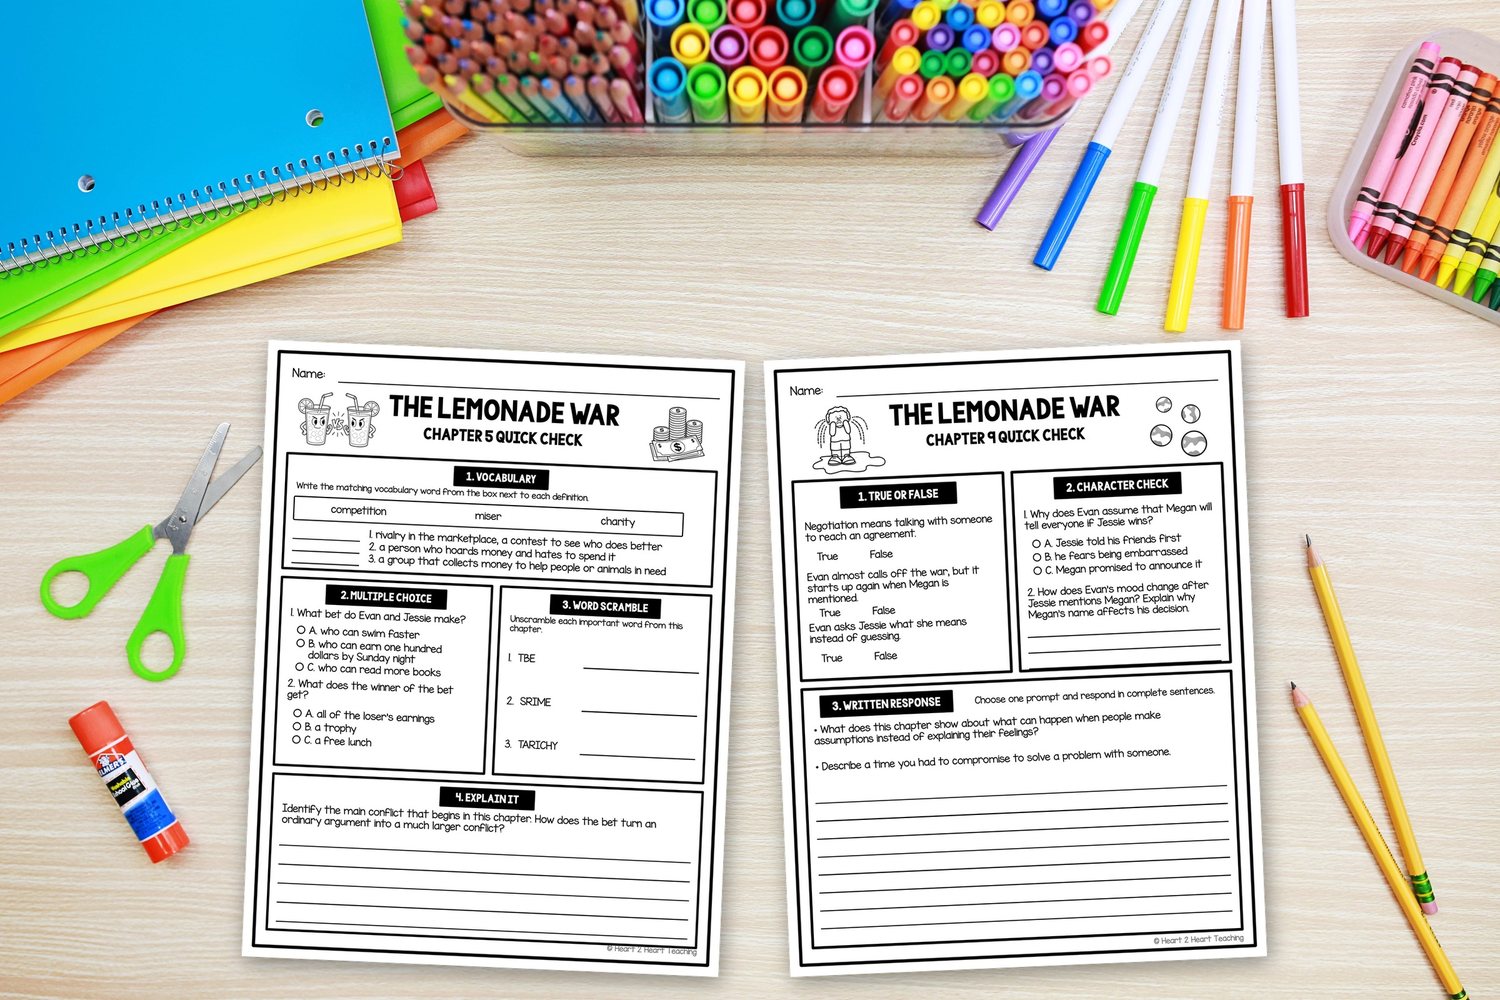
    The Lemonade War chapter 5 and chapter 9 quick check pages side by side on a student desk, covering competition and negotiation

    5. Then Actually Run the Stand

    Finish the unit by running one, because everything above becomes real the moment there is a cash box.

    Keep it small. A morning, one table, a fixed budget you give them.

    • Plan the costs first. Price out lemons, sugar, cups. That number goes on the board before a single cup is sold
    • Choose a price together, and make them defend it. Fifty cents or a dollar? What happens to how many we sell?
    • Keep a tally of cups sold, which is your real math lesson hiding inside a party
    • Do the subtraction at the end, out loud, together. Revenue, cost, profit
    • Decide what to do with the profit. This is the conversation worth having, and it is where saving, spending and giving stop being poster words

    If you want to go bigger, Lemonade Day is a national nonprofit that runs exactly this as a full program, free for teachers, and the St. Louis Fed’s Econ Lowdown has free lessons and short videos that carry the same ideas into fifth grade and beyond.

    It is worth knowing that this is not too early. In a study for the Money Advice Service, researchers David Whitebread and Sue Bingham at the University of Cambridge found that the core habits behind handling money, things like planning ahead and being able to wait for something you want, are largely formed by around age seven. Your third graders are not too young for this. They are right on time, and Practical Money Skills has free family activities if you want to send some of it home.
    Recap: profit is not the money in the jar, price versus how many you sell, run a real profit and loss, compare the two business plans, run the stand yourselves

    Frequently Asked Questions

    What grade is this for? Third and fourth grade is the sweet spot. Second graders can do parts one, two and five with smaller numbers. Fifth graders can take the same five ideas and add percentages and a real supply and demand graph.

    Do I have to read the whole novel to teach the economics? No. The business ideas sit thickest in the middle chapters, and you can pull the two business plans lesson on its own in a single session. Reading the whole book is better, because the money only matters once students care about the two kids.

    How does this fit our standards? It covers the usual elementary economics strand, which is goods and services, producers and consumers, scarcity, supply and demand, and profit. It also does real math: money, multi-step subtraction, and data from the tally chart.

    Can I do this at home with one child? Yes, and honestly it is easier. Read a chapter, then price out one real thing together at the grocery store. A parent can run part two in a single trip, and the lemonade stand at the end of a driveway does the rest.

    What if I cannot run a real lemonade stand? Run it on paper. Give them a budget, a price list and a weather forecast, and have them plan the stand and calculate the profit without ever squeezing a lemon. Nearly all the learning survives.

    One More Thing Worth Saying

    Economics has a reputation as a dry subject, and I think that is because we usually teach the words before the experience.

    A child who has watched Evan and Jessie fight over a street corner, and who has then counted her own eleven cups and subtracted the cost of the lemons, has a place to put the word profit when it arrives. A child who got the word first has a definition and nothing under it.

    Give them the story and the cash box. The vocabulary comes along on its own.

    If You Would Rather Not Build It From Scratch

    Everything above works with a copy of the book, a whiteboard and a bag of lemons. If you would rather have the reading side already written, this is what I use alongside it.
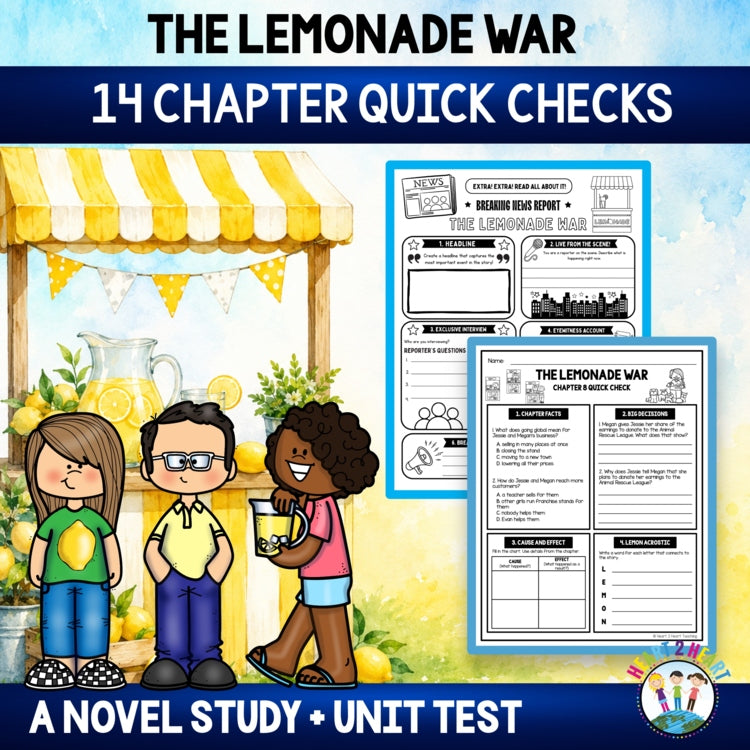
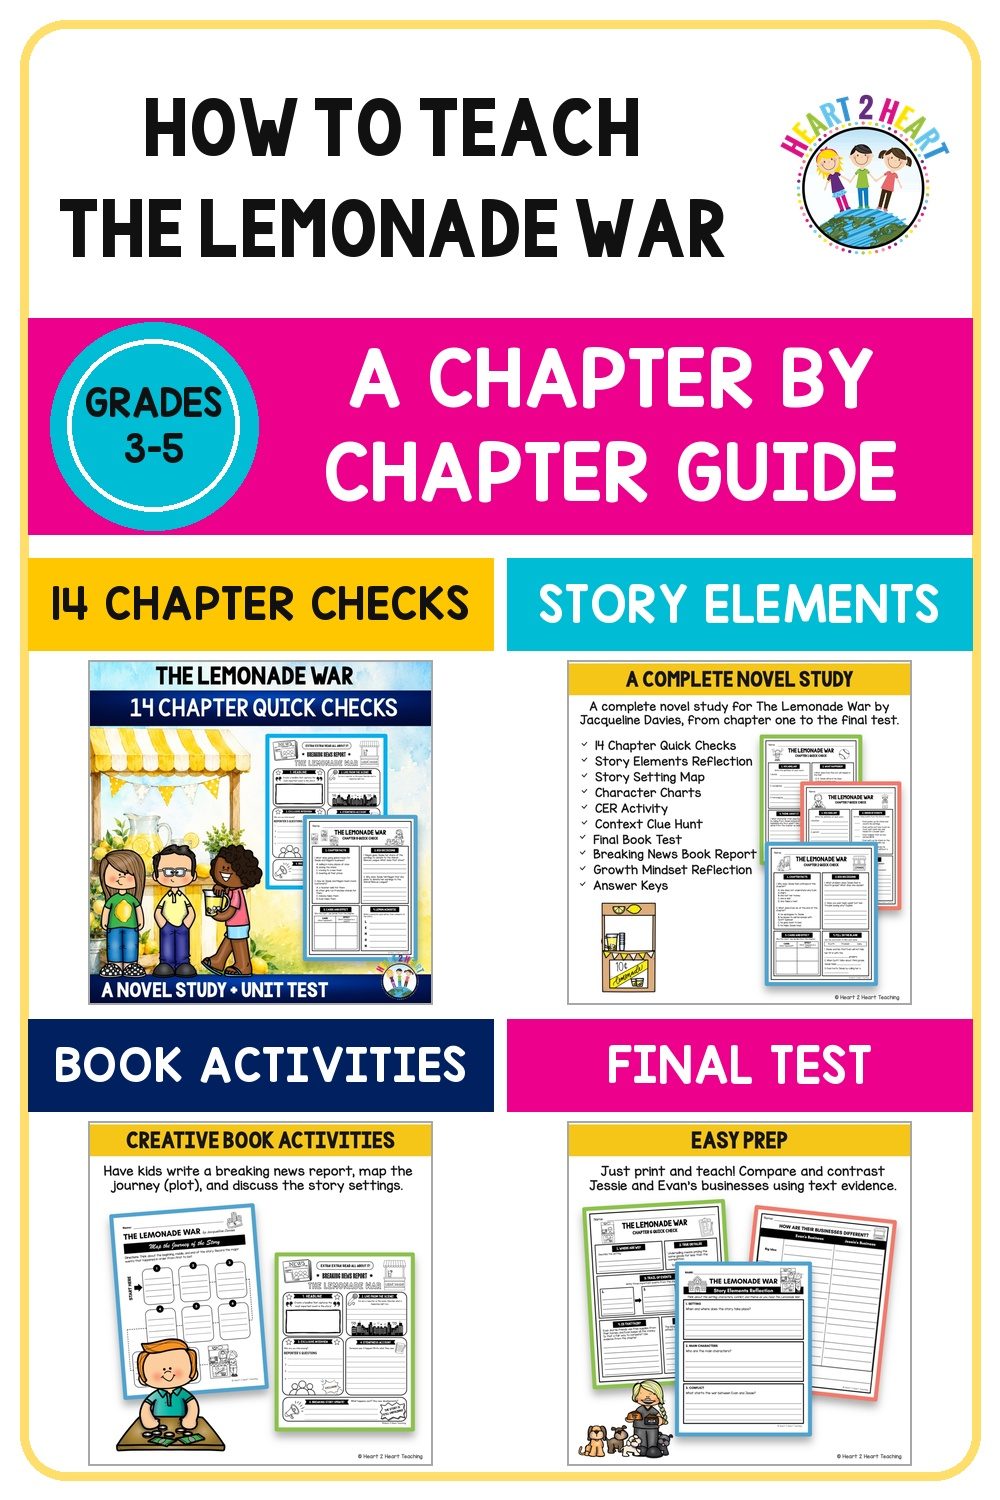
    The Lemonade War novel study with 14 chapter quick checks, activities and a final book test

    The Lemonade War Novel Study carries the comprehension half of this unit, with one quick check for each of the fourteen chapters and the chapter’s own business vocabulary built in. The page that matters most for economics is the compare-the-businesses activity, where students lay Evan’s approach beside Jessie’s using text evidence, which is part four of this post already laid out. There is also a claims and evidence writing activity, character change charts, and a final book test, with answer keys throughout.

    Please note that a copy of The Lemonade War by Jacqueline Davies is required and is not included. This is an independent companion resource and is not affiliated with the author or publisher.

    Keep Going

    How to teach The Lemonade War, chapter by chapter, for the reading half of this book.

    The 10-minute daily math routine that makes math stick, for keeping the money math sharp after the stand comes down.
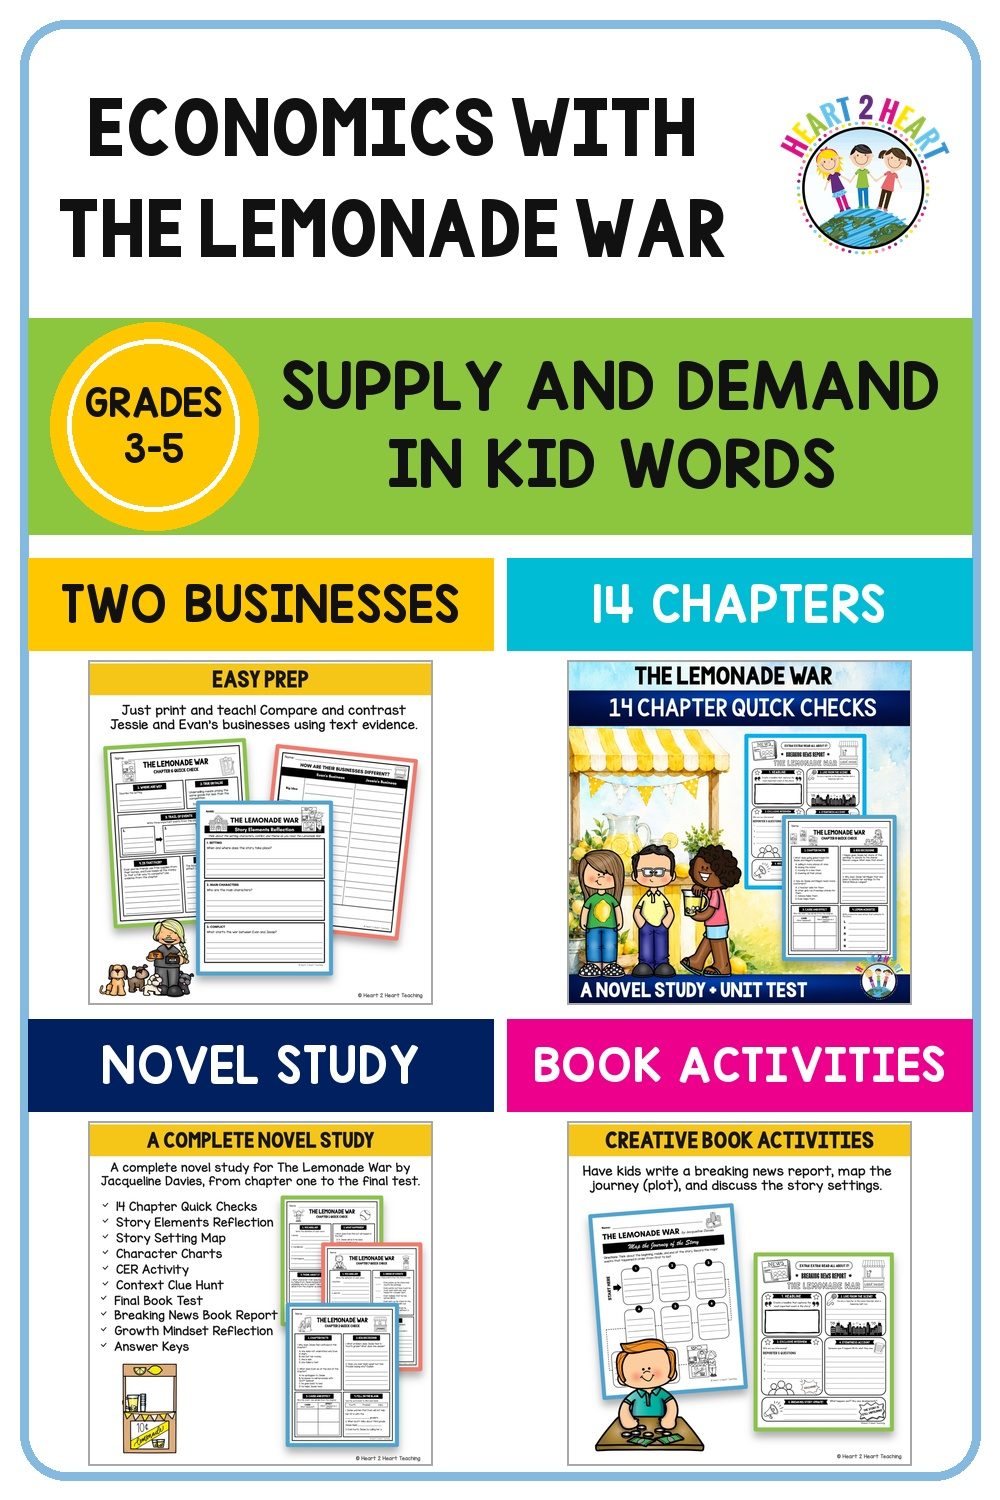
    Teaching economics with The Lemonade War for grades 3 to 5

  • First Week of School Activities That Tell You Something About Your Students

    First Week of School Activities That Tell You Something About Your Students

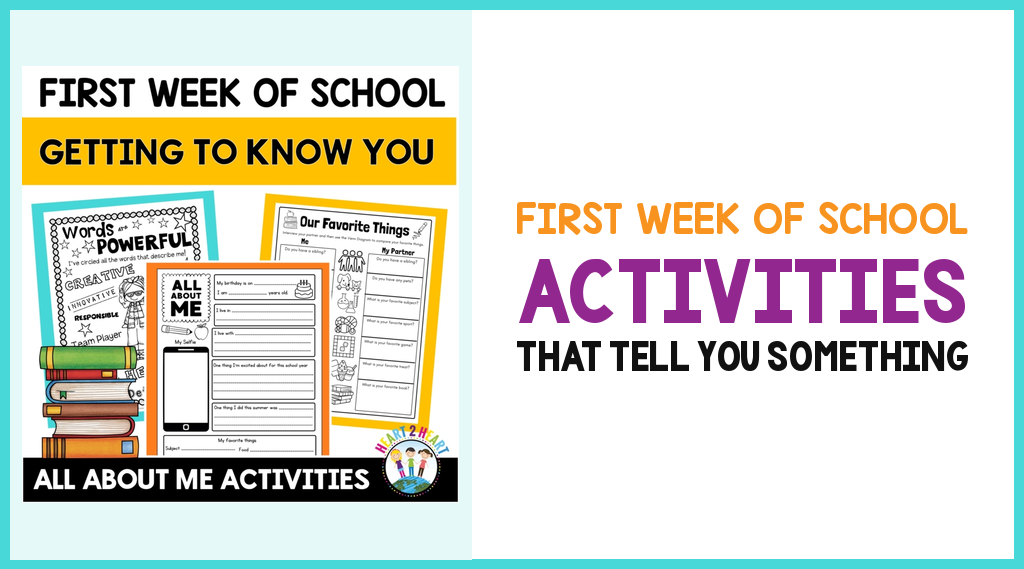
    First week of school activities that tell you something about your students

    My first year, I ran a beautiful first week.

    We did a name game, a bingo icebreaker, an All About Me page with a self portrait, and a team-building challenge with spaghetti and marshmallows. Everybody laughed. Nobody cried. I went home on Friday feeling like a natural.

    Then in late September I was trying to plan a reading unit and realized I could not have told you which of my students actually liked to read.

    I had spent five days making them comfortable, which mattered, and I had collected almost nothing I could use. The All About Me pages went up on a bulletin board in August and came down in October without my ever reading them properly.

    That was the mistake. I had treated the first week as a mood to set rather than information to gather.

    Here is the rule I use now. Every first week activity has to leave me knowing one specific thing about a child that I can still use in October. If it does not, it is a game, and one game is plenty.

    Quote: an icebreaker that teaches you nothing about your students is just a game with a worksheet attached

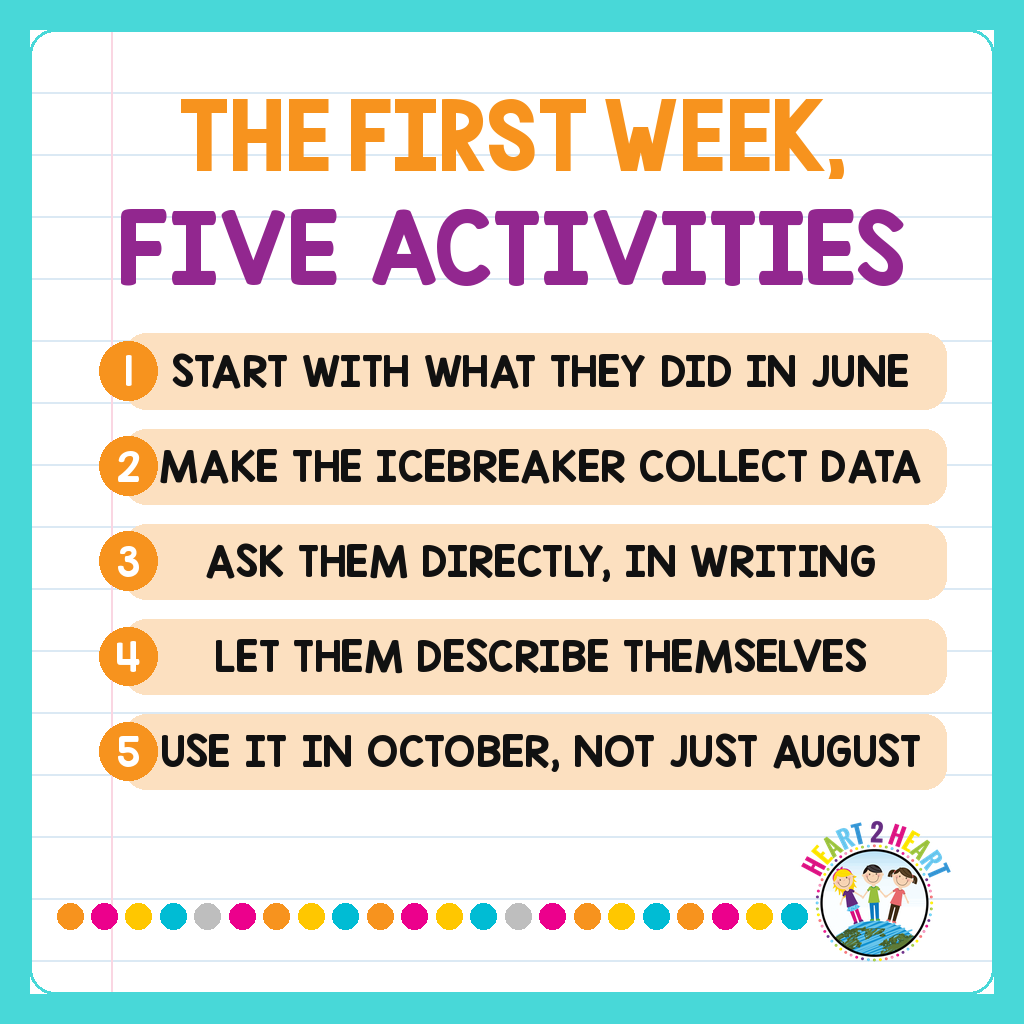
    These five activities all pass that test, and between them they take about twenty minutes a day. Here is what each one is for, and what you do with what it gives you.

    1. Start With What They Did over Summer

    Day one, before any rules or routines, ask them to write about the summer. Not a paragraph with a topic sentence. Just what happened.

    I use a suitcase template, because a shape makes a blank page much less frightening on a day when everything is unfamiliar, and because it fills a bulletin board later.

    This works as the opener for three reasons. It needs no prior knowledge of anything you have taught. Every child has an answer. And it hands you your first writing sample of the year, on day one, before you have taught a single lesson.

    What to do with it. Read them that night with a pen, and mark three things: who writes in sentences, who writes one word and stops, and who tells you something personal. That is your first read on writing stamina and your first read on who trusts you, and you have it before the first Monday is over.

    2. Make the Icebreaker Collect Data

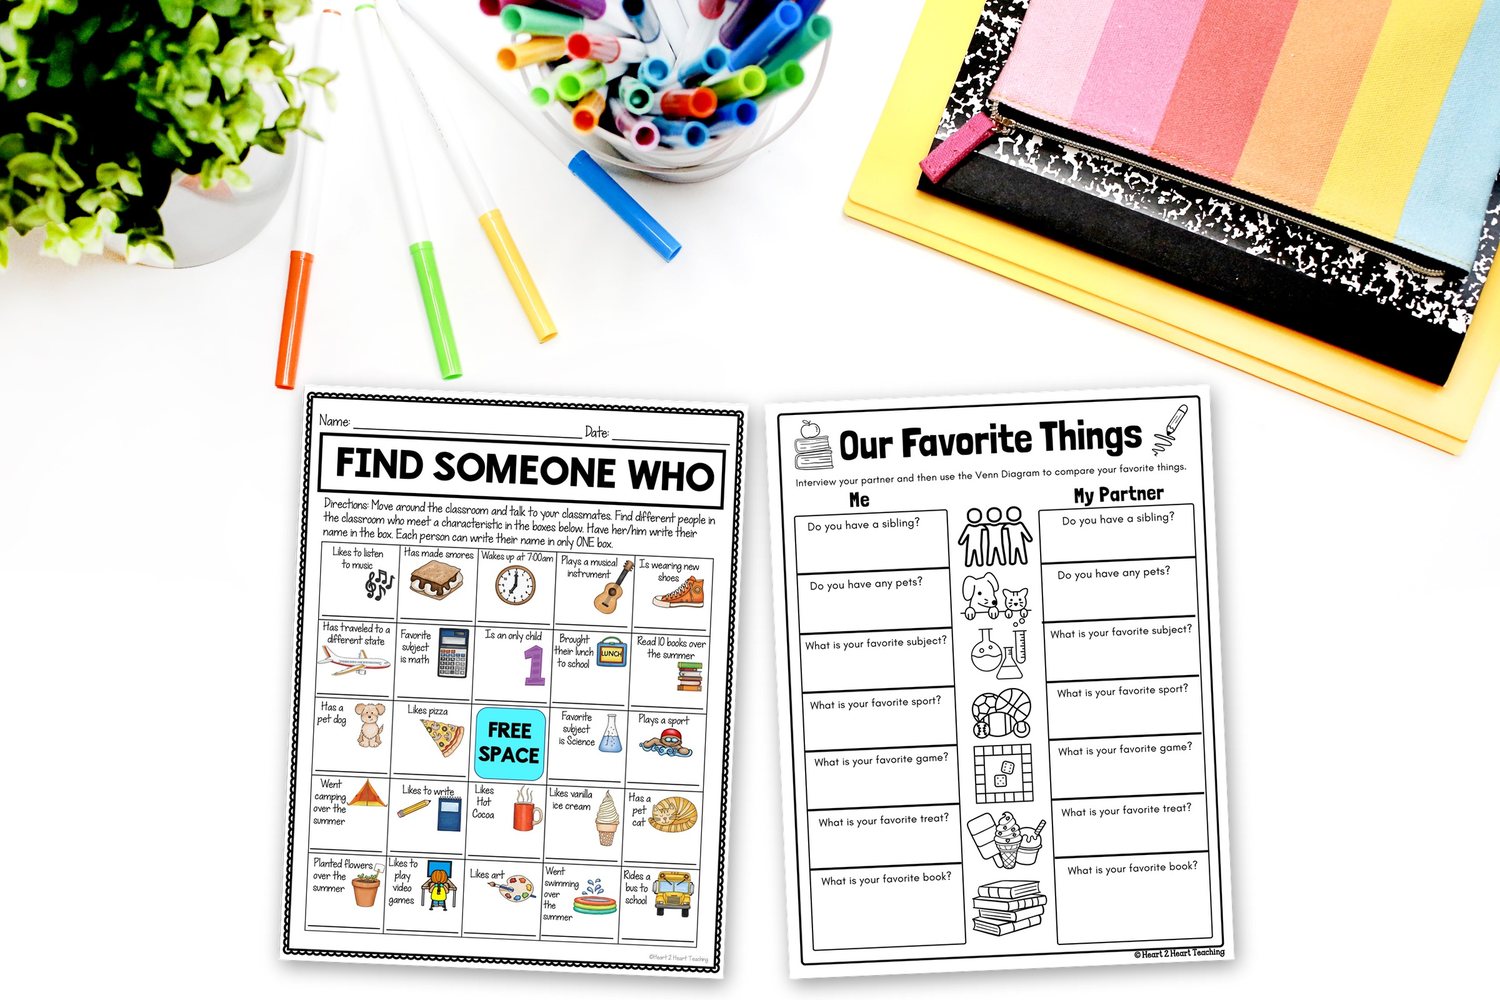
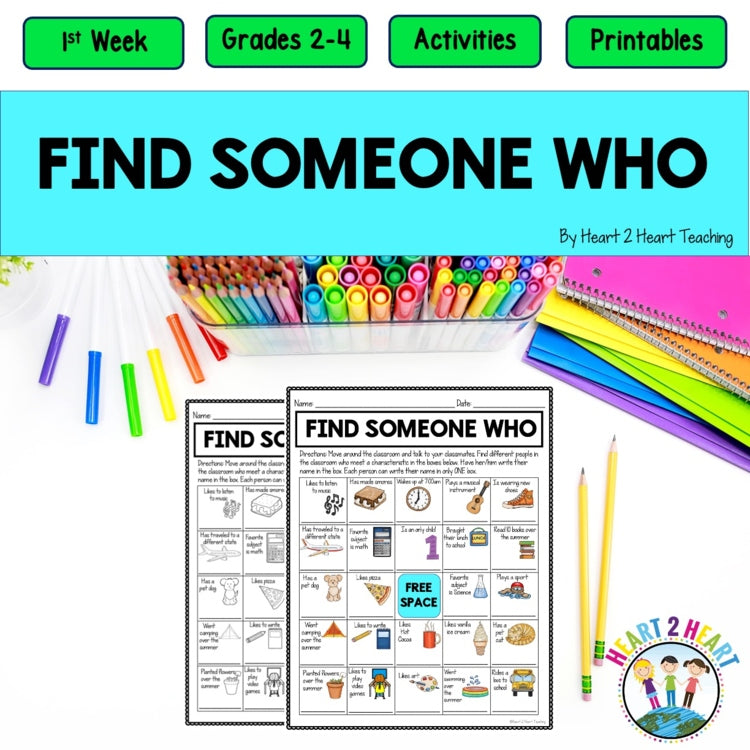
    Some icebreakers produce noise and nothing else. A Find Someone Who grid produces noise AND a record, because at the end of it every square has a name in it.

    Kids move around the room finding a different classmate for each box: someone who has a pet, someone who traveled this summer, someone who read a book. They write the name in the square. It takes fifteen minutes and it sounds like a party.

    What to do with it. Collect them. The grid tells you who moved confidently and who stayed at the edges, which is the single most useful social observation you will make all week. It also tells you which children nobody approached, and that is information you want in week one rather than in week nine.

    If you want more variations on the format, Teaching Made Practical has eight get-to-know-you ideas that need no printing at all, and Thrifty in Third Grade has a good set aimed squarely at third through fifth.

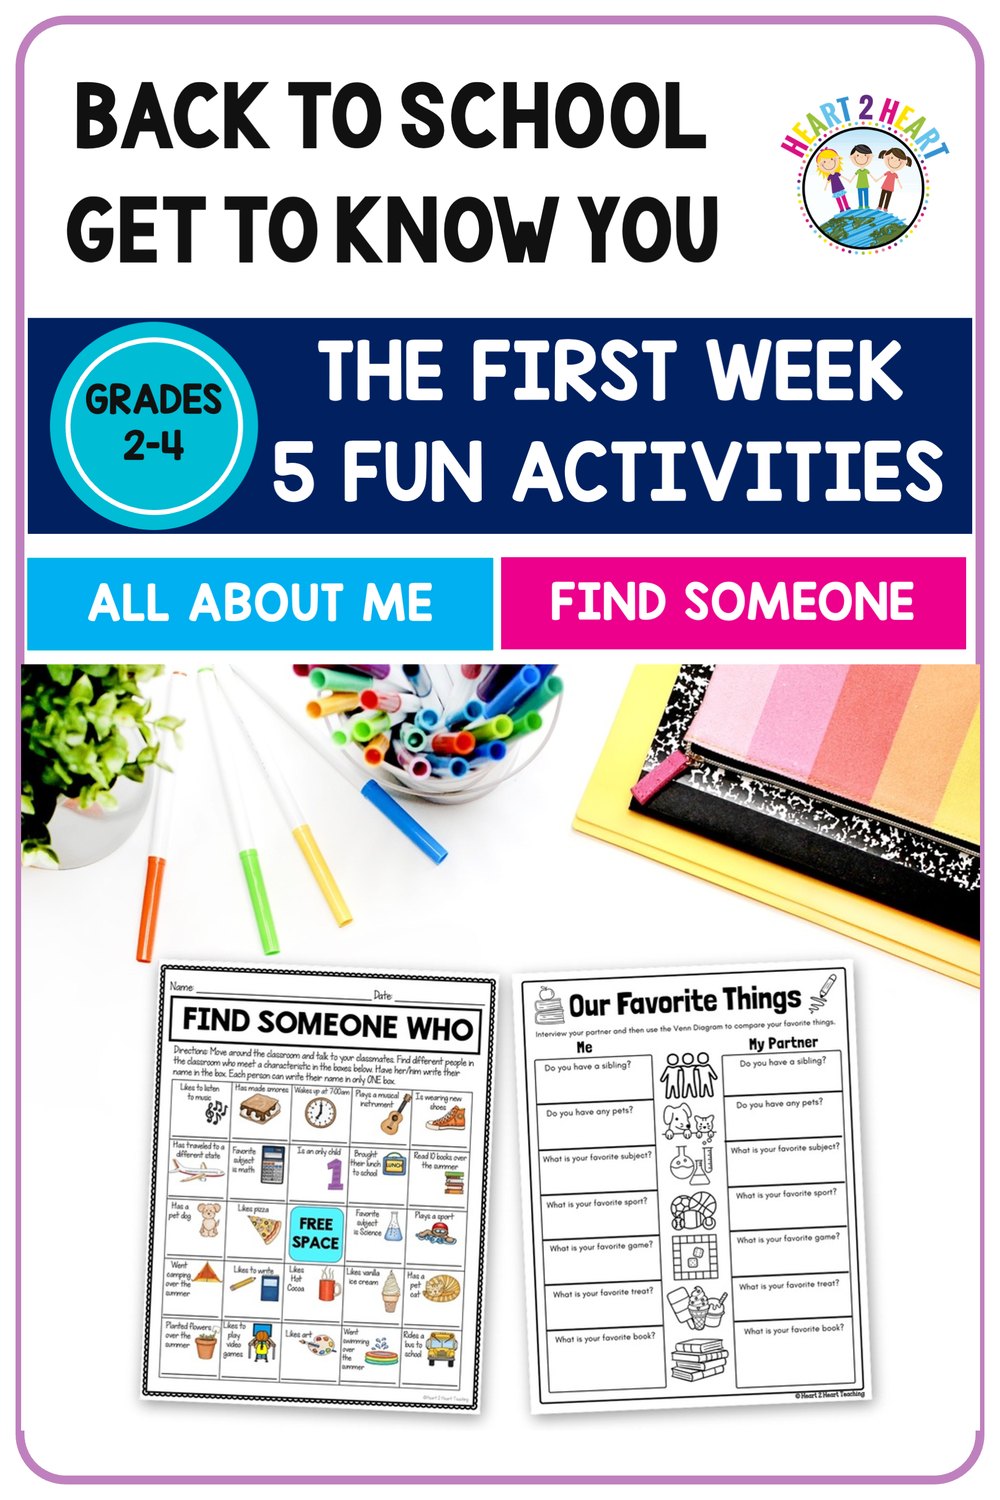
    Find Someone Who icebreaker and Our Favorite Things partner interview side by side on a classroom desk

    3. Ask Them Directly, in Writing

    This is the one most of us skip, and it is the one that pays for the other four.

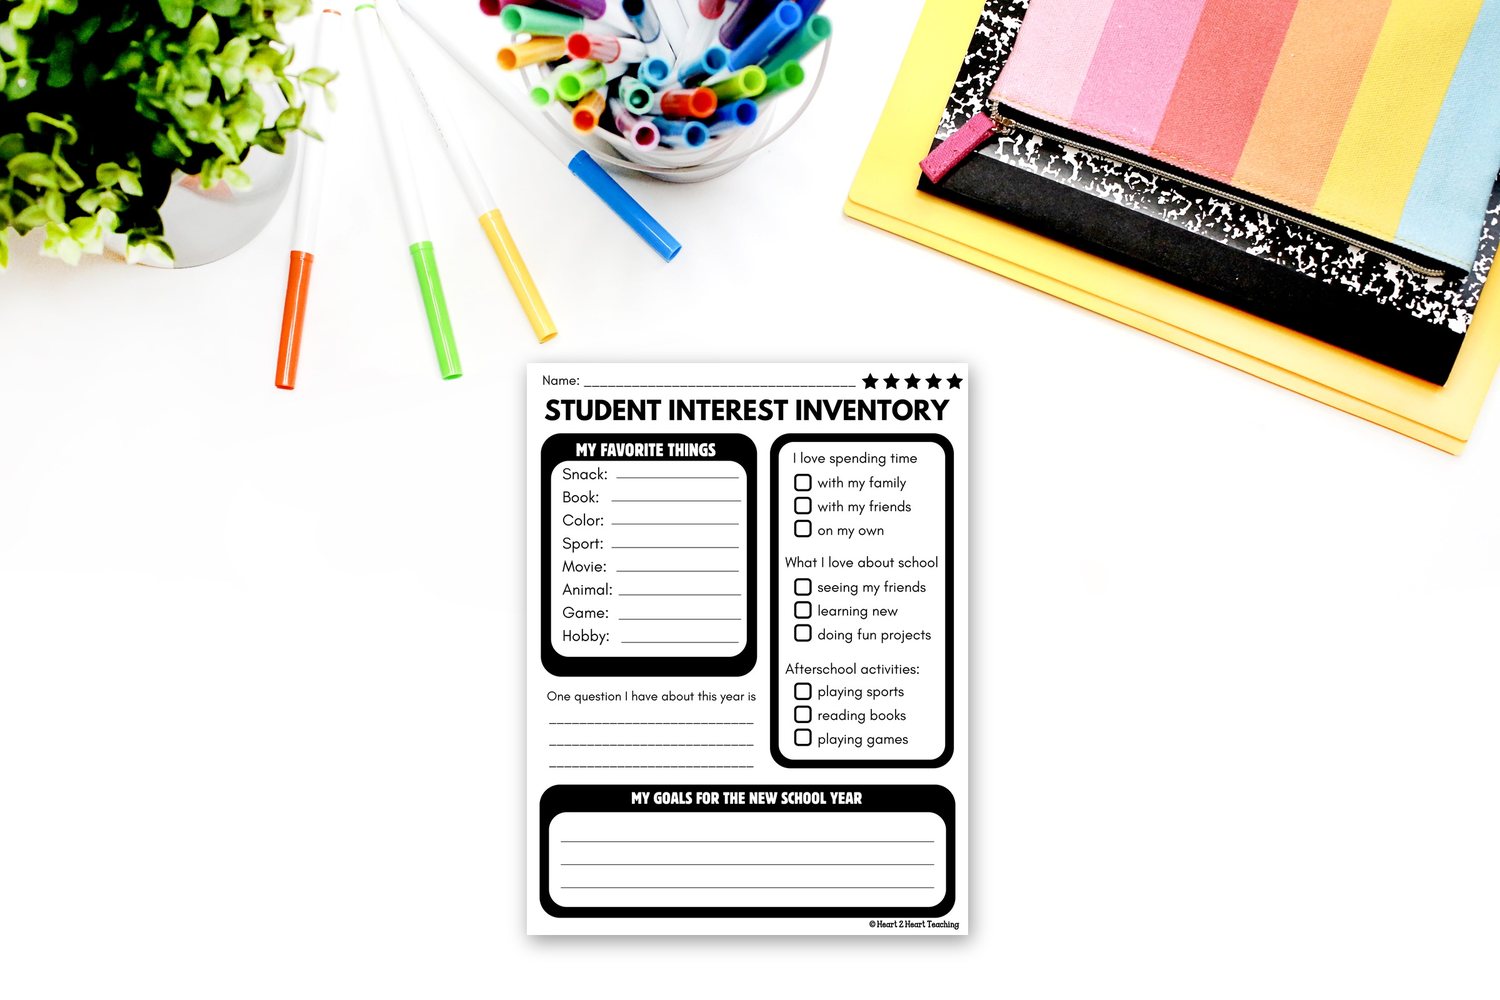
    Give every child a page and ask them plainly. Favorite book. Favorite subject. What they love about school. What they do after school. One goal for the year. One thing they want you to know.

    Children will tell you almost anything in the first week, before they have decided what kind of student they are going to be in your room. The McREL Institute’s piece on interest inventories makes the case better than I can, and it is worth ten minutes before you write your own questions.

    What to do with it. This is the whole game, and it deserved its own post, so I wrote one: what to ask students in the first week, and what to do with their answers.

    A student interest inventory page with favorite things and goals for the new school year, on a classroom desk

    Quote: the first week is the one week they will tell you anything, ask while the asking is easy

    4. Let Them Describe Themselves

    There is a difference between a child telling you their favorite color and a child telling you what kind of person they think they are. The second one is worth asking for directly.

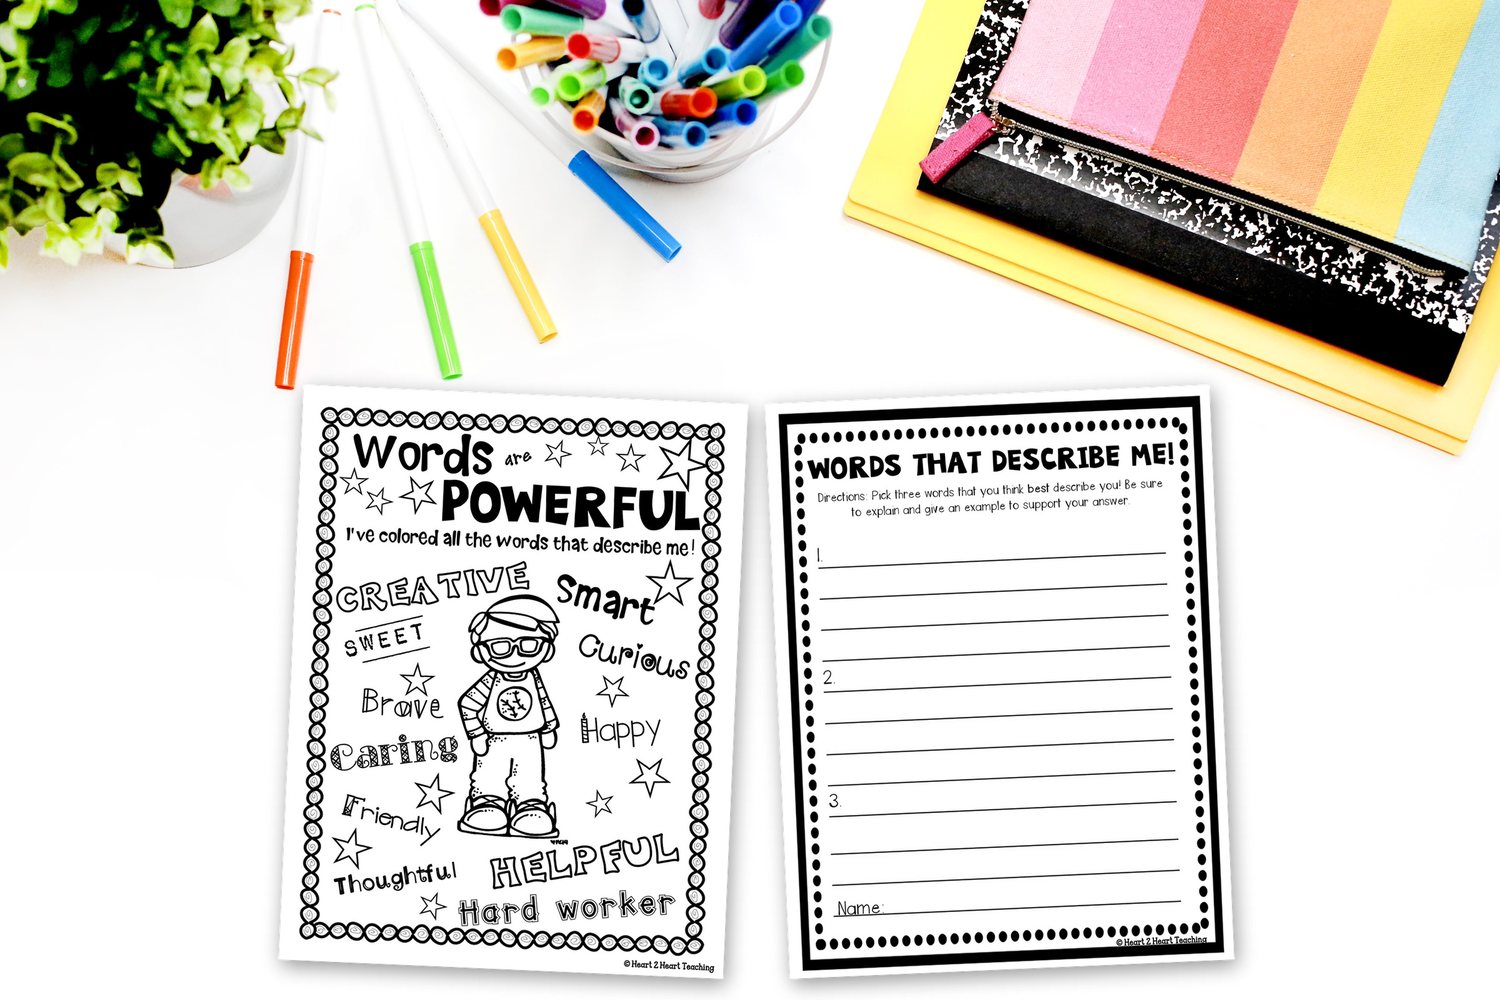
    Give them a page of character words, creative, brave, helpful, thoughtful, determined, curious, and ask them to color or circle every word that describes them. Then ask them to pick three and explain each one with an example.

    The explaining is the part that matters. Any child will circle helpful. The child who writes I am helpful because I walk my neighbor’s dog when she is at work has just told you something real about their life.

    What to do with it. Keep them. When you need to write a report comment in November, or say something true to a parent at conferences, or talk a child through a hard moment in February, you have their own words about who they are. Quoting a child to themselves is one of the most powerful things a teacher can do.

    Words Are Powerful character words page and a Words That Describe Me page side by side on a classroom desk

    5. Use It in October, Not Just August

    Everything above is wasted if it goes on a bulletin board and stays there.

    So on Friday of the first week, do one unglamorous thing. Put all of it in one folder per child, or one binder with a divider per child, and put that folder somewhere you will actually open it. Mine lived next to my plan book, not in a cupboard.

    Then use it on purpose:

    • When you choose a read-aloud, check what they said they liked
    • When a word problem needs a name and a topic, use a real child and a real interest. It costs nothing and they notice every time
    • When you write the first report comments, open the character page first
    • When a child is struggling in February, reread what they wrote in August. It is often the fastest route back to them

    This is not a soft extra. In John Hattie’s synthesis of more than 800 meta-analyses, teacher and student relationships carry an effect size of about 0.72, which puts them well above the average influence on achievement. The first week is where that relationship gets its raw material.

    Recap: start with what they did in June, make the icebreaker collect data, ask them directly, let them describe themselves, use it in October

    Frequently Asked Questions

    How much of the first week should be activities like this? About twenty minutes a day, alongside your routines and procedures. The procedures still need the bulk of the time in week one. These five fit in the gaps.

    What if my class already knows each other? Then skip the name game and keep all five of these, because none of them is about learning names. A class that has been together since kindergarten still has not told YOU any of this.

    What do I do with the child who writes nothing? Note it and do not push it on day one. A blank page in the first week is information too. Ask them the same questions out loud in week two, one at a time, while everyone else is working.

    One More Thing Worth Saying

    The first week has a reputation as the throwaway week, the one you fill until the real teaching starts. Spend it collecting information about each student. The rest of the year is easier when you do.

    If You Would Rather Not Build It From Scratch

    Everything above works with lined paper and a list of questions. If you would rather have the pages already made, these are the three I use.

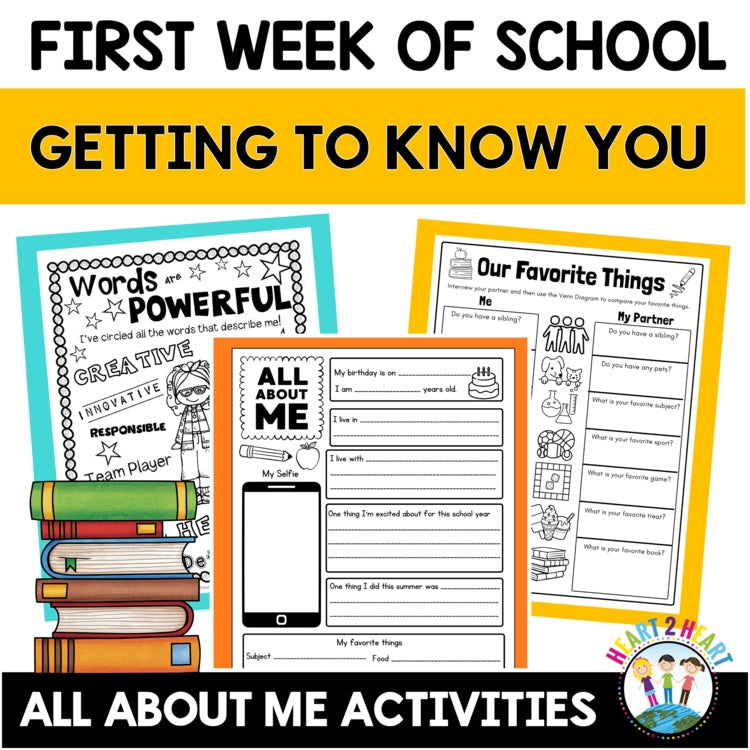
    First Day and First Week of School Activities pack for 2nd, 3rd and 4th grade

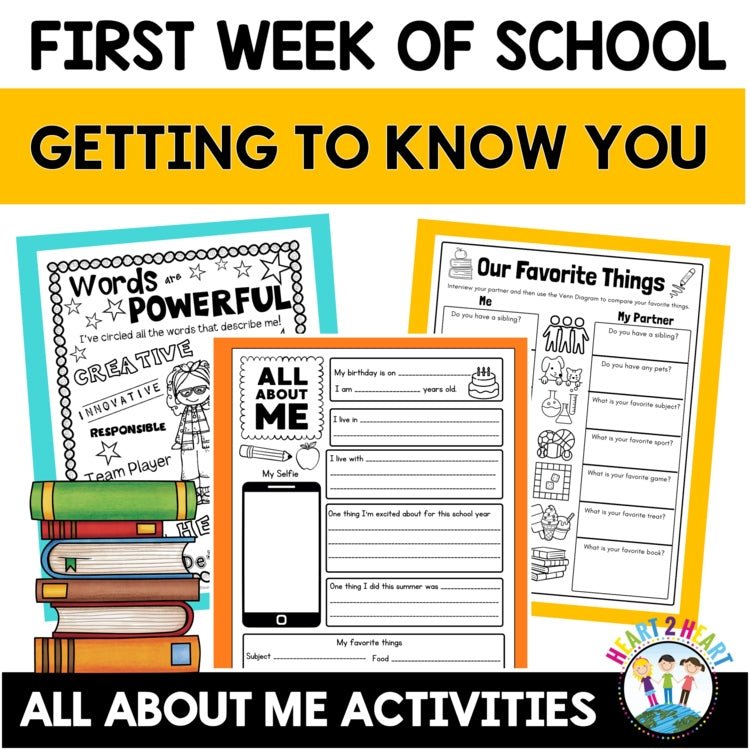
    The First Day and First Week of School Activities pack is all five of the above in one place: the suitcase summer writing, the Find Someone Who icebreaker, All About Me organizers, the Words Are Powerful character page, a partner interview, a classroom scavenger hunt, and the student interest inventory. It runs from second through fifth grade, which is why it survives a grade-level move.

    Find Someone Who back to school bingo icebreaker activity

    The Find Someone Who bingo is part two on its own, if the icebreaker is the piece you want and you already have the rest. It is the one my students asked to do again in January.

    Student Interest Survey and interest inventory pack for 3rd and 4th grade

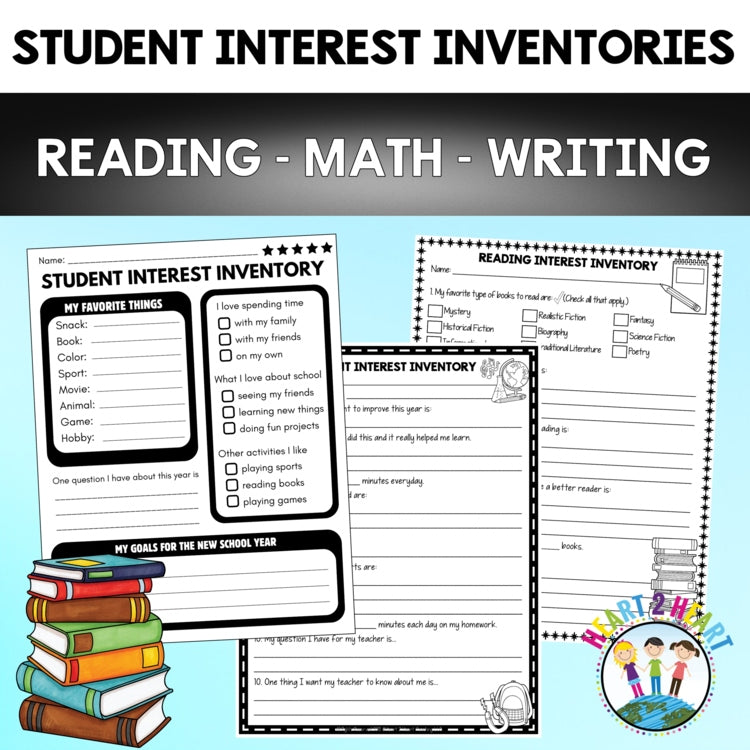
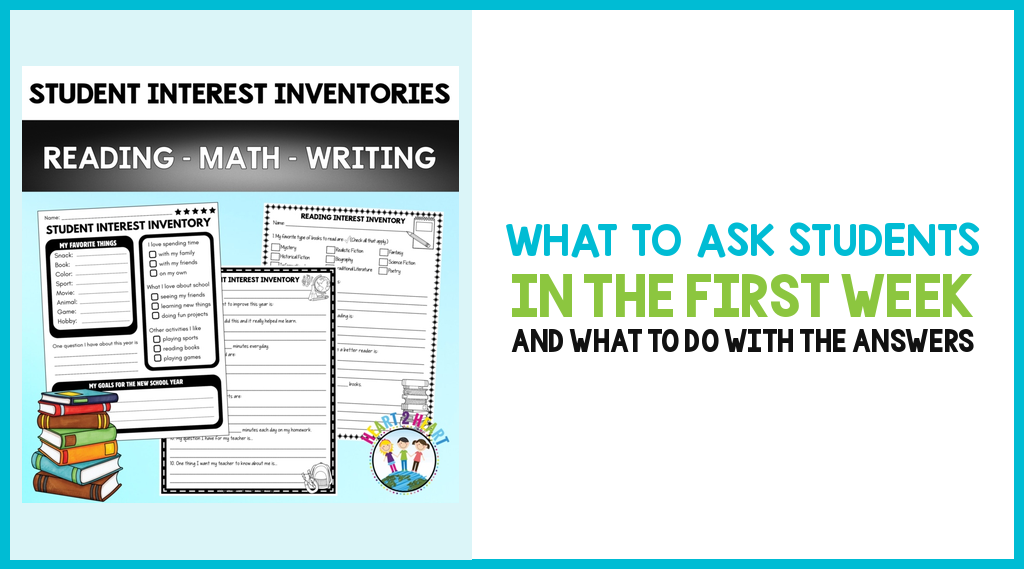
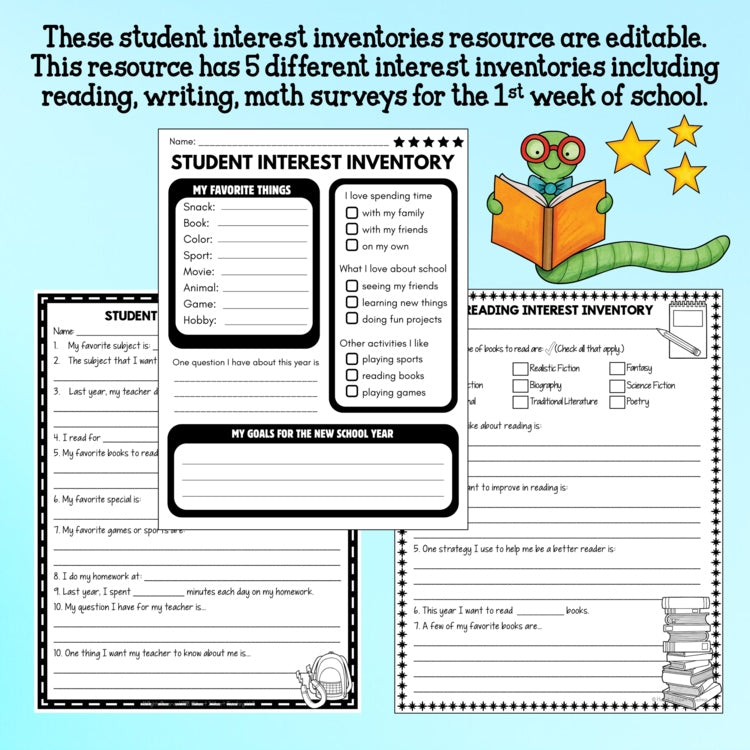
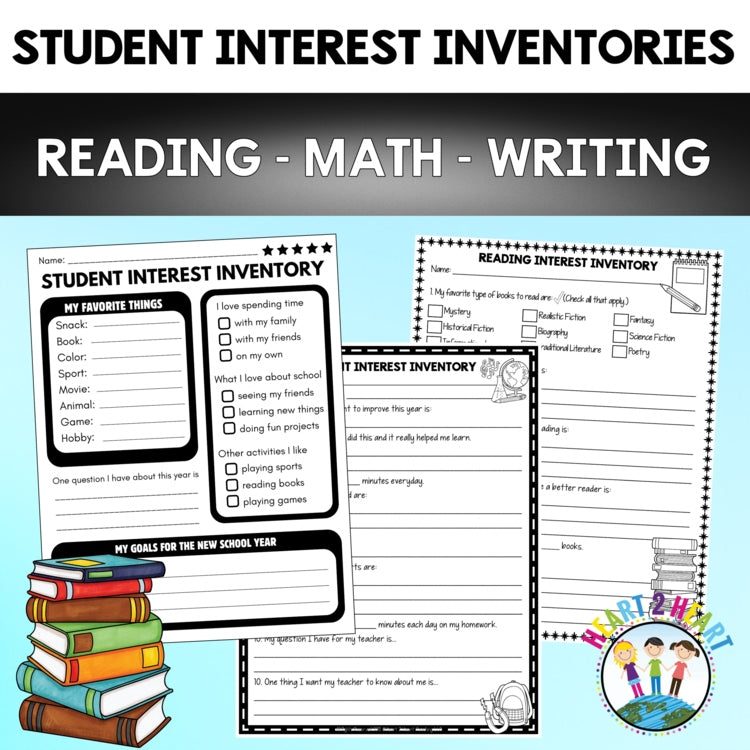
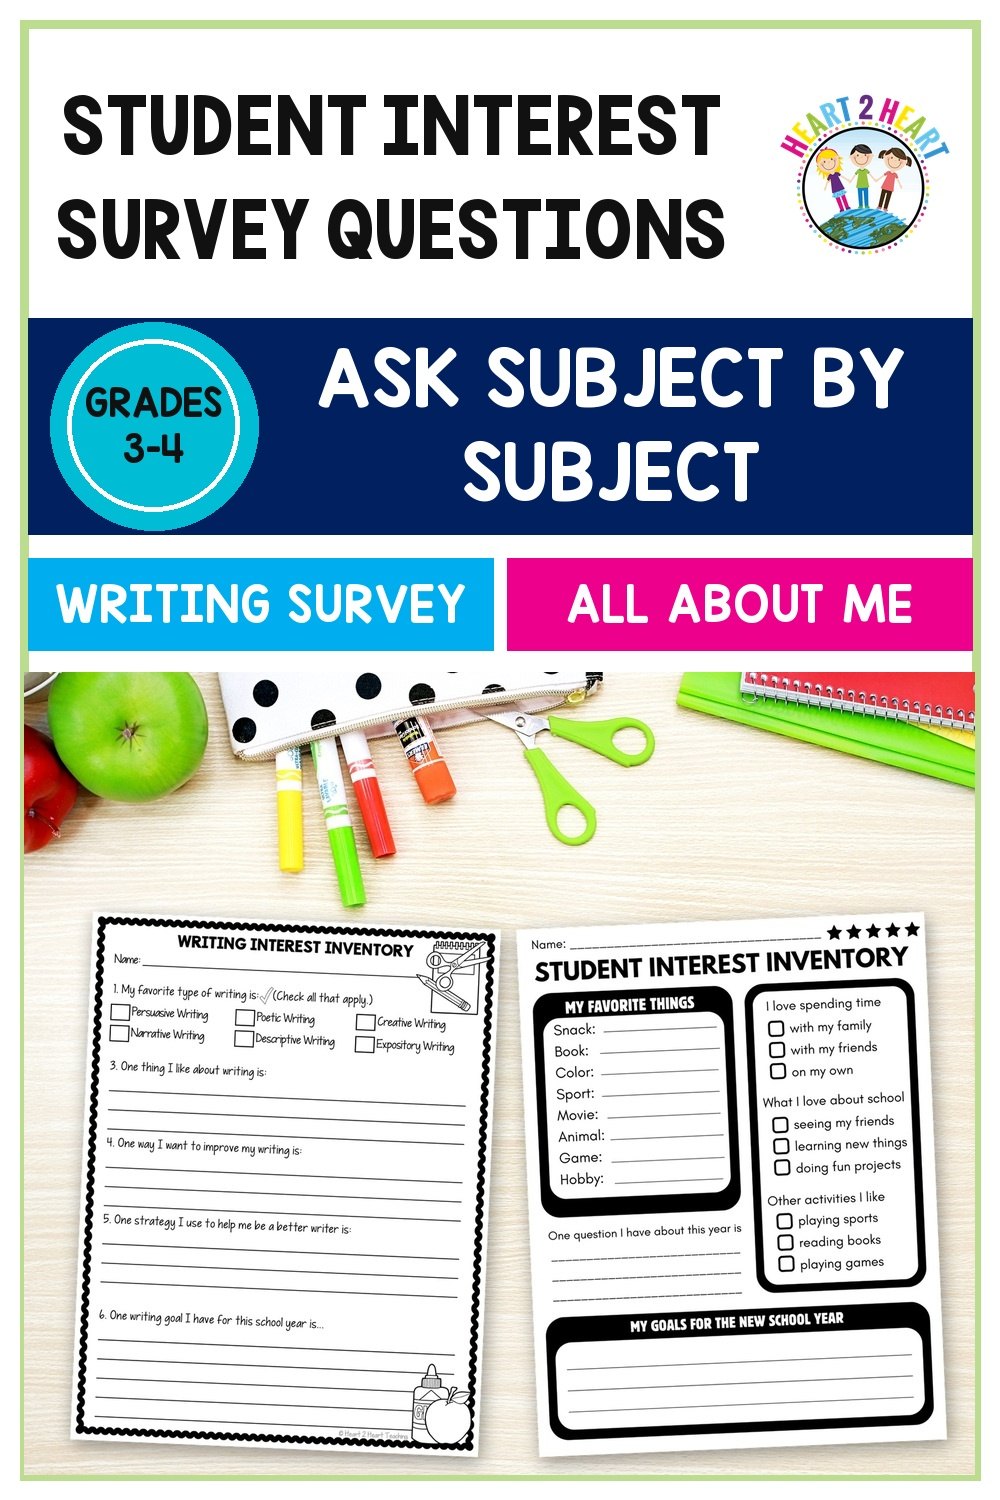
    The Student Interest Survey pack goes deeper on part three, with separate editable inventories for reading, math and writing rather than one general page. If you only take one thing from this post, take the idea of asking subject by subject.

    Keep Going

    The meet the teacher letter that does the talking for you, for the night before all this starts.

    Student-centered seating layouts, for the room they walk into on day one.

    Back to school get to know you activities for the first week of school, grades 2 to 4

  • What to Ask Students in the First Week (and What to Do With Their Answers)

    What to Ask Students in the First Week (and What to Do With Their Answers)

    What to ask students in the first week and what to do with the answers

    I gave out interest inventories for four years before I used one.

    They were good inventories. Favorite color, favorite book, what you want to be when you grow up, one thing you wish your teacher knew. The kids filled them in carefully in the first week, the way children do when everything is still new.

    Then I put them in a folder in the bottom drawer, and the next time I opened that drawer was in June, when I was cleaning out the room.

    I sat on the floor and read twenty-four of them properly for the first time. One boy had written that he wanted to be a marine biologist. I had taught that child for a year and never once handed him a book about the ocean.

    The asking was never the problem. I had asked twenty-four children what they cared about and then filed the answers somewhere I would not look. A survey you never reopen is just a worksheet.

    Quote: a survey you never reopen is a worksheet, a survey you reopen in November is a teaching tool

    So here is what I ask now, why each question is on the page, and the part almost nobody writes about, which is what you actually do with the answers once you have them.

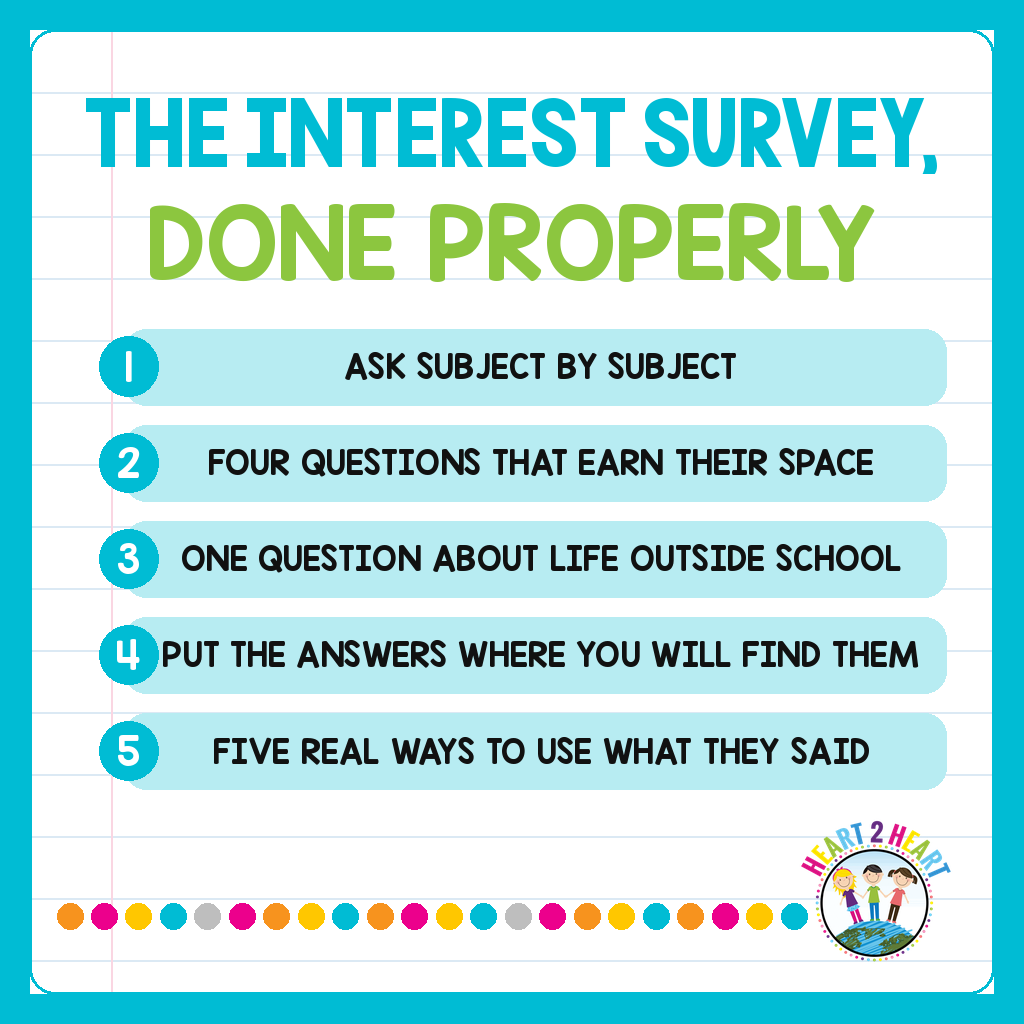
    1. Ask Subject by Subject, Not Just What They Like

    The standard inventory asks about the child in general. Favorite color, favorite food, hobbies. It is pleasant and it tells you almost nothing you can teach with.

    The version that changed my planning asks the same kind of question separately about reading, about math, and about writing. Because a child is not one learner. A child can be confident in math and frightened of writing, and a general survey averages those into a shrug.

    Ask about reading: what was the last book you liked, do you like reading at home, what makes a book boring. Ask about math: what part is easy, what part makes you nervous, do you like working alone or with somebody. Ask about writing: what do you like to write about, what is the hardest part of starting.

    You will find out in week one that the child who never volunteers in math is not confused, she just hates being watched while she thinks. That is a seating decision and a questioning decision, and you now get to make both of them in September instead of discovering it in January.

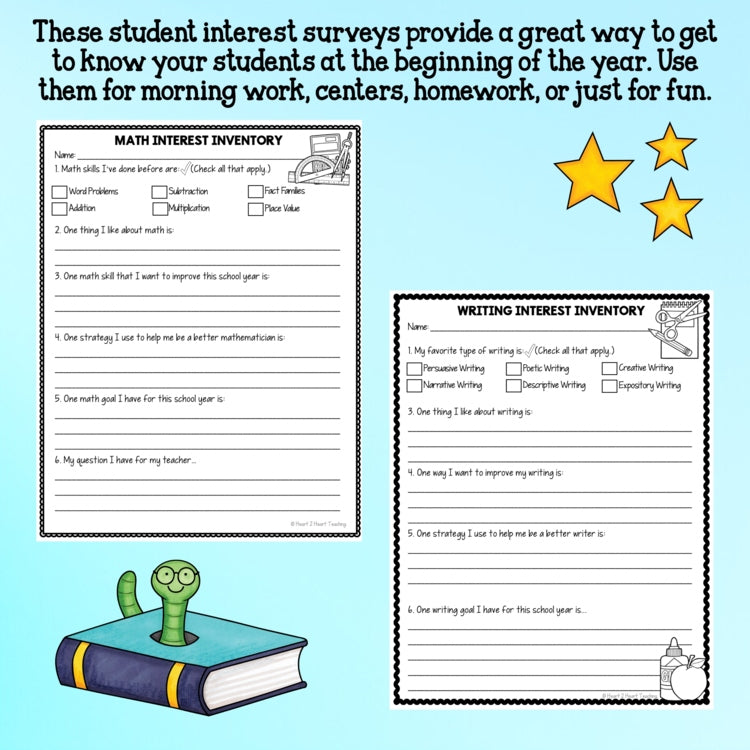
    Editable reading, math and writing interest inventories from the Student Interest Survey pack

    2. The Four Questions That Earn Their Space

    Every question on the page costs a child’s attention, and in the first week their attention is not infinite. These four have paid for themselves in my room every year:

    • What is something you are good at that I would not know about? This is the single best question on the page. You get the gymnast, the kid who fixes bikes, the one who looks after two younger brothers every afternoon
    • What makes a school day a good day for you? Their answers are specific and small, and they are almost always achievable. Recess with a particular friend. Not being called on first. Finishing something
    • What is hard for you at school? Ask it plainly. Children are far more honest on paper in August than they will be out loud in November
    • What do you want me to know about you? Leave it wide open, and leave real space under it. Roughly one child in five will tell you something that reshapes how you handle them all year

    Notice what is not on that list: favorite color. It is a warm-up question, not a teaching question, and one of those is plenty.

    3. Ask One Thing About Life Outside School

    Ask what they do after school, or what they did on the last weekend.

    Not to be nosy. Because the child who is minding a toddler until six o’clock has a different homework life than the child who has a quiet desk and a parent checking it, and knowing which is which changes what you assign and how you react when it does not come back.

    Keep it optional and keep it light. One question, one line, no follow-up if they skip it. A skipped question is information too.

    The McREL Institute makes the case for interest inventories as an engagement tool rather than a getting-to-know-you nicety, and Differentiated Teaching has a good piece specifically on reading interest surveys.

    Quote: do not ask what they like, ask what they like about reading, and about math, and about writing

    4. Decide Now Where the Answers Are Going to Live

    This is the step I skipped for four years, and it is the whole difference between a survey and a tool.

    Before you hand the page out, decide where it goes when it comes back. Not eventually. That afternoon.

    What has worked for me is a single binder with a divider per child, kept on the desk rather than in a cupboard, holding the inventory and anything else they wrote in week one. Some people prefer a folder per child, some photograph them and keep a folder on their phone. The system does not matter. Being able to reach it in ten seconds during a parent phone call does.

    Then give yourself a reason to open it. Put a note in your planner for the second week of October that just says read the inventories again. October is when the honeymoon is over, the first hard conversations are happening, and you have forgotten most of what they told you in August.

    5. Five Ways to Actually Use What They Told You

    Specific uses, all of which take under a minute:

    • Book choice. Match one child to one book based on what they wrote. Hand it to them personally and say you remembered. The effect of this is out of all proportion to the effort
    • Word problems and examples. Use their real names and their real interests. A soccer problem for the soccer player takes no longer to write and lands completely differently
    • The hard conversation. Before you call home about a problem, reread what that child wrote about what is hard for them. You will start the call somewhere better
    • Report comments. Open the inventory first. It is the fastest route to a sentence that sounds like the actual child rather than a template
    • Grouping. The alone-or-together answers on the math page are worth more than a personality quiz, because the child told you directly

    None of this is a program. It is just refusing to let twenty-four honest answers sit in a drawer until June.

    Student interest inventory pages showing the questions students answer at the start of the year

    Recap: ask subject by subject, four questions that earn their space, one question about life outside school, file the answers, five ways to use them

    Frequently Asked Questions

    When should I give the interest inventory? Day two or three, not day one. Day one they are still working out where the bathroom is. By day three they have relaxed enough to write something true.

    How long should it take? Fifteen minutes. If it takes longer than that you have asked too much, and the answers get shorter as the page gets longer.

    What about students who cannot write much yet? Ask the same questions out loud and scribe the answers, or let them draw. A younger child pointing at a picture of a book they liked is giving you the same information. Teach Starter has a K-2 version built on pictures and emojis if you would rather not build one.

    Should I do it again later in the year? Yes, and it is worth doing. A short version in January tells you what changed, and children love being asked twice because it shows the first time was not a formality.

    One More Thing Worth Saying

    There is a version of this that is a nice first-week activity and there is a version that changes how you teach a particular child in March. The questions are almost identical. The difference is entirely in what happens after they are handed back in.

    So if you only change one thing this year, do not change the questions. Change where the answers go.

    If You Would Rather Not Build It From Scratch

    Everything above works on lined paper with the questions written on the board. If you would rather have the pages already made, these are the two I use.

    Student Interest Survey and interest inventory pack for 3rd and 4th grade

    The Student Interest Survey pack is the subject-by-subject version from part one: two general student inventories plus separate reading, math and writing inventories, five in all. They are editable in PowerPoint, so you can swap in your own questions or change the wording for your grade level, which is the reason I still use them rather than a fixed printable.

    First Day and First Week of School Activities pack for 2nd, 3rd and 4th grade

    The First Day and First Week of School Activities pack carries a general interest inventory alongside the rest of the week: the Find Someone Who icebreaker, All About Me organizers, a character traits page, a partner interview and a summer writing activity. If you want the whole first week rather than just the survey, start there.

    Keep Going

    First week of school activities that tell you something about your students, for the four activities that sit around this one.

    The meet the teacher letter that does the talking for you, for the questions you ask the grown-ups.

    Student interest survey questions to ask subject by subject, grades 3 to 4

  • How to Teach Severe Weather to 3rd and 4th Graders

    How to Teach Severe Weather to 3rd and 4th Graders

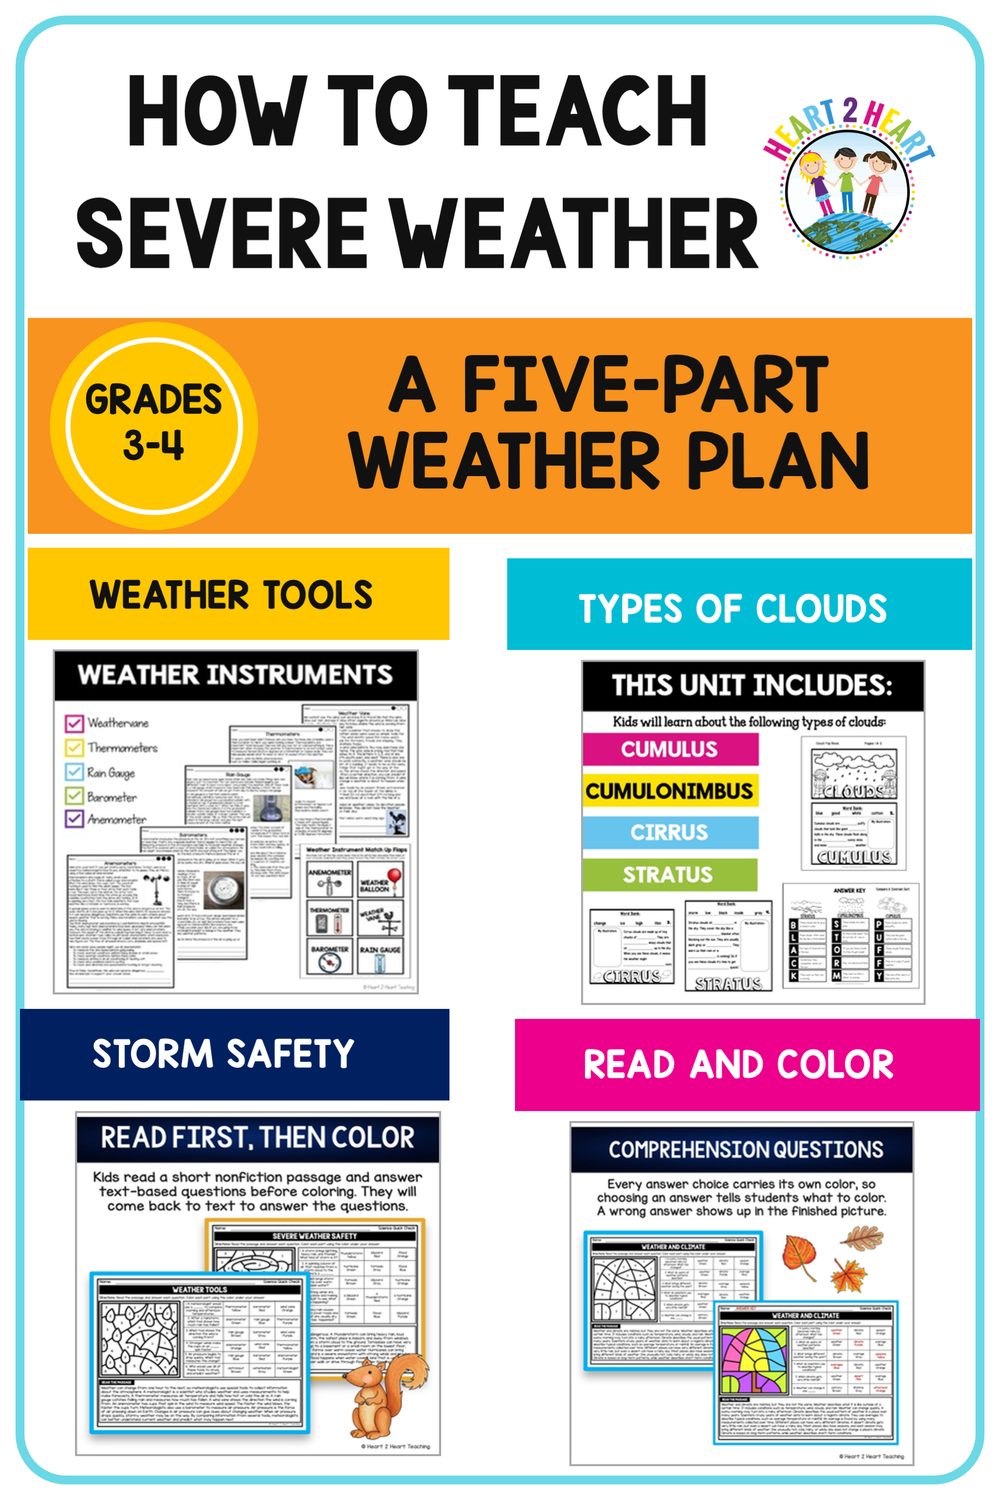
    How to teach severe weather in 3rd and 4th grade, with a finished severe weather color by number page

    The first year I taught severe weather, my class could name every storm on the poster. Thunderstorm, tornado, hurricane, blizzard. They could match each one to its picture and spell most of them without looking.

    Then we had a real tornado drill in October.

    We were sitting in the hallway with our arms over our heads, and a boy in the second row asked me why we were not by the windows where we could actually see it.

    He had learned all the vocabulary. He had not learned one single thing he could do.

    That was on me. I had built a unit about naming weather when I should have built one about reading it.

    Here is what I would tell my younger self. A storm unit is not a list of storm names. It is a set of decisions a child can make before the sky changes, and every part of the unit should be building toward one of them.

    Quote: a storm unit is not a list of storm names, it is a set of decisions a child can make before the sky changes

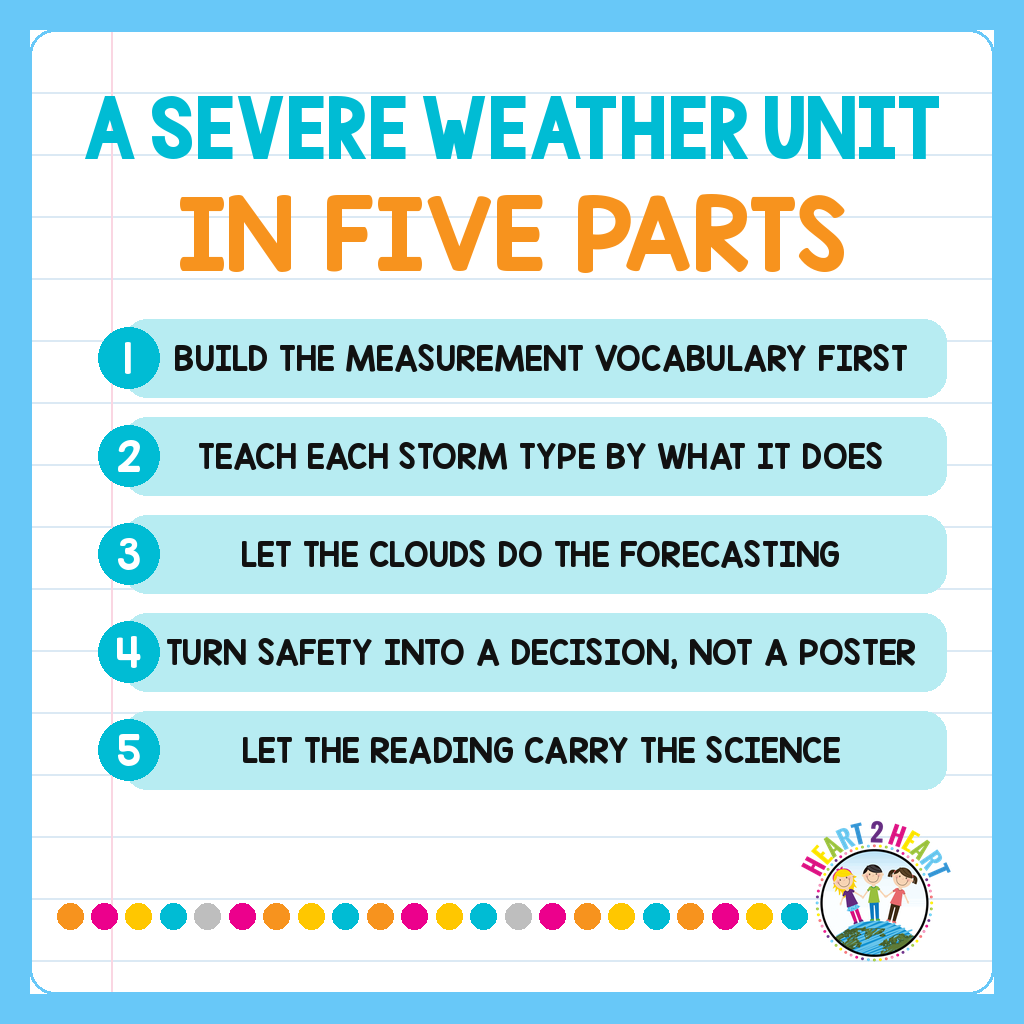
    The next year I rebuilt the whole thing in five parts, and it took less time than the version that had not worked. Here is the order, why each piece goes where it does, and what the kids walk away able to do.

    1. Build the Measurement Vocabulary First

    Start with the instruments, not the storms. A child cannot think about a hurricane’s wind speed until they know what measures wind, and every interesting fact you are about to teach is a number that came off one of these five tools.

    • Thermometer. Temperature, and the reason a blizzard is different from a rainstorm
    • Rain gauge. An open tube that catches rain, which is exactly as simple as it looks
    • Anemometer. Wind speed, the number that decides whether a storm counts as severe
    • Wind vane. Wind direction, which is where the weather is coming from
    • Barometer. Air pressure, and the only one on this list that predicts

    Spend the extra day on the barometer. Falling pressure means a storm is on its way, and that is the first moment in the unit where a child gets to know something before it happens rather than after. It is also your bridge into forecasting later in the week.

    If you want students building the tools rather than just labeling them, NOAA’s National Severe Storms Laboratory keeps a page of free learning resources for students that pairs well with a make-your-own-anemometer afternoon.

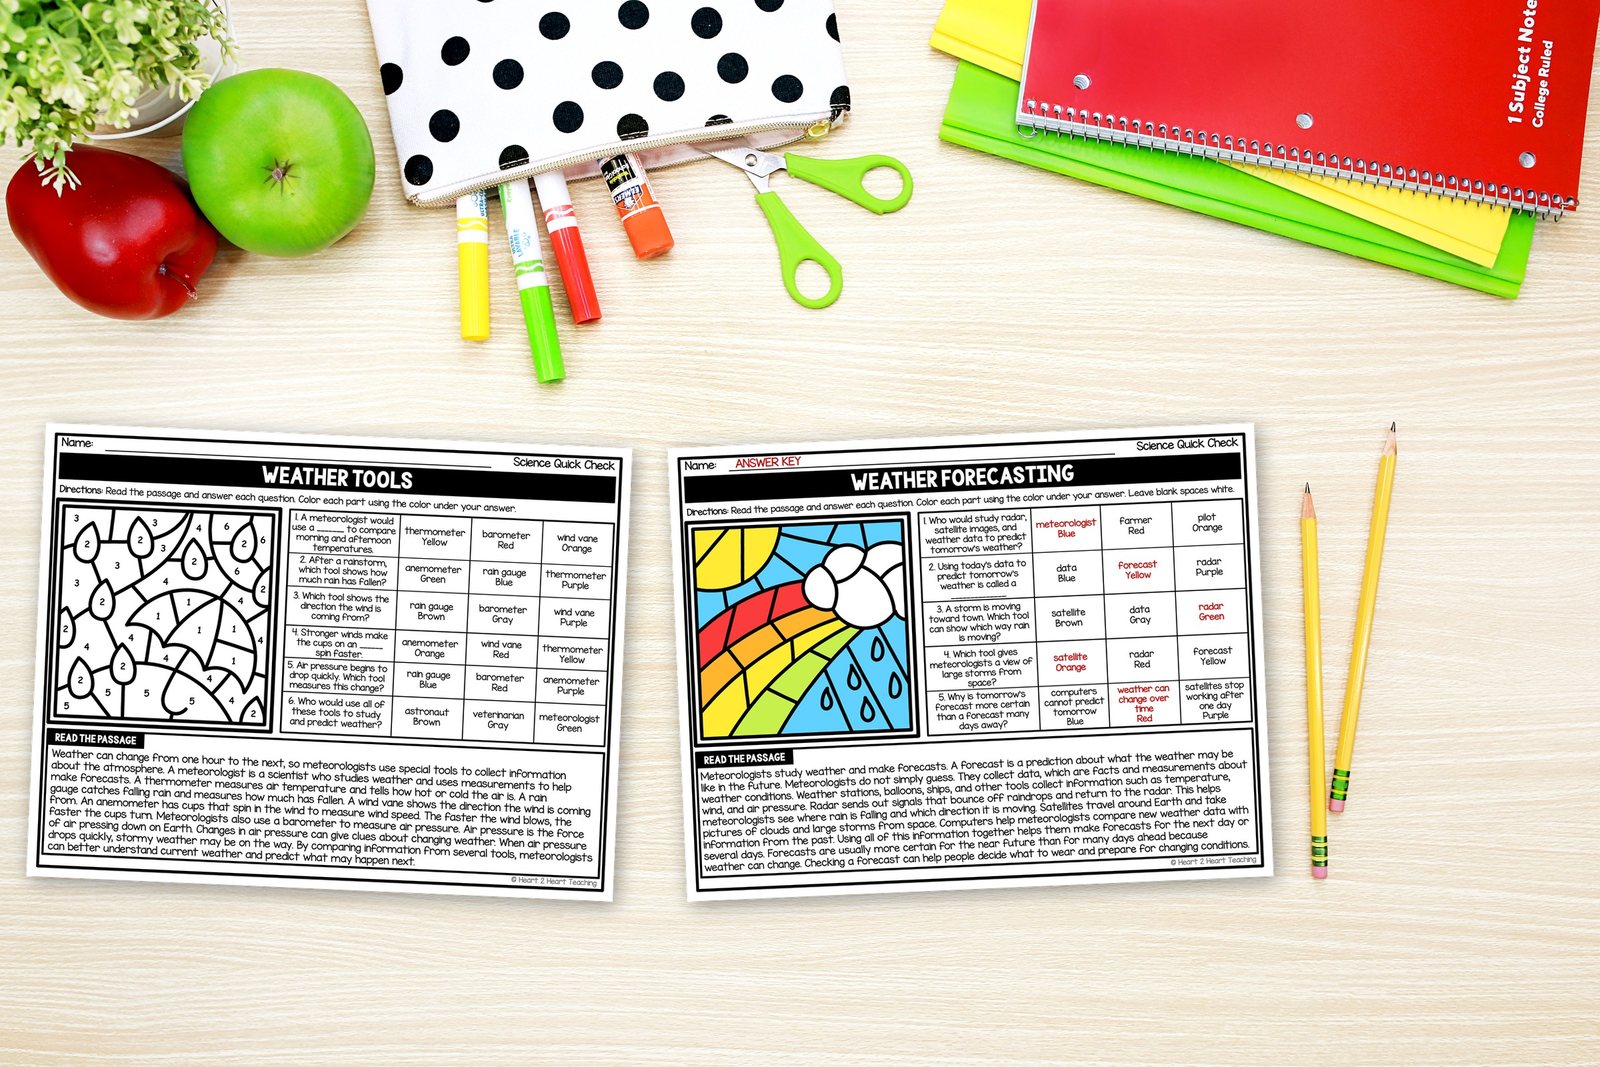
    Weather tools and weather forecasting color by number pages side by side on a student desk with an apple and pencils

    2. Teach Each Storm Type by What It Does

    Storm names are the easy part and they are not the part that protects anybody. What a child needs is a sense of how each storm behaves, because behavior is what tells you how much warning you get and where you should be standing.

    There is one fact here worth putting on the board, because it turns a vague word into a measurement. According to NOAA’s National Severe Storms Laboratory, the United States gets about 100,000 thunderstorms a year, and only around 10 percent of them reach severe. A storm officially counts as severe when it produces hail one inch across, which is about the size of a quarter, winds of 58 miles per hour or more, or a tornado.

    Third and fourth graders love that. Severe is not a feeling about how scary the sky looks. It is a number somebody measured, with a tool they learned about on Monday.

    Then take the four storms one at a time, and ask the same question about each: what does it do, and how much warning does it give you?

    • Thunderstorms bring lightning, and lightning is the part that hurts people. Minutes of warning
    • Tornadoes spin, move fast, and hit a narrow path very hard. Sometimes only minutes of warning
    • Hurricanes are enormous and slow, and they announce themselves for days before landfall
    • Winter storms bring ice and cold, and the danger is often losing power rather than the wind itself

    Sorted that way, the four storms stop being a list to memorize and become four different problems with four different answers. That is the whole setup for part four.

    3. Let the Clouds Do the Forecasting

    Clouds are the only forecasting instrument your students carry with them everywhere, and they are free. Four is plenty:

    • Cumulus. Puffy and white with flat bottoms. Fair weather
    • Cirrus. Thin and wispy, very high up. Often means a change is on the way
    • Stratus. Flat gray sheets low in the sky. Drizzle and gloom
    • Cumulonimbus. The tall dark tower. This is the thunderstorm cloud

    Cumulonimbus is the one that earns its long name. It is the cloud that connects this section to storm safety, because a child who can spot one building on the horizon has given themselves the warning the anemometer cannot.

    Put a cloud log by the window and give it two minutes a day. Date, cloud, what the weather actually did. By the end of two weeks your class will have built a small data set of their own, and predicting from it beats any worksheet on the topic. The UCAR Center for Science Education’s storms section has the clearest diagrams I have found of how a thunderstorm actually builds, if you want to show the inside of that tower.

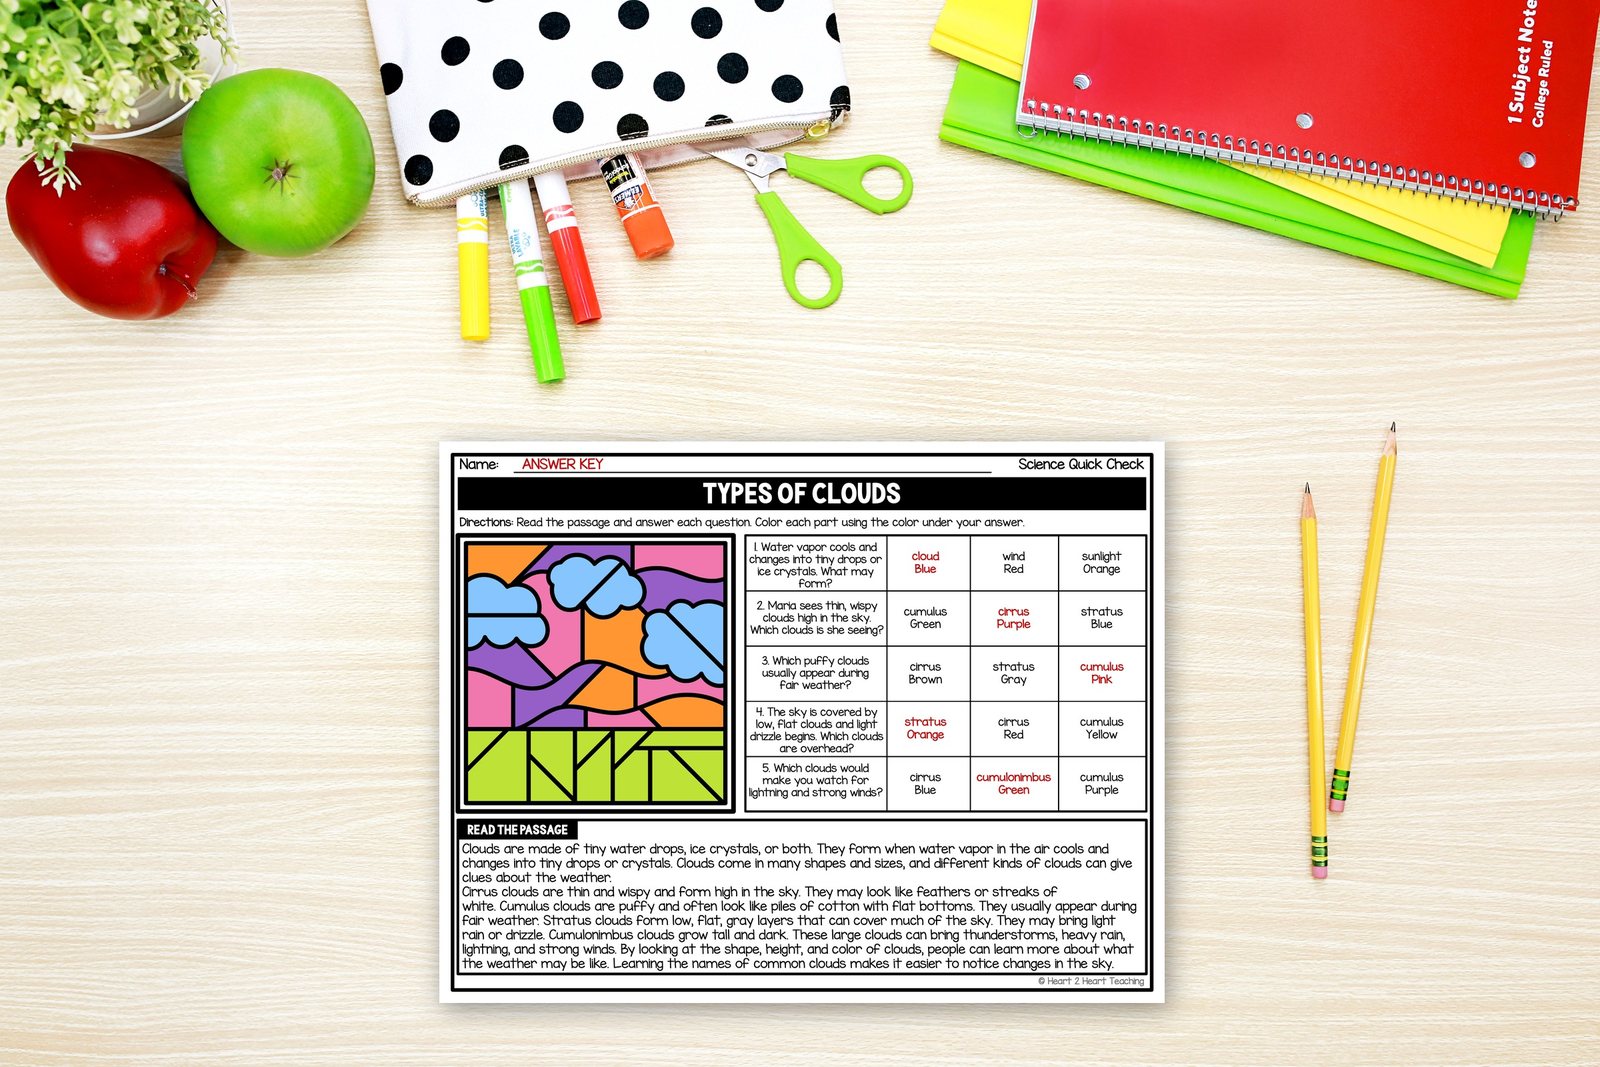
    A finished types of clouds color by number page on a student desk, showing cumulus, cirrus, stratus and cumulonimbus

    Quote: coloring earns its place the moment the color depends on the reading

    4. Turn Safety Into a Decision, Not a Poster

    A safety poster tells a child what to do. A decision makes them do it. The difference shows up the day the siren actually goes off, and it is worth the two class periods it takes.

    For each of the four storms, ask three questions and make them answer in their own words:

    • Where do I go? Lowest floor, interior room, away from windows
    • What do I take? Shoes, a flashlight, the pet if there is time
    • Who do I tell? The adult nearest to me, out loud, right away

    Then run the scenarios, because that is where the thinking happens. You are on the playground and you hear thunder in the distance. You are walking home and the sky turns green. You are at your grandmother’s house and the power goes out in an ice storm. Let them argue about it. The arguing is the lesson.

    The one rule I would send home in writing is the simplest one: when thunder roars, go indoors, and stay there for thirty minutes after the last rumble. Ready.gov’s kids section has a family emergency plan children can fill in themselves and with families.

    One thing worth planning for before you start this section. Some of your students have been through a real storm. A hurricane evacuation, a flooded house, a tornado that took a neighbor’s roof off. Tell the class at the start that anyone can step out for a drink of water during this part without explaining why, and mean it. Keep the language on preparation rather than damage, because what frightens children is not knowing what to do, and this whole section is the cure for that.

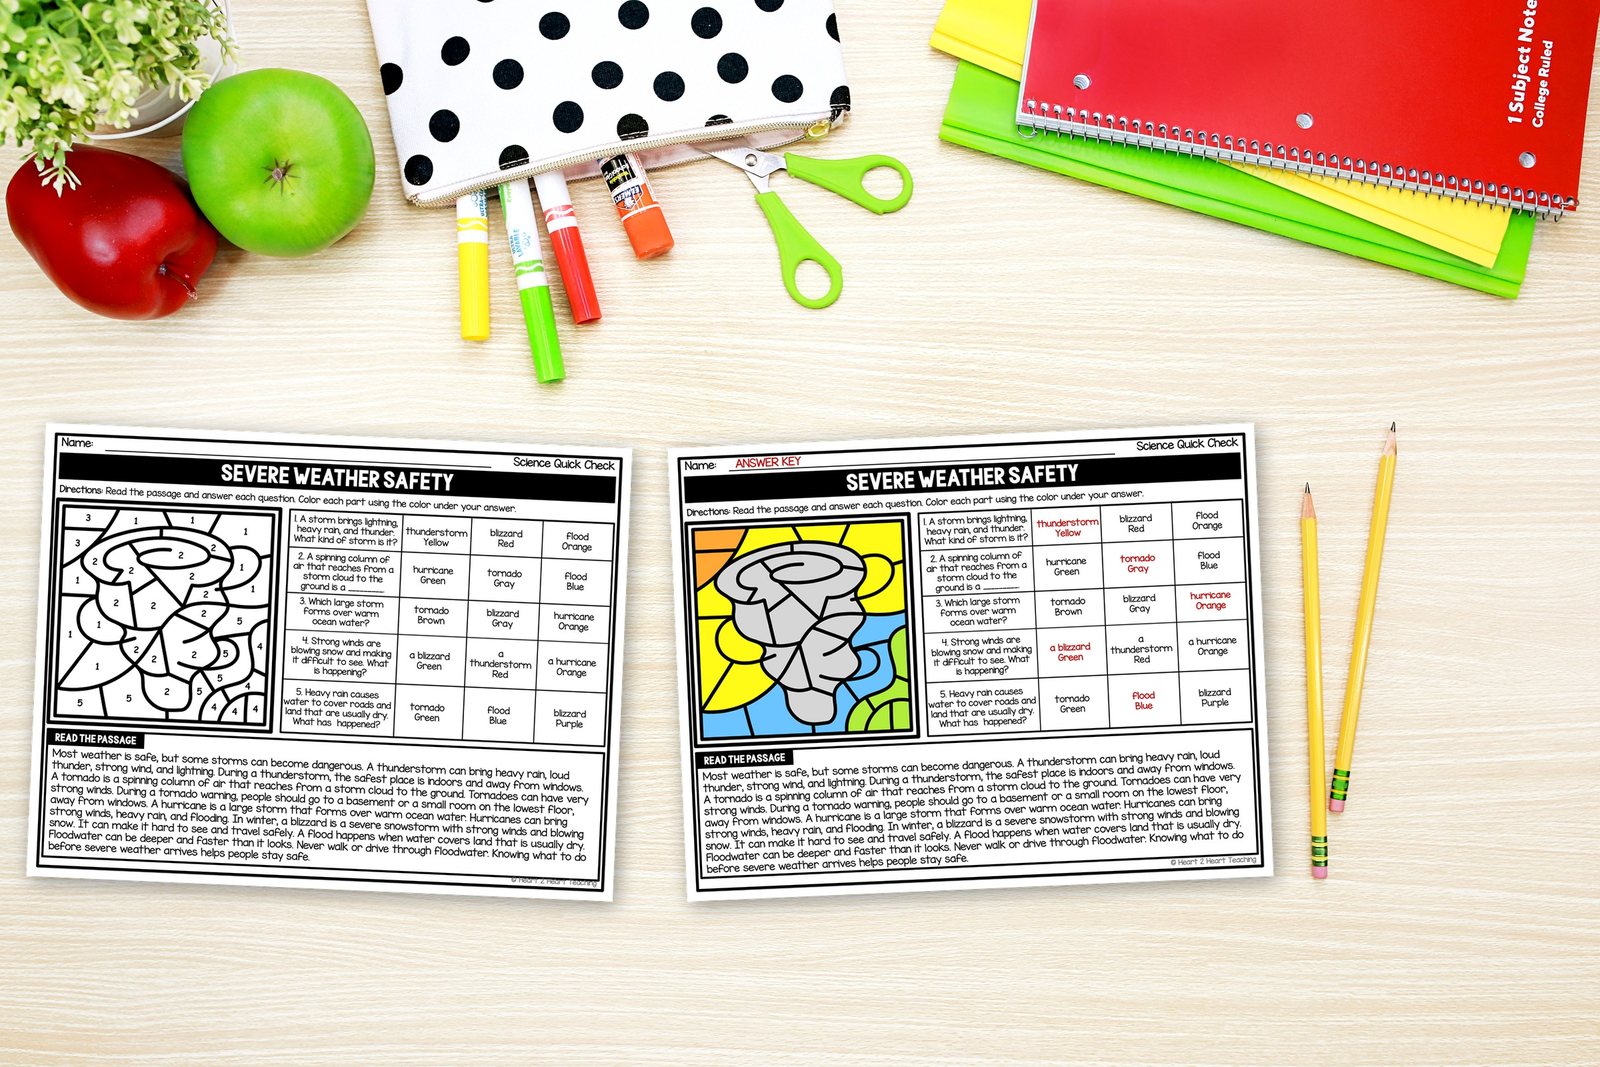
    Severe weather safety color by number pages side by side on a student desk, one blank and one colored

    5. Let the Reading Carry the Science

    By Friday everyone is tired and the practice still has to count for something. This is the moment most weather units hand out a coloring page, and I am not against coloring at all. I have written before about why coloring belongs in a student’s daily routine and I still believe every word of it.

    The trick is to make the color depend on the reading. When the answer to question three is what tells a student which color section three becomes, they cannot color their way past the passage. They have to go back to the text, find the sentence, and choose. A wrong answer does not get a red mark from you. It shows up as a green tornado, and they fix it themselves.

    That is what makes it real practice rather than a quiet activity, and it is the reason these pages work as early finisher work, sub plans and centers without you having to hover.

    Close the unit on the difference between weather and climate, which is the one distinction that survives into middle school. Weather is what the air is doing right now. Climate is what it usually does over many years. NASA’s Climate Kids explains it better than I can, with games your fast finishers will actually play.

    Recap: build the measurement vocabulary, teach each storm type by what it does, let the clouds forecast, turn safety into a decision, let the reading carry the science

    Frequently Asked Questions

    How long should a severe weather unit take? Two weeks at about thirty minutes a day, one part every two or three days.

    What if we do not get severe weather where I live? Teach it anyway, and teach the storms you do get first so the framework has something familiar to hang on. Children travel, move, and visit relatives. A child who understands why you go to an interior room can apply that anywhere, including a hotel in a state they have never been to.

    Which storm should I start with? Thunderstorms, every time. They are the most common, every child has been in one, and lightning safety is the rule they are most likely to need this year. Tornadoes and hurricanes are more dramatic and less useful as a starting point.

    I am a parent, or we homeschool. Does this work with one child? It works better, honestly. Skip the scenarios-as-debate and do them as conversation at the kitchen table, and make the family emergency plan a real one you actually keep. The cloud log is perfect for a single learner because it takes two minutes and builds over weeks. Everything I linked above is free and none of it assumes a classroom.

    How do I assess it without a test? Ask each child to explain what they would do in one specific scenario and why, in writing or out loud. If they can name the place, the reason and the adult, they have the unit.

    One More Thing Worth Saying

    Weather is one of the few science units where the content walks out of the building with the students. They will use it at a bus stop, on a soccer field, and in twenty years in a house of their own.

    So it is worth asking, at the end of every part, the only question that really matters here: what can they do now that they could not do on Monday?

    If the answer is that they can name four storms, keep going. If the answer is that they know where to stand and why, the unit did its job.

    If You Would Rather Not Build It From Scratch

    Everything above works with a library book, a window and the free links in this post. If you would rather have the reading and the practice already written, these are the three resources I built for this unit.

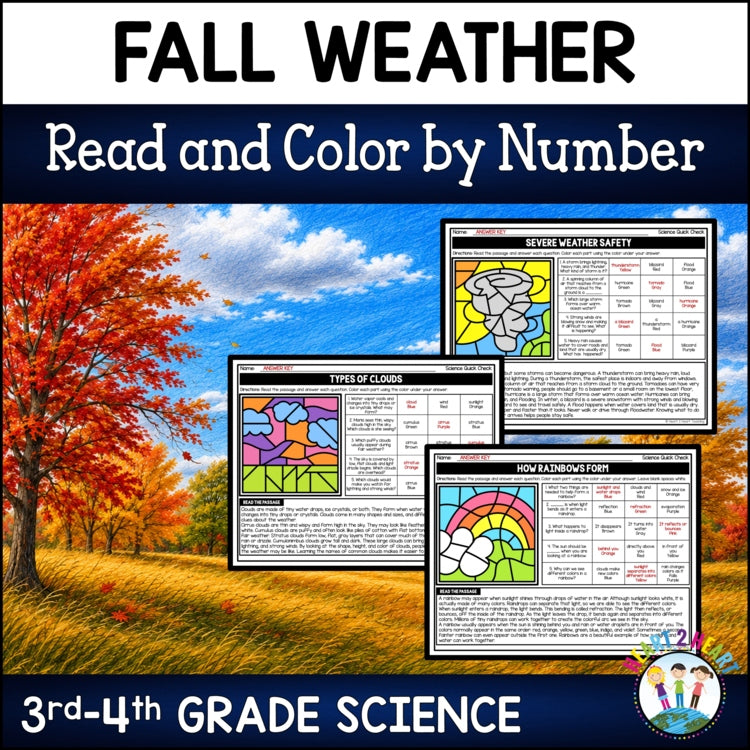
    Fall Weather Color by Number severe weather science worksheets for 3rd and 4th grade

    The Fall Weather Color by Number set is the practice half of part five. Six nonfiction passages covering weather tools, severe weather safety, types of clouds, forecasting, how rainbows form, and weather versus climate, each with a question chart where every answer choice carries its own color. Answer the questions, color the picture, and a wrong answer shows up in the artwork instead of in the grade book. Answer keys included.

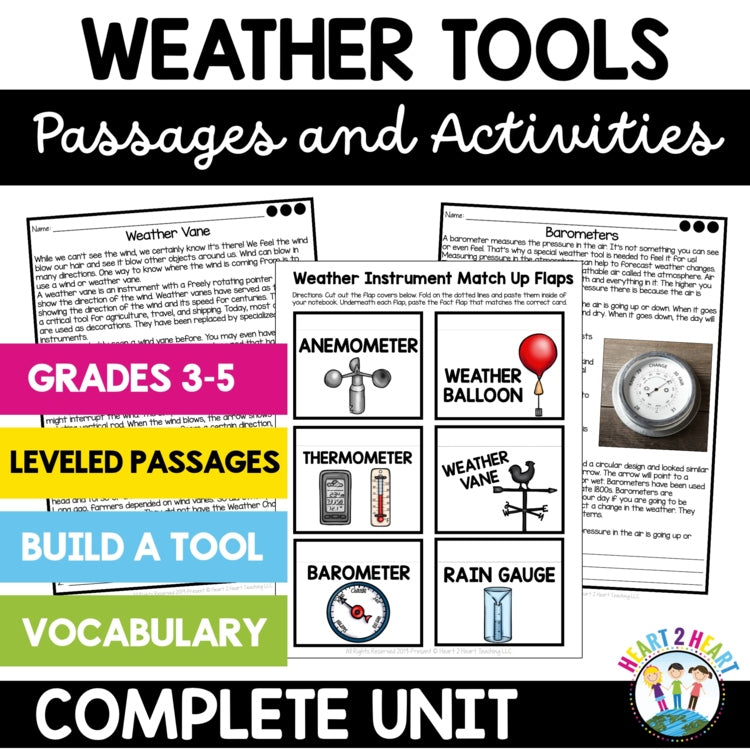
    Weather Tools and Instruments unit with leveled passages and build a tool activities for 3rd and 4th grade

    The Weather Tools and Instruments unit is part one, done for you. Leveled passages for each instrument, match-up flaps, vocabulary posters with real photographs, and step-by-step directions for building five working weather tools, which is the STEM afternoon that makes the anemometer stick.

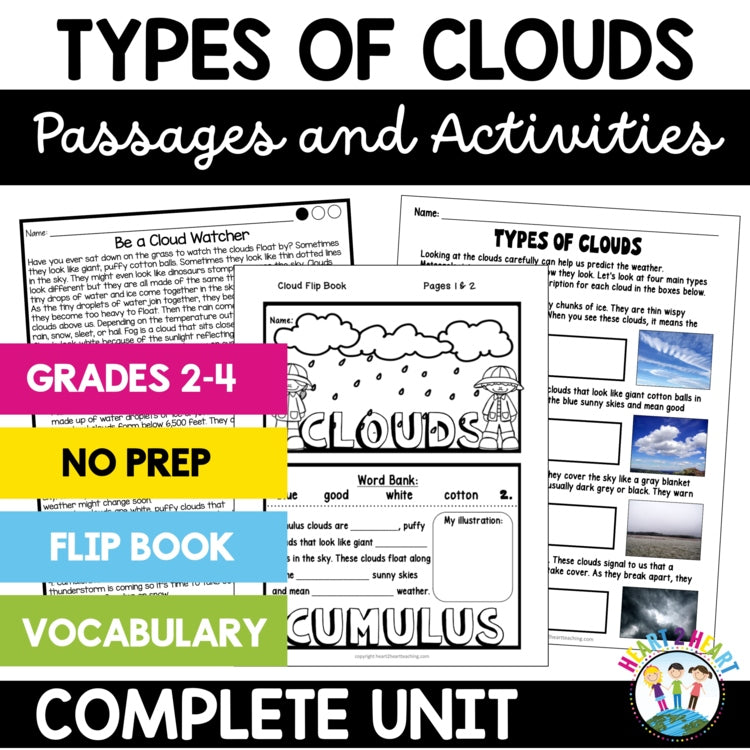
    Types of Clouds activities and flip book unit for 2nd through 4th grade

    The Types of Clouds unit covers part three, with a flip book, reading passages, vocabulary work and a cloud tasting lab that my students remembered longer than anything else in the unit. It runs from second through fourth grade, so it works if you teach more than one level.

    Keep Going

    Teaching food chains and food webs, for the science unit I would put right after this one.

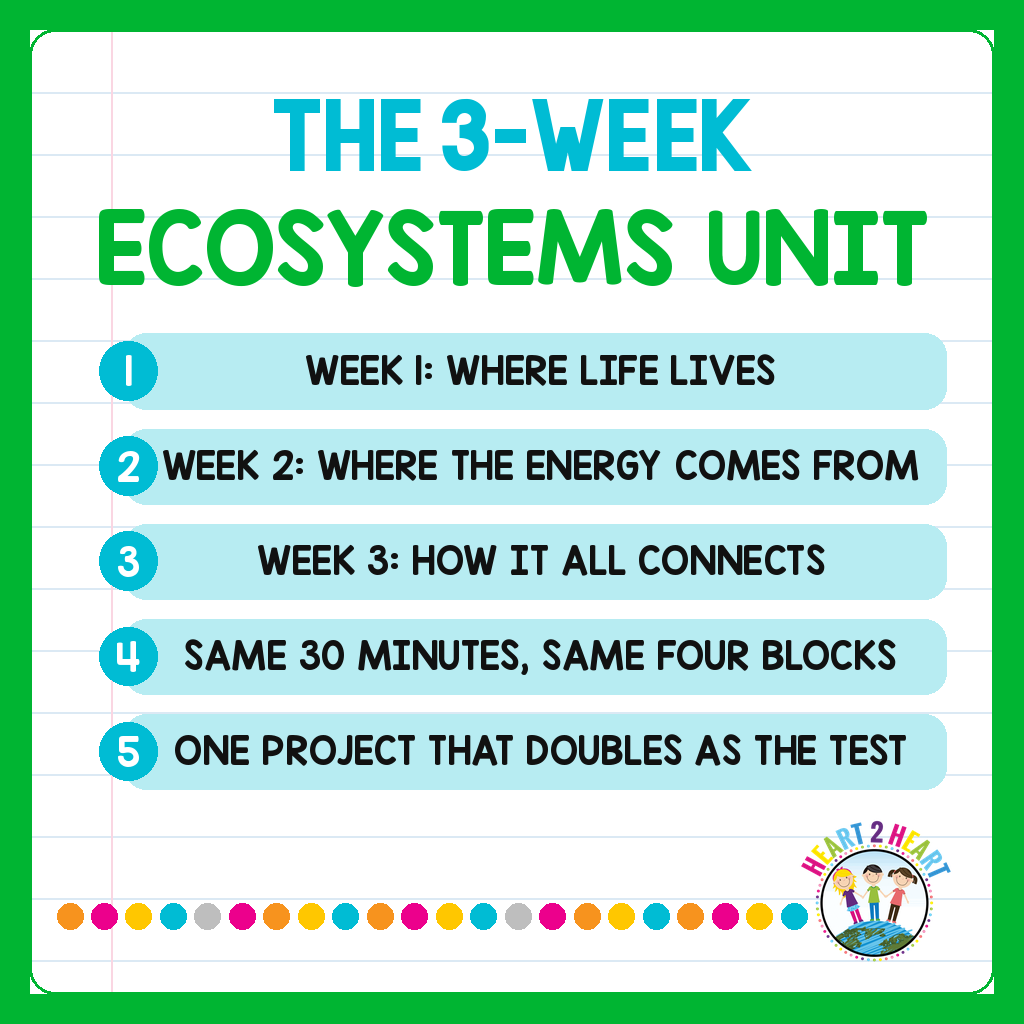
    The 3-week ecosystems unit that fits in 30 minutes a day, if the thirty-minutes-a-day shape is the part you want more of.

    How to teach severe weather to 3rd and 4th graders

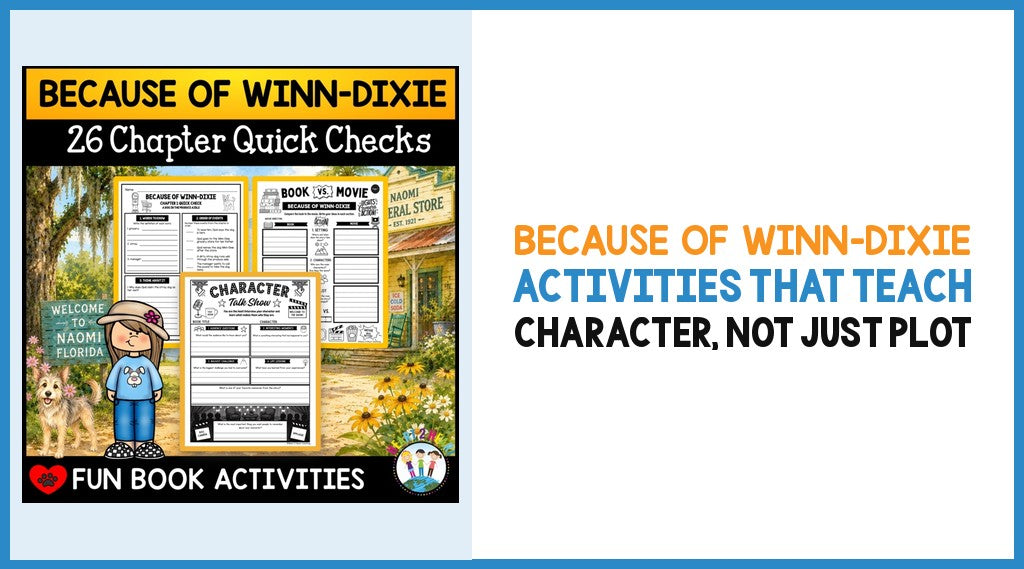
  • Because of Winn-Dixie Activities That Teach Character, Not Just Plot

    Because of Winn-Dixie Activities That Teach Character, Not Just Plot

    Because of Winn-Dixie activities that teach character, not just plot

    The first time I taught this book, my class loved it. They laughed at Winn-Dixie smiling with all his teeth. They gasped at the thunderstorm. One boy asked, three separate times, whether we could get a class dog.

    Then I collected their written responses and every one of them told me what happened. Opal found a dog. Opal made friends. Opal had a party. Twenty-four accurate, cheerful summaries of the plot.

    I had taught a lovely book and assessed almost nothing, because I had asked questions the plot could answer.

    What changed it was noticing that the book hands you its own tool on about page twelve. Opal asks the preacher for ten things about her mother, one for each year she has been alive. That list is not a bit of backstory. It is the thing the whole novel is built on, and once a class is working from it they stop summarizing and start explaining.

    Quote: the ten things Opal asks for about her mother are not a list of facts, they are the spine of the whole book

    Here are the five activities I use now. All of them work with nothing but the book and paper, and every one of them produces writing you can actually grade.

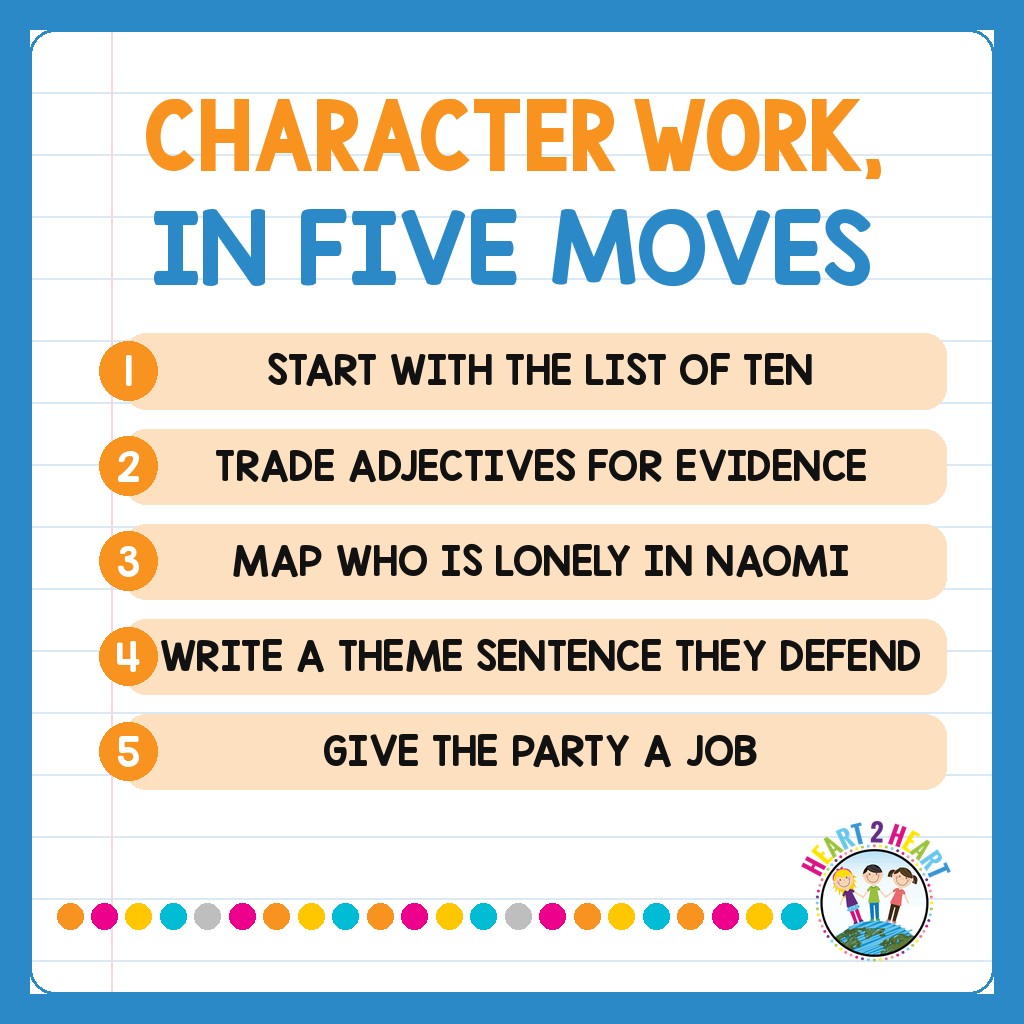
    1. Start With the List of Ten

    In chapter three, Opal tells the preacher that since she is ten years old, he owes her ten things about her mother. He resists, then gives in. He does not actually tell her until chapter four, which is worth knowing before you plan the lesson.

    The ten are wonderfully specific. Mama was funny. She had red hair and freckles, like Opal. She had a green thumb and could grow anything. She was a fast runner. She could not cook and once burnt water. She loved stories. She knew all the constellations. She hated being a preacher’s wife. She drank. She loved Opal.

    Have students copy that list on day one and keep it in the front of their reading folder, because it is going to do three jobs:

    • It is a character list they did not have to invent. Ten traits with evidence already attached, which is exactly what you spend October trying to teach
    • It predicts the book. Number nine explains Gloria Dump. Number three explains the garden. Ask students which items are going to matter later and let them be right
    • It is the ending. Opal memorizes the list so she can recognize her mother if she comes back. What she does with it by chapter twenty-six is the whole arc

    Kate DiCamillo has said she wrote the book during a Minnesota winter, homesick for Florida and wanting a dog she was not allowed to have. Reading Rockets has a set of free video interviews with her with full transcripts, and hearing an author describe missing a place is a good five minutes before you start chapter one.

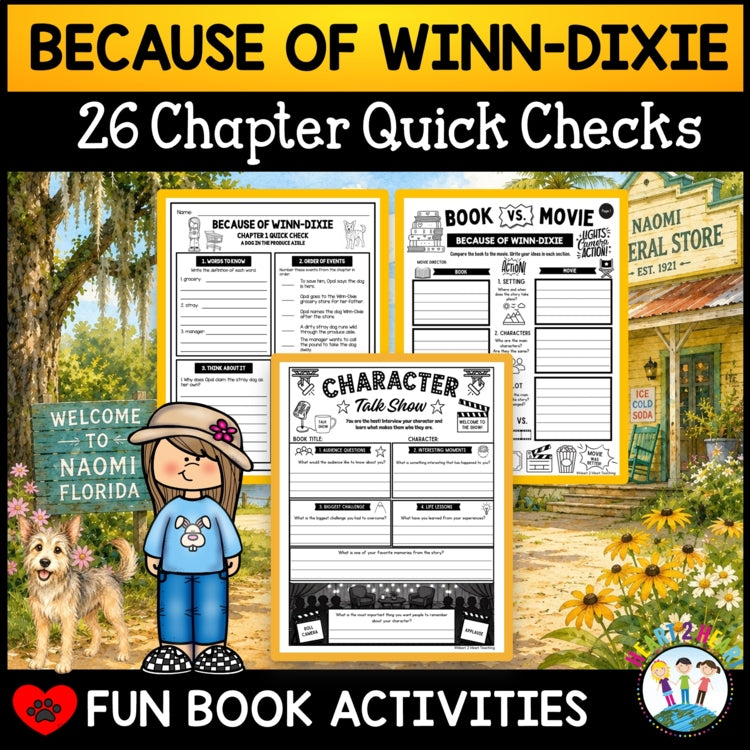
    Two Because of Winn-Dixie chapter quick check pages side by side on a classroom desk

    2. Trade Character Adjectives for Character Evidence

    Ask a class what Gloria Dump is like and you will get kind. Ask what Otis is like and you will get shy. Both are correct and neither is worth writing down.
    The fix is a rule you can say in one sentence: a trait only counts if you can point at the page where the character earned it.

    So the chart has two columns, not one. On the left, what the character says, does, thinks or feels. On the right, the word for it. Students fill the left column first, which is the part that changes everything, because now the adjective is a conclusion rather than a guess.

    Gloria Dump hangs empty bottles in her tree so she can remember every mistake she made while drinking. That is the evidence. Honest is the conclusion. A child who writes it in that order has done literary analysis and mostly does not notice.

    We Are Teachers has twelve character traits anchor charts built on exactly this idea, several of them using a says, does, thinks, feels frame. Pick one, make it big, and leave it up for the rest of the year.

    Want to try the pages before you commit to anything? Send me the free two-chapter sample of the Winn-Dixie quick checks and run it with your class this week.

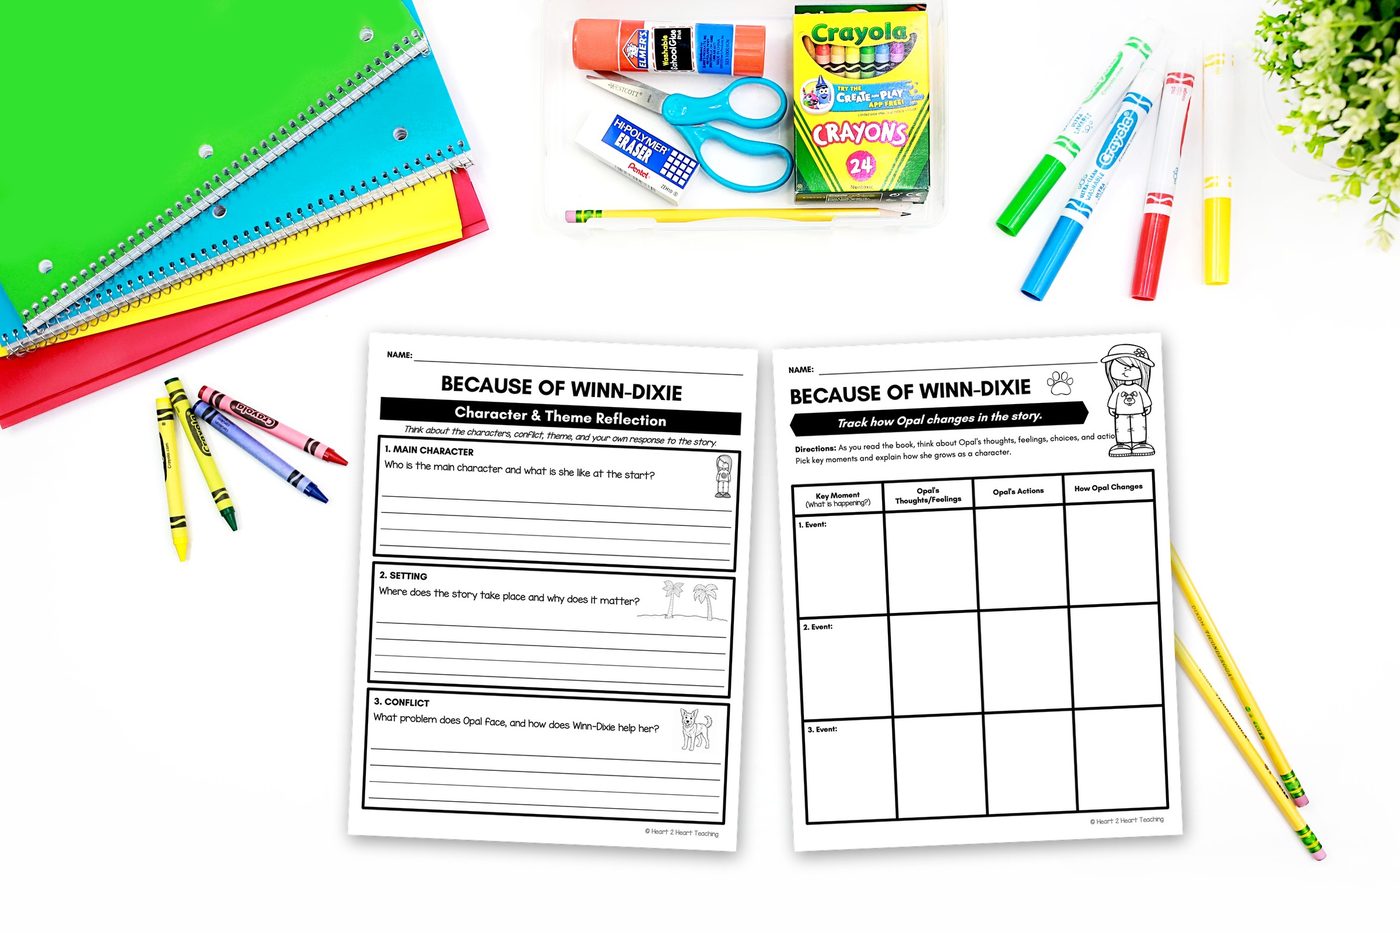
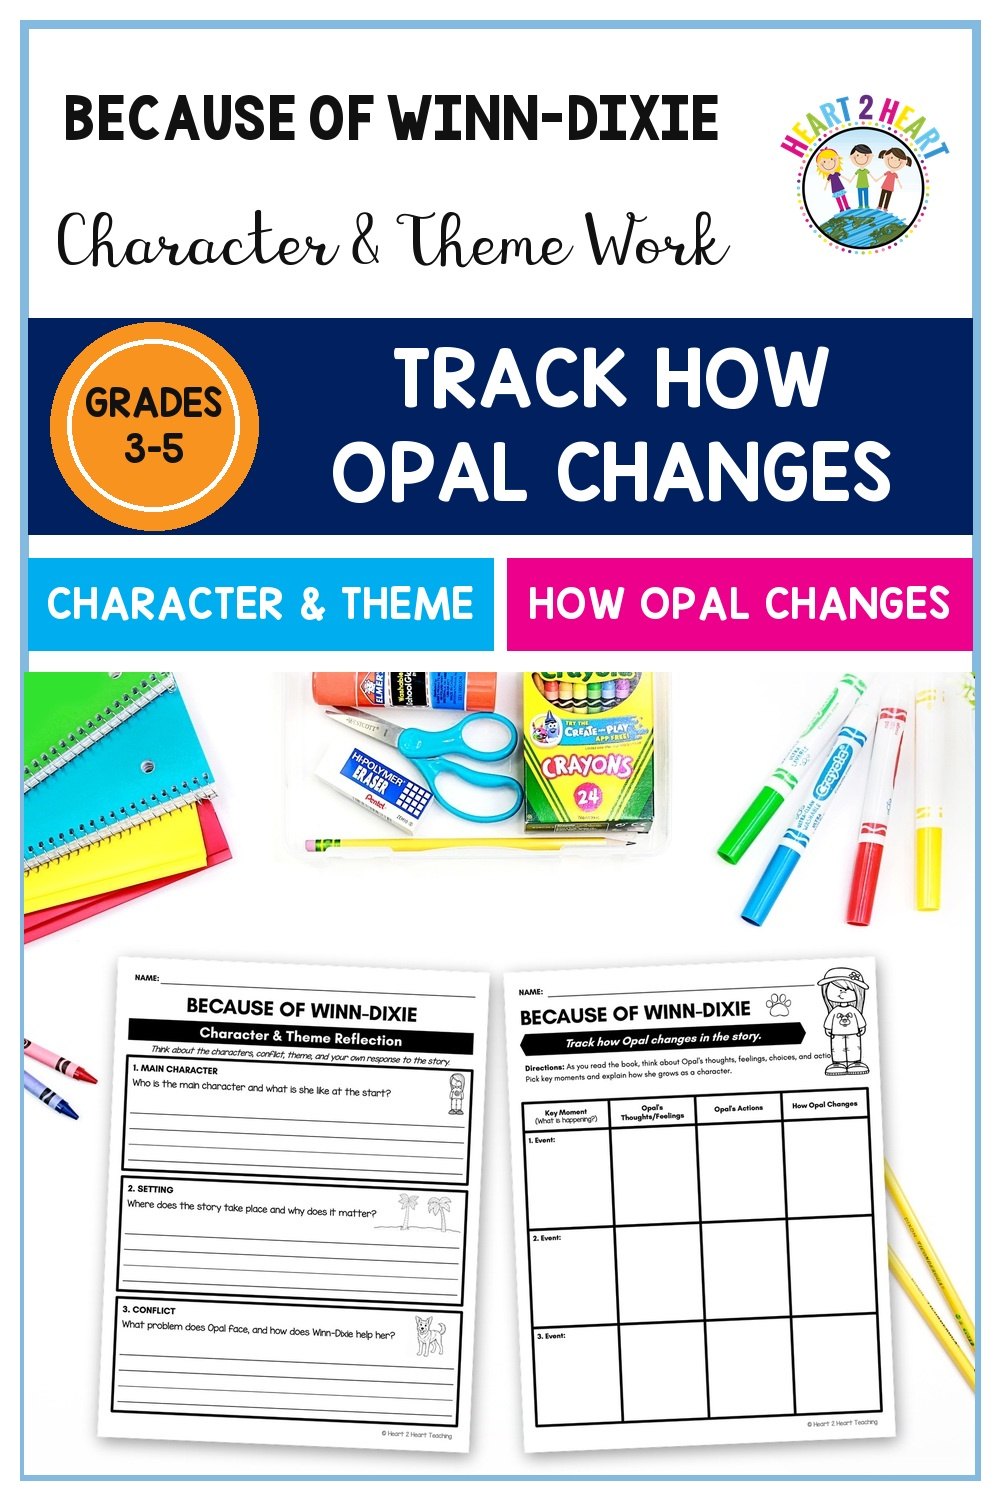
    Because of Winn-Dixie character and theme reflection page beside a chart tracking how Opal changes, on a classroom desk

    3. Map Who Is Lonely in Naomi

    This is the activity that turns a sweet dog book into a novel, and it takes about twenty minutes.

    Draw a simple map of the town on chart paper. The library. Gertrude’s Pets. Gloria Dump’s garden. The trailer where Opal and the preacher live. Then, as you read, students add each person to the map with one line about what they have lost.

    The pattern arrives on its own, usually around chapter fifteen, and it lands hard:

    • Miss Franny Block sits in a library nobody visits, telling stories to whoever comes
    • Gloria Dump cannot see well and keeps her mistakes hanging in a tree
    • Otis has been in prison and plays music to animals because they will listen
    • Sweetie Pie Thomas is five and keeps inviting herself to other people’s parties
    • Amanda Wilkinson is the one they always get wrong

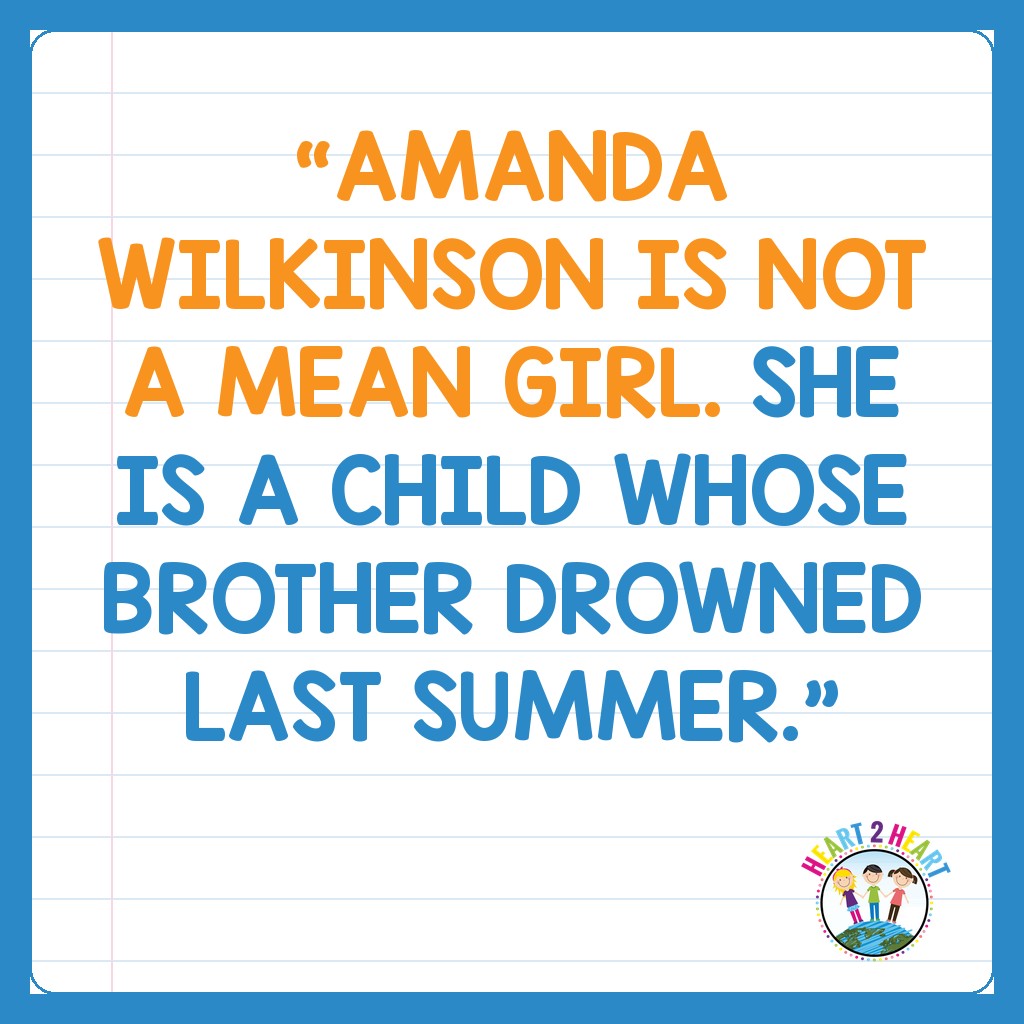
    Amanda is pinch-faced and unfriendly for most of the book, and every class writes her off. Then you find out her five-year-old brother Carson drowned the summer before. I let students discover that themselves, and then I ask them to go back and reread their own notes about her.

    It is the best twenty minutes of the unit. A child who has judged a character too early, and been shown the receipt in their own handwriting, has learned something that outlasts the novel.

    Quote: Amanda Wilkinson is not a mean girl, she is a child whose brother drowned last summer

    4. Ask for a Theme Sentence They Can Defend

    Theme is where novel studies usually go soft. Students write friendship is important, everyone nods, and nothing has been assessed.

    Give them a frame with a second half instead:

    This book says that ______, and I know because ______.

    The second blank has to hold a specific moment with a chapter number. That single requirement does more for the quality of the writing than any amount of talking about theme.

    The book makes it easy, because it hands you a perfect object. The Littmus Lozenge was invented by Miss Franny’s great-grandfather, Littmus W. Block, after he came home from the Civil War to find his family gone. Every child who eats one tastes something sad underneath the sweetness. Ask a class why an author would put a candy like that in a book and you will get theme statements with evidence attached, from students who would have written friendship is important twenty minutes earlier.

    If you want a model of this done formally, Rhode Island’s Department of Education publishes a free close reading model lesson for this exact book, with student supports built in. Louisiana’s Department of Education has a complete free unit built around theme and character change, with a culminating writing task you can borrow outright. Both are free downloads with nothing to sign up for.

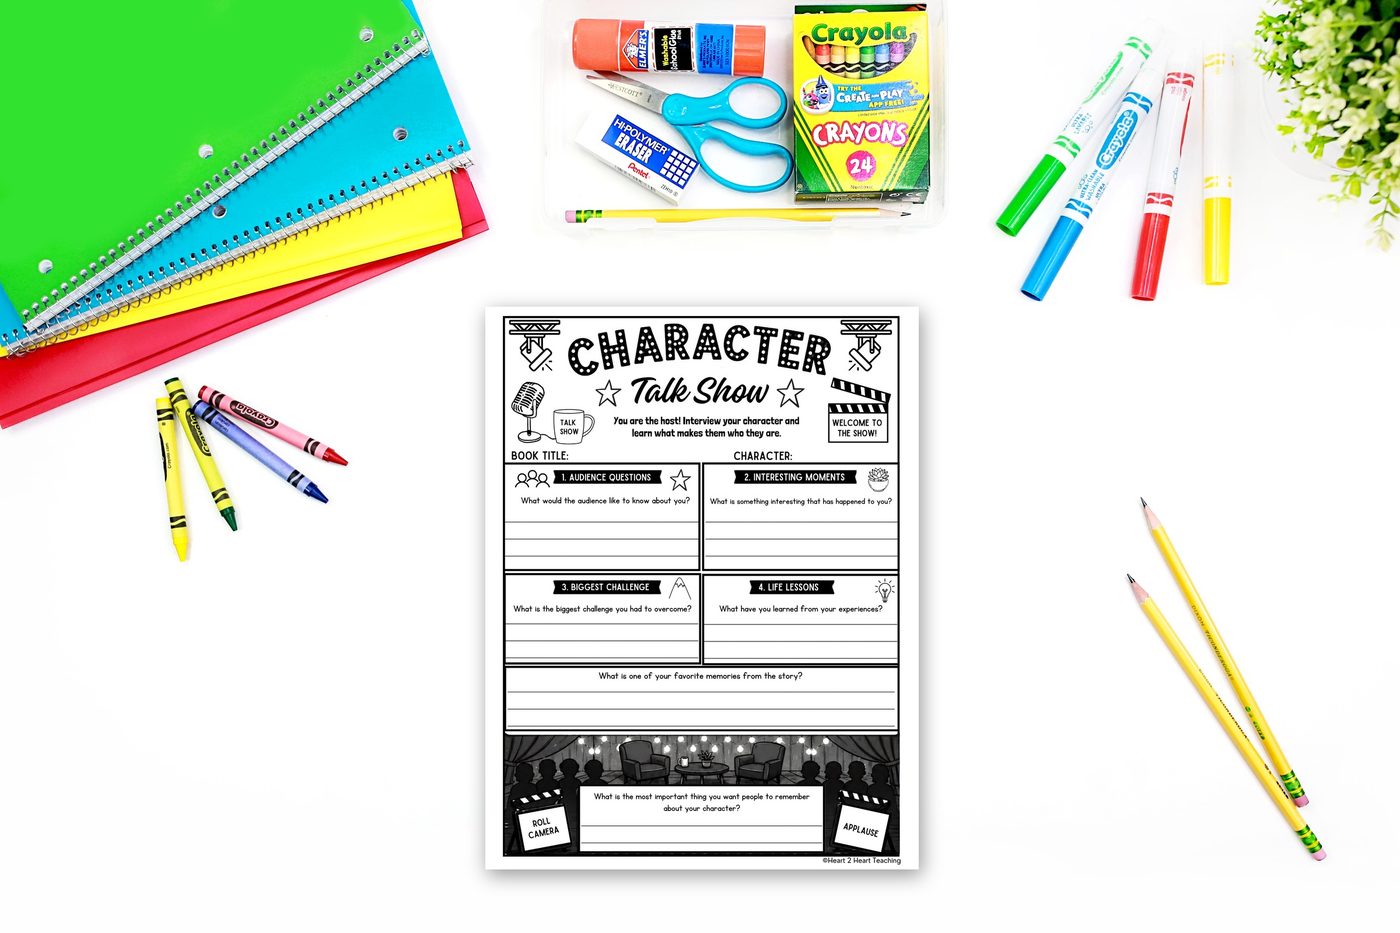
    The Character Talk Show interview page from the Because of Winn-Dixie novel study on a classroom desk

    5. Give the Friendship Party a Job

    Nearly every class throws a party at the end of this book, the way Opal and Gloria do, and it is a lovely last day. It can also be your assessment, which costs nothing extra.

    Assign each student a character to come as. Not a costume. A character they have to be able to answer for.

    Then interview them. Who are you, what did you lose, who did you let in, and how are you different by the last chapter? A student who can answer those four questions as Otis has demonstrated character analysis, inference and theme, out loud, while eating something.

    The detail worth stealing is the one from the book. During the party a thunderstorm breaks, Winn-Dixie disappears, and everyone goes out into the rain to look for him. He has been inside the house the entire time, hiding under a bed. Ask why the author put a lost dog at the moment when all these lonely people are finally together, and you have one more theme conversation without meaning to start one.

    The two-chapter sample is a good way to see the format before the party planning starts. Grab the free Winn-Dixie sample pages here.

    Recap: start with the list of ten, trade adjectives for evidence, map who is lonely in Naomi, write a theme sentence, give the party a job

    Frequently Asked Questions

    What grade is this book for? Third through fifth. Third graders can do all five of these with more scaffolding on the theme sentence. Fifth graders can handle the loneliness map as independent work and write a full essay from it.

    How long does the novel take? Twenty-six short chapters, so about three weeks at a chapter or two a day. You can read it aloud in less if you double up the shorter chapters.

    Do I have to read it aloud? It is worth it. The voice is the best thing about the book and a lot of the humor is in the rhythm of the sentences, which struggling readers miss on the page.

    What about the movie? Show it after, not during, and make it an activity rather than a reward. A book versus movie comparison is one of the few times students will argue about an author’s choices without being asked to.

    Some of this book is sad. Is that a problem? It has been my experience that it is the opposite. Children are already carrying things, and a book where an adult says plainly that Mama drank and left gives them somewhere to put that. Read chapter four yourself first and you will know how your class will take it.

    One More Thing Worth Saying

    The reason this book rewards character work is that almost nothing happens in it. A girl gets a dog, meets some people, and has a party.

    Everything that matters is interior, which means a student who only reports the plot has genuinely missed the book, not just answered a question badly. Point them at the people instead and the writing changes within a week.

    And they will still ask for a class dog. That part is not fixable.

    If You Would Rather Not Build It From Scratch

    Every activity above works with the novel, chart paper and a pencil. If you would rather have the pages ready, this is what I use alongside it.

    Because of Winn-Dixie novel study with 26 chapter quick checks and fun book activities

    The Because of Winn-Dixie novel study has one quick check for each of the twenty-six chapters, so the reading is covered without you writing questions at ten at night. The pages that matter most for this post are the character and theme reflection, the chart for tracking how Opal changes across the story, and the Character Talk Show interview, which is part five above already laid out. There is also vocabulary and word work, a comic strip book review, a book versus movie comparison for after the film, and answer keys throughout.

    Please note that a copy of Because of Winn-Dixie by Kate DiCamillo is required and is not included. This is an independent companion resource and is not affiliated with the author or publisher.

    Keep Going

    How to teach The Lemonade War, chapter by chapter, for another novel that hides its real lesson behind a simple plot.

    Teaching economics with The Lemonade War, for what happens when you teach one novel across two subjects.

    Because of Winn-Dixie character and theme work for grades 3 to 5

  • The Meet the Teacher Letter That Does the Talking for You

    The Meet the Teacher Letter That Does the Talking for You

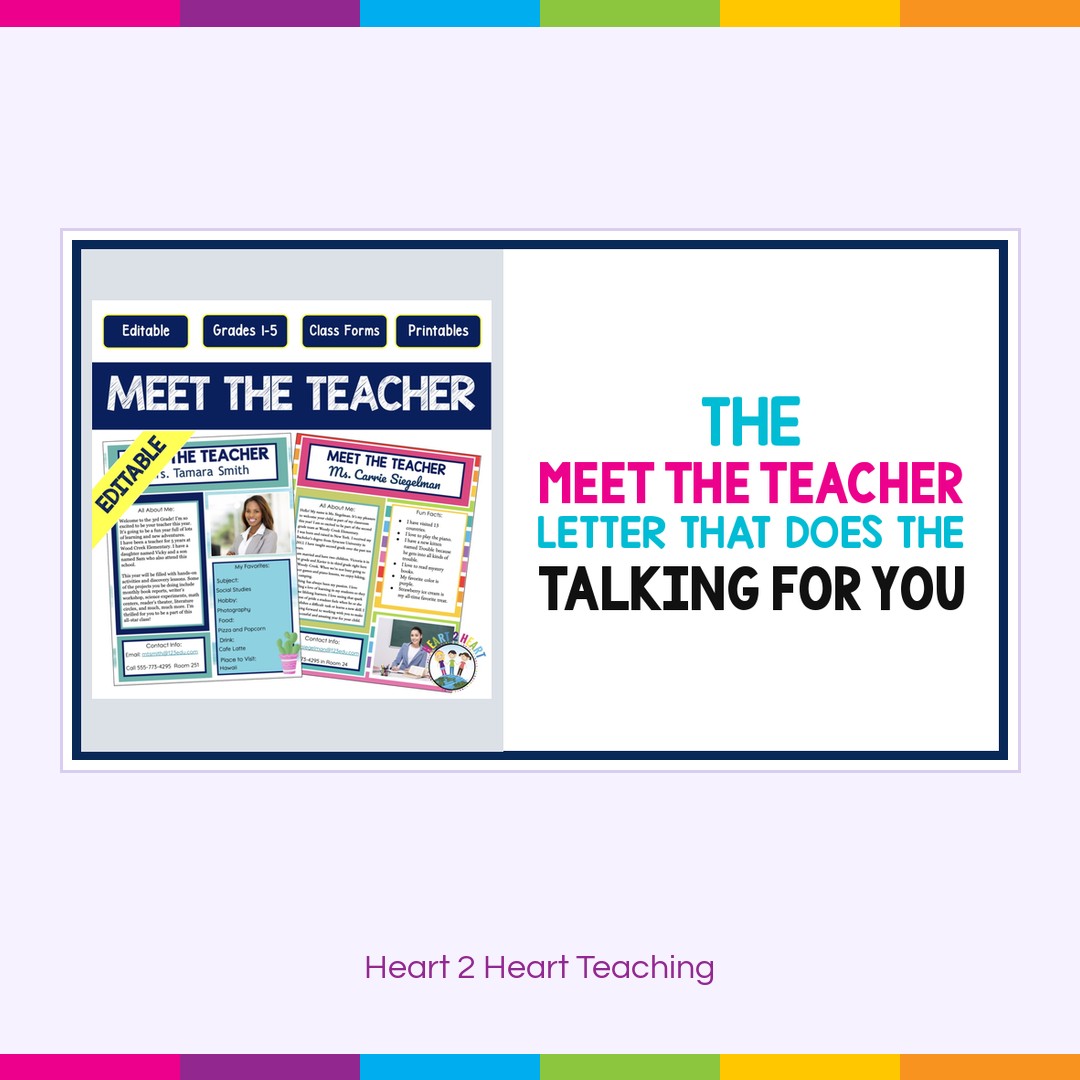
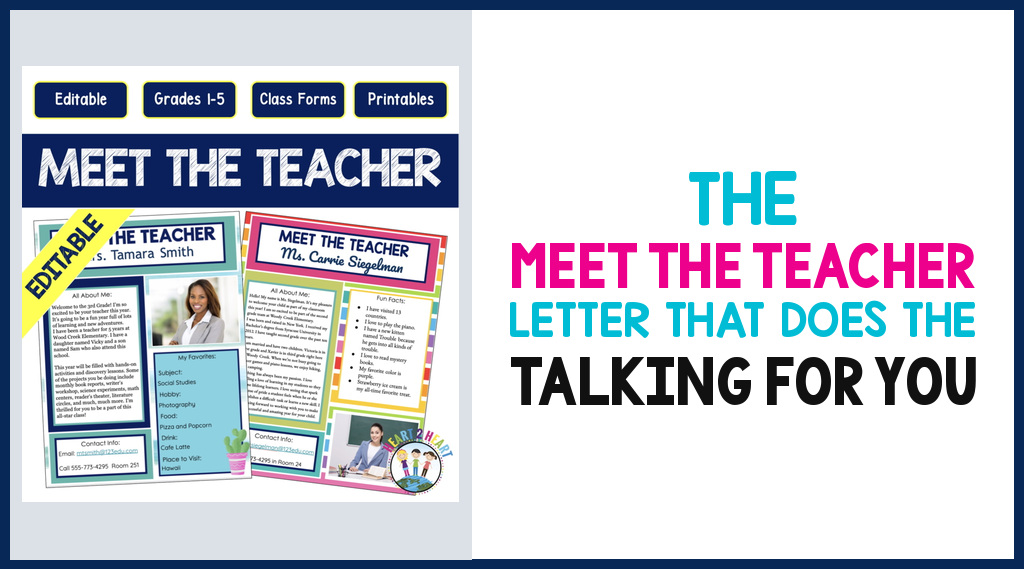
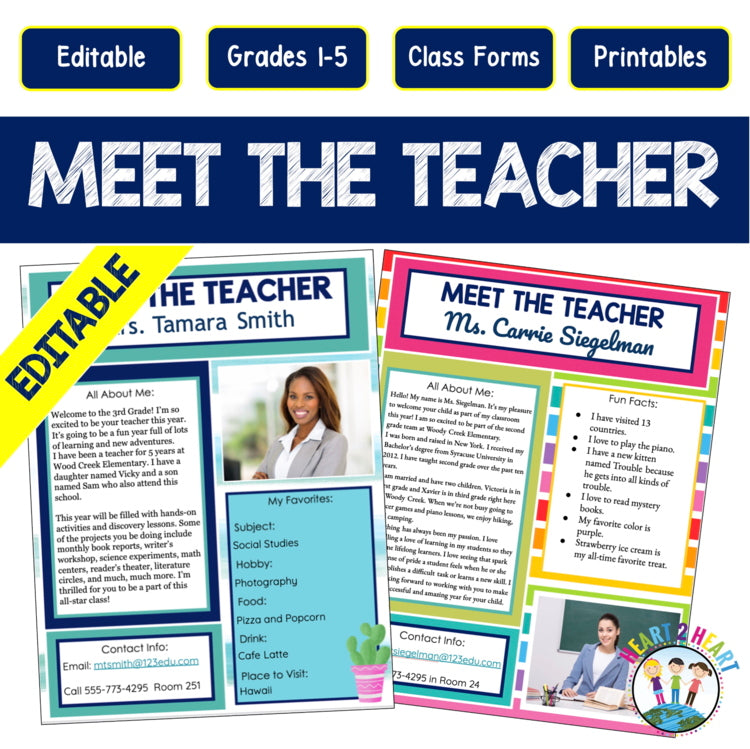
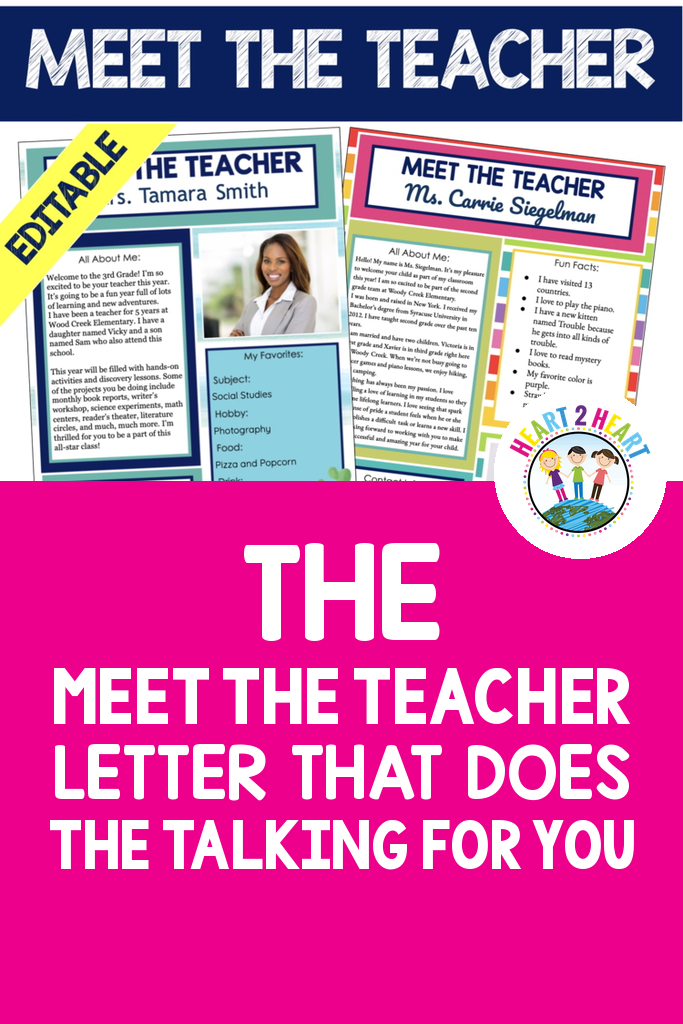
    The meet the teacher letter that does the talking for you, with an editable meet the teacher template on a desk

    My first Meet the Teacher Night, I said the same eleven sentences twenty-two times.

    Arrival is at 7:45. Lunch is at 11:20. Homework comes home in the blue folder on Monday. Yes, we celebrate birthdays. No, it does not have to be store bought.

    By the ninth family, I was talking faster to keep up with the line by the door. By the fifteenth I was so tired of my own words that I skipped the part about the reading log, which happened to be the one thing that family actually needed to hear.

    I went home with a sore throat and a full plate of untouched cookies. Not one parent had told me a single thing about their child.

    I had spent the whole night being a public address system.

    Here is what I had gotten wrong. Everything I repeated twenty-two times could have been printed on one page, and the only things worth saying out loud were the things I never got to.

    Quote: A meet the teacher letter is not a handout. It is the part of the night that keeps working after the family drives home.

    The next year I put the answers on paper and used my voice for something else entirely. The night got shorter, quieter, and far more useful. Here is what goes on the letter, what to say instead, and how the whole evening runs once those two things stop competing.

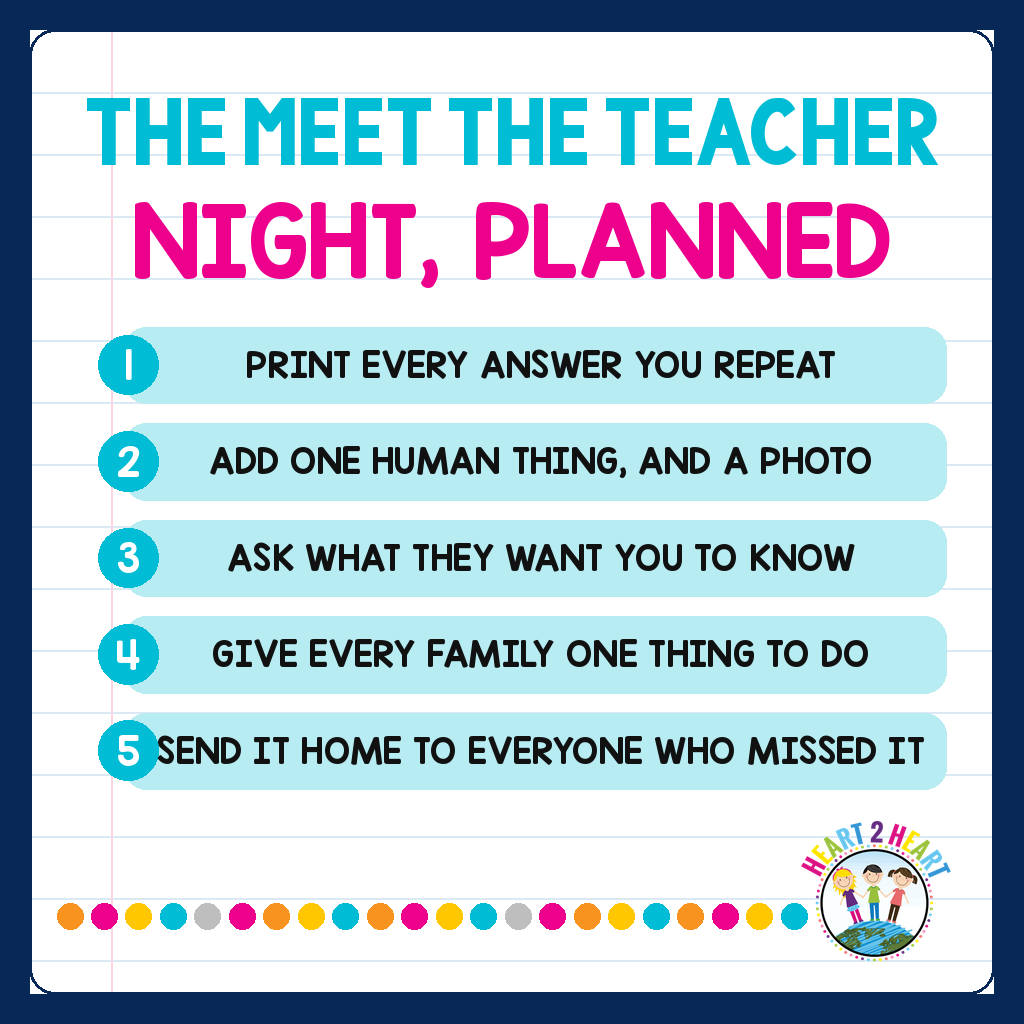
    1. Print Every Answer You Would Otherwise Repeat

    Start by writing down the questions you answered over and over last year. That list is your letter. It is not glamorous and it is the single biggest time saver of the night.

    For most elementary classrooms it comes down to the same handful:

    • Arrival and dismissal. Times, doors, and what happens if a plan changes at 2:00
    • Lunch and snack. When, whether snack is sent from home, and the allergy situation in your room
    • The folder. Which color, which day, and what a parent is expected to do with it
    • Birthdays. Because you will be asked, every single year
    • Supplies. What is shared, what is personal, and what genuinely runs out by November
    • How to reach you, and the hours you actually answer

    The rule I use now: if I hear myself saying it a third time, it belonged on the letter.

    That last line matters more than it looks. Being reachable is not the same as being available every waking hour, and writing the hours down protects you kindly. ASCD’s piece on engaging parents through better communication systems makes the same case: families follow the system you set, and they can only follow one you have told them about.

    2. Put One Human Thing on There, Too

    A letter that is nothing but logistics gets filed in a drawer. A letter with a photograph and contact information goes on the refrigerator, and a letter on the refrigerator gets read four more times before October.

    So give them a little of you. A photo, how to contact you by email, by phone, by class dojo, three favorites about you, and one fun fact. That is genuinely all it takes.

    This is not decoration. A seven year old who has seen your face on the fridge walks in on day one already knowing who to look for. A parent who knows you have a dog and a weakness for iced coffee has an easier time sending you a hard email in February, because you have stopped being an institution and started being a person.

    WeAreTeachers keeps a good collection of teacher introduction letter examples if you want to see how different that one paragraph sounds from teacher to teacher. Use the structure, not the sentences. Yours should sound like you.

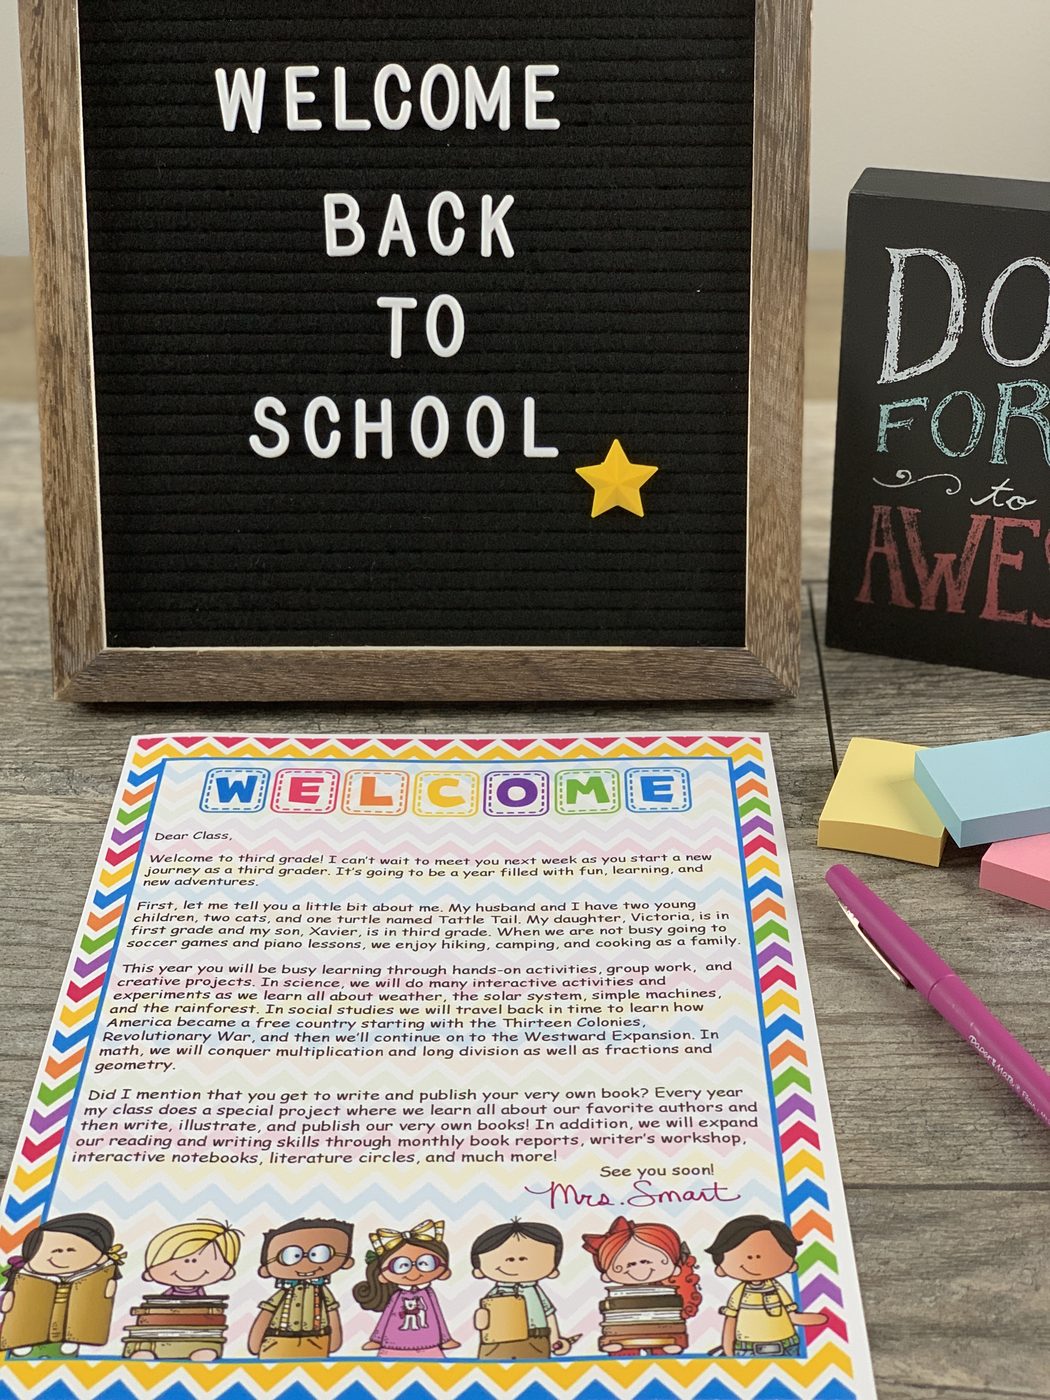
    A printed meet the teacher letter on a desk beside a welcome back to school letter board

    3. Save Your Voice for What Cannot Be Printed

    Once the practical answers are on paper, the night opens up. You are no longer reciting. You have about ninety seconds with each family, and now they are yours to spend.

    Quote: If it can be read, print it. Save your voice for the one thing only you can say.

    Two sentences, in this order, do more than any tour of the room.

    First: I am really glad your child is in my class this year. Say it plainly, use the child’s name, and mean it.

    Then ask the question: what is one thing you want me to know about your child?

    Then stop talking. That pause feels long. Let it sit anyway.

    Some parents will tell you their child reads three grades ahead. Some will tell you about a divorce, an anxious summer, or the reading group that broke their kid’s heart last year. Every one of those answers is information you would not have had until Thanksgiving otherwise, and you get it while everybody is still in a good mood.

    Keep a stack of index cards on the table for the families who would rather write it than say it in front of a line of people. Some of the most useful things I have ever learned about a student were written on a card while I talked to somebody else.

    4. Give Every Family One Thing to Do Before They Leave

    A room where the only activity is talking to the teacher creates a line, and a line creates rushed conversations. Two or three small stations fix it, and they give the parents who dread small talk something to do with their hands.

    • Sign in with a current email and phone number, which is faster than any form you send home
    • Write a note to your child to be found on their desk the first morning. This one is worth the whole evening
    • Volunteer and supply signup, so willingness gets captured while it is standing in front of you
    • A photo spot by the door, which quietly buys you three extra minutes with the family ahead

    The note to their child is the one I would never give up. Kids arrive on day one, find a folded note in a strange room, and the whole day changes shape. It costs a pen and a basket.

    5. Send the Same Letter Home With the Families Who Could Not Come

    Somewhere between a quarter and a third of your families will not be there. Night shifts, other children, no transportation, a language that makes a crowded classroom exhausting rather than welcoming. None of that is a measure of how much they care.

    Those are exactly the families the letter was built for. Send it home in a backpack the next morning, email the PDF, and post it wherever your school families already look.

    It is worth knowing how much this small thing does. In a randomized study by Matthew Kraft and Shaun Dougherty, regular teacher to family communication increased the odds a student completed their homework by 42 percent and cut the number of times teachers had to redirect a student by a quarter. Not a conference. Not a program. Communication.

    If you have families who speak a language other than English, Colorín Colorado has free, genuinely good guidance on reaching them, and the Center for Parent Information and Resources keeps back-to-school letter guidance written from the family’s side of the desk, which is a useful thing to read before you write yours.

    Recap: print every repeated answer, add one human thing, ask what they want you to know, give every family one thing to do, and send the letter home to everyone who could not come

    Frequently Asked Questions

    How long should a meet the teacher letter be? One page. Both sides at the absolute most. If it runs longer, you are writing the handbook, and the handbook is a different document that nobody reads standing up.

    Paper or email? Both, doing different jobs. Paper goes on the table that night and onto the refrigerator afterward. The emailed version reaches the families who were not there and is the one parents search for in November when they cannot remember the folder color.

    What if I teach several classes or departmentalize? Write one letter and change a single line per section. The favorites, the contact information and the expectations do not change from period to period.

    Should classroom rules go on it? A short positive summary of how your room works, yes. The full behavior plan, no. Lead with rules and rules become the first thing a family learns about you.

    What if a family never responds? Send one more thing, and make it a positive one, unrelated to any problem. A note about something their child did well is the cheapest relationship repair there is, and it almost always gets an answer.

    One More Thing Worth Saying

    Meet the Teacher night is not an information session. The information is the easy part, and paper does it better than you do.

    What the night is actually for is the ninety seconds where a family decides whether their child is in good hands. You cannot print that. You can only be there for it, with your voice still working and your attention on the person in front of you rather than on the eleven sentences you still have to get through.

    Print the eleven sentences. Keep it ninety seconds.

    If You Would Rather Not Build It From Scratch

    Everything above is already laid out in my back to school templates, so the letter takes an evening of typing rather than an evening of designing.

    Editable meet the teacher template in Google Slides with a photo, favorites and contact information

    The Meet the Teacher Template is the one page letter itself, editable in Google Slides, with several designs to choose from. Drop in a photo, type your favorites, your fun fact and your contact information, and print.

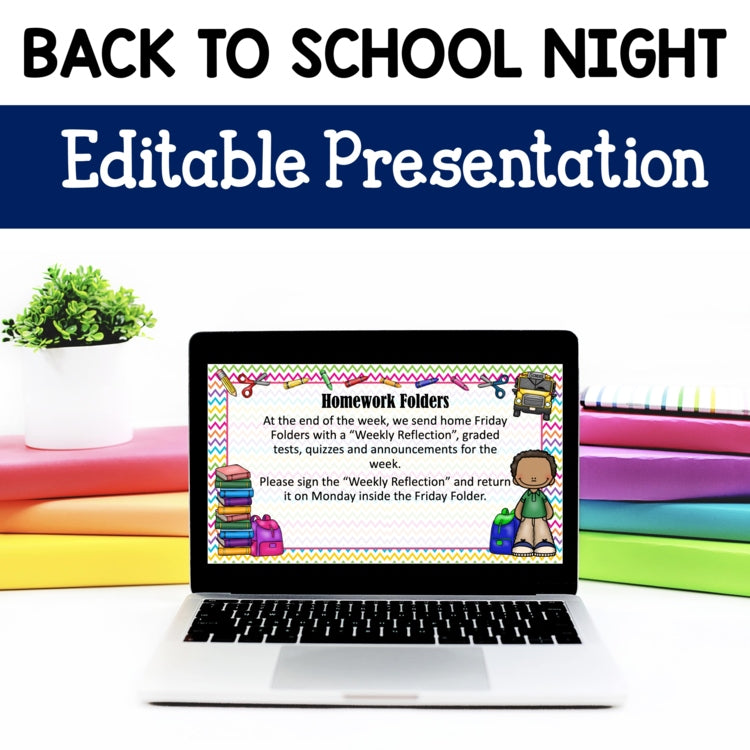
    Editable open house PowerPoint with 24 pre-made slides for back to school night

    The Open House PowerPoint is for the version of the night where families sit down and you present. It holds 24 editable slides already written for arrival, dismissal, homework folders, the reading program, birthdays, field trips, volunteer signups and supplies, so the slides say the practical things while you do the welcoming.

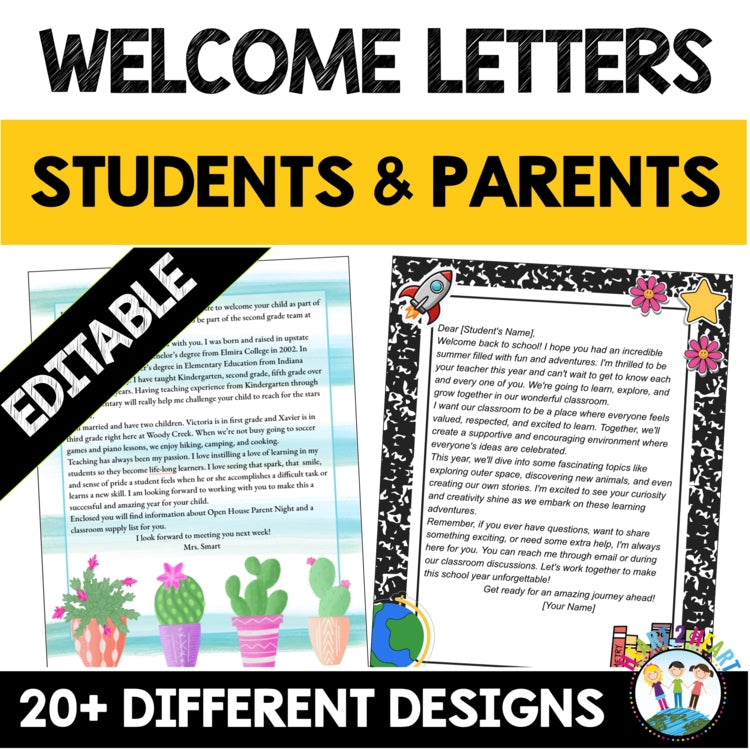
    Editable welcome back to school letters for students and parents with more than 25 designs

    The Welcome Letters pack covers the letter that goes out before any of this, with 25+ editable designs and separate versions for students and for parents. If you want that one first, I wrote up what to include in a welcome back to school letter as its own post.

    Keep Going

    How to write a welcome back to school letter, for the one that goes home before the first day.

    Student-centered seating layouts, for the room those families are about to walk into.

    The meet the teacher letter that does the talking for you

  • The Teacher Introduction Letter That Puts Parents on Your Side

    The Teacher Introduction Letter That Puts Parents on Your Side

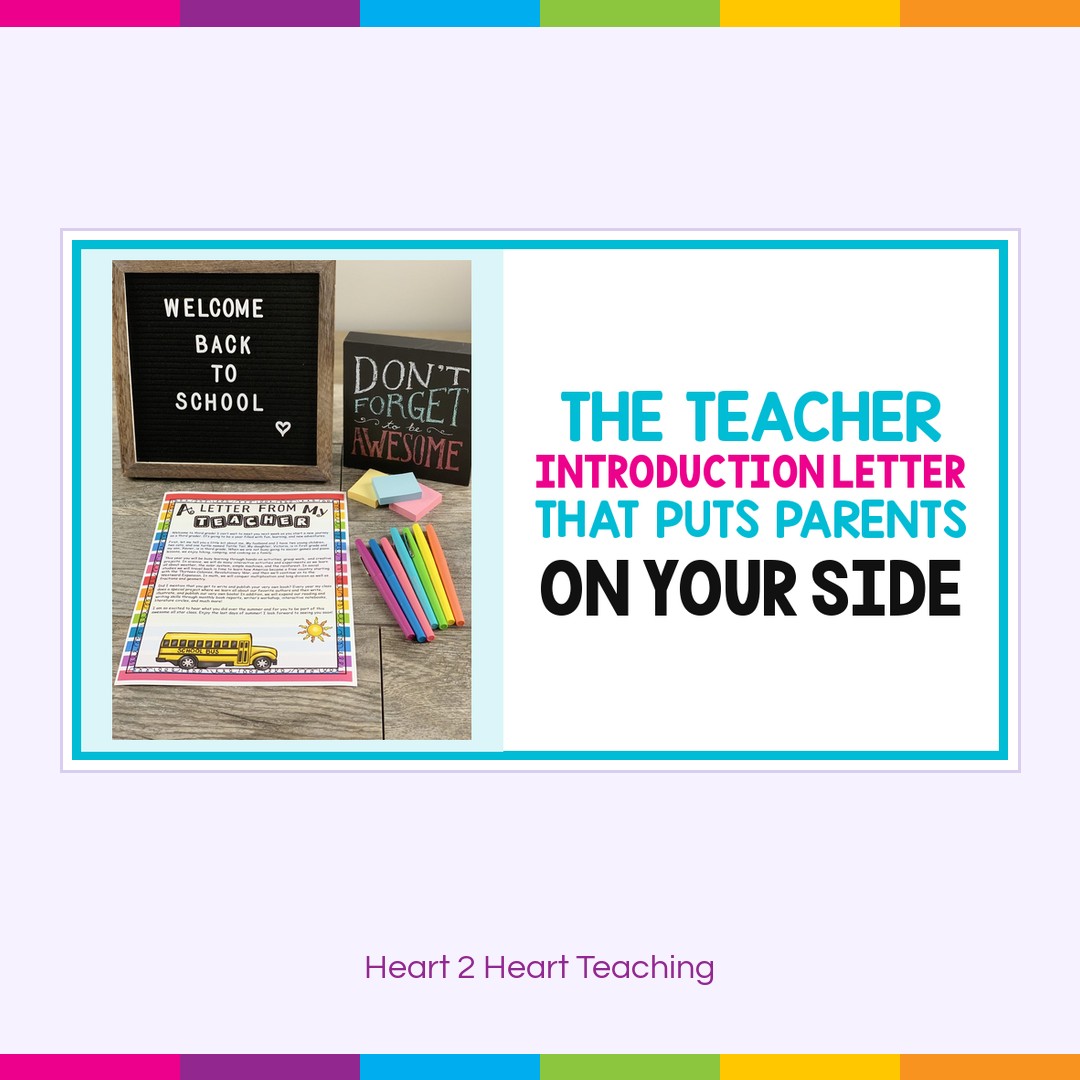
    The teacher introduction letter that puts parents on your side

    The first introduction letter I ever sent home was, essentially, a résumé.

    Where I went to school. How many years I had taught. My classroom management philosophy, which at that point was a phrase I had underlined in a textbook. A paragraph about high expectations. My degree, mentioned twice.

    It was a full page and it was very tidy, and I remember being proud of how professional it sounded.

    Not one parent replied. Not one. And when the first hard conversation of the year arrived in October, it arrived the way hard conversations do when nobody has met you yet, which is to say it started at about a seven out of ten.

    A few years later I sent a much shorter letter that mentioned my dog and asked one question. Eighteen families answered it. In October that year, the hard conversation started at a two.

    Here is what I had gotten wrong. Nobody was reading that first letter to evaluate my credentials. They were reading it to figure out what kind of person they had just handed their child to.

    Quote: Parents are not reading your letter to find out if you are qualified. They are reading it to find out if you are safe to talk to.

    A parent already assumes you are qualified. The district hired you. What they genuinely do not know, and cannot find out from a list of degrees, is whether you are approachable, whether you will notice their kid, and whether telling you something honest will be met well.

    That is the whole job of the letter. Here is the five part version I settled on, and it fits on one page.

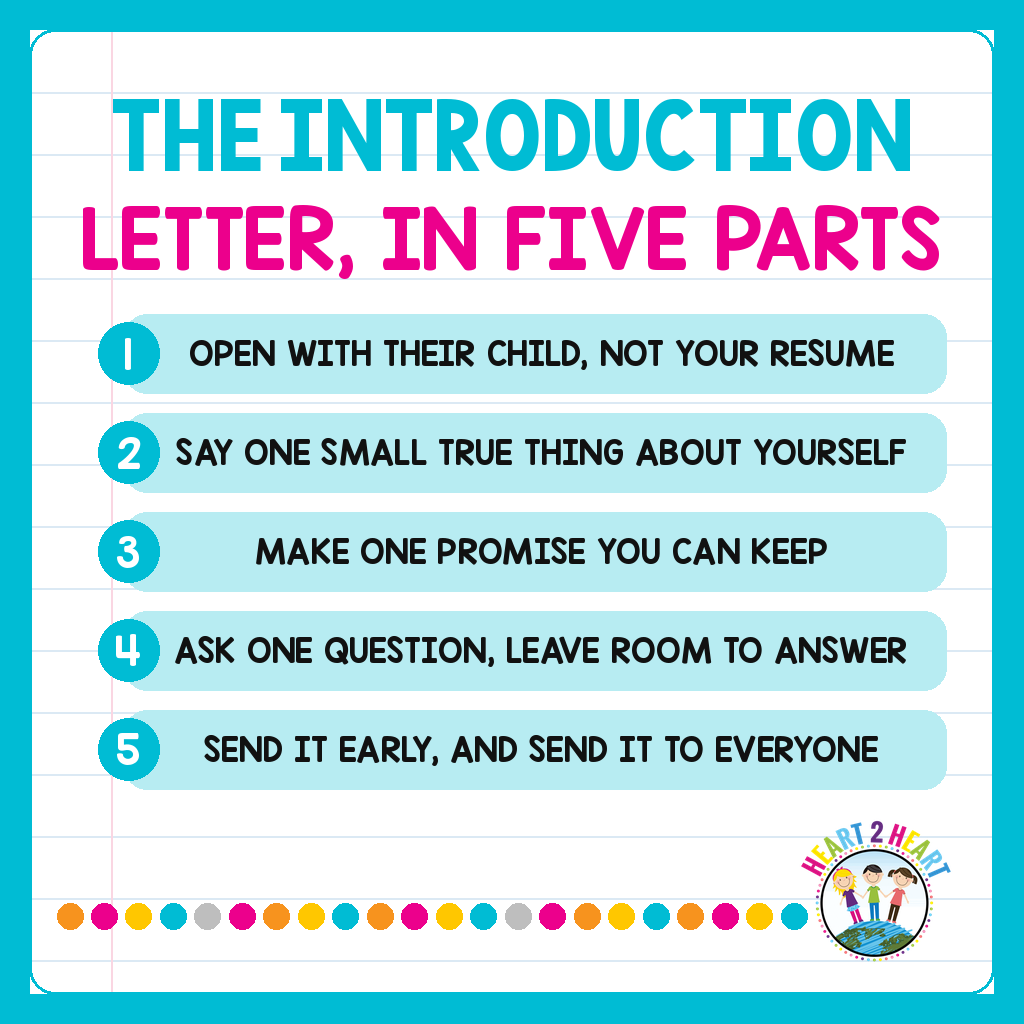
    1. Open With Their Child, Not Your Résumé

    The first sentence is the one that decides whether the rest gets read. Spend it on their kid.

    “I am so glad Marcus is going to be in my class this year” does more work than three paragraphs about your teaching philosophy, because it tells a parent that you already see their child as a particular person rather than one of twenty-four.

    Your background still belongs in the letter. It just belongs in sentence four, in about one line, doing its job quietly. Both Indeed’s guide to teacher letters of introduction and College Transitions’ round-up of intro letters land in the same place: parents want to know you are competent, but they want it in a sentence, not an essay.

    2. Say One Small True Thing About Yourself

    One. Not a biography.

    The dog. The garden that dies every August. The fact that you have read the same series six times because a student recommended it. Something small, specific and genuinely true.

    Small and specific is what makes it work. “I love teaching and I am passionate about children” tells a parent nothing, because every teacher writes that sentence. “I have two cats and one turtle named Tattle Tail” tells them a real person wrote this and that person can be talked to.

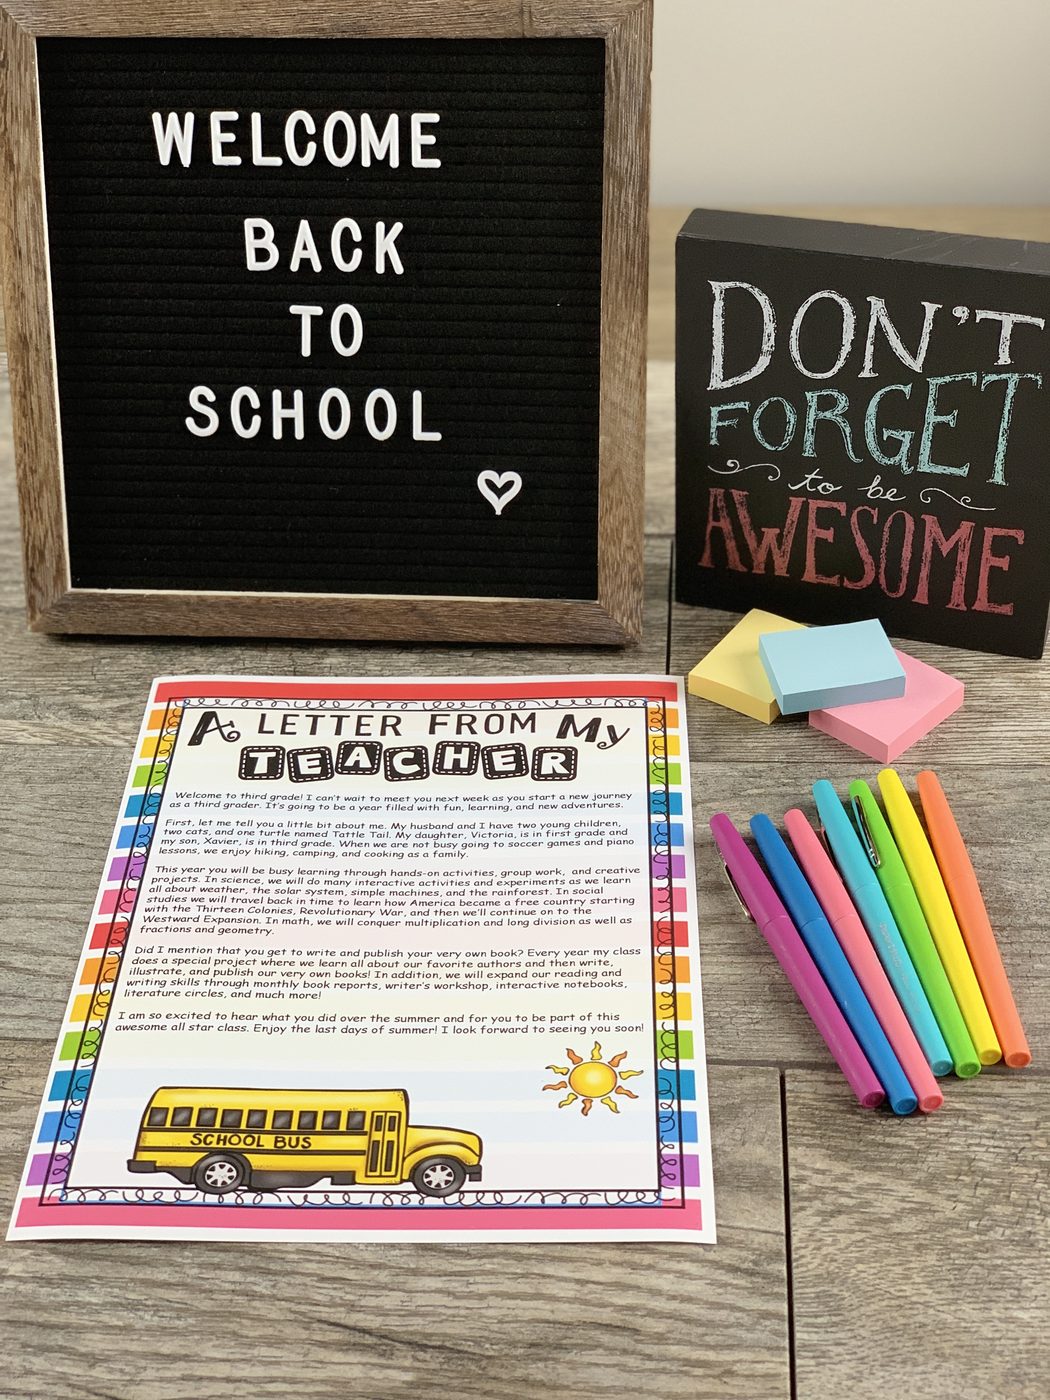
    A printed letter from my teacher on a desk, with the teacher introducing her family in the second paragraph

    Your letter is also the first thing a child hears about you, if it goes home before day one. A seven year old does not care about your credentials either. A seven year old cares that you have a turtle.

    3. Make One Promise You Can Actually Keep

    This is the part almost every introduction letter leaves out, and it is the one that changes the year.

    Quote: Make one promise you can keep all year. I will call you with good news, not only with problems.

    Pick something small and concrete, then keep it:

    • I will contact you with good news, not only with problems. The best one on this list
    • I answer email within one school day, and here are the hours I am reachable
    • If something is going wrong, you will hear it from me first, not from your child at dinner

    Notice that none of these are about academics. They are about predictability, which is what a parent is really trying to assess when they read your letter.

    The first promise is also the best supported. In a randomized study, Matthew Kraft and Shaun Dougherty found that regular teacher to family communication raised the odds a student completed their homework by 42 percent and cut the number of redirections a teacher had to give by about a quarter. That was not conferences or a program. It was contact, regularly, including when nothing was wrong.

    One note: promise the thing you will still be doing in February. A promise you quietly drop costs you more than never making it.

    4. Ask One Question, and Give Them a Way to Answer It

    End the letter with a question instead of a signature block.

    What is one thing you would like me to know about your child?

    Then make answering as easy as you possibly can. A fold and tear-off section at the bottom. A reply email address on its own line. A phone number they can text. If a parent has to find paper, find a pen and find their kid’s backpack, most will mean to answer and never will.

    What comes back is worth more than any file you will be handed. Parents will tell you about the reading that has become a fight, the friend who moved away over the summer, the diagnosis nobody wrote down, the thing that makes their kid light up. You get all of that on week one instead of week fourteen.

    Some will write one line. Some will write a page. A few will write nothing, and that is fine too. ClickView’s guide to introduction letters makes a point worth keeping in mind here: plain language matters more than polish, because teacher vocabulary quietly excludes the families you most want to hear from.

    5. Send It Early, and Send It to Everyone

    A letter that arrives on the first day competes with a first day. Send it a week before if you can, when a family still has room to think about it.

    Then make sure it actually reaches everyone:

    • Paper and email both. Different families read different things
    • Translated for the families who need it. Colorín Colorado has free guidance on this and it is genuinely good
    • Posted wherever your school families already look, which is usually not where the school thinks it is

    The families hardest to reach are usually the ones for whom this letter matters most. Reading Rockets’ parent engagement collection is a good place to read more about why the first contact carries so much of the weight.

    Recap: open with their child, say one small true thing, make one promise you can keep, ask one question, and send it early to everyone

    Frequently Asked Questions

    How long should a teacher introduction letter be? One page, only. Long letters signal that you have a lot of requirements. Short letters signal that you are easy to talk to.

    When should it go out? About a week before school starts. Early enough to be read calmly, close enough that it still feels like it is about this year.

    Should I include a photo? Yes. It is the single cheapest thing you can do, and it is what gets the letter onto the refrigerator instead of into a drawer.

    What if I teach middle or high school and have 130 students? Write one letter, email it, and skip the individual names. The promise and the question still work at scale, and the question at the bottom of the page matters more at that age, not less.

    What about classroom rules and supplies? Not in this letter. This one is for the relationship. The logistics belong on the back to school letter or on the Meet the Teacher handout, which are different documents doing a different job.

    One More Thing Worth Saying

    An introduction letter is a small thing. One page, twenty minutes, once a year. It is easy to treat it as paperwork, and most of us did for a while.

    But it is the only moment in the entire year when you get to introduce yourself to a family before anything has gone wrong. Every conversation after it, the good ones and the hard ones, starts from wherever that letter left them.

    Spend the page on being a person. The credentials will keep.

    For what it is worth, I still have a folder of the answers parents sent back to that one question. I did not keep them on purpose at first. I just could not throw them away.

    Keep Going

    The meet the teacher letter that does the talking for you, for the night itself and the handout that runs it.

    How to write a welcome back to school letter, for the logistics letter this one deliberately leaves alone.

    The teacher introduction letter that puts parents on your side

  • How to Teach The Lemonade War: A Chapter-by-Chapter Guide

    How to Teach The Lemonade War: A Chapter-by-Chapter Guide

    How to teach The Lemonade War, a chapter by chapter guide

    I taught The Lemonade War for the first time with a packet.

    Twenty-eight pages, stapled, handed out on day one, due the Friday we finished the book. It had everything in it. Vocabulary, comprehension, character work, a final project.

    What I got back, two weeks later, was twenty-eight pages filled in on Thursday night.

    The answers were not wrong, exactly. They were just thin, the way writing is when somebody is reconstructing a book from memory instead of thinking about a chapter they read an hour ago. And the chapter that had the best conversation in it, the one where Jessie takes Megan’s money, had gone by three days earlier without anybody saying a word about it.

    I had made the work due at the end of the book, so the thinking happened at the end of the book.

    Here is what I changed. One page per chapter, done the same day the chapter is read, does more than any packet at the end, because it catches the thinking while the chapter is still warm.

    Quote: one page per chapter does more than a packet at the end, because it gets read the same day the chapter is

    The Lemonade War by Jacqueline Davies is fourteen short chapters about a brother and sister who spend the last week of summer trying to out-sell each other. It is funny, it is fast, and it is quietly about something much bigger than lemonade. Here is how I teach it now.

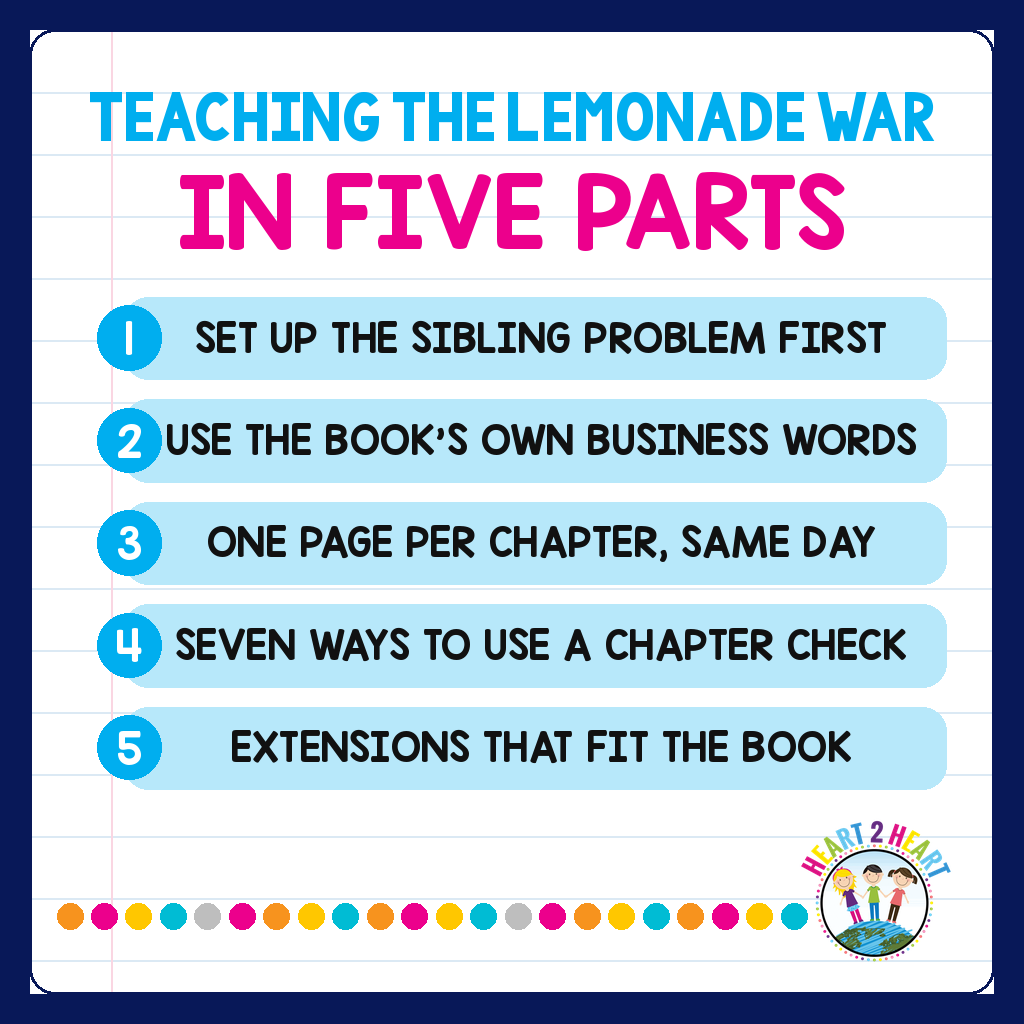
    1. Set Up the Sibling Problem Before Chapter One

    The book opens on Evan already miserable, and if students do not know why, chapter one reads like a boy in a bad mood.

    So spend ten minutes before you open the book. Evan is going into fourth grade. His younger sister Jessie is brilliant at school and is about to skip a grade, straight into Evan’s class. He found out at the end of the summer. Nobody asked him how he felt about it.

    Then ask your class the real question: what would that feel like? Not what would you do, what would it feel like. You will get answers about embarrassment, about being compared, about a little sibling who is good at the one thing you are not.

    That ten minutes pays for itself over the next two weeks, because every fight in this book is actually about that, and students who have named the feeling out loud on day one can see it underneath the lemonade.

    If you want a hook that costs you ninety seconds, the official book trailer does the job, and it comes straight from the author.

    2. Use the Book’s Own Business Words as the Vocabulary

    This is the thing I wish somebody had told me before my first read-aloud. You do not need to invent a vocabulary list for this novel. Jacqueline Davies already wrote you one.

    Every chapter is titled with a business term, and every chapter opens with that term’s definition, written plainly enough for a third grader:

    • Slump, a drop in the activity of a business
    • Joint venture, partnership, competition
    • Underselling, location, going global, negotiation
    • Malicious mischief, purposely destroying the property of someone else’s business
    • Total loss, waiting period, crisis management, reconciliation

    Fourteen chapters, fourteen words, each one defined by the book on the page where the story is about to demonstrate it. That is a vocabulary sequence most novel units would kill for, and it is free.

    The move that makes it stick is to ask, at the end of each chapter, how the chapter earned its title. Chapter ten is called Malicious Mischief. What exactly was destroyed, who did it, and did they know it was wrong while they were doing it? That last part matters, because Jessie’s regret arrives after she does it, not before.

    3. One Page Per Chapter, Read the Same Day

    Fourteen chapters is a two week read at one chapter a day, and the whole argument of this post is that the response goes with the chapter, not at the end of the book.

    Keep it to one page and about ten minutes. A couple of comprehension questions to confirm they actually read it, the chapter’s vocabulary word in context, and one question that needs an opinion with evidence behind it. That is enough.

    Two things happen when the page is same-day. You find out on Tuesday that half the class missed what happened in chapter eight, which you can fix on Wednesday. And the good arguments happen while the chapter is still fresh, instead of being reconstructed a week later from a plot summary.

    If you want more on the comprehension strategies underneath this, Reading Rockets has free, research-based guidance that is worth an evening.

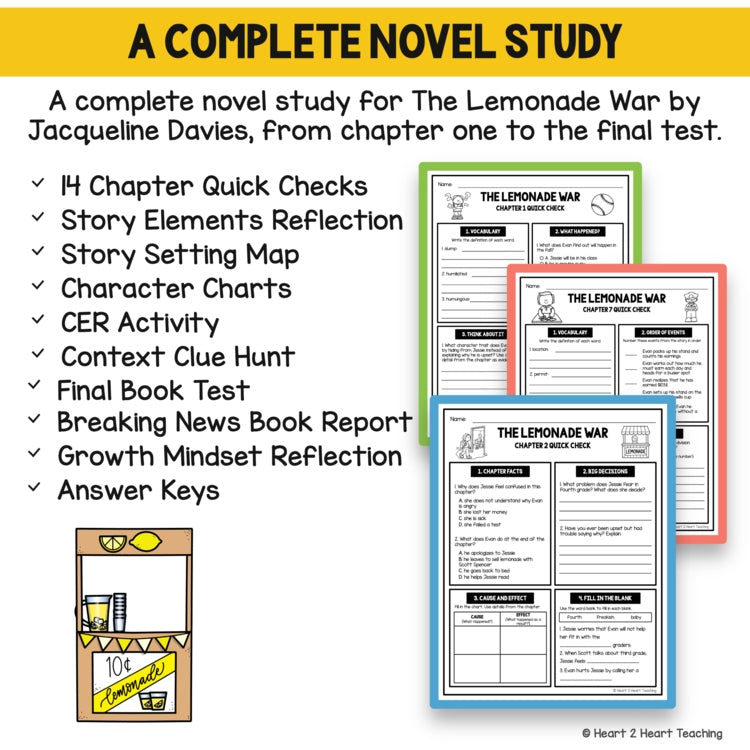
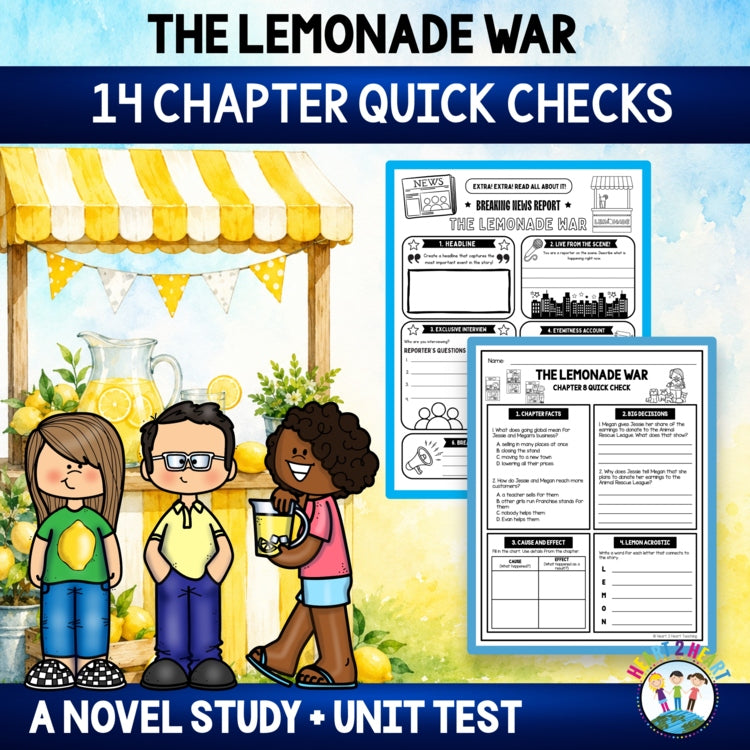
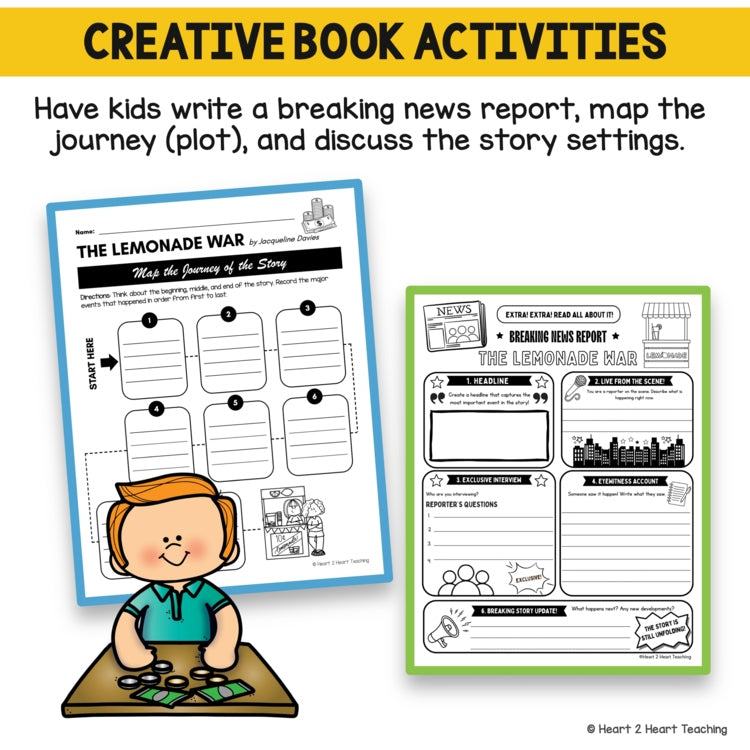
    What is included in The Lemonade War novel study: chapter quick checks, story elements, character charts, CER activity and a final book test

    Quote: Evan and Jessie are not really fighting about lemonade, they are fighting because neither one will say what they are afraid of

    4. Seven Ways to Use One Chapter Page

    The reason I like a one page per chapter format is that the same page does seven different jobs depending on where you drop it. You are not buying seven things.

    • Independent reading accountability. The page is the proof the chapter got read, and it takes you thirty seconds a student to check
    • Whole class novel study. Read aloud, then everyone answers, then you discuss the one opinion question together
    • Literature circles. The page becomes the ticket into the circle. No page, no seat. The ReadWriteThink guide to starting literature circles pairs with this well and costs nothing
    • Small group reading. Pull five students, read the chapter together, do the page out loud as your running record of who is following
    • A reading center. Chapter and page in a folder, students rotate through
    • Homework. One page is a homework a family can actually help with, which a twenty-eight page packet is not
    • Sub plans. The single best use. A substitute can read a chapter aloud and hand out one page without knowing the book at all

    The differentiation is free, too. The same page gives a struggling reader the comprehension questions and gives a strong one the written response, and nobody can tell who did which.

    5. Extensions That Actually Fit This Book

    Most novel extensions could be bolted onto any book. These four only work for this one, which is what makes them worth the time.

    • Compare the two businesses with text evidence. Evan sells to people he knows and trusts goodwill. Jessie plans, tracks, and undersells. Have students argue which approach was smarter, using the book’s own numbers
    • The back matter. After chapter fourteen there is an illustrated spread of Evan and Jessie’s business tips and a profit and loss statement. It is a real primary source for the whole unit and most classes never turn the page to find it
    • Write the breaking news report. The lemonade war as a newspaper story, which forces students to decide what the main event actually was
    • Track one character’s change. Evan and Jessie both end the book different from how they started, in opposite directions, and a chart per character makes that visible

    And if the money side of the book grabs your class, that is a whole unit on its own. I wrote about it separately in teaching economics with The Lemonade War.
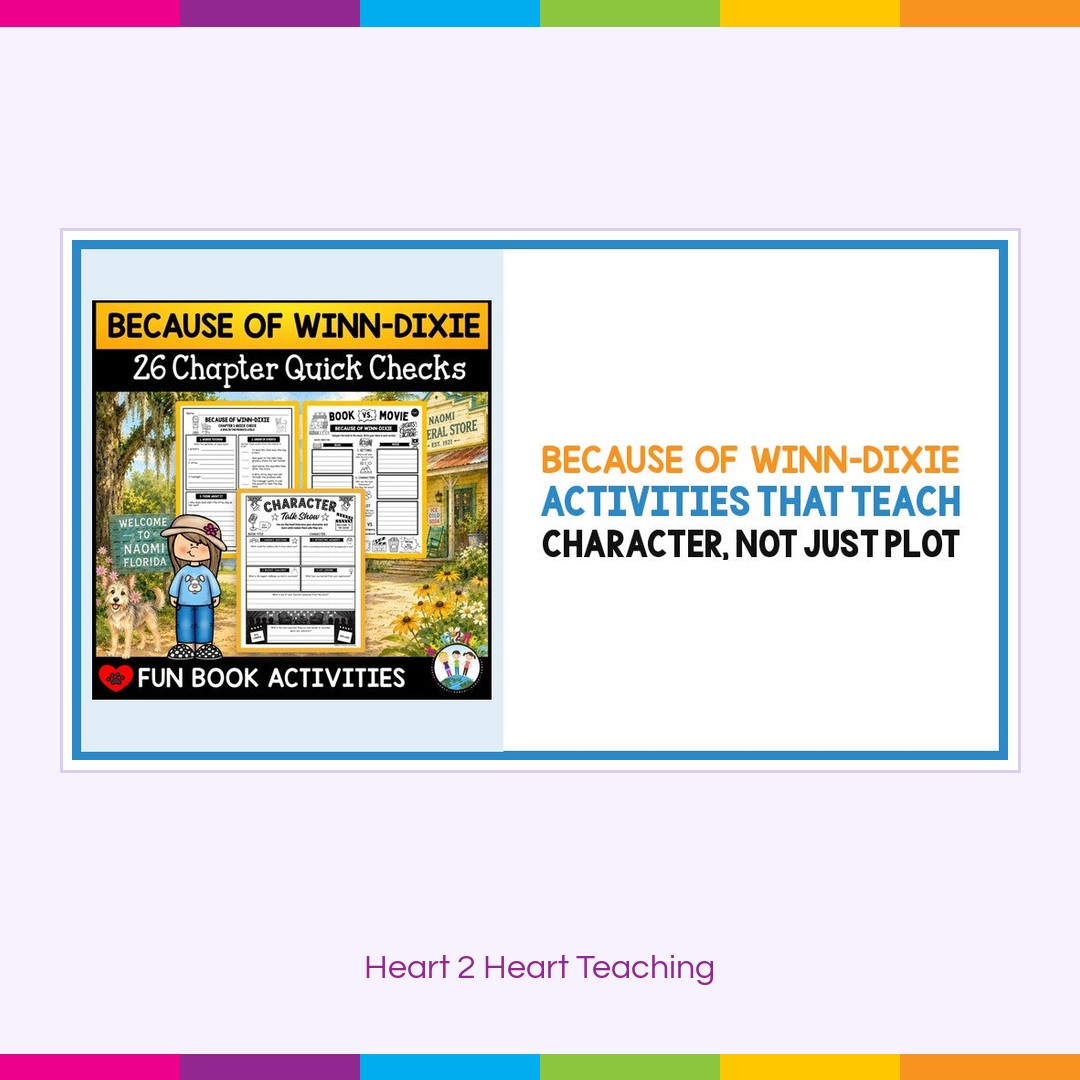
    Recap: set up the sibling problem, use the book's own business words, one page per chapter, seven ways to use a chapter check, extensions that fit

    Frequently Asked Questions

    What grade is The Lemonade War for? It reads best in third through fifth. Third graders can follow the story and the sibling conflict easily. Fifth graders get more out of the business vocabulary and the moral question at the center of chapter ten.
    How long does the novel study take? Two weeks at a chapter a day, plus two or three days for extensions and the final test. Three weeks total is comfortable and leaves room for the business tips spread and a class lemonade stand.
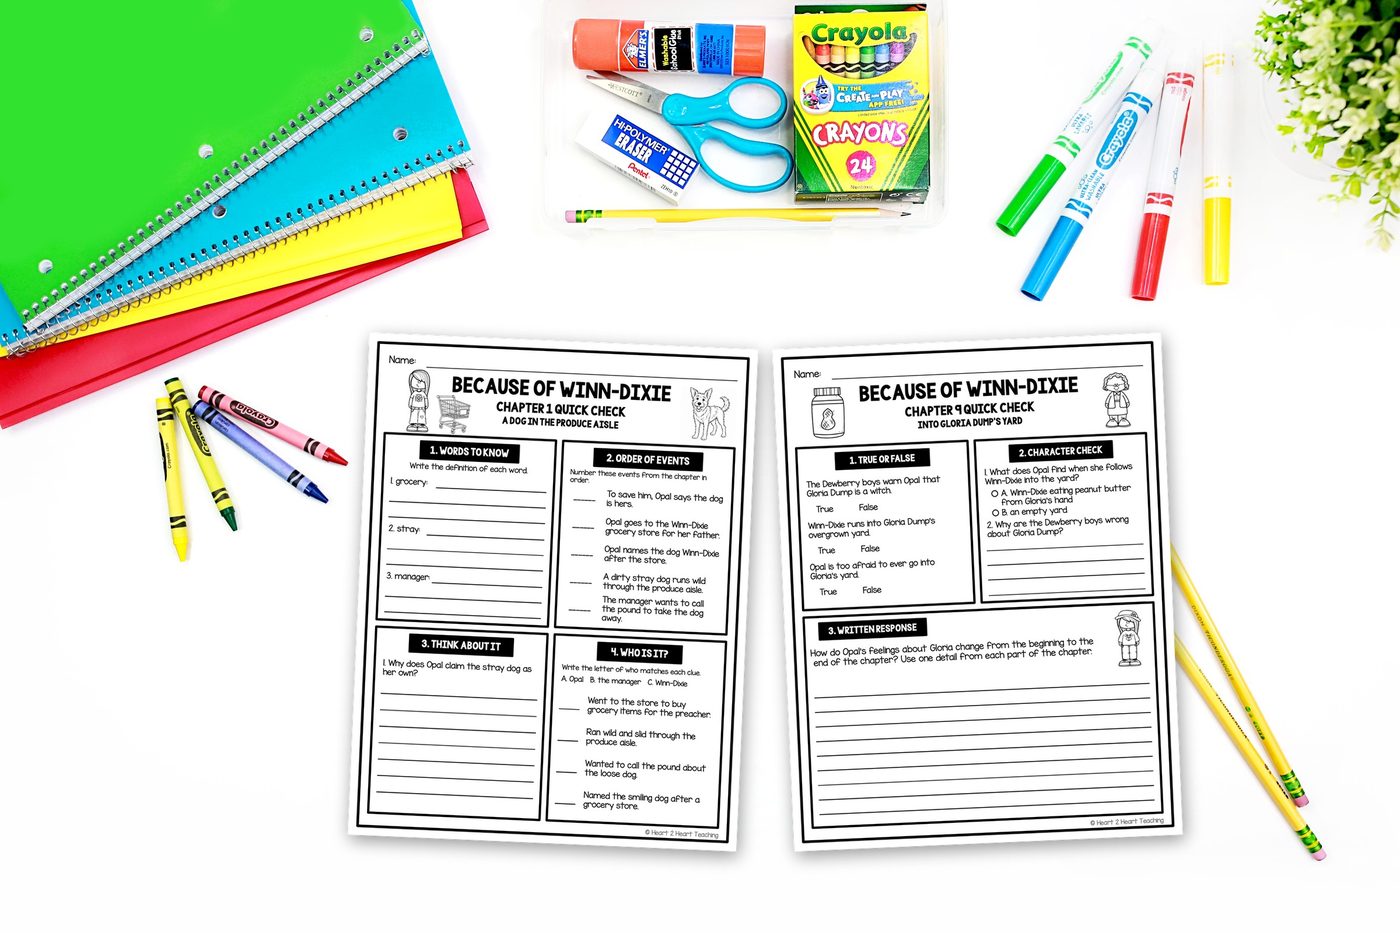
    Is there anything to preview before reading it aloud? Chapter ten is the one worth thinking about ahead of time. Jessie deceives her friend Megan and takes her money, and the book does not soften it. That is the best discussion in the novel, but plan how you want to hold it rather than meeting it cold in front of the class.

    We homeschool, or I am reading it with my own child. Does this still work? Yes, and the same-day part gets easier with one child. Read the chapter, ask how it earned its title, and ask what each character wanted. Three questions at bedtime does most of what the page does in a classroom.

    Do I need to have read the book first? It helps but it is not required if the responses are same-day, because you are reading it with them. Jacqueline Davies publishes her own free teacher’s guide as a PDF, which is the fastest way to get oriented, and Book Units Teacher has a generous free chapter breakdown as well.

    One More Thing Worth Saying

    The reason this book works so well in a classroom is not the lemonade and it is not the business vocabulary, useful as both are.

    It is that Evan and Jessie are not really fighting about money. They are fighting because neither one of them will say the true thing out loud, and every reader in your room has been in that exact position with somebody they love.

    Ask about that at the end. Not what did they learn about business, but what would have happened if either of them had just said it in chapter two. You will get a better conversation than any comprehension question can buy.

    If You Would Rather Not Build It From Scratch

    Everything above works with a copy of the book and a notebook. If you would rather have the fourteen pages already written, here is the version I use.

    The Lemonade War novel study with 14 chapter quick checks, activities and a final book test

    The Lemonade War Novel Study is one quick check for every one of the fourteen chapters, each with comprehension questions, the chapter’s own vocabulary, and a written response. Around them sit the extensions from part five: character change charts for Evan and Jessie, a story setting map, a compare-the-businesses page using text evidence, a context clues hunt, a claims and evidence writing activity, a breaking news book report, and a final book test. Answer keys throughout, and every page works on its own, so you can use all of it or pull the four pages you actually want.

    The Lemonade War creative book activities including a breaking news report and a story journey map

    Please note that a copy of The Lemonade War by Jacqueline Davies is required and is not included. This is an independent companion resource and is not affiliated with the author or publisher.

    Keep Going

    Teaching economics with The Lemonade War, for the money and business half of this book.

    8 fun ways to practice the parts of speech, for the grammar you are fitting in around the novel.

    How to teach The Lemonade War, a chapter by chapter novel study guide

  • Community Helpers Activities That Build Real Reading Skills

    Community Helpers Activities That Build Real Reading Skills

    Community helpers is one of the best nonfiction reading units you will teach all year. The topic is already informational, the kids already have the background knowledge, and they are genuinely curious about what a day looks like for a firefighter or a park ranger. That combination is rare in primary grades, and it means this unit can carry real reading instruction right alongside all the parts kids love. Here is how to build it that way.

    Community helpers passages combine social studies and ELA practice

    Why Community Helpers Is Secretly a Reading Unit

    Primary students get very little nonfiction. Most of what a 1st or 2nd grader reads is story: characters, problems, endings. But the reading they will do for the rest of their lives is mostly informational, and the standards know it. Community helpers hands you a topic where every single text is naturally informational.
    It also solves the hardest problem in primary nonfiction, which is background knowledge. A passage about coral reefs asks a 6-year-old to picture something they have never seen. A passage about a mail carrier does not. Kids already know what the job looks like, so all of their brainpower goes to the reading itself instead of to imagining the world.

    That makes this unit the right place to teach informational-text skills that are genuinely hard: finding a key detail, using a word from context, and answering a question with evidence rather than a guess.

    Move Past “Who Helps Us?” to a Real Question

    The classic anchor chart asks who helps us in our community. It is a great day-one question. It is also a question kids can answer without reading anything, so once it is up on the wall, push one level further:

    What does this person do that no one else does? This sends kids into the specifics of the text instead of general knowledge.

    What would happen in our town if this job disappeared for a week? Cause and effect, and it produces genuinely interesting arguments about garbage collectors.

    What tools does this job need, and why those? Kids have to connect two details rather than retrieve one.

    Teaching tip: keep a running chart of jobs and the one detail that surprised the class. By the end of the unit you have a comparison tool the kids built themselves, and it makes the writing at the end much easier.

    Make the Coloring Depend on the Reading

    Coloring earns its place in a primary classroom. Kids need the fine motor work, they need a calm independent task you can hand out while you pull a small group, and they need something that feels like a reward.

    You can have all of that and learn something about what each child understood, as long as the coloring depends on the reading. When the color key lives inside the answer choices, choosing the right answer is what tells the student which color to use. Read carefully and the picture comes out right. Guess, and the picture comes out visibly different, in a way the student notices before you do.

    This is self-checking work, and it matters for a reason beyond convenience: immediate corrective feedback stops students from practicing errors. A worksheet you grade Thursday night tells a child on Friday that they misunderstood on Tuesday. A self-checking page tells them in the moment, while the text is still in front of them and the fix is still easy.

    Build reading comprehension with community helper color by code activities

    A Simple Structure for the Unit

    Pick helpers that are different from each other. A firefighter, a librarian, a farmer and a veterinarian give you more to compare than four emergency workers. Contrast is what makes discussion possible.

    Read the same way every time. Read the passage, answer the questions, do the activity. When the routine is identical, kids stop asking what to do and start thinking about the text.

    Do the first one together. Model finding the answer in the passage, out loud, with your finger on the line. Then release them.

    Let the rest be independent. This is the part that buys you small-group time, and it works because the routine was taught properly on day one.

    Fun idea: invite one real helper in, but do the reading first. Kids who have already read about the job ask dramatically better questions than kids meeting the topic cold. A class that has read about park rangers will ask a ranger about invasive plants. A class that has not will ask if they have ever seen a bear.

    Show Every Kind of Helper

    Kids form their ideas about who does which job during exactly this unit, which makes it a real opportunity. Choose materials that show women as construction workers and men as teachers, and include the jobs that rarely make the poster set: pharmacists, mechanics, garbage collectors, restaurant servers.

    Those are the jobs kids’ families actually do. A child who sees their parent’s work treated as important gets something out of this unit that no standard measures.

    End With Writing, Not a Worksheet

    The best possible ending for this unit is a thank-you note.

    It is authentic writing with a real audience, which is rare in primary grades. It requires the child to name something specific the helper does, which means going back to the text. And it teaches the actual point of the unit, which was never the vocabulary. It was noticing the people who keep things running and saying so out loud.

    Send them. School custodian, front office staff, the crossing guard, the cafeteria team. The responses your kids get back will be the part they remember in June.

    How These Resources Can Help

    If you want this unit built and ready to hand out, the Community Helpers Read and Color by Code sets do exactly what is described above. Each page is a nonfiction passage, multiple choice questions, and a color-by-number picture where the color key lives inside the answer choices, so the finished picture shows you who read and who guessed.

    Every page includes:

    A nonfiction community helper passage, one per job.

    5 to 6 comprehension questions, each carrying its own color.

    A full color-by-number picture.

    Thank You Community Helpers writing pages, so the unit ends with real writing.

    Answer keys with the finished picture, plus student directions simple enough to hand out cold.

    They print in black and white, work for grades 1 through 3, and drop straight into literacy centers, morning work, independent practice, Career Day or sub plans.

    What is included in the Community Helpers read and color by code unit

    Pick Your Set

    Community Helpers read and color by code bundle, all 24 helpers

    The Bundle is the whole thing: all 24 community helpers, both parts together, at the bundle price. This is the one to grab if you are teaching the full unit.

    👉 Get the Community Helpers Bundle, all 24 helpers

    Community Helpers read and color by code Part 1, 12 helpers

    Part One covers firefighters, nurses, dentists, mail carriers, park rangers, florists, garbage collectors, librarians, construction workers, chefs, farmers and pilots.

    👉 Get Community Helpers Part One

    Community Workers read and color by code Part 2, 12 more helpers

    Part Two covers doctors, teachers, veterinarians, police officers, mechanics, astronauts, veterans, pharmacists, restaurant servers, lifeguards, painters and carpenters. All new passages and new pictures, so the two parts work back to back.

    👉 Get Community Workers Part Two

    Print and go community helpers activities for centers and morning work

    Wrapping It Up

    Community helpers already has everything a great reading unit needs. The topic is informational, the background knowledge is there, and the kids are genuinely interested. All you are adding is the habit of making sure something gets read before something gets colored.

    Ask better questions than “who helps us.” Choose helpers that contrast. Make the independent work self-checking so you can actually pull small groups. Then end it with thank-you notes that really get delivered, and let the kids find out that noticing people is something you can practice.

  • The 3-Week Ecosystems Unit That Fits in 30 Minutes a Day

    The 3-Week Ecosystems Unit That Fits in 30 Minutes a Day

    The 3-week ecosystems unit that fits in 30 minutes a day, with ecosystems reading passages and activities on a desk

    The first time I taught ecosystems, I planned six weeks of it.

    Six weeks. I had biome posters, a diorama project, a food chain craft, and a stack of library books tall enough to block a window. I was so proud of that plan.

    We made it through two weeks. Then a field trip happened, then a fire drill happened, then testing season arrived and took the rest.

    My students could tell me that a desert is dry. That was about it.

    The next year I had exactly thirty minutes a day for science and no room to negotiate. I assumed that meant a worse unit. It turned out to be the best ecosystems unit I ever taught, and the reason had nothing to do with time.

    Here is what I had gotten wrong: I was teaching ecosystems as one enormous topic instead of three small ones, stacked in an order that builds.

    Quote: Ecosystems is not one big unit. It is three small ones, and the order is what makes them stick.

    Once I stopped trying to cover everything at once, the whole thing got shorter and my students understood more of it. Here is the three-week version, and the thirty-minute block that carries it.

    Week 1: Where Life Lives

    Week one answers one question. Where does life live, and why is it different in different places?

    This is the week for biomes, habitats, and the words biotic and abiotic. Kids come in already knowing more than we expect. They have seen a desert in a movie. They have watched something about the rainforest. Start there instead of starting from zero.

    Keep the whole week to four or five biomes. More than that and they blur together into a list of animals nobody can keep straight.

    What actually moves the needle this week:

    • 🌍 One reading passage per biome, short enough to read and discuss in the same sitting
    • 🔍 A biotic and abiotic sort using the classroom, the playground, or a photo of one habitat
    • 📓 An interactive notebook flap so the vocabulary lives somewhere they can find it in week three

    Teaching tip: have students find the abiotic factors in your own classroom before they ever look at a rainforest. Light, temperature, air, water. Once they see that a room has abiotic factors, the word stops being a science word and starts being a real one.

    Abiotic, biotic and biomes vocabulary posters for a week 1 ecosystems lesson

    Week 2: Where the Energy Comes From

    This is the week most of us skip, and skipping it is why week three falls apart.

    Before students can build a food chain, they need to know how the very first link in that chain got its energy. Not because photosynthesis is on the test, though it usually is, but because a food chain that begins with a plant makes no sense at all if plants are just sitting there being green.

    Quote: A food chain does not start with an animal. It starts with the sun.

    Keep photosynthesis simple at this age. Plants take in sunlight, water, and carbon dioxide, and they make their own food. That is the whole idea. The vocabulary can ride along behind it. I wrote a whole post on how to teach photosynthesis in 4th and 5th grade, and why it belongs before food chains rather than after, because the order is doing more work here than the content is.

    Then, in the same week, introduce the three jobs: producers, consumers, decomposers. Say the word “job” out loud. A producer is not a kind of plant, it is a role, and a mushroom is not a weird plant, it is a decomposer doing its job.

    Decomposers poster with producers, consumers and decomposers notebook flaps for week 2

    Teaching tip: tape a piece of construction paper over one leaf of a classroom plant on Monday. Look at it on Friday. That pale patch does more for understanding than any diagram, and it costs you thirty seconds.

    Week 3: How It All Connects

    Now, and only now, do you build the chain. Students already know where the energy starts and what each job does, so the arrows have something to mean.

    Build one chain together. Then build a second one that shares an animal with the first. Then ask what happens if that shared animal disappears, and let them argue about it. That argument is the whole unit landing at once.

    Week three is also where the ecosystem stops being a diagram and starts being a system:

    • ⛓️ Chains first, then webs. A web is just what happens when you connect two chains and refuse to look away
    • 💨 One change, followed all the way out. Remove the hawks. Now what? Now what after that?
    • ♻️ Decomposers get the last word, because a chain that just stops at the top is not a system

    This is also the week where the quiet misconceptions surface. If your students can label a web perfectly and still cannot tell you which way the energy is traveling, start with teaching food chains and food webs, and the five misconceptions to fix. Those fixes take almost no extra time and they change what week three produces.

    The 30 Minutes, Broken Down

    Every day of all three weeks uses the same four blocks. The predictability is the point. After about four days, students stop asking what we are doing and just start doing it.

    1. 🌱 Minutes 1 to 4: Hook. A photo, a question, or yesterday’s vocabulary word said out loud
    2. 📖 Minutes 5 to 15: Read and talk. One short passage, read together, discussed together
    3. ✏️ Minutes 16 to 26: Do something with it. The notebook flap, the sort, the diagram, the flip book
    4. ⏱️ Minutes 27 to 30: Exit slip. One question. You will know before they leave who has it

    Ecosystems reading passage, habitat poster and vocabulary flaps set up for a 30 minute science block

    Fifteen days of that is a complete ecosystems unit. Not a rushed one. A complete one.

    One Project That Doubles as the Test

    You do not need a unit test and a project. Pick the project and let it be the assessment.

    Give each student one ecosystem and ask for four things: the biome it sits in, three biotic and three abiotic factors, one complete food chain with the arrows drawn correctly, and one sentence about what would happen if a single organism disappeared.

    That is every standard in the unit, in one page you can grade in a prep period, and it is far better evidence than twenty multiple choice questions.

    Recap: the 3-week ecosystems unit, week 1 where life lives, week 2 where the energy comes from, week 3 how it all connects, the same 30 minutes each day, and one project that doubles as the test

    One More Thing Worth Saying

    Thirty minutes is not the consolation prize version of science. A short block forces you to decide what actually matters, and it turns out that what matters in an ecosystems unit is not the number of biomes covered. It is whether a child can look at an arrow and tell you which way the energy is traveling.

    You can teach that in three weeks. You can teach it in thirty minutes a day. And you can do it without giving up your reading block to get there.

    If You Would Rather Not Build It From Scratch

    Everything above is planned, printed, and ready in my ecosystems resources. The reading passages, the notebook activities, the food chain work, the vocabulary, and the answer keys are all done, so the thirty minutes goes to teaching instead of prepping.

    Ecosystems bundle for grades 2 to 5 including printable passages, Google Slides, PowerPoint and a unit test

    Start here if you want the whole unit in one place. The Ecosystems Reading Passages and Worksheets Bundle holds the printable unit, a 45 page Google Slides version, a 94 slide PowerPoint, four short videos, and a 20 question test in Google Forms. It is the print and digital versions of the same unit, so you can use whichever your week calls for.

    Biomes and ecosystems complete science unit with reading passages and hands-on activities

    👉 Biomes and Ecosystems: A Complete Science Unit is the printable core of the three weeks. Reading passages, a teacher pacing guide, notebook activities, a flip book, trifold organizers, exit slips, vocabulary posters, desert and rainforest food chain activities, a unit test, and answer keys.

    👉 Photosynthesis Passages and Label the Diagram is the week two piece on its own, with doodle notes and diagrams to label if you want to spend a little longer there.

    Ecosystems PowerPoint with 106 slides covering biomes, food chains and photosynthesis

    👉 The Ecosystems PowerPoint carries the whole unit as slides, which is the easiest way to run the read and talk block if you teach from the board.

    👉 The Science Curriculum Bundle for Grades 2 to 5 holds this ecosystems unit plus eleven more, if ecosystems is one stop on a much longer year.

    The 3-week ecosystems unit that fits in 30 minutes a day

  • Daily Math Spiral Review: The 10-Minute Routine That Makes Math Stick

    Daily Math Spiral Review: The 10-Minute Routine That Makes Math Stick

    It happens every September. You pull out a problem you know they mastered in April, you watch twelve hands go up with the same confused look, and you think: we did this. We did this for three weeks.

    You are not imagining it, and it is not your teaching. It is how memory works. Skills that are taught once and then left alone fade, no matter how well they were taught the first time. The fix is not reteaching the whole unit. The fix is a short, boring, relentless routine that brings old skills back into the room before they have a chance to disappear. In this post I will walk through what daily math spiral review actually is, the research behind why 10 minutes beats an hour, exactly where to put it in your day, and how to read what it tells you about your class.

    How a daily math spiral review works in 5 to 10 minutes

    Why Kids Forget Math (And Why Reteaching Is Not the Answer)

    Math is cumulative in a way most subjects are not. A student who never quite locked in place value does not just struggle with place value. They struggle with rounding, with regrouping, with estimating whether an answer is reasonable, and eventually with decimals. Small gaps do not stay small.

    The instinct when you spot a gap is to stop and reteach. Sometimes that is right. But reteaching is expensive, it costs you days you do not have, and it often produces the same result: a skill that looks solid in the moment and fades again by the next unit.

    What the research points to instead is spaced practice. In a well-known study, Rohrer and Taylor found that students who practiced math problems spread out over time substantially outperformed students who did the same number of problems in one concentrated block. Same problems. Same total practice. Very different retention. The variable that mattered was spacing.

    That is the whole idea behind spiral review: instead of practicing a skill hard for two weeks and then abandoning it, you keep touching it, briefly, all year.

    What Spiral Review Is (And What It Is Not)

    Spiral review is a short set of mixed problems drawn from skills you have already taught. Not today’s lesson. Yesterday’s, last month’s, and last year’s.

    Here is what it is not, because this is where most classroom versions go wrong:

    It is not more of today’s lesson. If every problem comes from the current unit, it is practice, not review, and it will not fight forgetting.

    It is not a worksheet packet. Twenty problems is not spiral review, it is homework. The power is in the shortness. Kids can do 5 problems well every single day for 180 days. They cannot do 20.

    It is not graded like a test. The moment it carries a grade, kids start guessing to protect their score, and you lose the only thing that makes it useful: honest information about what they actually remember.

    Five mixed review math problems a day

    The 10-Minute Routine, Step by Step

    The routine that works is almost aggressively simple. Five problems. Ten minutes. Every day. Same format all year.

    Minutes 0 to 5: independent work. Kids work the five problems on their own, quietly. This is the part that has to be protected. If you circulate and start helping, you are no longer measuring what they can retrieve without you.

    Minutes 5 to 8: review together. Go over the answers, but do not just read them out. Pick the one problem the most kids missed and have a student explain their thinking. One problem, explained well, is worth more than five problems read aloud.

    Minutes 8 to 10: name the skill. Say out loud what each problem was asking. “Number three was rounding to the nearest hundred. We did that in November.” Naming the skill helps kids file it somewhere they can find it again.

    Teaching tip: the same format every day is a feature, not a limitation. When the page looks identical all year, kids stop spending energy figuring out the directions and spend it on the math instead. Predictability is what makes a 10-minute routine possible.

    Want to see it before you build it? Grab a free month of 2nd grade 5 a Day Math and run the routine with your own class for four weeks.

    A closer look at one week of daily math spiral review

    Where to Put It in Your Day

    There is no single right slot. What matters is that it lands in the same place every day so it becomes automatic. Four options that work:

    Morning work. Kids come in, sit down, and start. No instructions needed, which buys you the first ten minutes of the day for attendance, lunch count, and the kid who needs to tell you about the weekend.

    Math warm-up. The first thing in your math block. This has a real advantage: it wakes up math thinking before the new lesson, and it separates review from new instruction so kids know the difference.

    Homework. Five problems is a homework load families can actually support. It also gives parents a window into what their child has learned all year, not just this week.

    Small group and intervention. Use the same page with a group, working it together out loud. The mixed format means you hit several skills in one sitting.

    Fun idea: let a student be the “explainer” each day. They pick which of the five problems to walk the class through. Kids choose harder problems than you would expect, and explaining is where the real learning happens.

    Try it in your morning work slot: here is a free month of 3rd grade 5 a Day Math to test which slot fits your day.

    How to Actually Use What You See

    This is the part most teachers skip, and it is the part that makes spiral review worth the ten minutes.

    You are not looking for scores. You are looking for patterns. Three specific things to watch for:

    The whole class missed one problem. That is not a student problem, that is a teaching problem. Put that skill in your next mini lesson.

    The same four kids miss the same kind of problem. That is your small group for next week. It formed itself without a single assessment.

    A skill you taught last month is slipping. Catch it now, while it takes five minutes to fix, instead of in March when it takes a week.

    A monthly cumulative check-up is worth adding on top of the daily work. Daily practice tells you about today. A check-up every few weeks tells you whether anything is actually sticking.

    See the patterns for yourself: a free month of 4th grade 5 a Day Math is long enough to show you where your class is slipping.

    Monthly cumulative math check up quizzes

    Start the Year With Last Year’s Skills

    One more thing that makes a big difference, especially in August and September.

    Do not start your spiral review with grade-level content. Start with the prerequisite skills from the grade below. Your third graders need second grade place value before third grade rounding will hold. Your fifth graders need fourth grade fraction sense before fifth grade operations with fractions will make sense.

    Spending the first few weeks on last year’s skills feels like going backward. It is not. You are finding out exactly which students arrived with which gaps, in ten minutes a day, without a formal diagnostic, before the gaps start costing you.

    Start where your students actually are: the free month of 5th grade 5 a Day Math opens with fourth grade review, exactly as described above.

    How This Resource Can Help

    If you want the routine without building 180 days of mixed problems yourself, the 5 a Day Math Review sets are built exactly around what is described in this post. Each one is a full year: 40 weeks of daily spiral practice, five problems a day, one page per week, in a format that never changes.

    What is inside each grade level:

    40 weeks of cumulative practice, organized into four quarterly units of ten weeks each.

    Five problems a day that take about 5 to 10 minutes.

    Beginning-of-year review of the previous grade’s skills, so the first weeks do the diagnostic work described above.

    Monthly cumulative check-ups that spiral back over everything taught so far.

    CCSS skills listed on every page, so you always know what you are assessing.

    Complete answer keys, progress trackers, and digital Google Forms for the monthly quizzes.

    What is included in the 5 a Day Math daily spiral review

    Grab the Grade You Teach

    5 a Day Math Review 2nd Grade daily spiral review

    👉 2nd Grade 5 a Day Math Review

    5 a Day Math Review 3rd Grade daily spiral review

    👉 3rd Grade 5 a Day Math Review

    5 a Day Math Review 4th Grade daily spiral review

    👉 4th Grade 5 a Day Math Review

    5 a Day Math Review 5th Grade daily spiral review

    👉 5th Grade 5 a Day Math Review

    Wrapping It Up

    You do not need a new curriculum to stop the forgetting. You need ten minutes, five problems, and the discipline to do it on the days it feels pointless, because those are the days it is working.

    Start with last year’s skills. Keep it short. Read the patterns instead of the scores. By October you will know your class better than any beginning-of-year assessment could have told you, and the skills you taught in September will still be there in May.

  • Teaching Food Chains and Food Webs to Elementary Kids: Strategies That Actually Stick

    Teaching Food Chains and Food Webs to Elementary Kids: Strategies That Actually Stick

    If you’ve ever introduced food chains to your class and watched the confusion wash over their faces the moment you said “tertiary consumer,” you are not alone. Teaching ecosystems — specifically food chains and food webs — is one of those science topics that sounds simple on paper but can spiral into a tangle of arrows, vocabulary, and blank stares faster than you can say “decomposer.”

    The good news? With the right strategies and a little structure, food chains and food webs for elementary kids can be genuinely exciting. Kids are naturally curious about which animals eat which, and that curiosity is your biggest teaching tool. In this post, you’ll find practical strategies for teaching food chains, food webs, and the broader ecosystem concepts of producers, consumers, and decomposers — plus ideas that have worked in real elementary classrooms.

    Why Food Chains and Food Webs Matter (and Why They’re Hard to Teach)

    Food chains and food webs are at the heart of understanding ecosystems. Once kids understand how energy flows from the sun to a plant to an herbivore to a carnivore, everything else — biomes, photosynthesis, even environmental stewardship — starts to click into place.

    But here’s where teachers run into trouble: food chains feel like a list of facts, and kids can memorize them without truly understanding what they mean. They can tell you a grasshopper eats grass and a frog eats a grasshopper, but they can’t explain why it matters or what happens if one piece of the chain disappears.

    The goal of good ecosystem instruction isn’t memorization — it’s conceptual understanding. When kids understand the balance of nature, they’re learning science that connects to their real world.

    Start with the Big Picture: What Is an Ecosystem?

    Before you dive into food chains, take a day to zoom out. Help kids understand what an ecosystem actually is — and the difference between a micro-ecosystem (like a pond), a meso-ecosystem (like a forest), and larger biomes (like the rainforest or the desert).

    One of the most effective ways to do this is to pick a biome your kids already have some connection to. Ask them: What animals live there? What do they eat? What would happen if one of those animals disappeared? That last question — cause and effect — is the thread you’ll pull throughout the entire unit.

    Teaching tip: Create an anchor chart with students on day one: “What do living things need to survive?” (food, water, shelter, air). Keep that chart up for the entire unit and refer back to it. It grounds everything else.

    Teaching Producers, Consumers, and Decomposers: Make It Concrete

    This is where a lot of kids (and teachers) get tangled. The vocabulary sounds scientific and abstract, but the concepts themselves are wonderfully concrete.

    Here’s language that works in elementary classrooms:

    Producers make their own food using sunlight. (Think: plants are the chefs of the ecosystem.)

    Consumers eat other living things. (They can’t make their own food — they have to order off the menu.)

    Decomposers break down dead things and return nutrients to the soil. (They’re the cleanup crew that recycles everything back to the earth.)

    Common misconception to address: Many kids think carnivores are at the “top” of the food chain simply because they’re big and scary. Take time to discuss why every level matters — including the tiny decomposers that most people overlook. A great discussion question: What would happen to a forest if there were no decomposers?

    Fun idea: Give kids a set of picture cards — plants, insects, birds, mammals, fungi — and ask them to sort them into producers, consumers, and decomposers. Then have them explain their reasoning to a partner before you reveal answers. The discussion that happens during sorting is often more valuable than the sort itself.

    Food chain worksheets beside a consumers notebook flaps sorting activity

    Teaching Food Chains: Sequence, Then Explain

    Once kids understand producers, consumers, and decomposers, they’re ready to build food chains. A food chain shows how energy moves from one organism to another — and the arrows are key.

    Teach the arrows deliberately. Many kids draw arrows to show “what eats what,” but the arrow in a food chain actually means “energy flows TO.” So a correct food chain looks like:

    Grass → Grasshopper → Frog → Snake → Hawk

    The energy in the grass moves to the grasshopper when it eats, then to the frog, and so on. When kids understand that arrows represent energy transfer, the whole system makes more sense.

    Fun Idea: Act it out. Assign kids roles — some are plants, some are herbivores, some are carnivores. Use a ball of yarn to physically connect them and show what happens when one organism is removed. This kinesthetic anchor makes food chains memorable in a way that a worksheet alone cannot.

    Rainforest and desert food chain worksheets with a living and non living things sort

    Moving from Food Chains to Food Webs: Adding Complexity

    Food chains are a gateway — but real ecosystems are much more complex. A food web shows how multiple food chains interconnect, and this is where the magic of “balance of nature” becomes visible.

    When you introduce food webs, start by building one together as a class. Use a whiteboard or chart paper and add organisms one at a time, drawing connections between them. Let kids notice that most organisms have more than one food source — and more than one predator.

    Great discussion questions:

    What would happen if all the frogs in this food web disappeared?

    Which organism in this web is most important? (There’s no single right answer — and the debate is the point.)

    What role does the sun play in every food web?

    This is also a natural entry point for photosynthesis. When kids ask “But how does the grass get energy?” you’re ready for the next lesson.

    5 Misconceptions That Survive the Whole Unit (and How to Fix Each One)

    Here is the part that catches most of us out. A food web is one of the easiest things in science to fake. A student can label every organism, place every arrow, earn full credit on the page, and still have the relationship completely backward.

    A student can label a food web perfectly and still have the whole thing backward

    This is not a case of kids not paying attention. Researchers have documented these same misconceptions for decades. Students tend to see feeding relationships as simple, linear, and disconnected, and they hold onto that picture even after a unit that seemed to go well. These five show up in nearly every classroom.

    1. The arrow means “eats.” This is the big one, and it is worth checking even after you have taught the arrows deliberately. Have students read every arrow out loud as “gives its energy to,” not “is eaten by,” which is passive and forgettable. Then reverse one arrow on purpose and ask what the picture now claims. A rabbit giving its energy to the grass is a genuinely funny idea, and funny ideas stick.

    2. One rabbit, not a population. When we draw a single rabbit, students see a single rabbit, so when the hawk eats it the story is over. Every organism on a food web stands for a whole population. Draw three small rabbits instead of one, or write the word in the plural on every card. It looks like a tiny change and it completely alters what students think they are looking at.

    3. The effect stops at the next organism. Ask what happens if the hawks disappear and most students will tell you the rabbits are fine now, full stop. The fix is to refuse to stop asking. Rabbits increase. Then what? They eat more grass. Then what? Less grass. Then what happens to the rabbits? Keep going until somebody notices the answer loops back around and lands on the rabbits themselves. That moment is when an ecosystem stops being a list and becomes a system.

    4. A food web is just separate chains on one page. Students often think a web is several food chains that happen to be drawn together, and they are not wrong about what they see, because that is usually how it is presented. Build the web live instead. Put one chain on the board, then add a second chain that shares one animal with the first and physically connect them. When a student asks “wait, can something be in two chains at once,” the web has done its job.

    5. Decomposers fertilize rather than eat. Many students walk away believing decomposers break things down into nutrients that go into the soil, and that plants then eat those nutrients like food. Decomposers are consumers doing what every consumer does, which is getting energy from something that was alive. Put them on the web with real arrows, pointing from dead material to the decomposer. If they sit off in a box in the corner, students file them under “helpers” and never connect them to energy at all.

    Five fixes for food web confusion: teach the arrow first, say population, follow the ripple, connect two chains, and decomposers eat

    None of these fixes cost extra time. They are the same lesson with different words in it, which is the best kind of change a busy week can absorb.

    Teaching Photosynthesis Without Losing Kids

    Photosynthesis is the engine that powers every food chain, and yet it’s one of the most abstract concepts in elementary science. The key is visuals and sequence.

    Break it down into its inputs and outputs:

    Inputs: Sunlight + Water + Carbon Dioxide Output: Glucose (food for the plant) + Oxygen

    A simple diagram showing the sun hitting a leaf, roots absorbing water, and the leaf releasing oxygen is worth a thousand definitions. Have kids draw and label the diagram themselves rather than just copying yours — the act of creating it builds understanding.

    There is a case for teaching this part FIRST, before the food chains, so that students already know where the energy in that very first arrow came from. I wrote about that order, and the one leaf experiment that settles the plants-eat-soil argument, in how to teach photosynthesis in 4th and 5th grade.

    Classroom idea: Use a sequencing activity where kids arrange the diagram in the correct order: sunlight hits the leaf → plant absorbs water through roots → carbon dioxide enters through the leaf → plant makes glucose → oxygen is released. This step-by-step process helps kids understand photosynthesis as something that happens rather than something to memorize. There is an activity in the Ecosystems unit where kids can just that!

    How This Resource Can Help

    If you’re looking for a done-for-you ecosystems unit that handles all of this — the vocabulary, the activities, the food chain practice, the photosynthesis diagrams, and the assessment — the Biomes and Ecosystems Worksheets for 3rd, 4th, and 5th Grade is one of my most-loved resources.

    It covers all the concepts discussed in this post and more: types of biomes, producers/consumers/decomposers, food chains and food webs, photosynthesis, herbivores/carnivores/omnivores, the balance of nature, and even a spotlight on famous environmentalist John Muir. It includes a teacher pacing guide, vocabulary posters, interactive notebook components (flip book, tri-folds, flap activities), cloze passages, fact-or-fiction activities, a rainforest food chain and a desert food chain activity, and a unit test with an answer key.

    More than 9,000 teachers have used this unit, and the feedback is consistently the same: it’s organized, engaging, and saves hours of planning time. One teacher wrote, “I am literally obsessed with this resource. It has everything! Kids looked forward to science because of this.”

    It aligns with NGSS, CCSS ELA, TEKS, and VA SOL — so wherever you teach, it fits your standards.

    Classroom Ideas:

    Here are a few ways to structure this unit in your classroom:

    Whole-Group Introduction: Use the vocabulary posters and diagrams during whole-group lessons to anchor new vocabulary before kids practice independently.

    Partner Work: The cloze passages work beautifully as partner activities — one partner reads aloud while the other fills in the blanks, then they switch. This builds both science understanding and reading fluency.

    Science Centers: The food chain sorting activities and match-up flaps make great center rotations. Kids can work at their own pace while you pull small groups.

    Interactive Notebooks: The flip book, tri-folds, and flap activities are designed for interactive science notebooks. If your class uses INBs, this unit drops in seamlessly. If you don’t, the activities work just as well as standalone pages.

    Assessment: The unit test can be used as a summative assessment or as a pre/post check to show growth.

    Wrapping It Up

    Teaching ecosystems doesn’t have to feel like you’re managing ten concepts at once. When you sequence it well — starting with the big picture, moving into producers/consumers/decomposers, building food chains, expanding to food webs, and tying it together with photosynthesis — kids naturally build understanding that lasts beyond the unit test.

    The strategies in this post work. And if you’re looking for a resource that brings them all together in one organized, engaging package, I hope the ecosystems unit I mentioned saves you time and makes your science block something both you and your kids look forward to.

    If your science block is short, here is the three week version of a full ecosystems unit that fits in thirty minutes a day.

    👉 Grab the Biomes and Ecosystems Unit here.